Gantry
Gantry Change Log
- A syringe pump and leadscrew-stepper motor have been added to the Gantry column as part of the Liquid Amendment Tool
- A servo valve has been added to the Gantry column to control the Watering Nozzle Tool
- The corner brackets are now smaller to save on material and to keep the spacing of all bracket M5 holes to 20mm
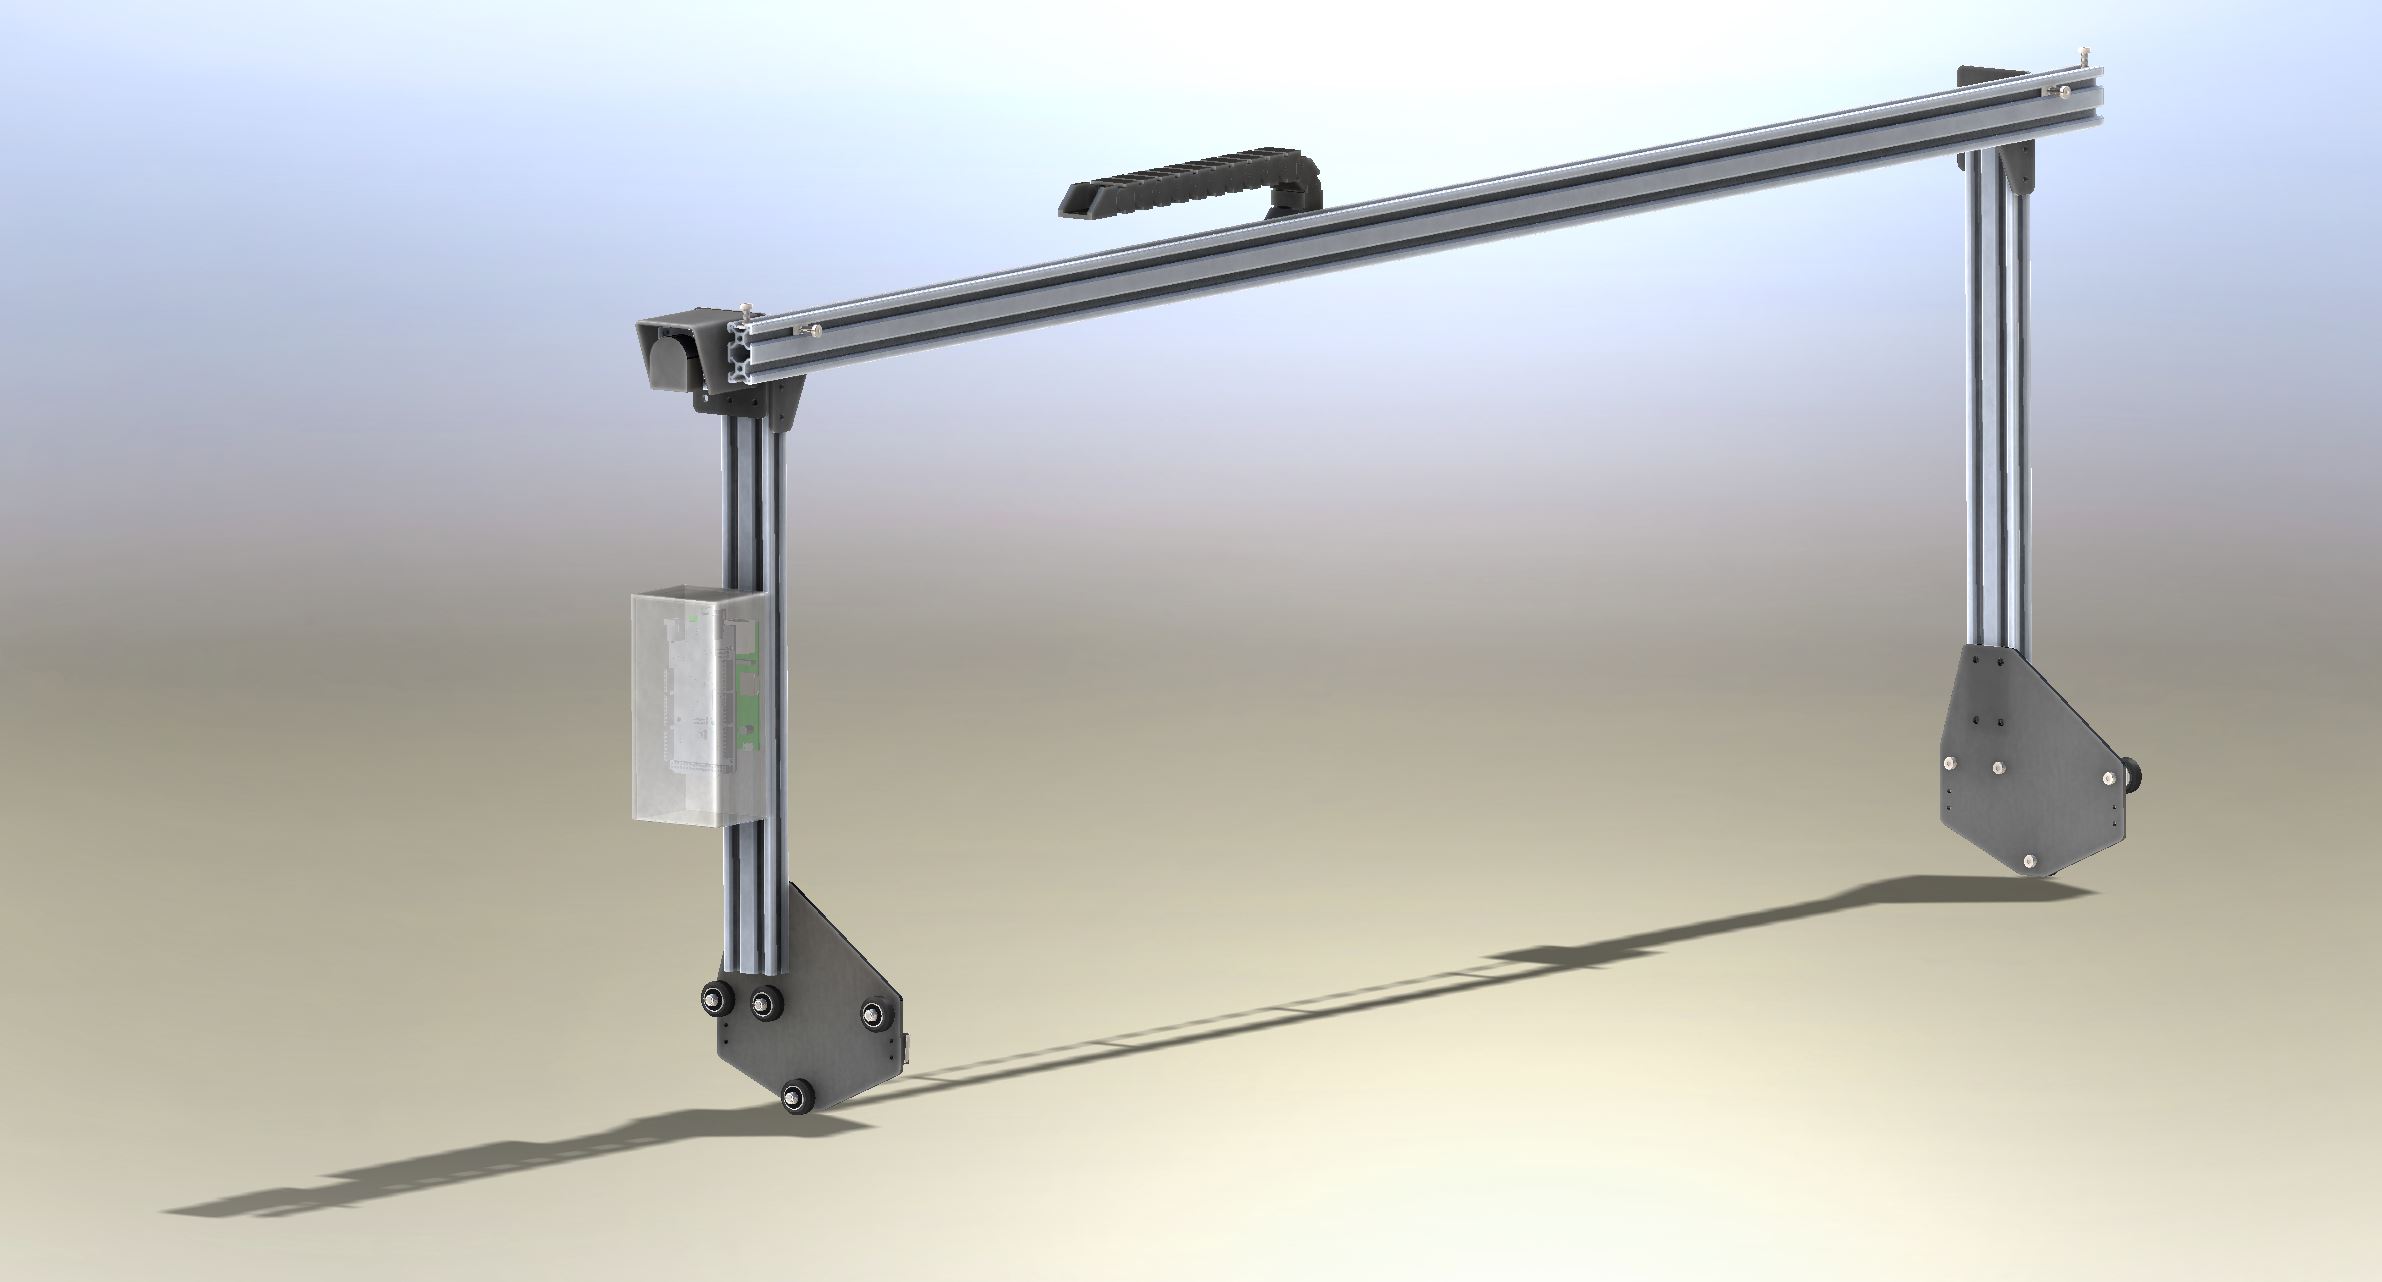

Gantry Assembly Instructions
Assemble the Gantry Plates
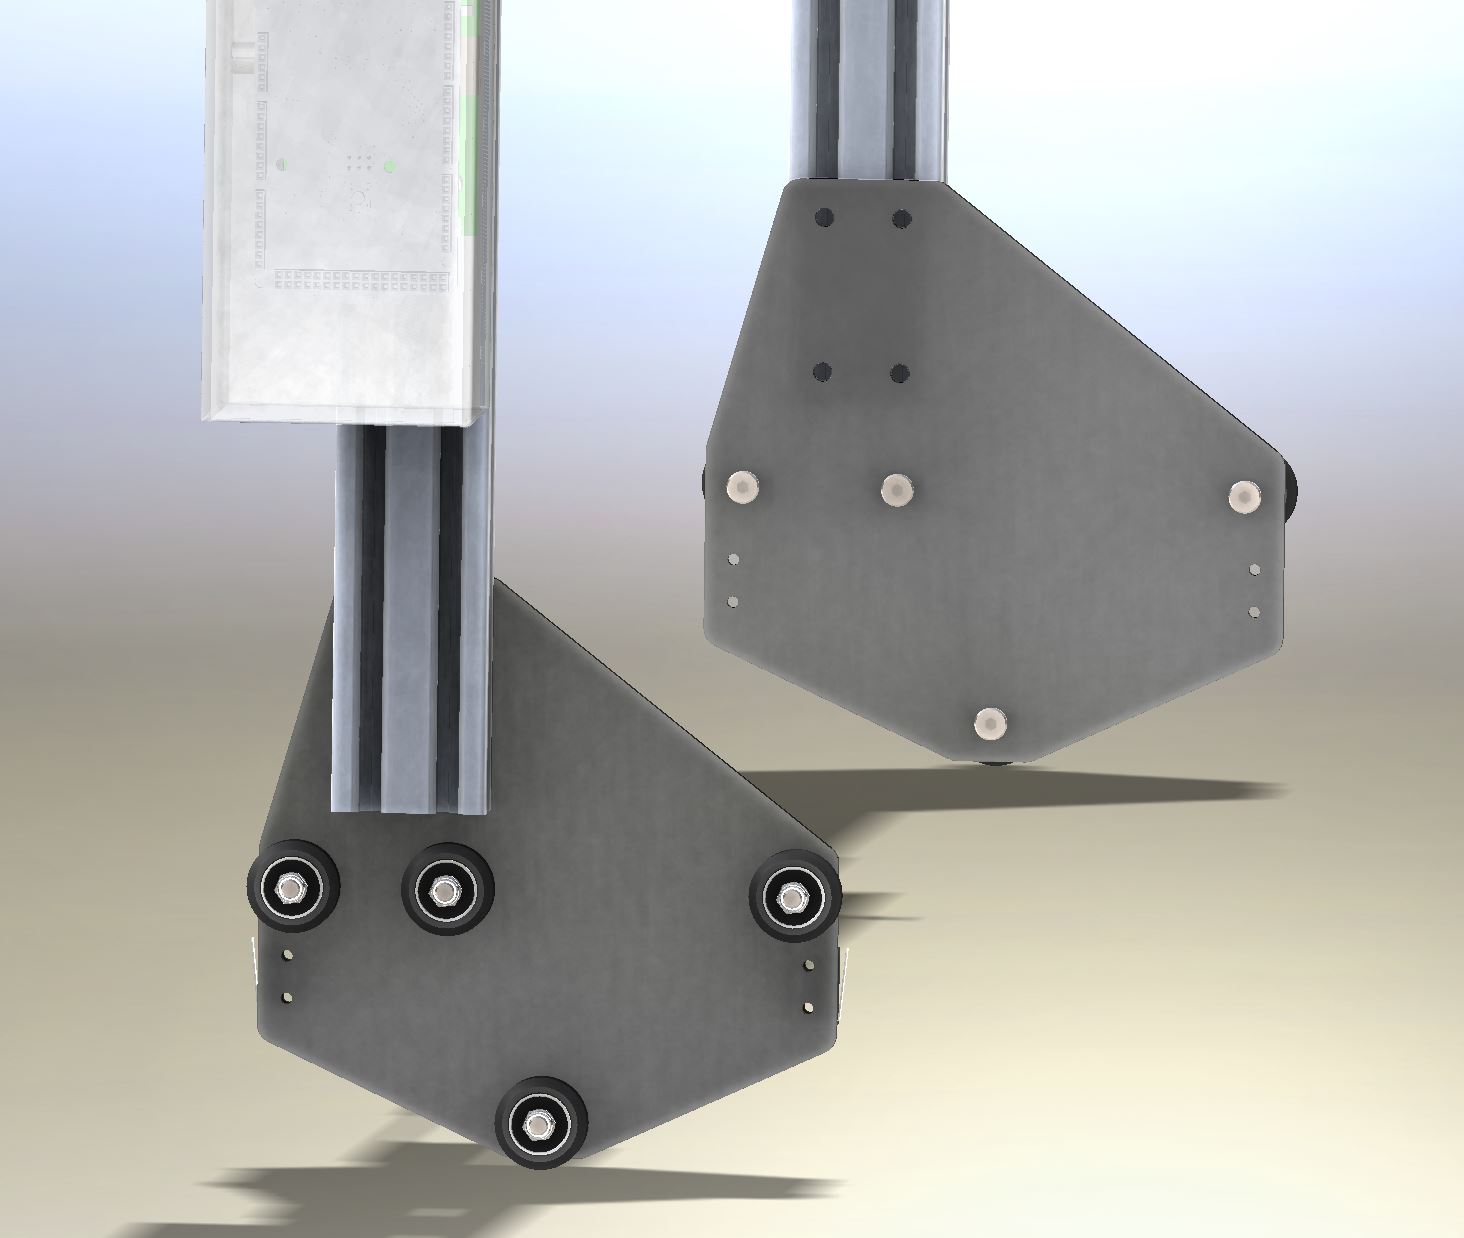
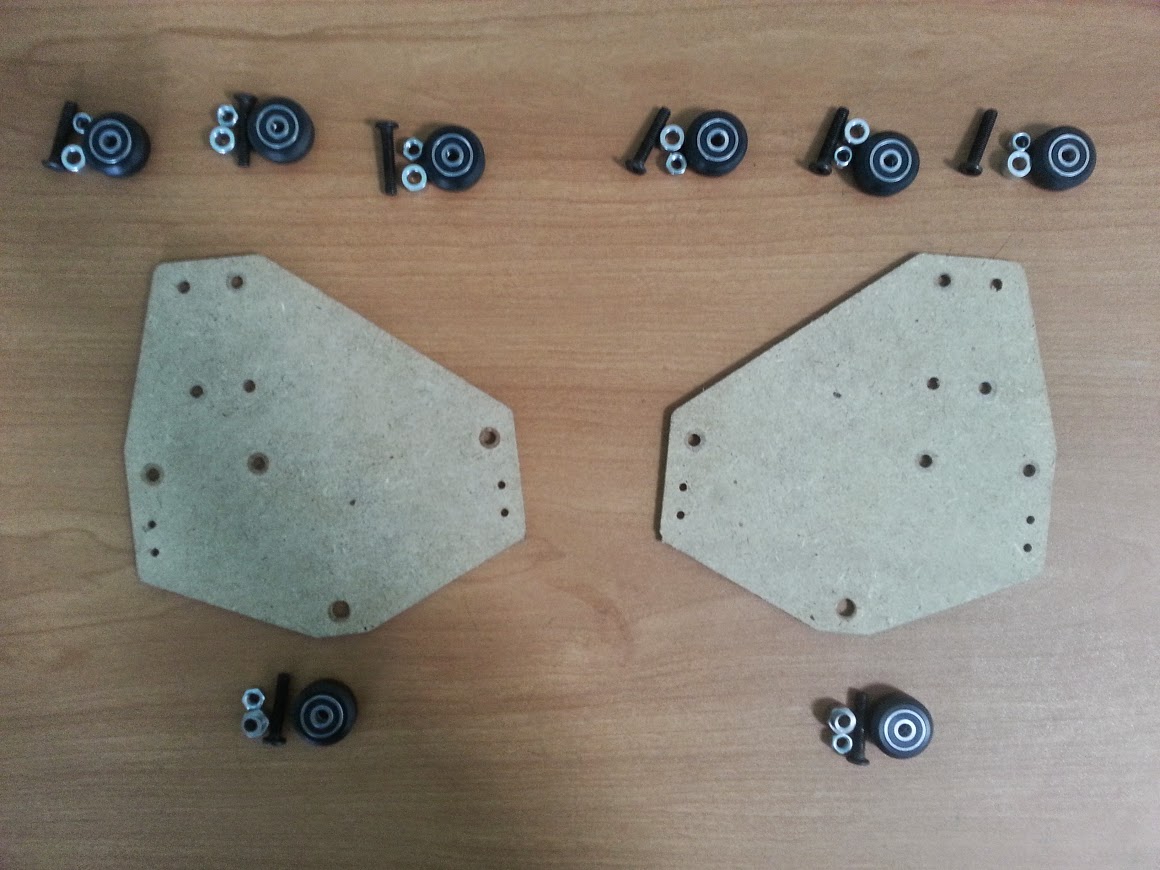
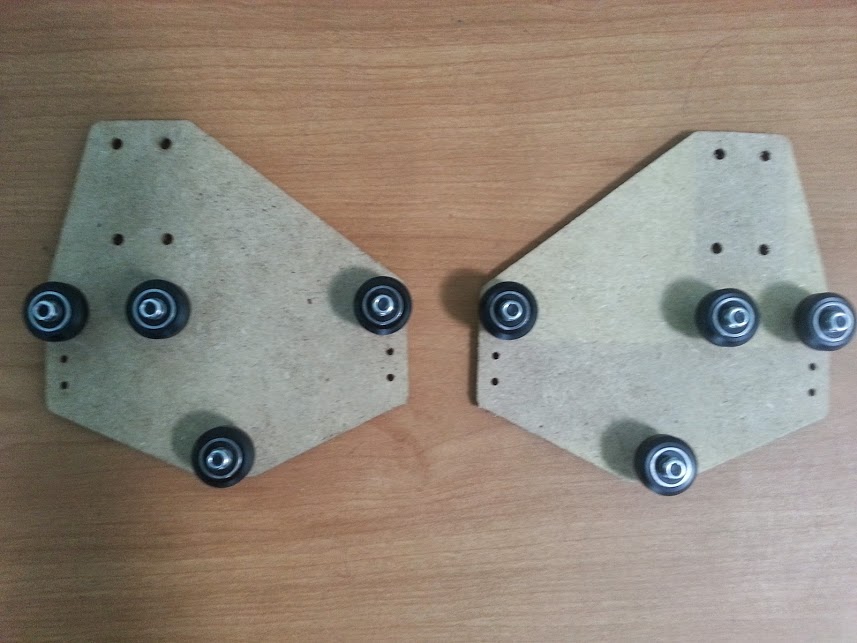
- Gather and lay out all of the parts. You will need: 2 Gantry Plates, 8 solid V-wheel kits, and 2 eccentric spacers. It is best to lay out the gantry plates as a mirror image of each other and attach all of the wheel kits facing towards you to ensure you end up with both a left facing and a right facing assembly!
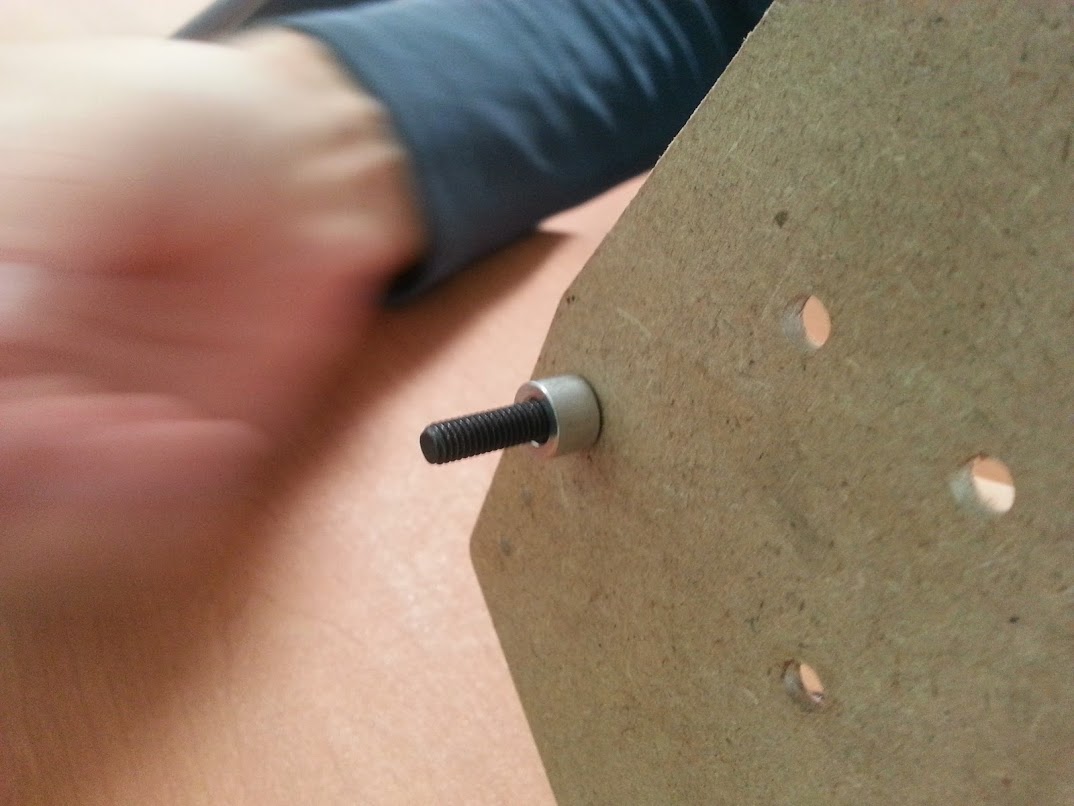
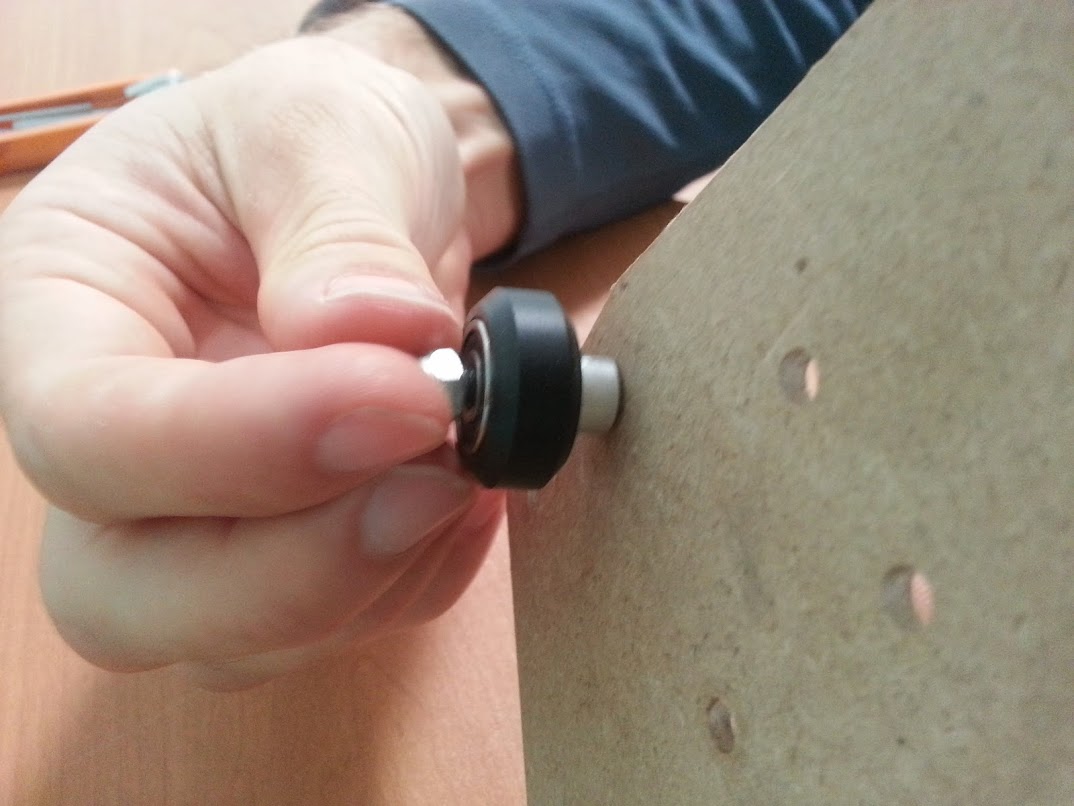
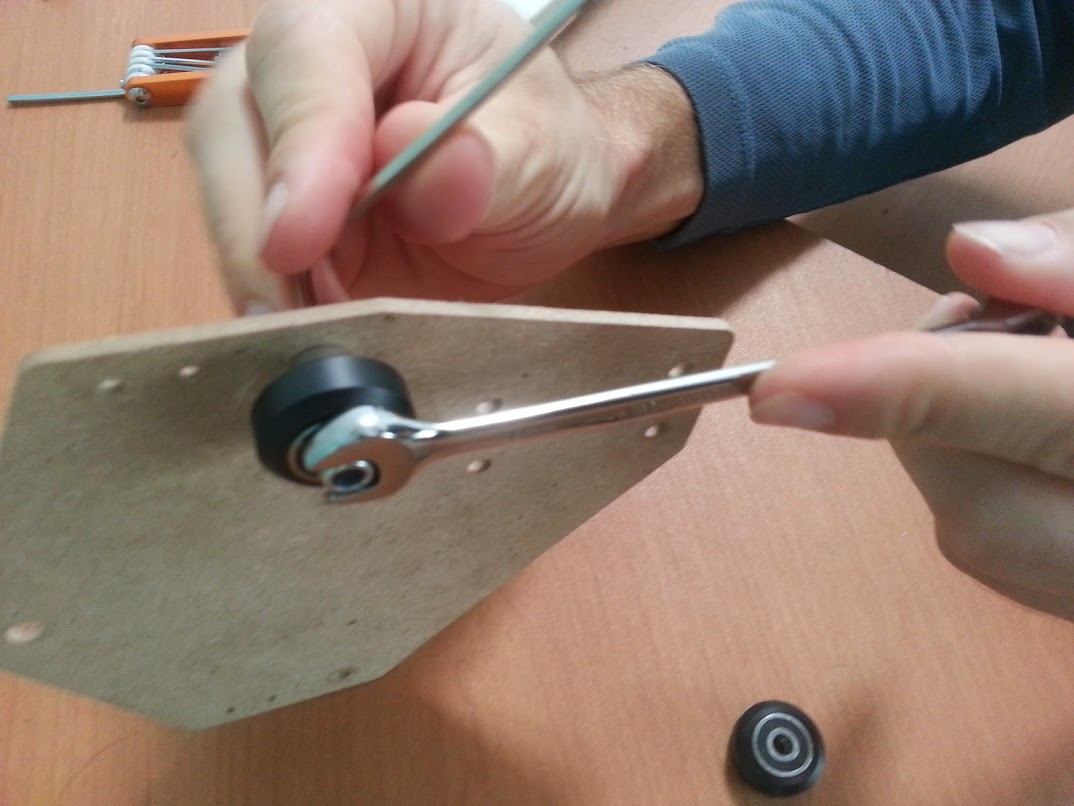
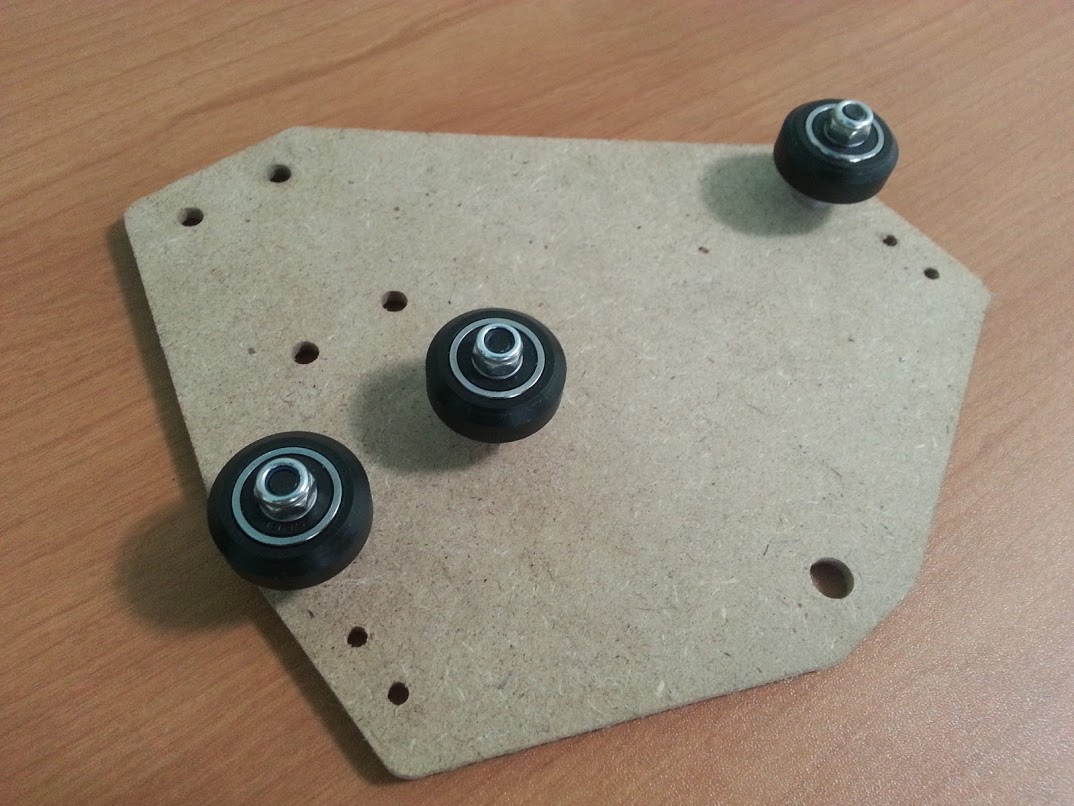
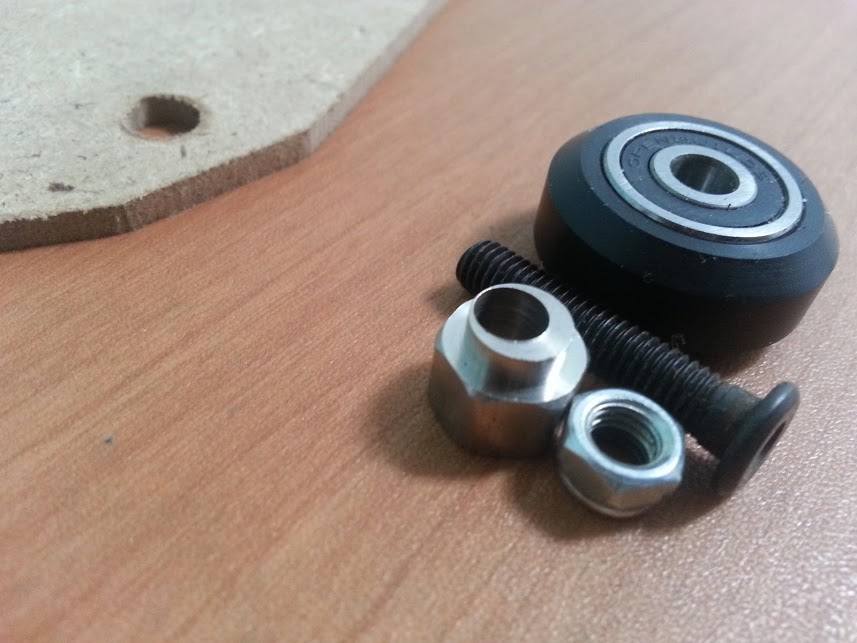
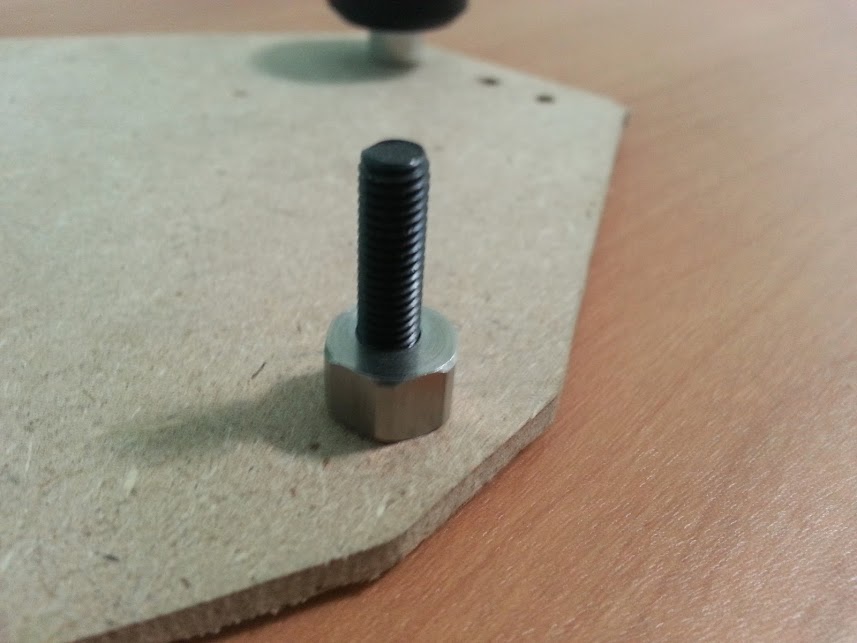
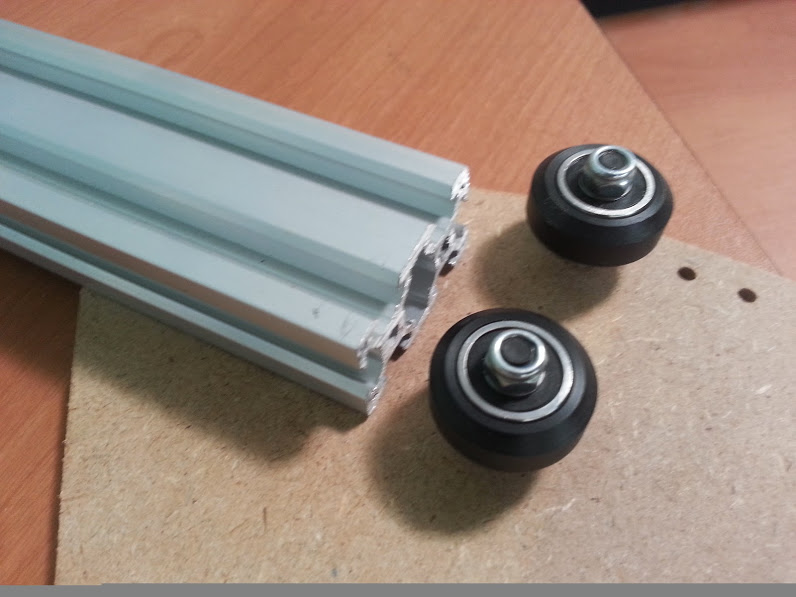
- Attach the three solid V-wheel assemblies with normal spacers onto each plate. The order of parts is: Screw head, Plate, Spacer, Wheel Assembly, Lock-nut. Use a 3mm allen wrench and a 8mm crescent wrench to tighten the assemblies. Use a moderate amount of torque.
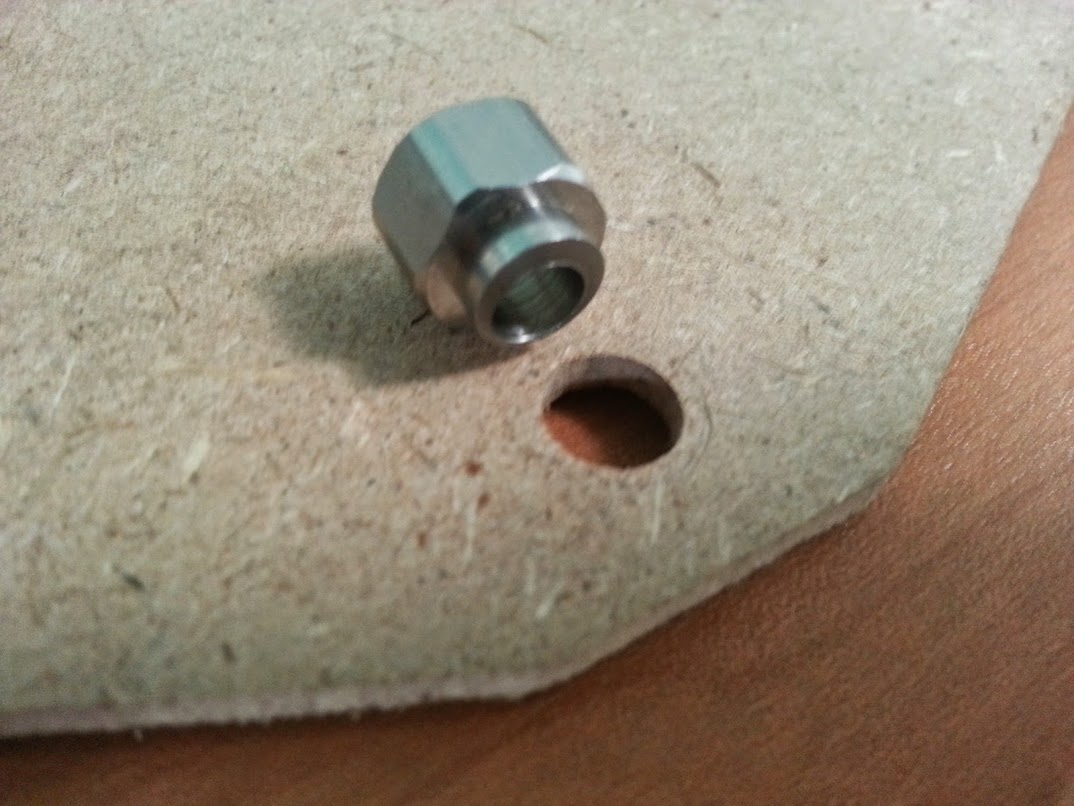
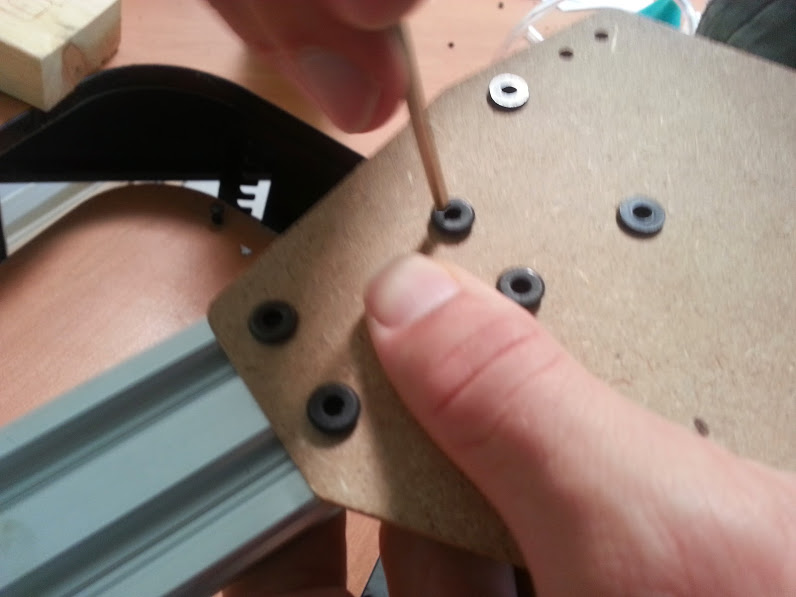
- Attach the single solid V-wheel assembly with the eccentric spacer onto each plate. The eccentric spacer fits into the largest hole on the plate. You should now have two Gantry plates with 4 V-wheel assemblies on each.
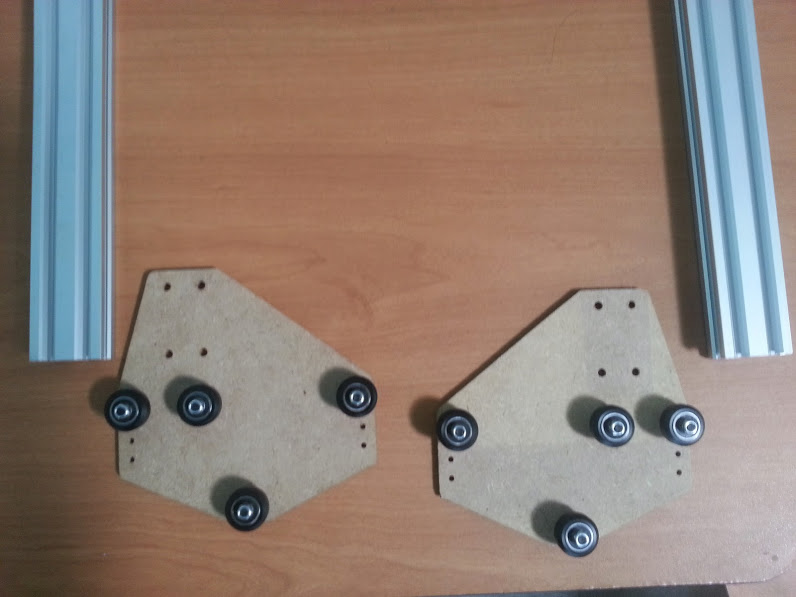
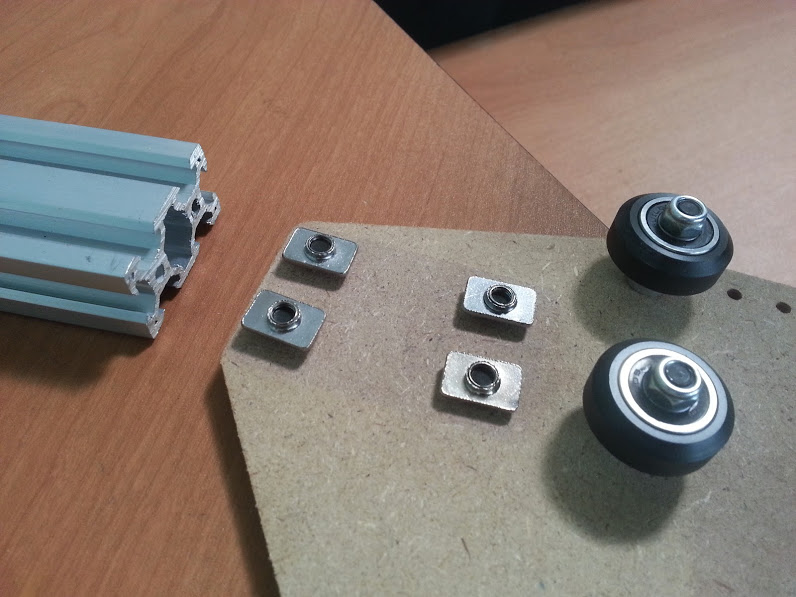
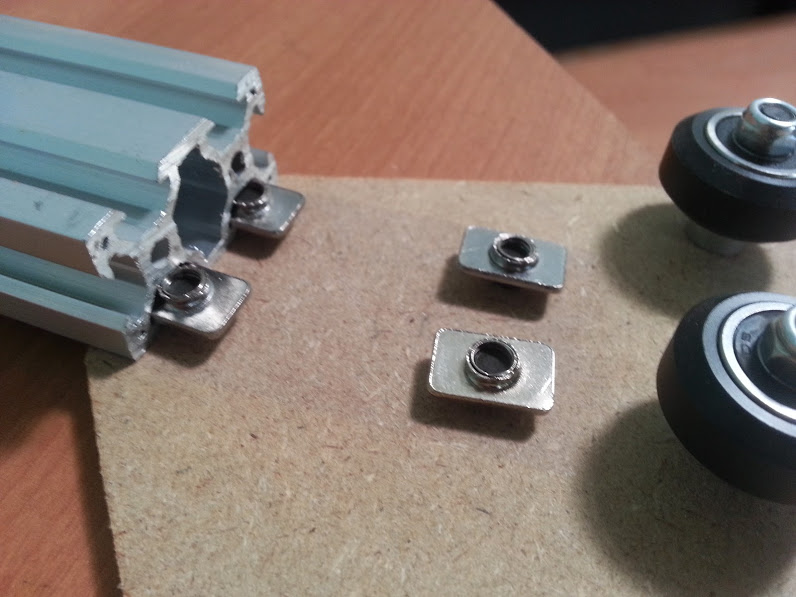
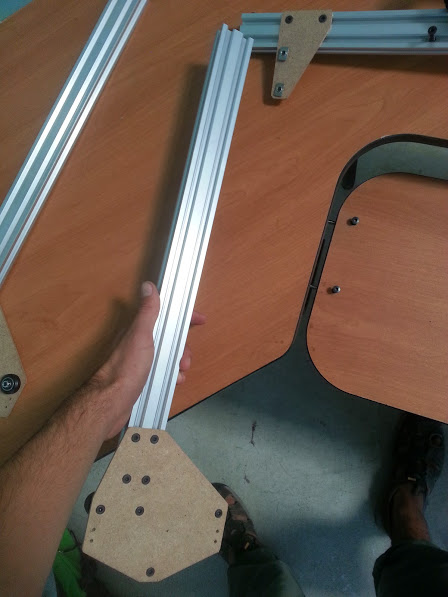
- Attach the Gantry Plate Assemblies to the Gantry Columns using 4 8mm M5 screws and tee nuts for each assembly. Make sure that the column is attached to the same side of the Gantry Plate as the V-wheel assemblies. It is easiest to partially screw together all of the screws and tee nuts, slide in the extrusion, and then tighten all of the screws at once.


Assemble the Gantry Main Beam
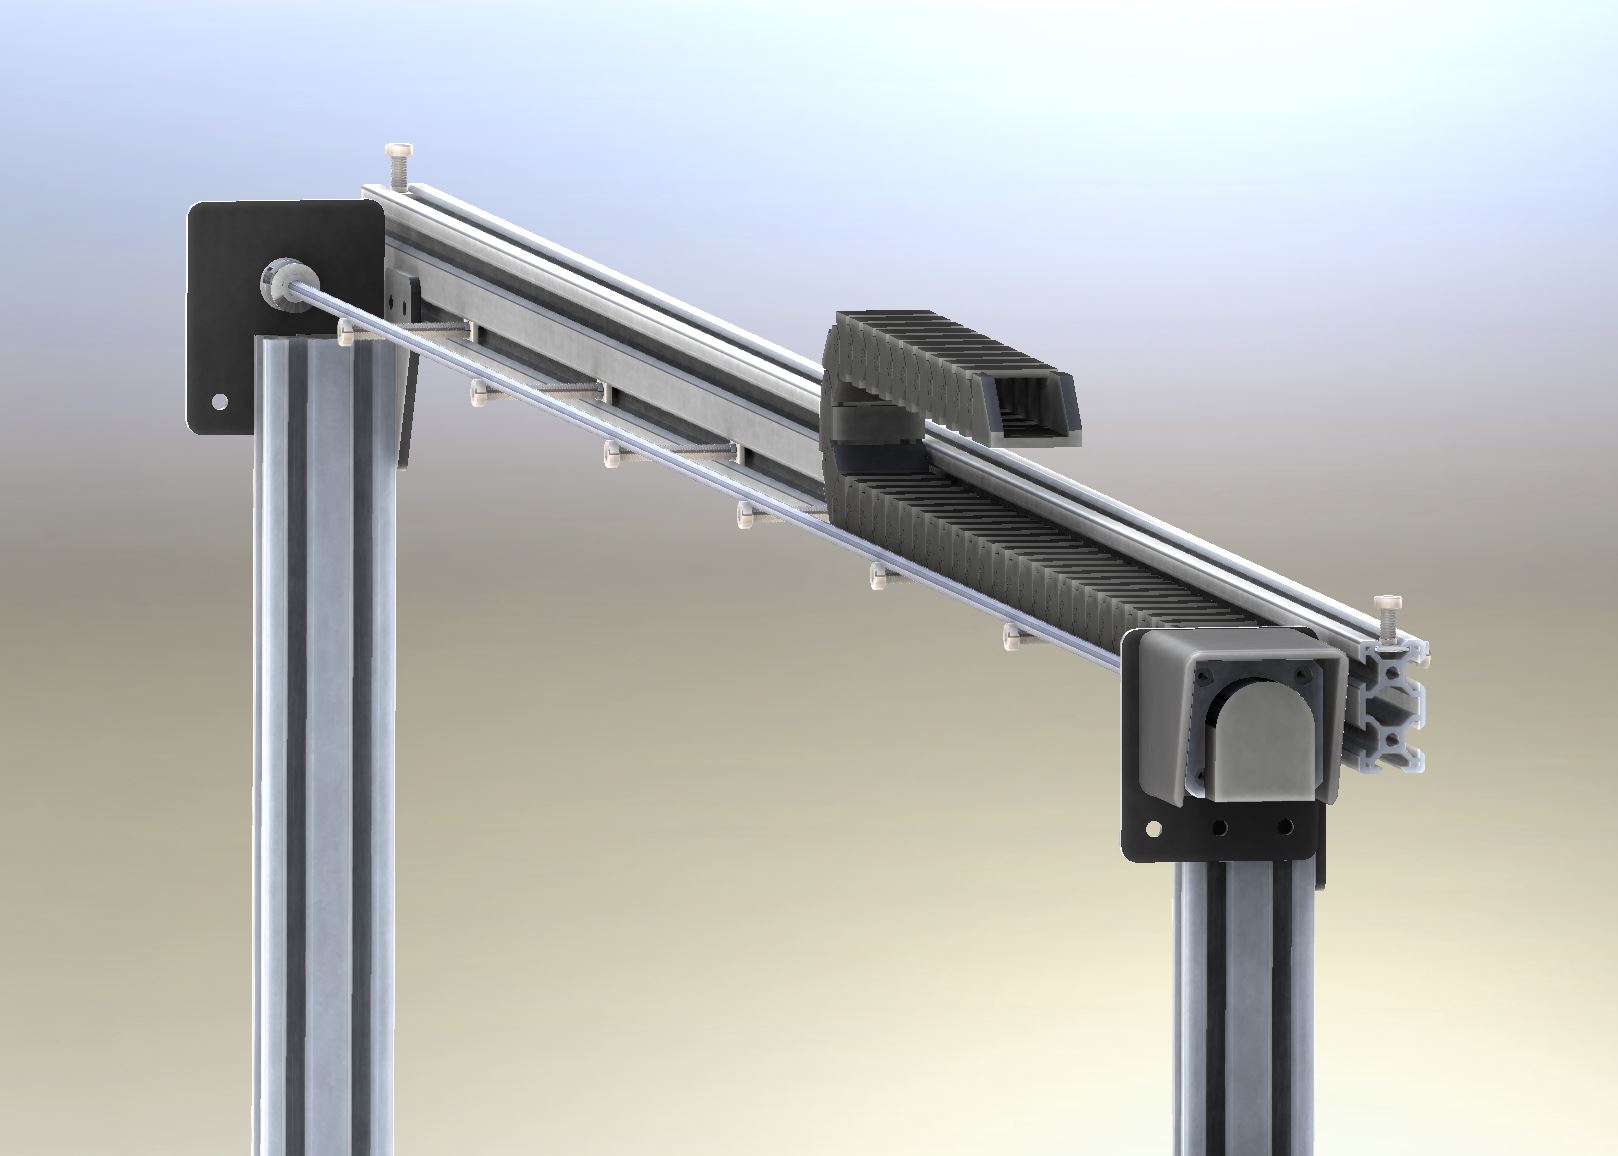
- Attach the two corner brackets at either end using 2 8mm M5 screws and tee nuts for each bracket. Make sure both of the brackets are in the same orientation and on the same side of the extrusion.
- Lightly screw together 5 sets of 25mm M5 screws and tee nuts and slide them onto the Gantry Main Beam. Evenly distribute them across the beam and then tighten them into place.
Attach the Column Assemblies to the Main Beam Assembly
- Using two 8mm M5 screws on each side. Make sure that the V-wheels are facing outward and both of the plates are attached to same side of the Main Beam, and facing in the same direction.
Attach Gantry to Tracks
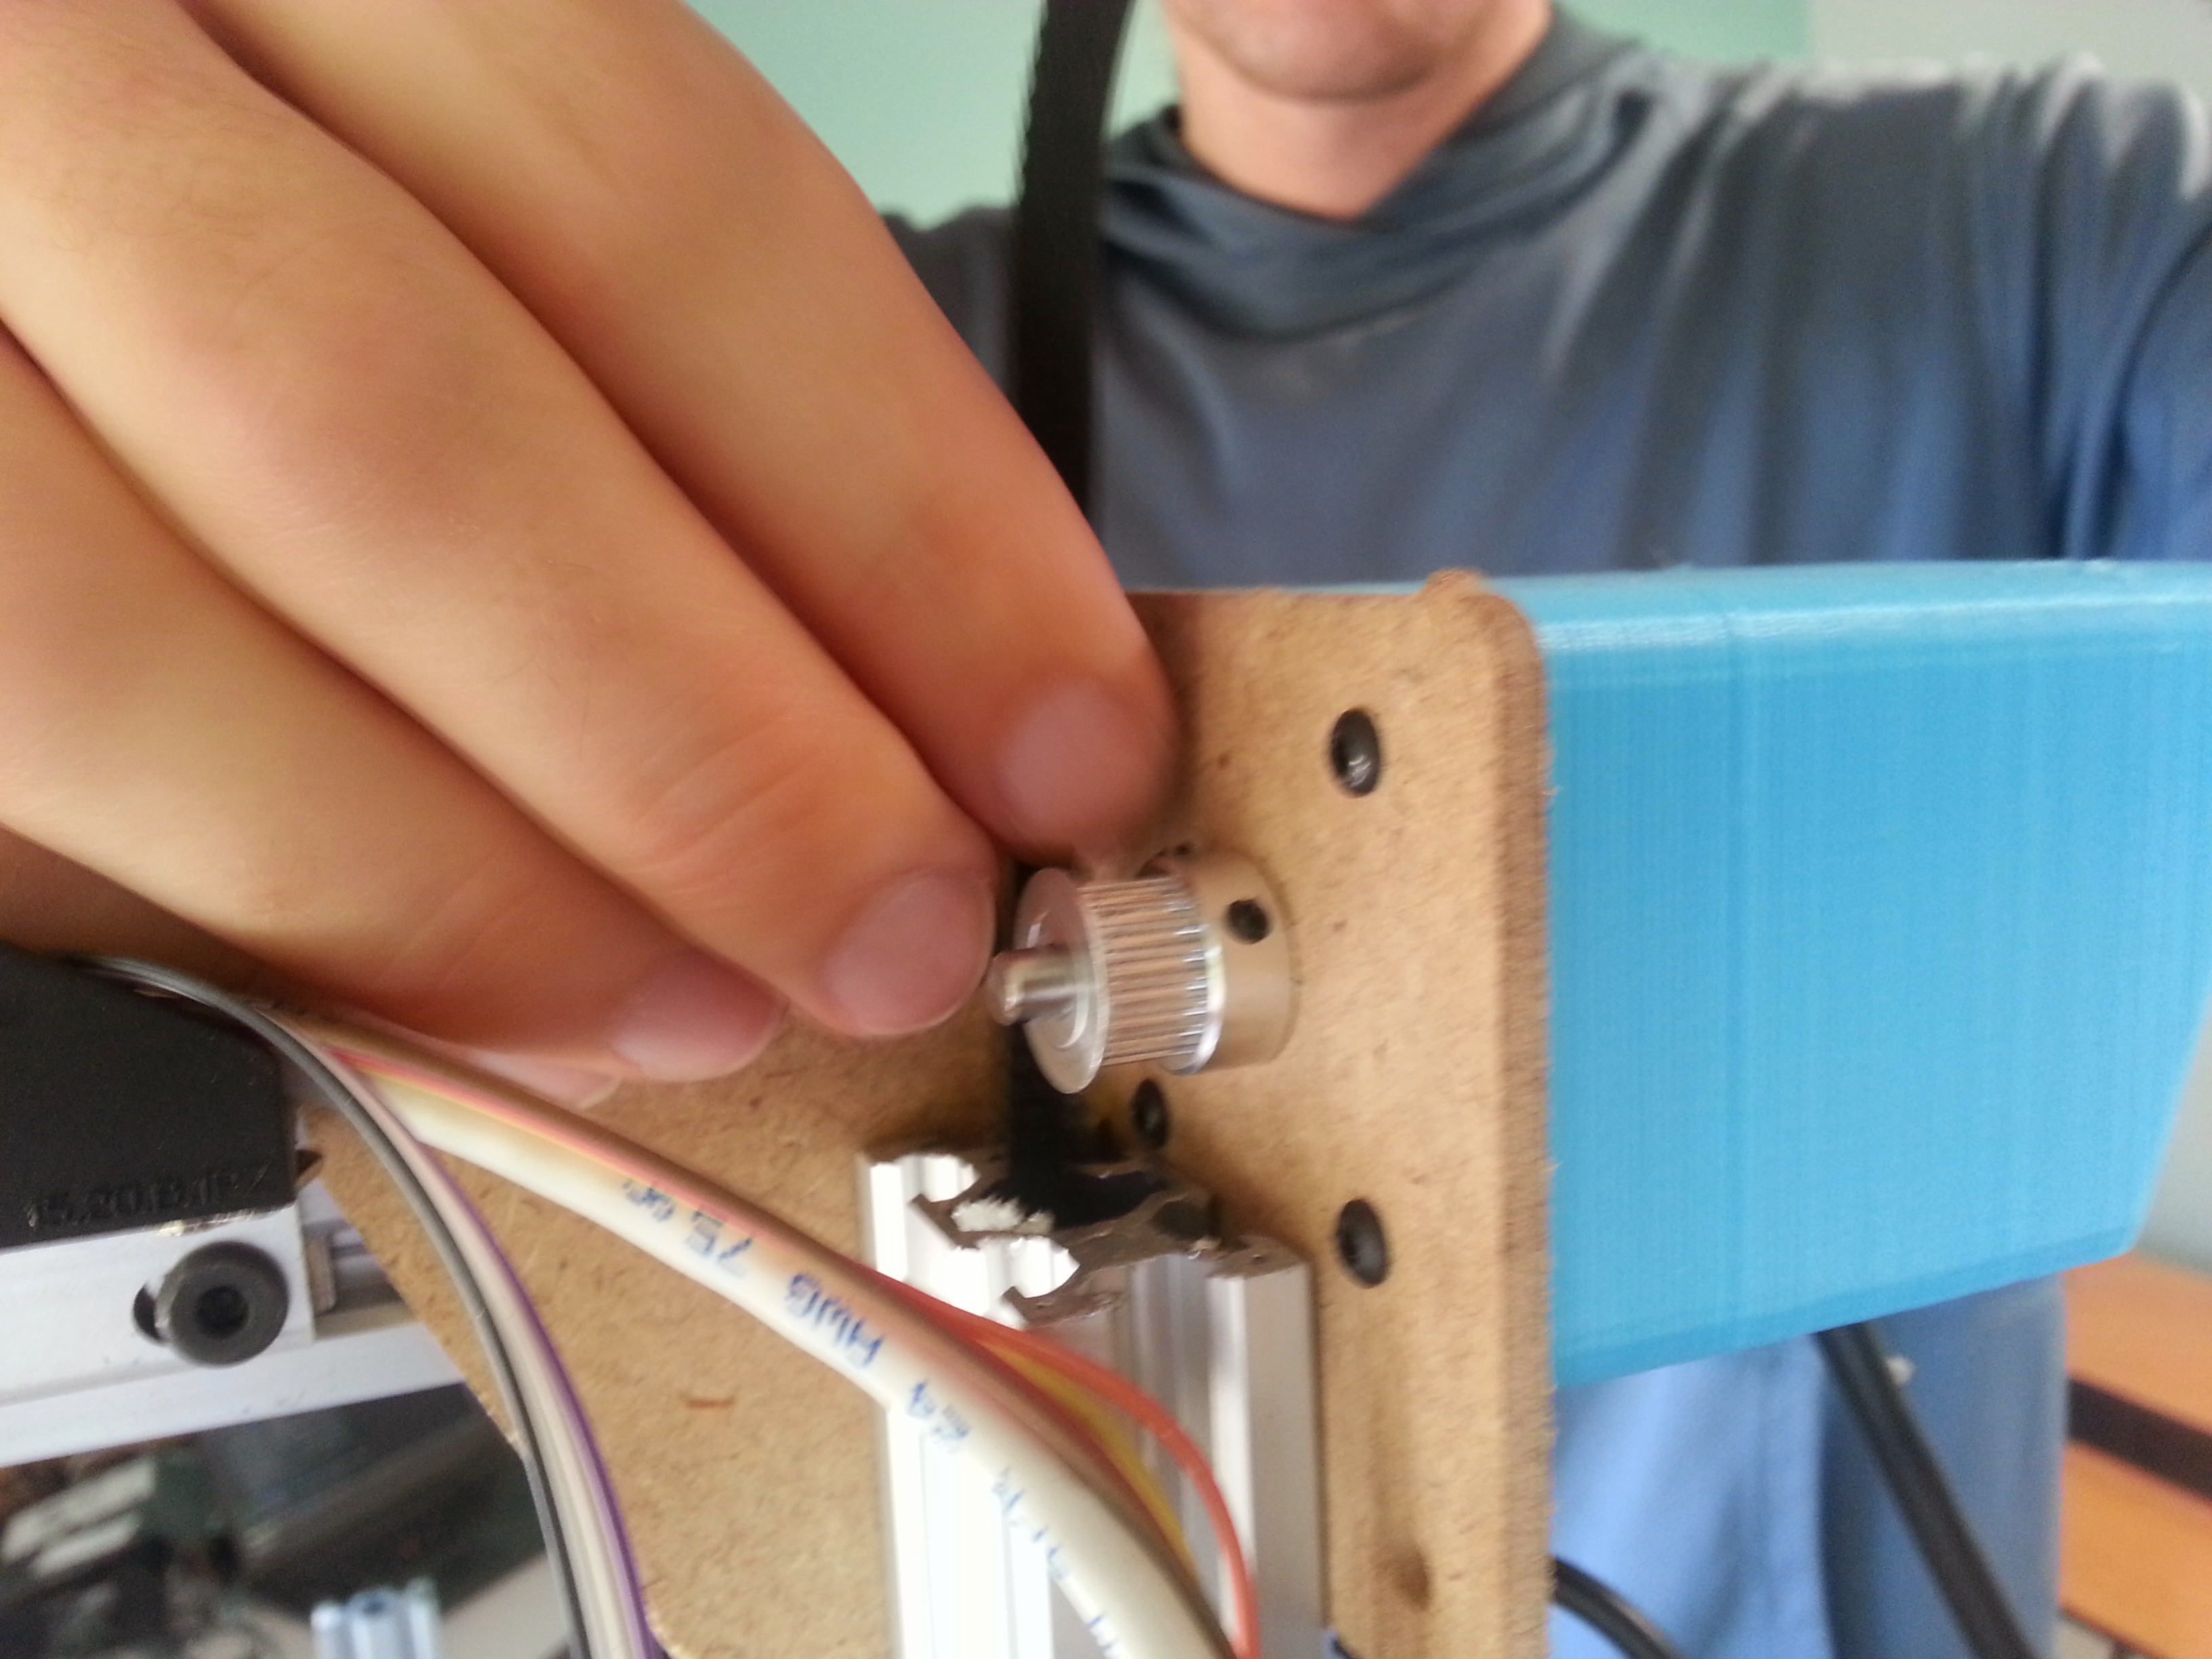
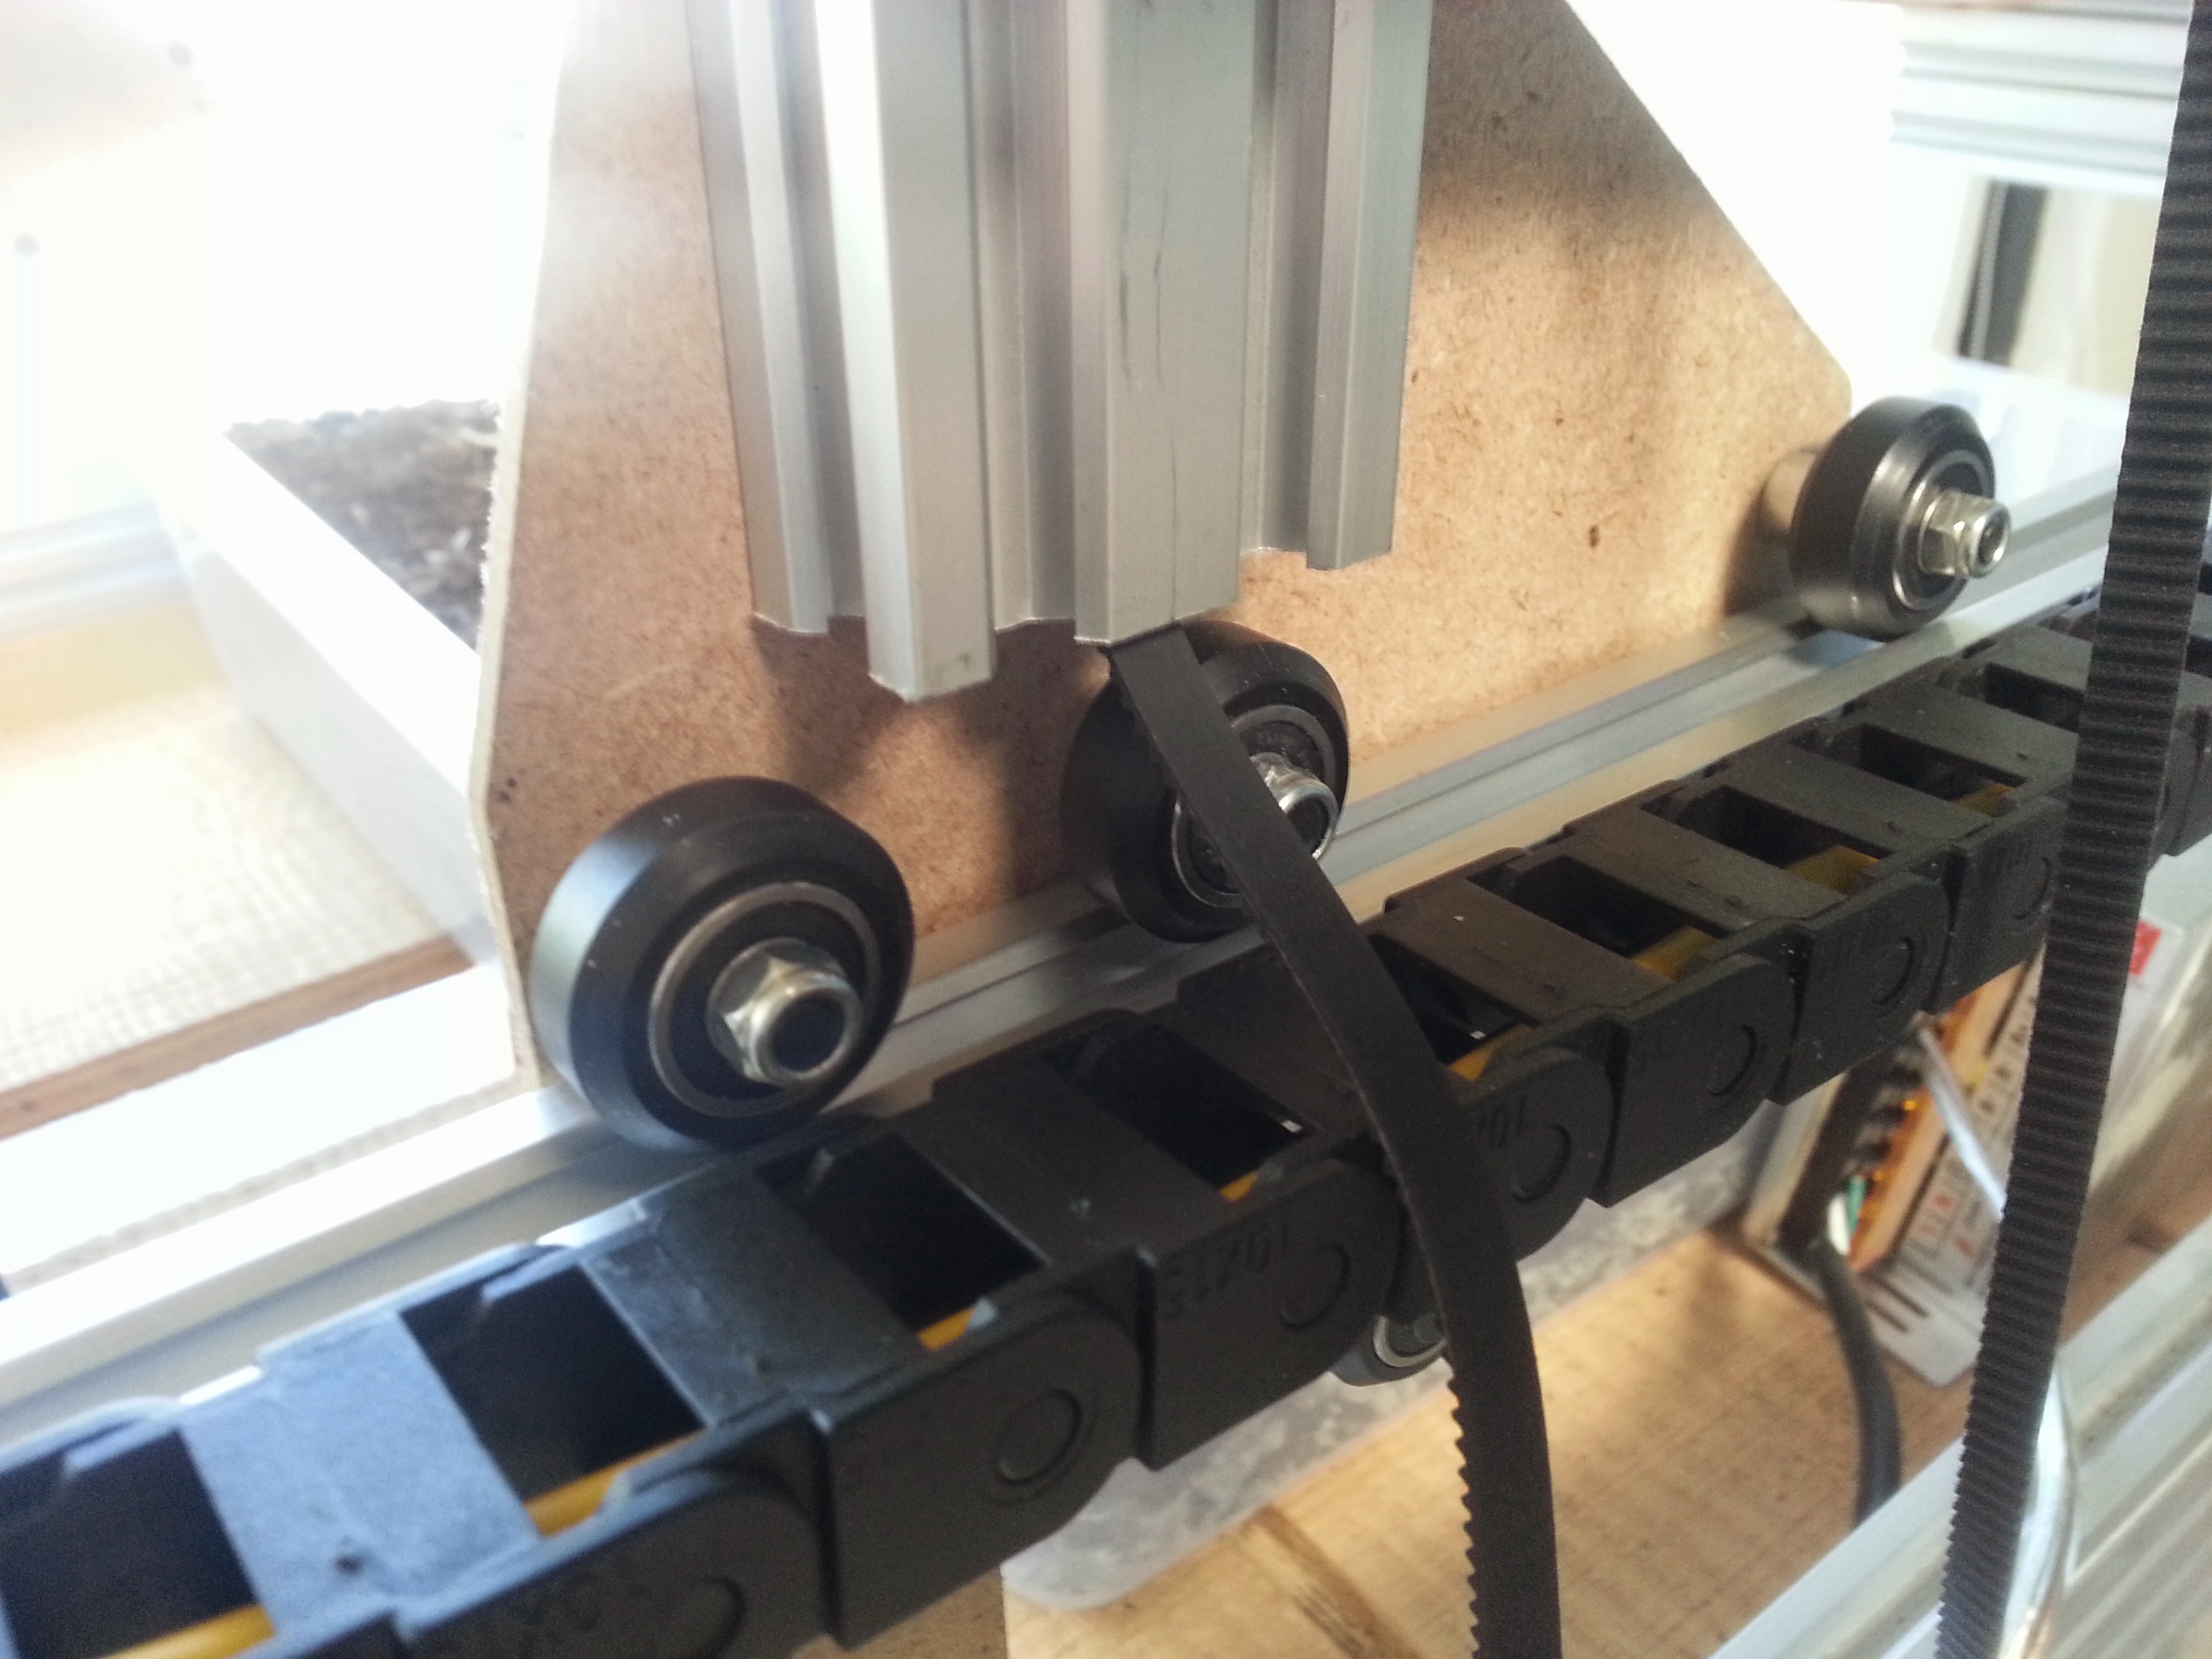
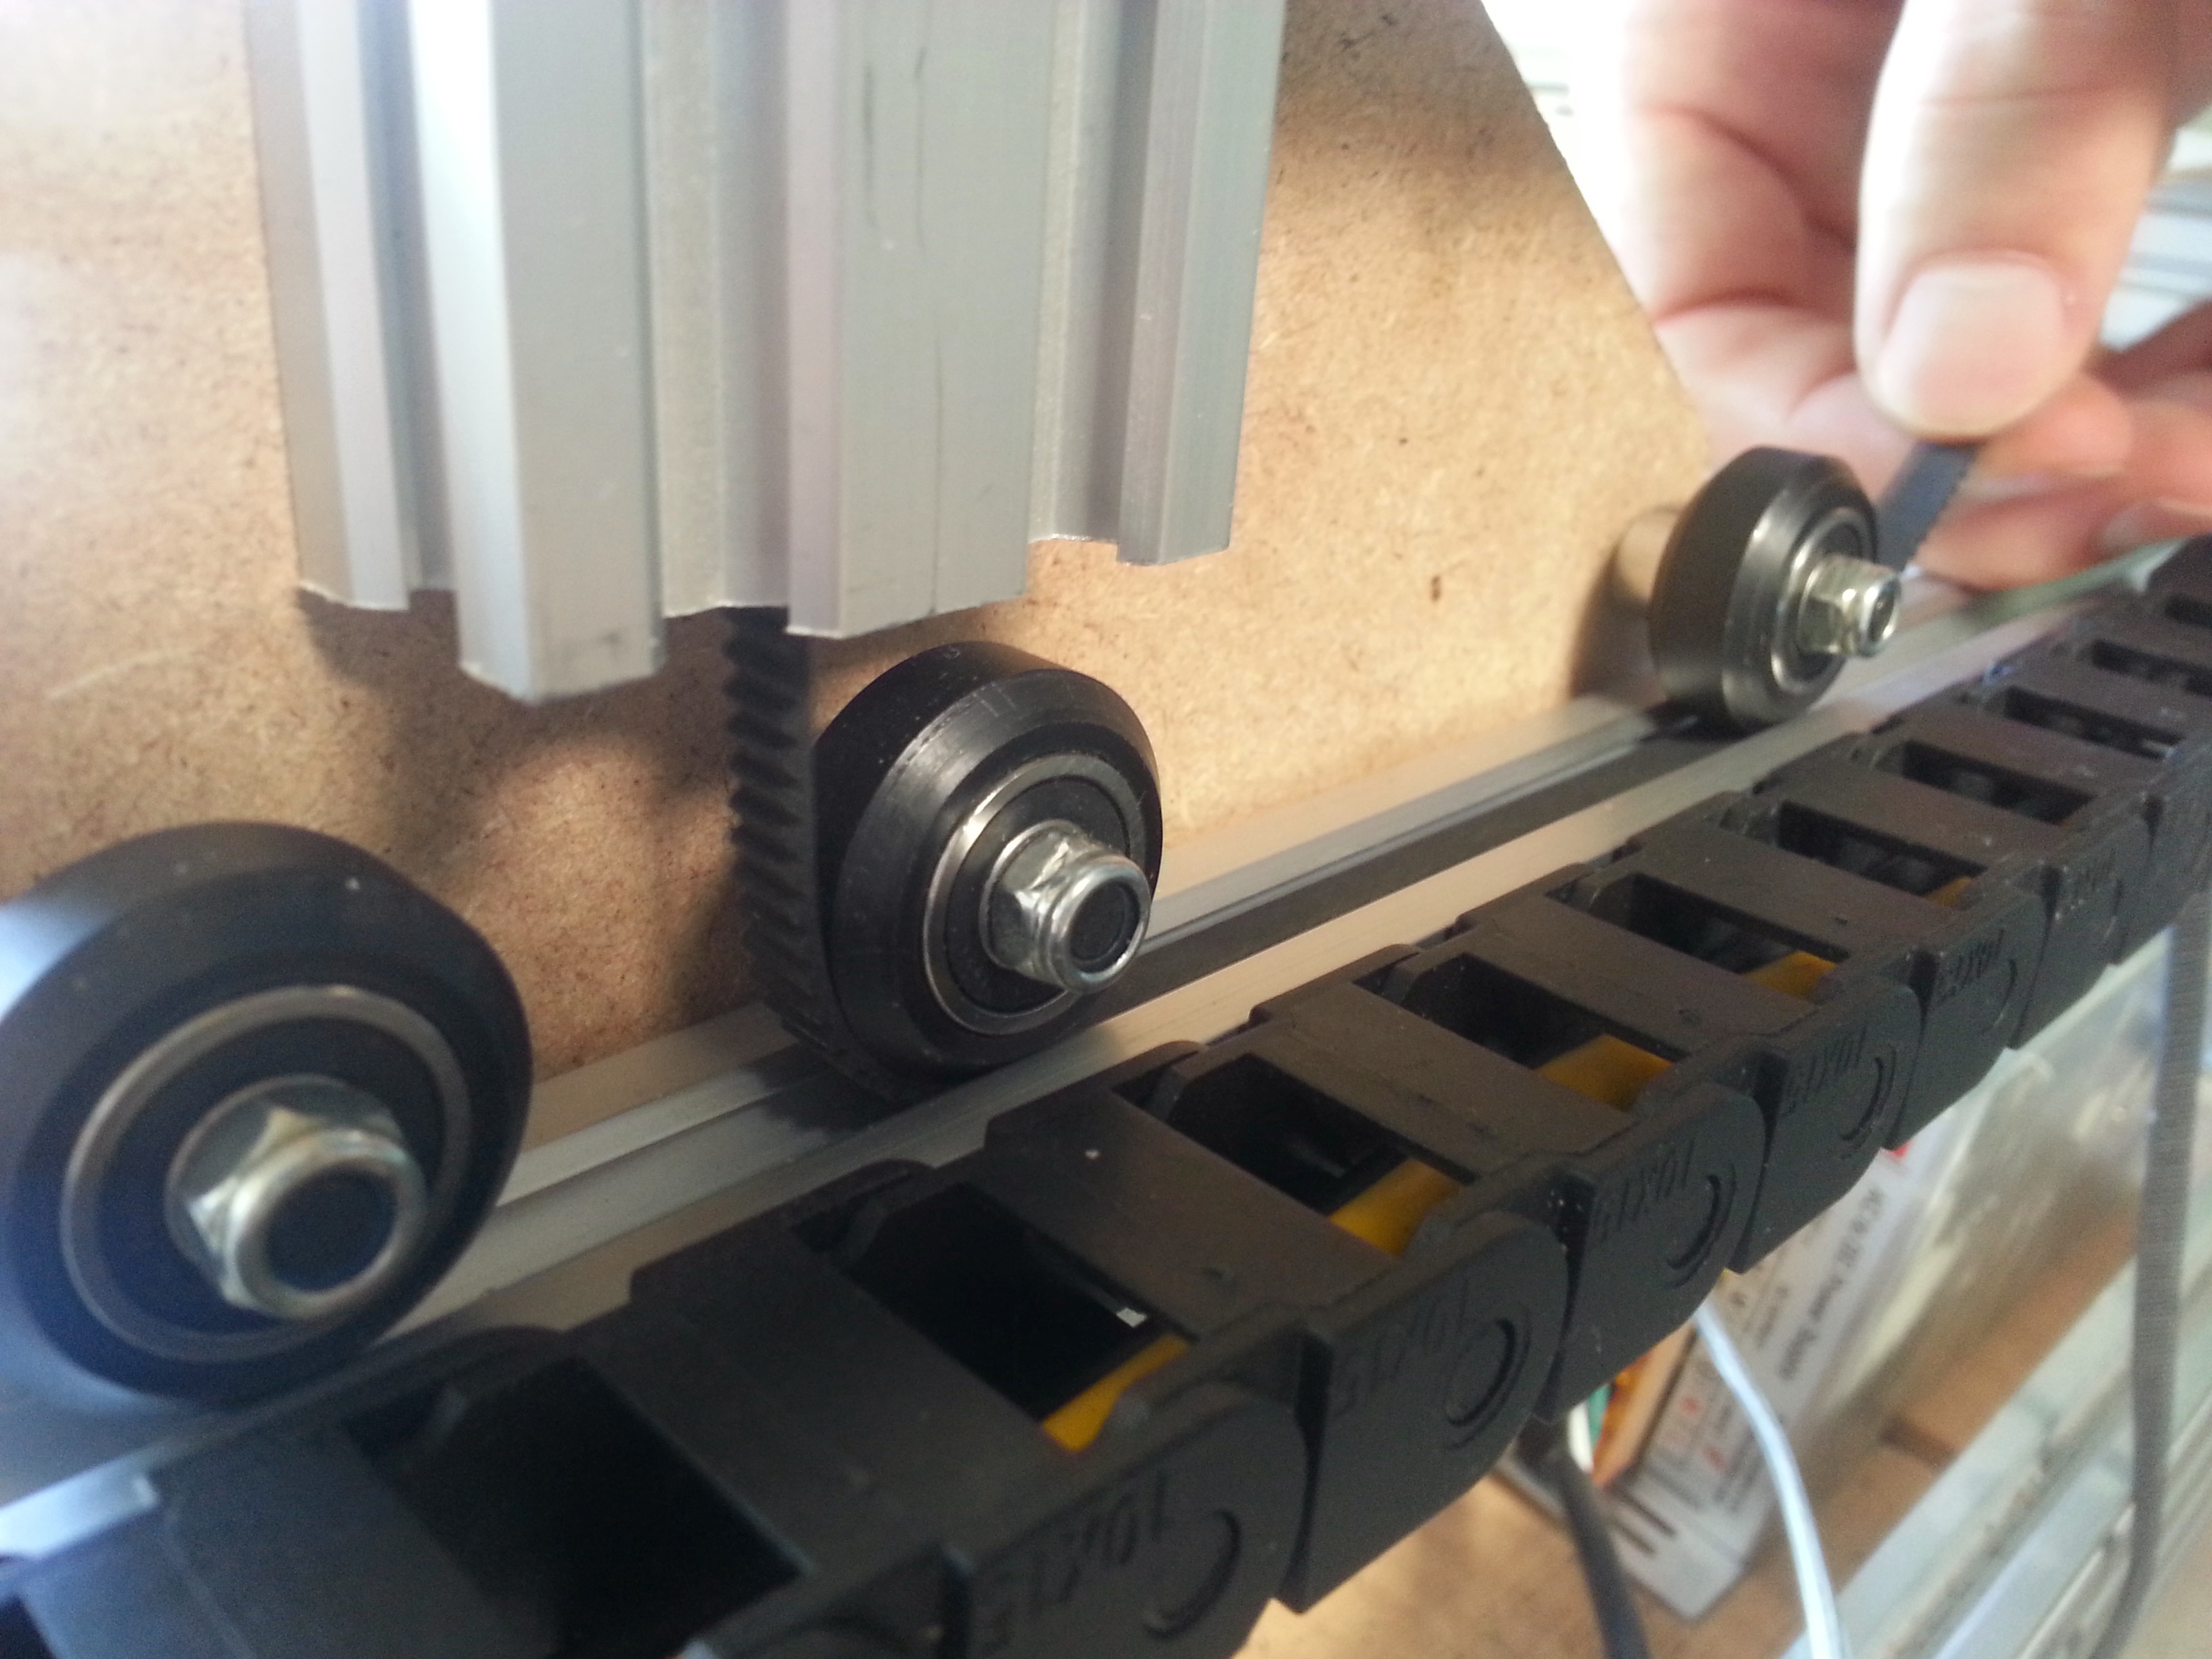
- Feed and Secure Belts
