Toolbays
Documentation and assembly instructions for the FarmBot Genesis toolbays
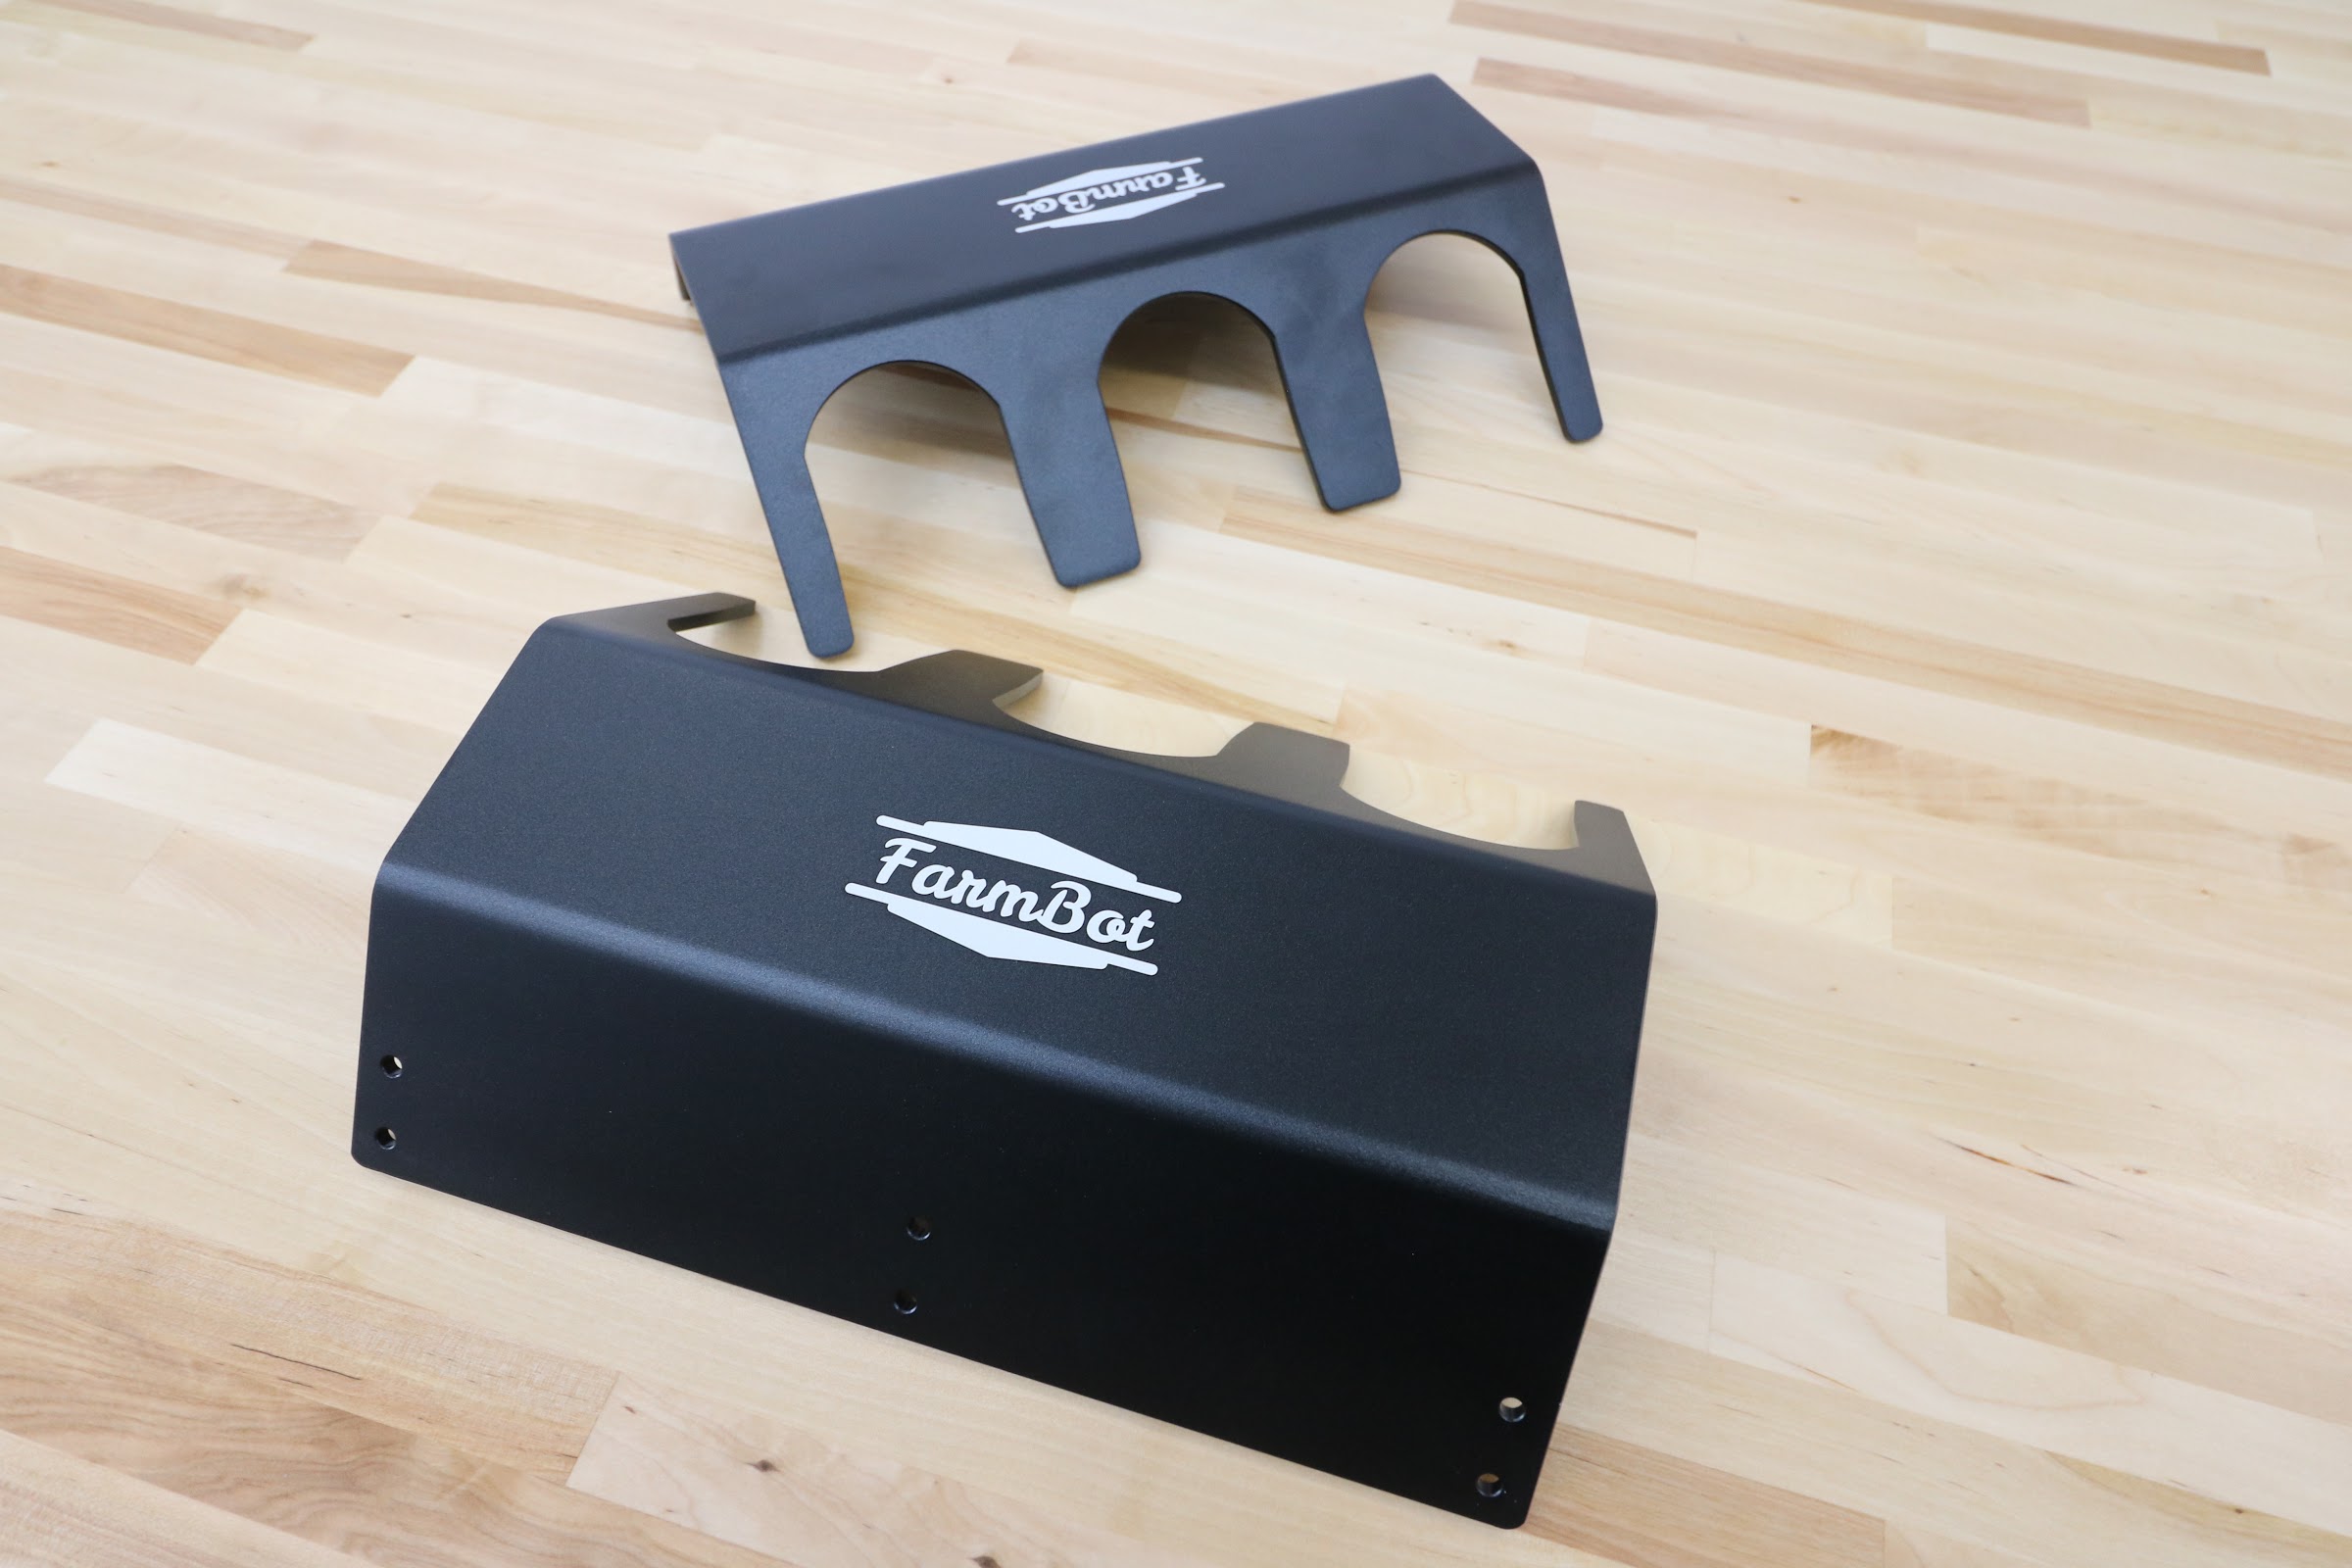
FarmBot Genesis comes with two 3-slot toolbays that can hold a combination of three tools or seed containers each. These simple hardware components act as holsters for your tools and are shaped in such a way that FarmBot can automatically mount and dismount tools for the task at hand.


15 minutes
This is the estimated time it will take to install the included toolbays.
Step 1: Attach to the supporting infrastructure
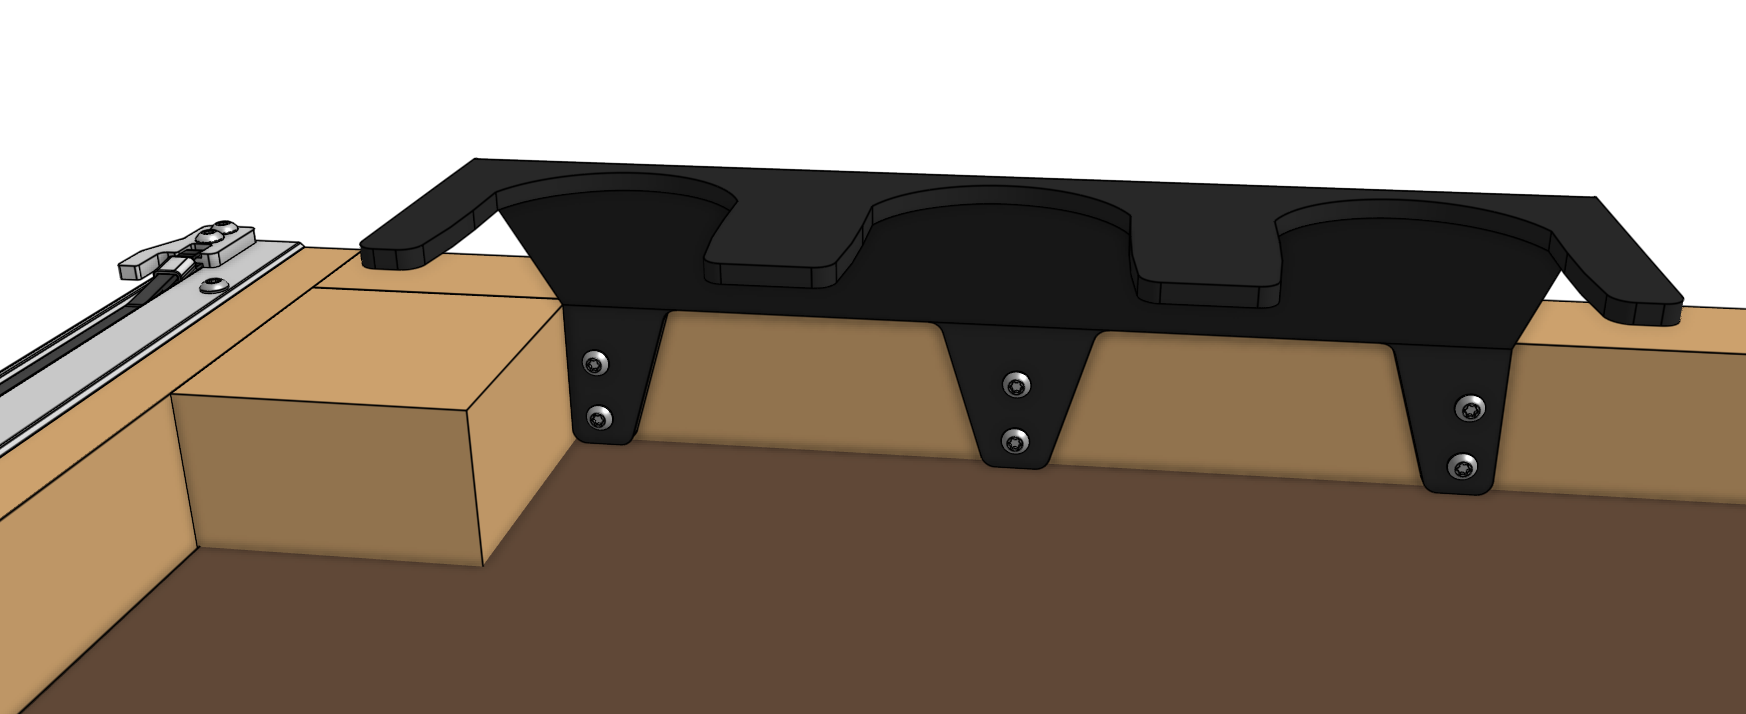
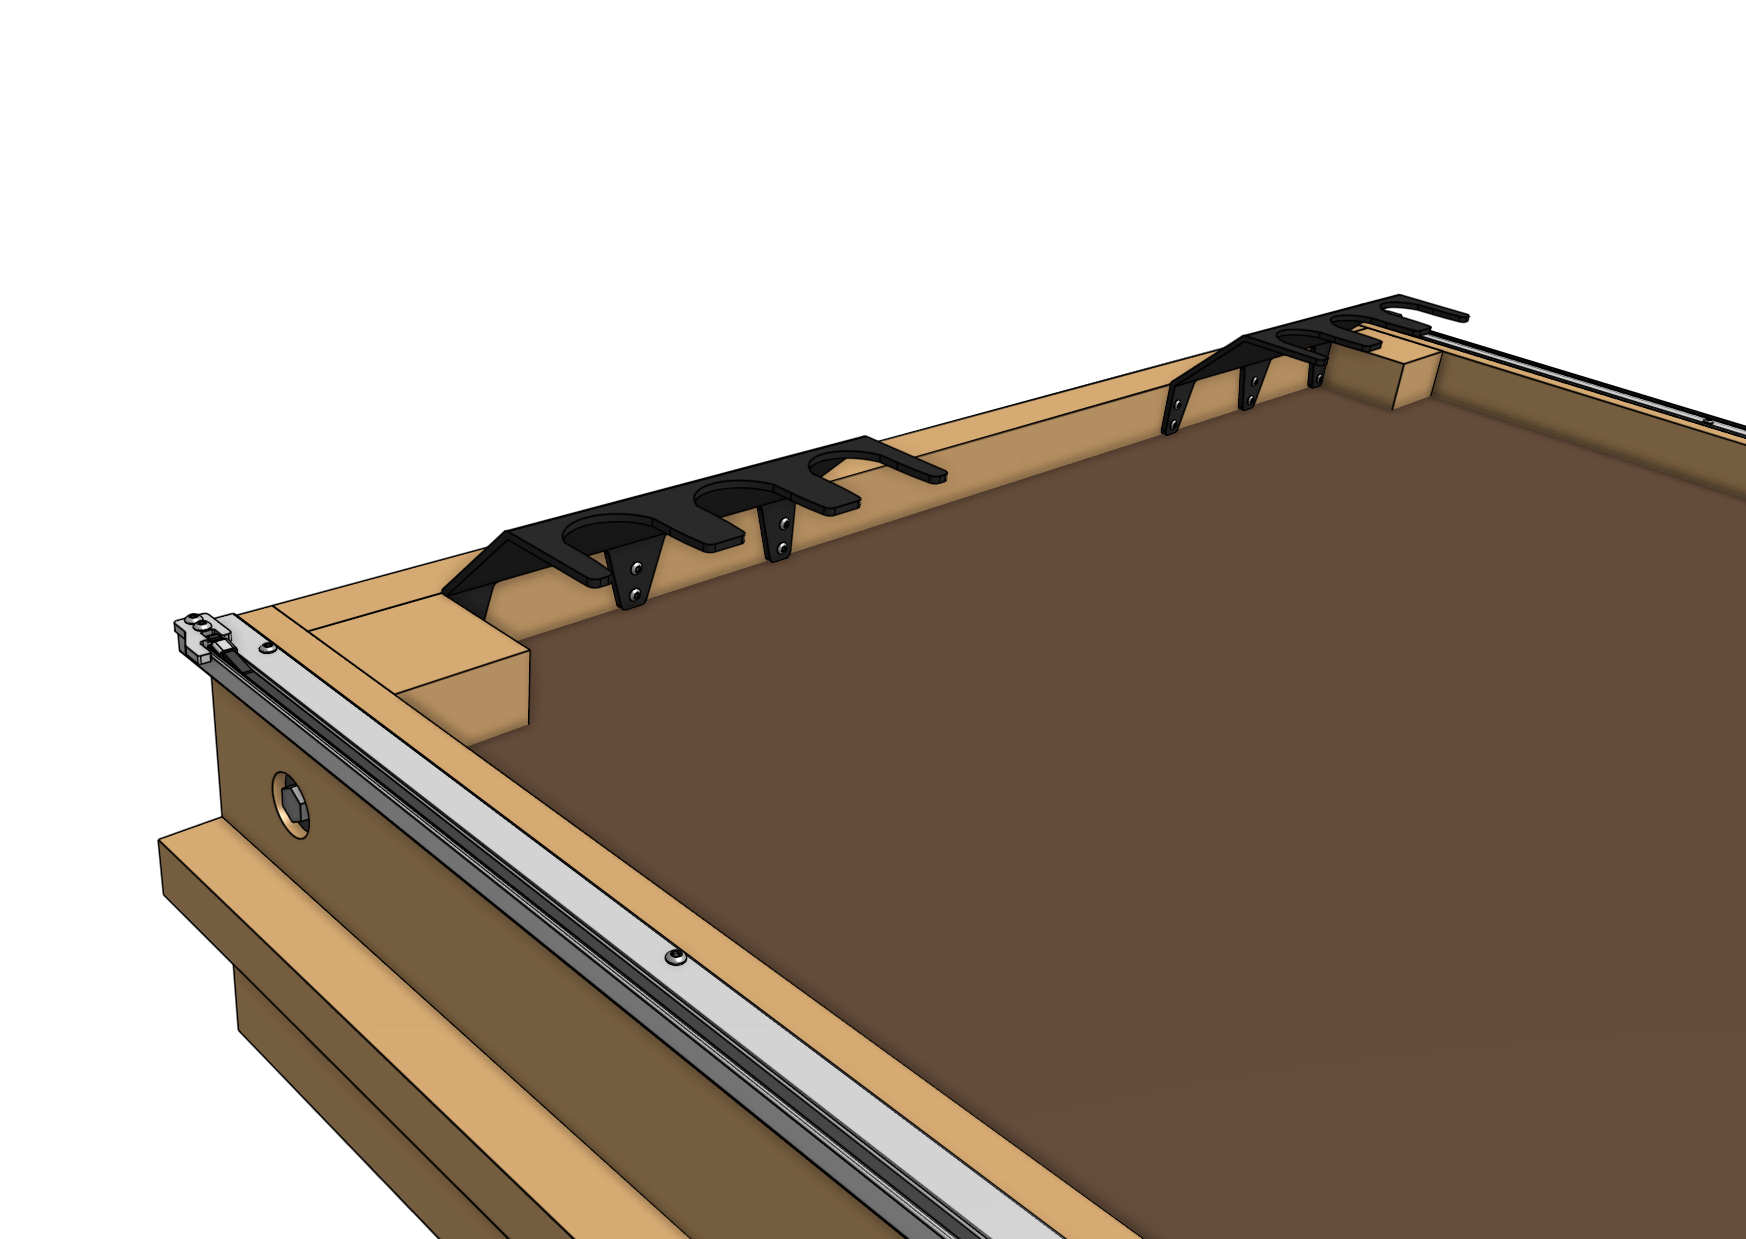
Position and attach a 3-slot toolbay to one of the shorter edges of your supporting infrastructure using six wood screws. The toolbay should be positioned such that FarmBot can:
- Mount and dismount tools from above
- Slide tools all the way into and out of the slots along the X-axis
The toolbay must also be square with all three of FarmBot’s axes in order for tools to be properly mounted and dismounted. Use shims to make fine adjustments to the angle of your toolbays if needed.

Step 2: Repeat for the second toolbay

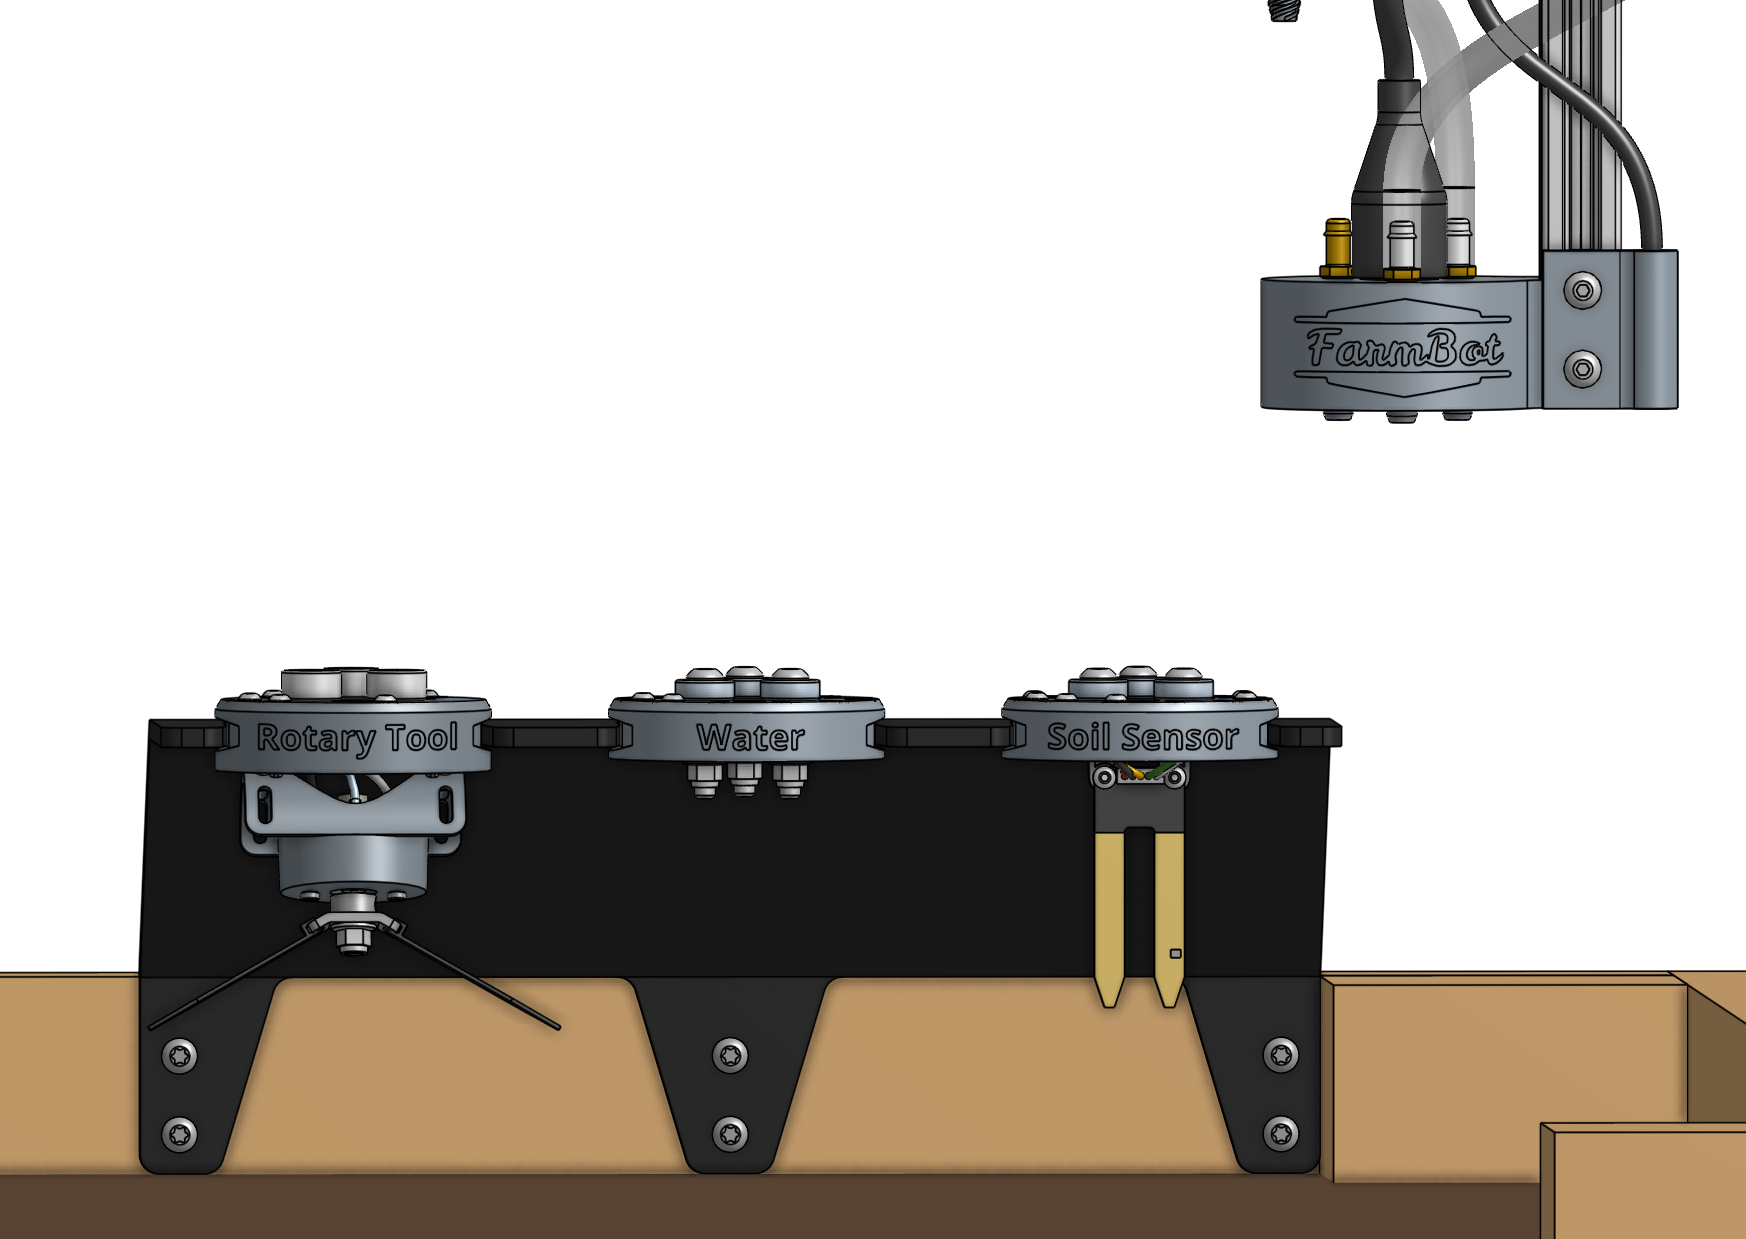
Step 3: Insert the tools
Place your tools and seed containers in any slot you want. The text on the front of the tools and seed containers should be facing the same direction as the FarmBot logo on the front of the UTM.

You will let your FarmBot know which tool or seed container is occupying each slot during the software portion of the setup process.