Assemble the Electronics Plate
1.5 hours
This is the estimated time it will take to setup the Electronics.
Step 1: Gather the parts and tools
Gather all the parts from the table below and lay them out in a logical manner. To complete the assembly, you will also need the following tools:
- 3mm hex (allen) driver
- Wire strippers
| Qty. | Component |
|---|---|
| 6 | M3 x 10mm Screws |
| 6 | M3 Locknuts |
| 2 | M5 x 10mm Screws |
| 2 | M5 Tee Nuts |
| 1 | 15 x 40 x 1000mm Cable Carrier |
| 2 | 15 x 40 x 1500mm Cable Carriers |
| 2 | Cable Clips |
| 1 | Electronics Housing |
| 1 | Raspberry Pi 2 Model B |
| 1 | Arduino Mega 2560 |
| 1 | RAMPS shield |
| 3 | DRV8825 Stepper Drivers |
| 1 | USB cable (Type A male to Type B male) |
| 1 | Power Supply (12V, 30Amp) |
| 1 | 5V power adapter (UBEC DC/DC Step-Down (Buck) Converter - 5V @ 3A output) |
Step 2: Setup the Raspberry Pi
Follow the instructions on the Raspberry Pi Software page to install the necessary software onto the Raspberry Pi.
Step 3: Mount the Raspberry Pi and Arduino
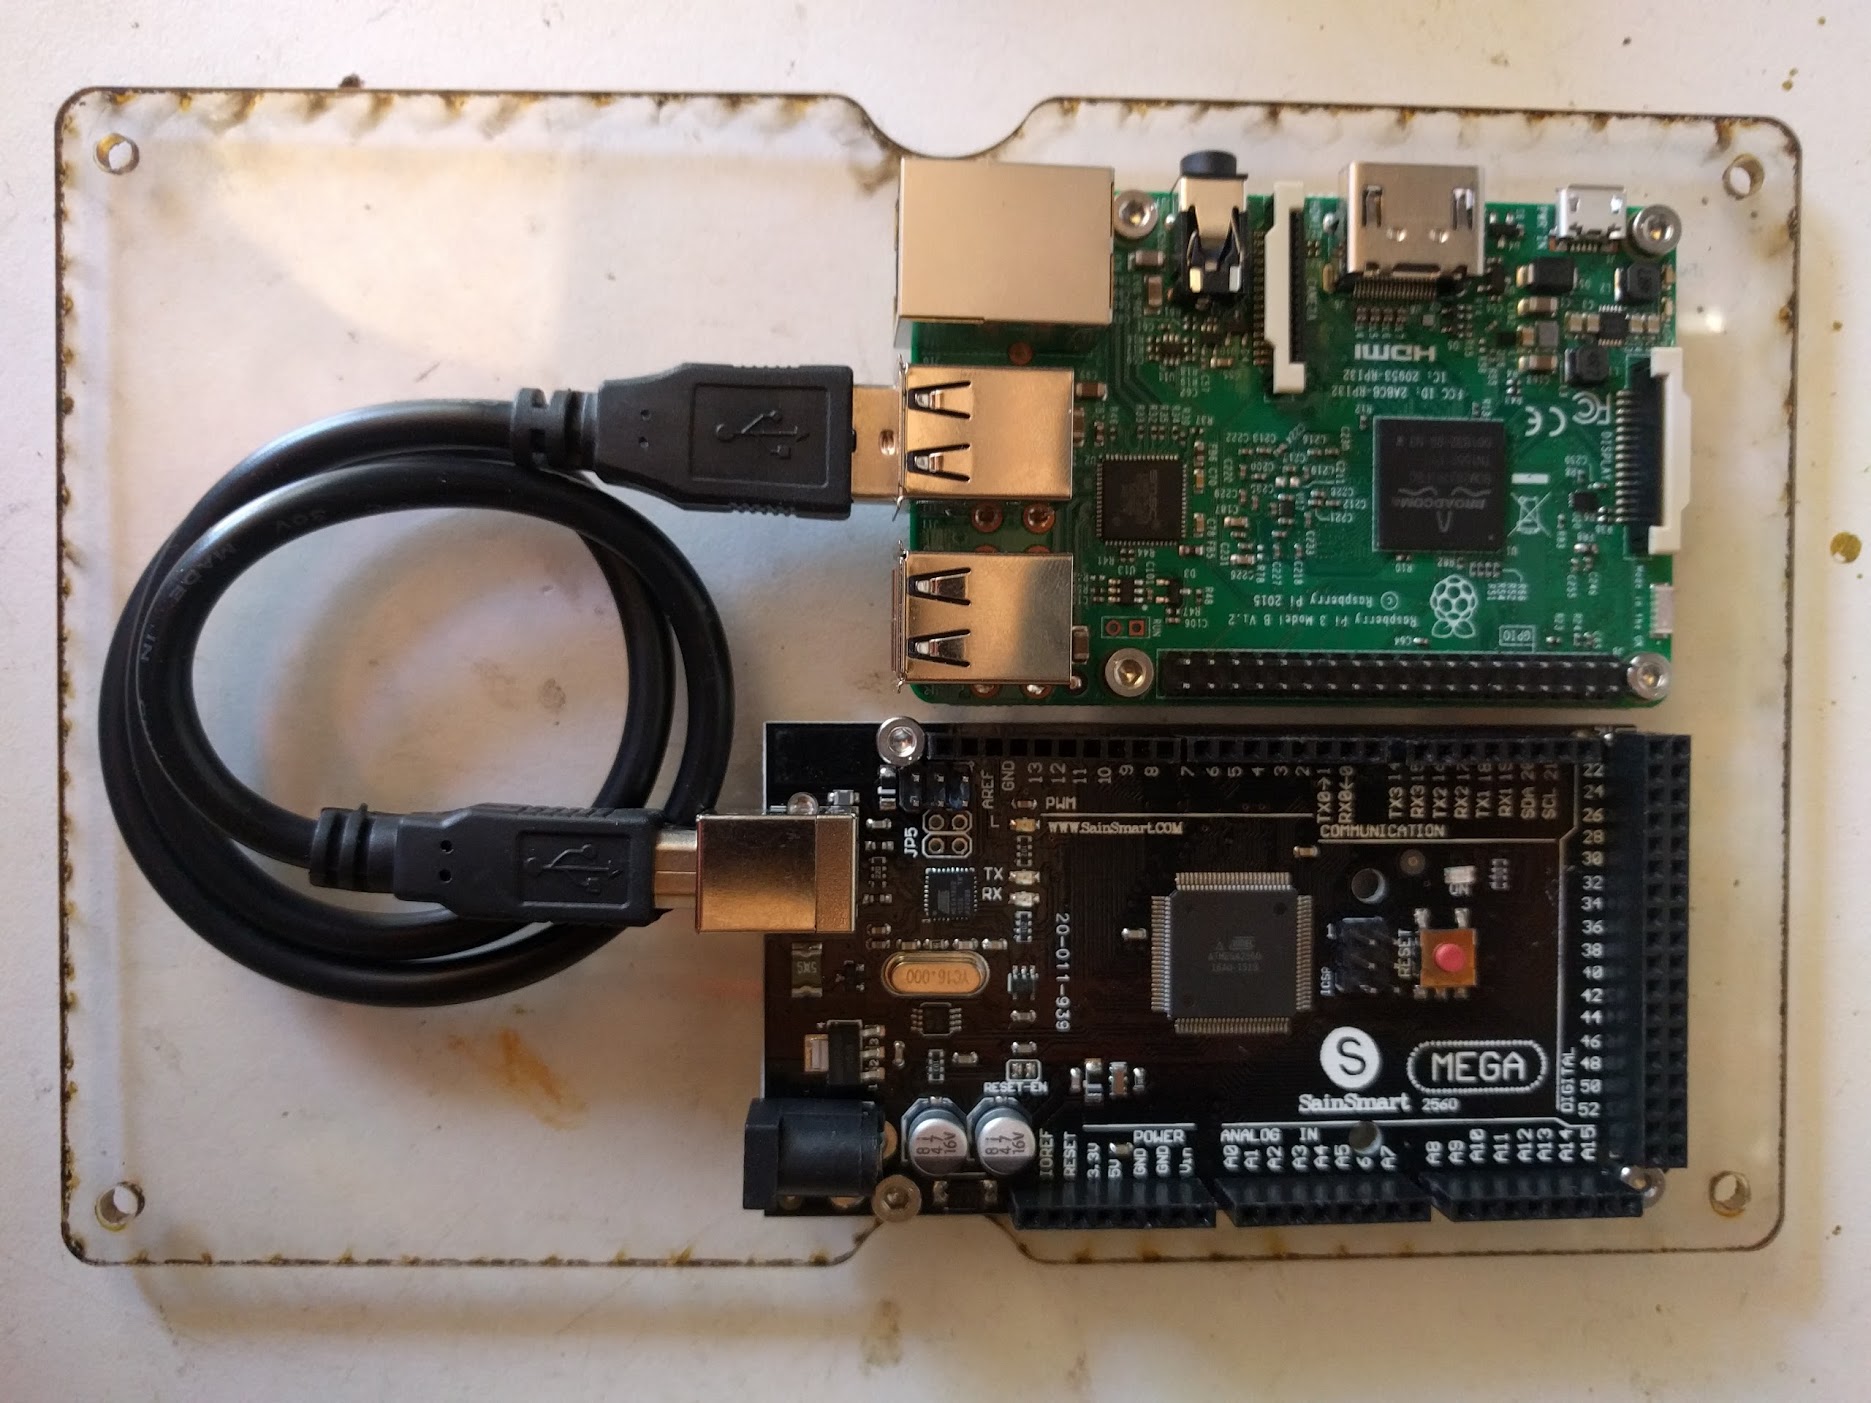
Use six M3 x 10mm screws and M3 locknuts to attach the Raspbeery Pi and the Arduino to the electronics plate.
Make sure nothing has power
Before assembling or modifying your electronics in any way, be sure that nothing has electrical power. Tampering with the electronics when powered can cause electrical damage to the components and subject you to electrical shock.
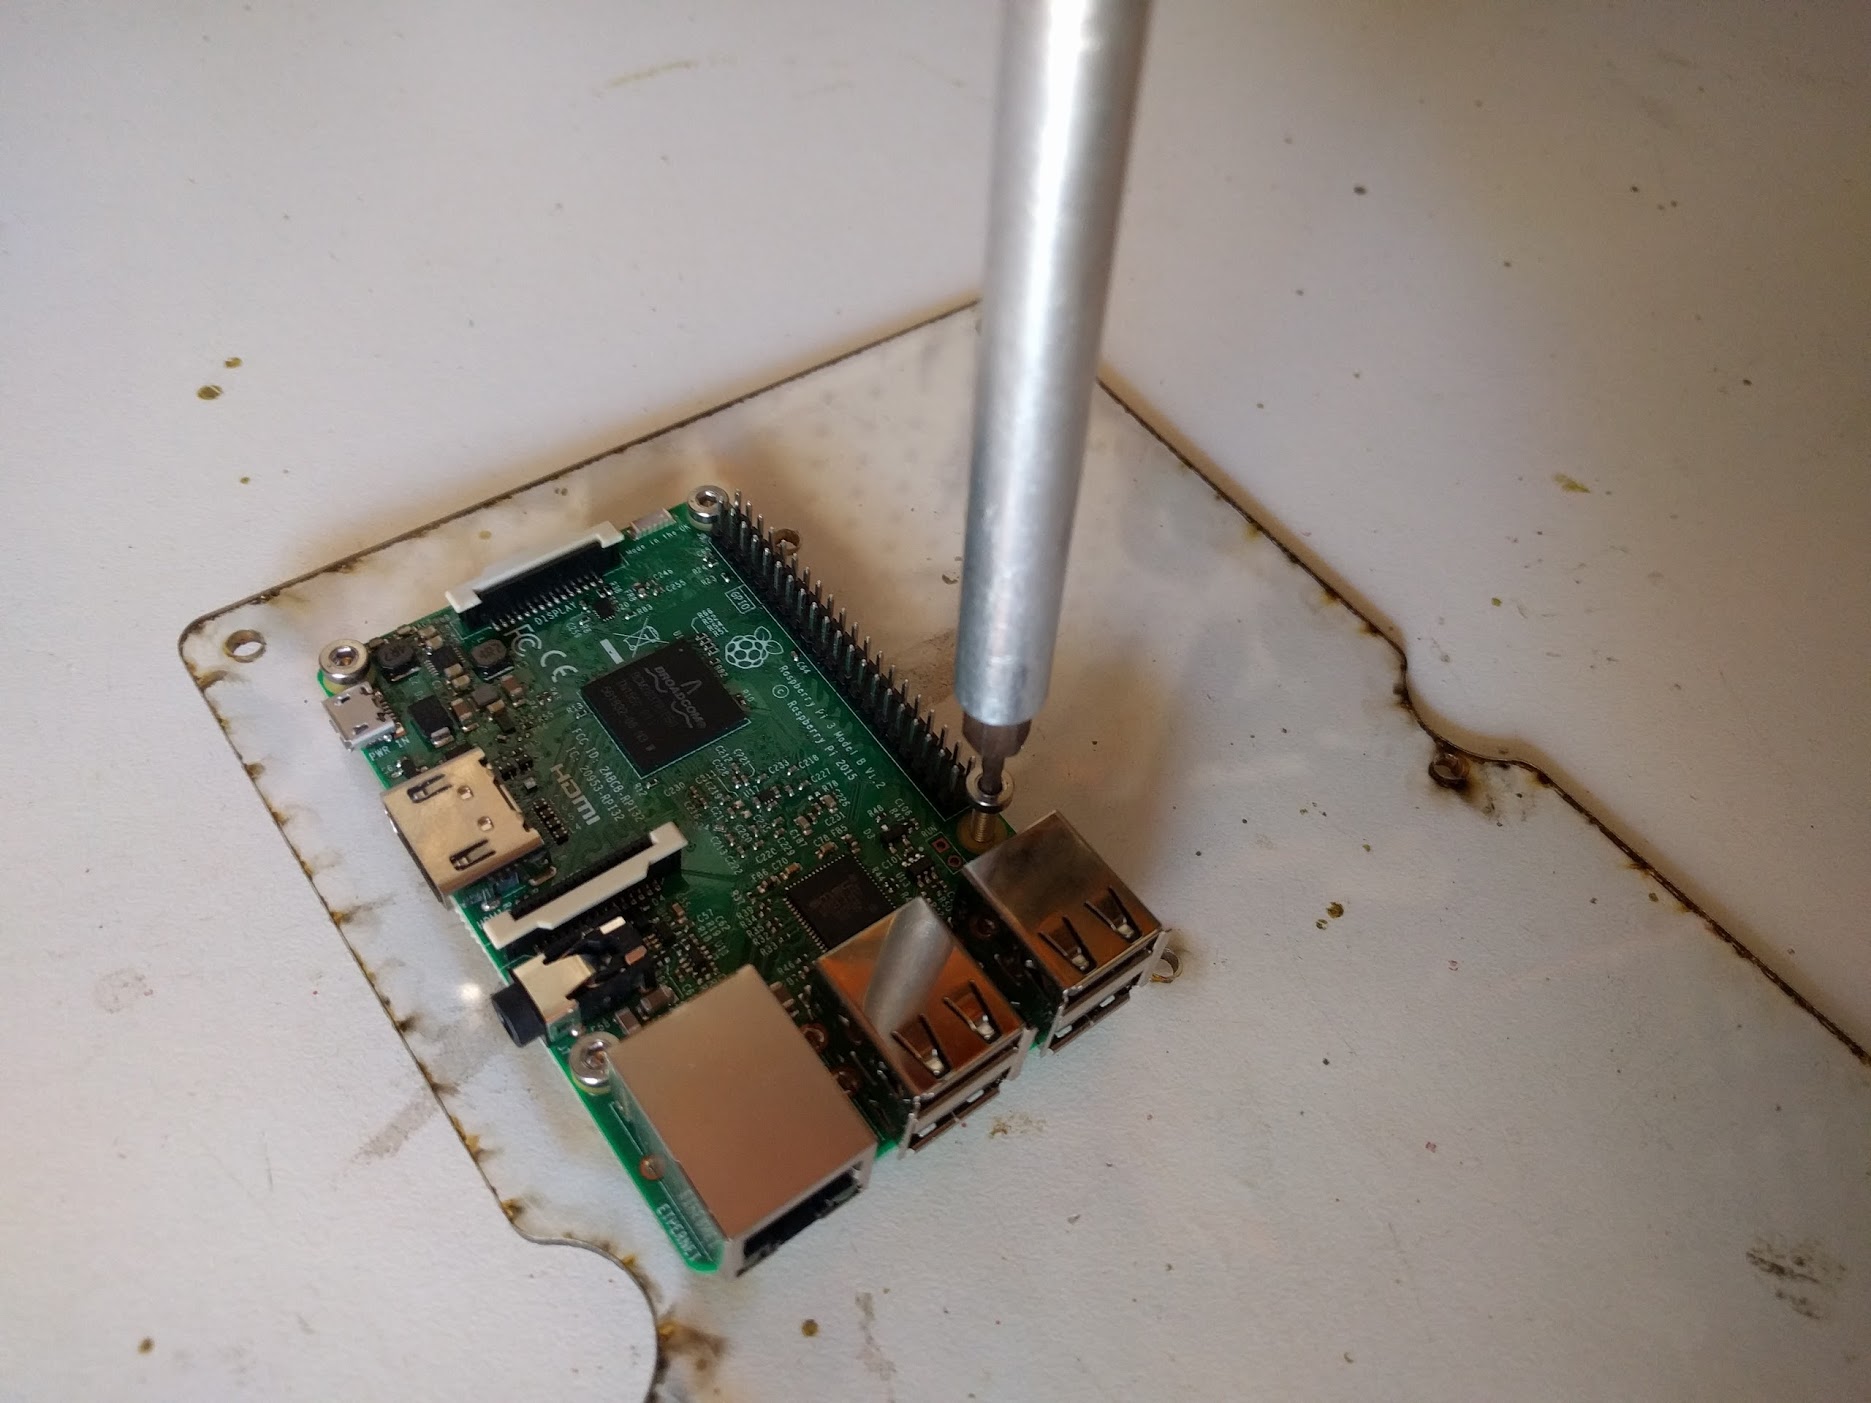

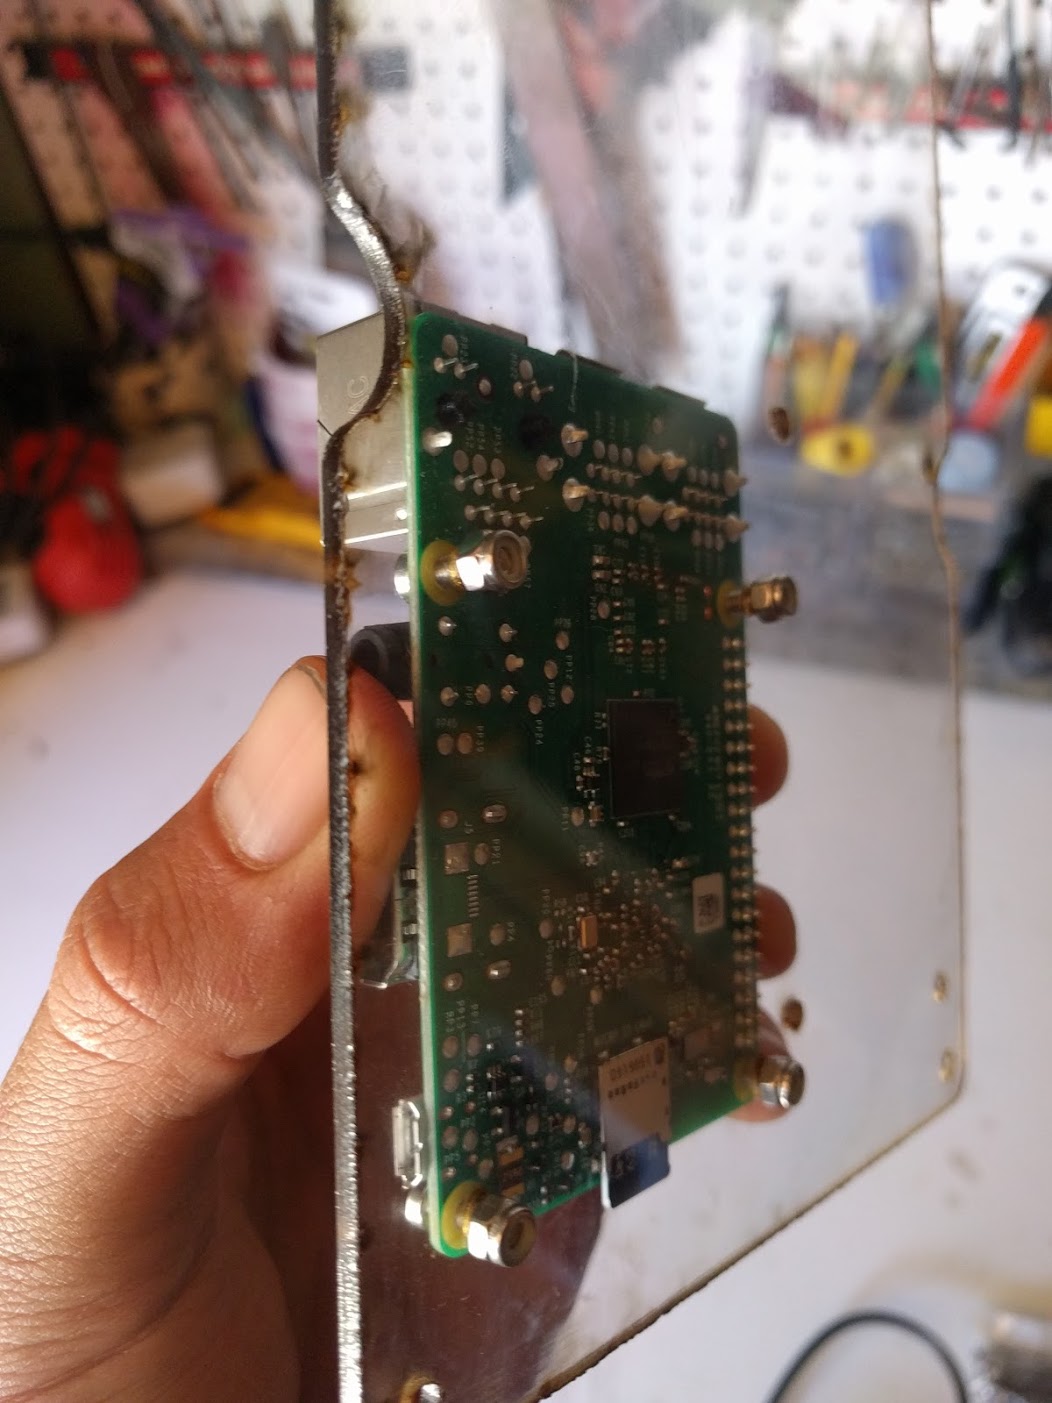
Step 4: Connect the Arduino to the Raspberry Pi
Connect the Arduino to the Raspberry Pi with the 6 inch Type A male to Type B male USB cable. It does not matter which USB port you you use on the Pi.
Step 5: Add the RAMPS shield
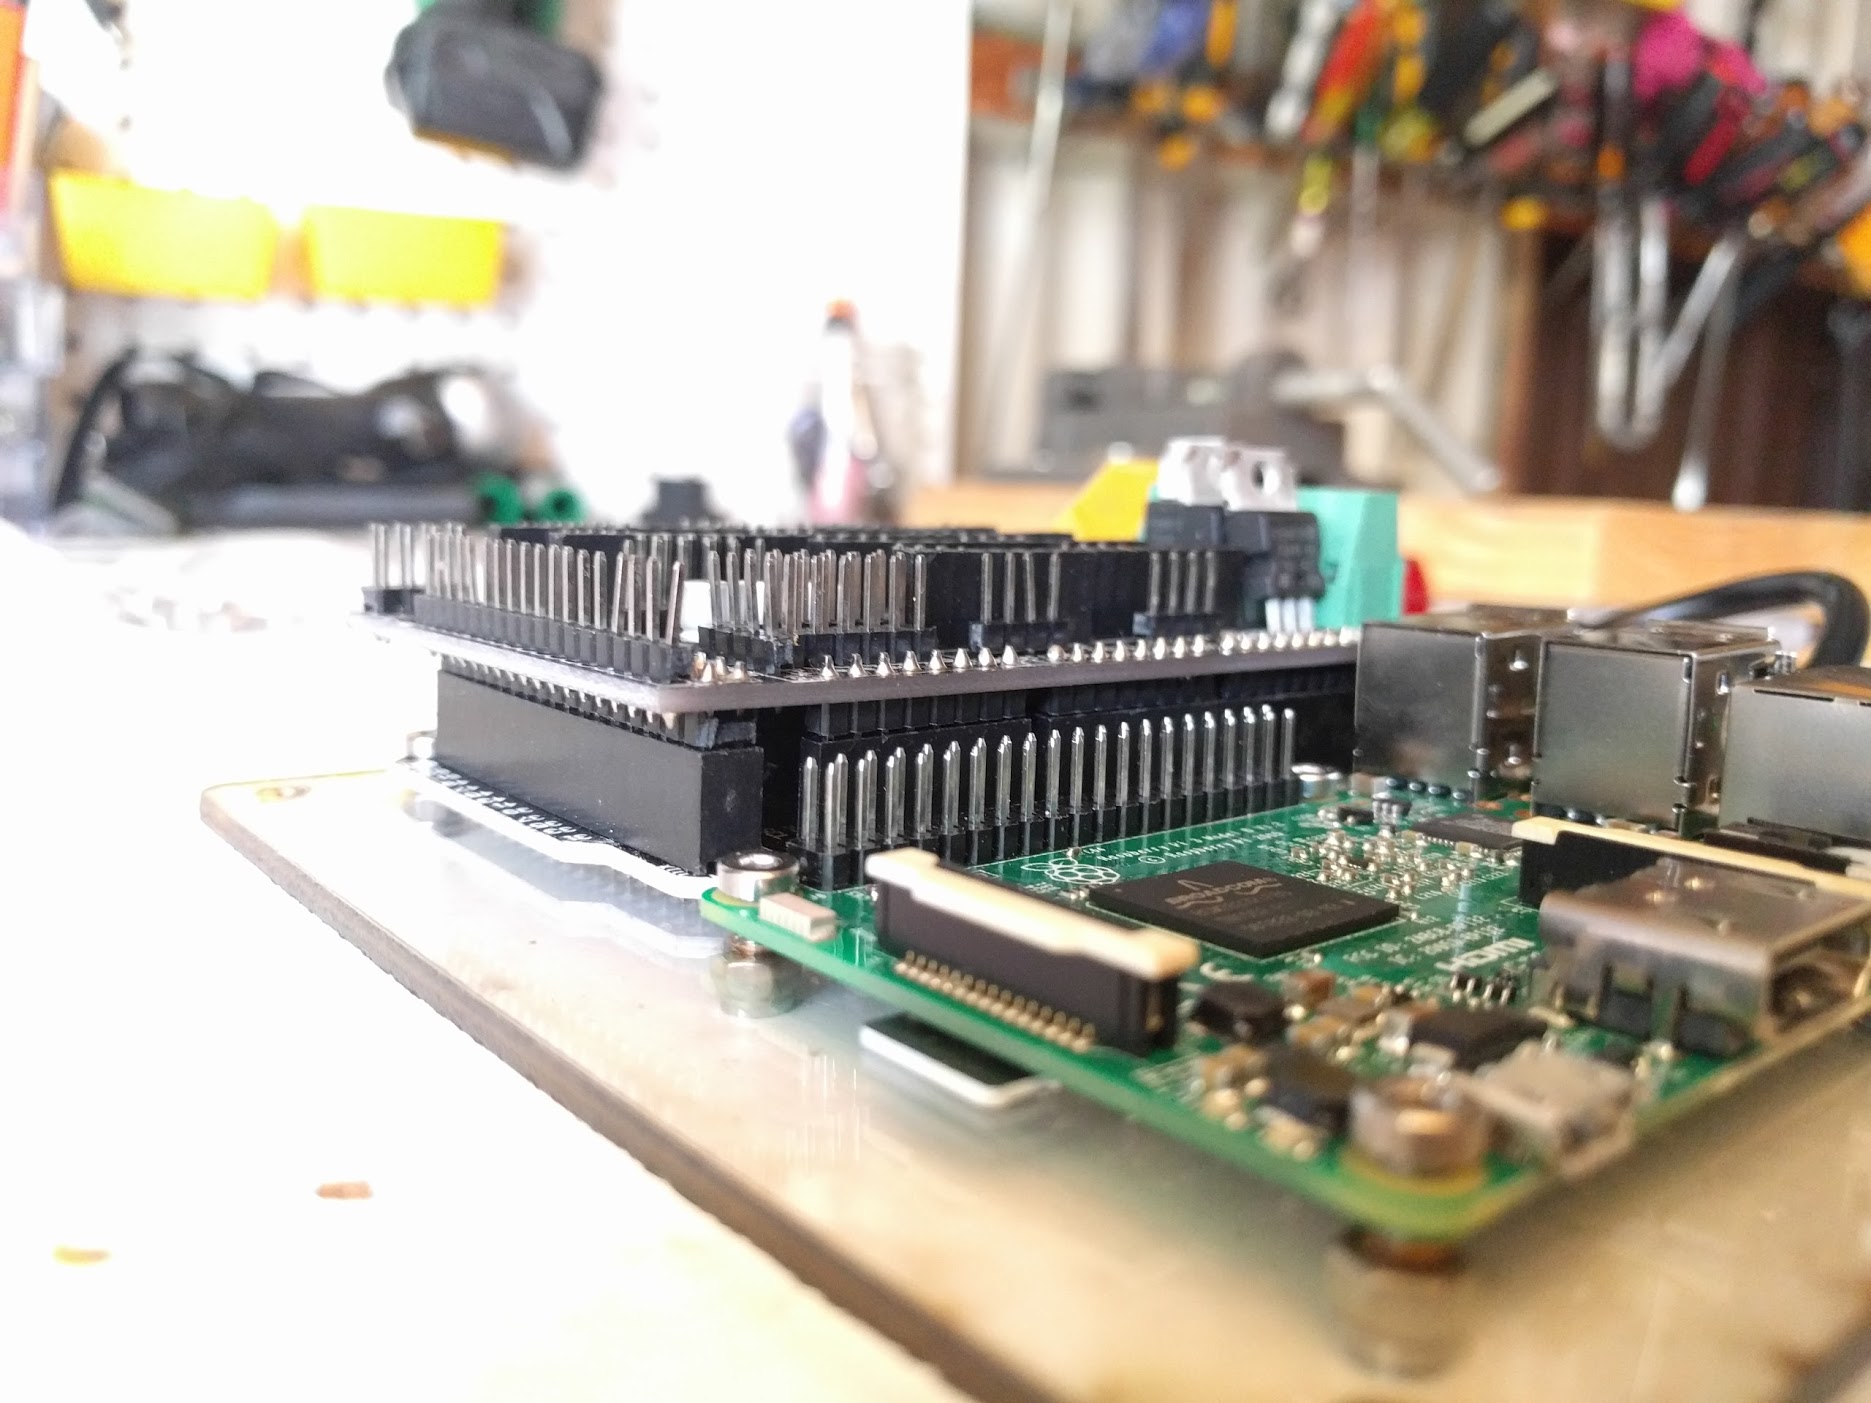
Align the RAMPS Shield on top of your Arduino Mega 2560. The green connectors of the RAMPS shield should be on top of the USB port of the Arduino.
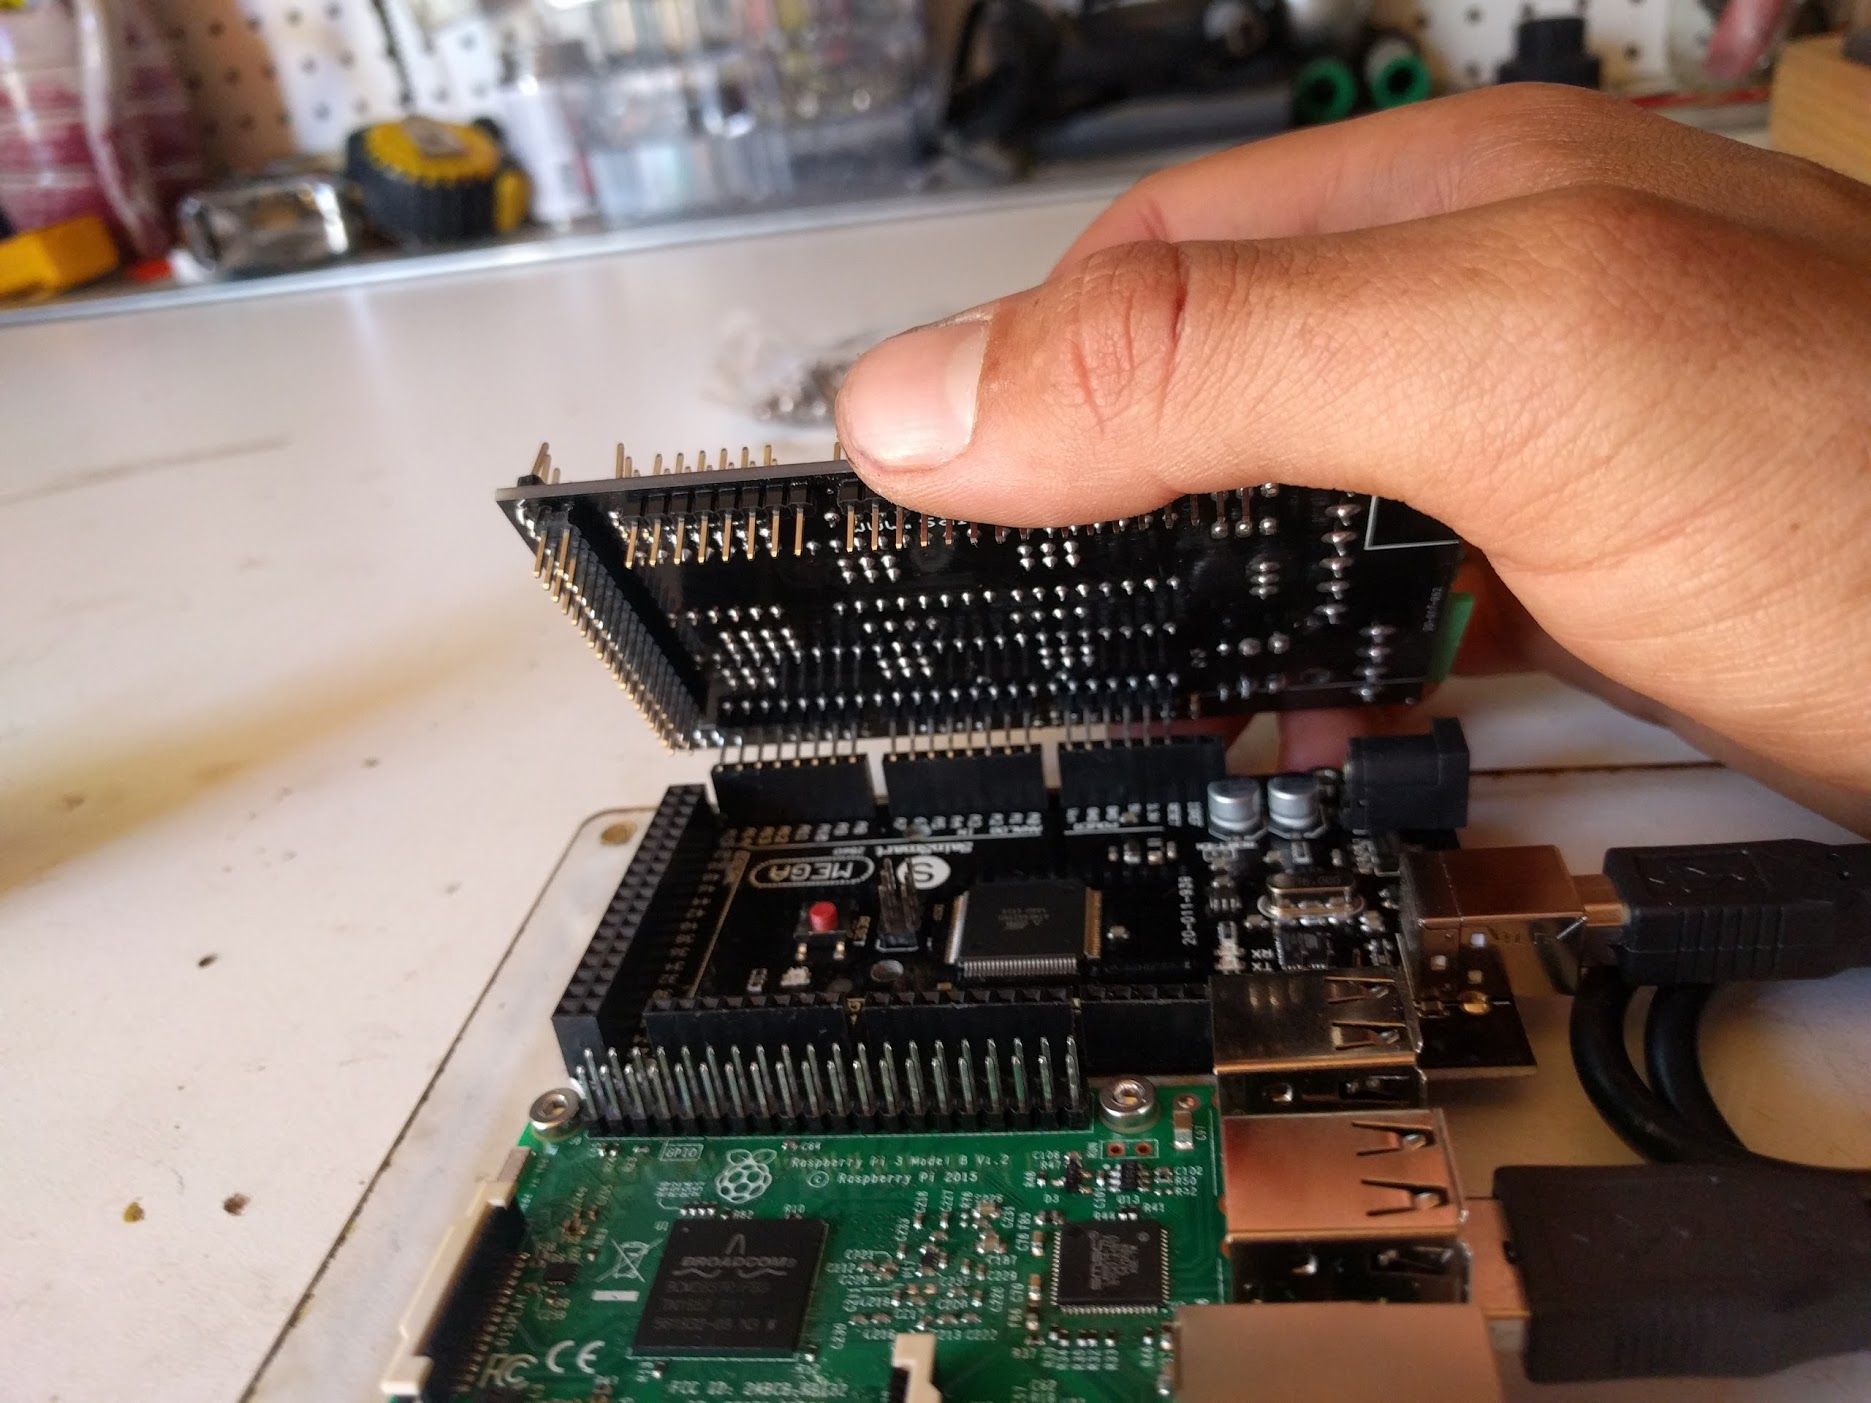

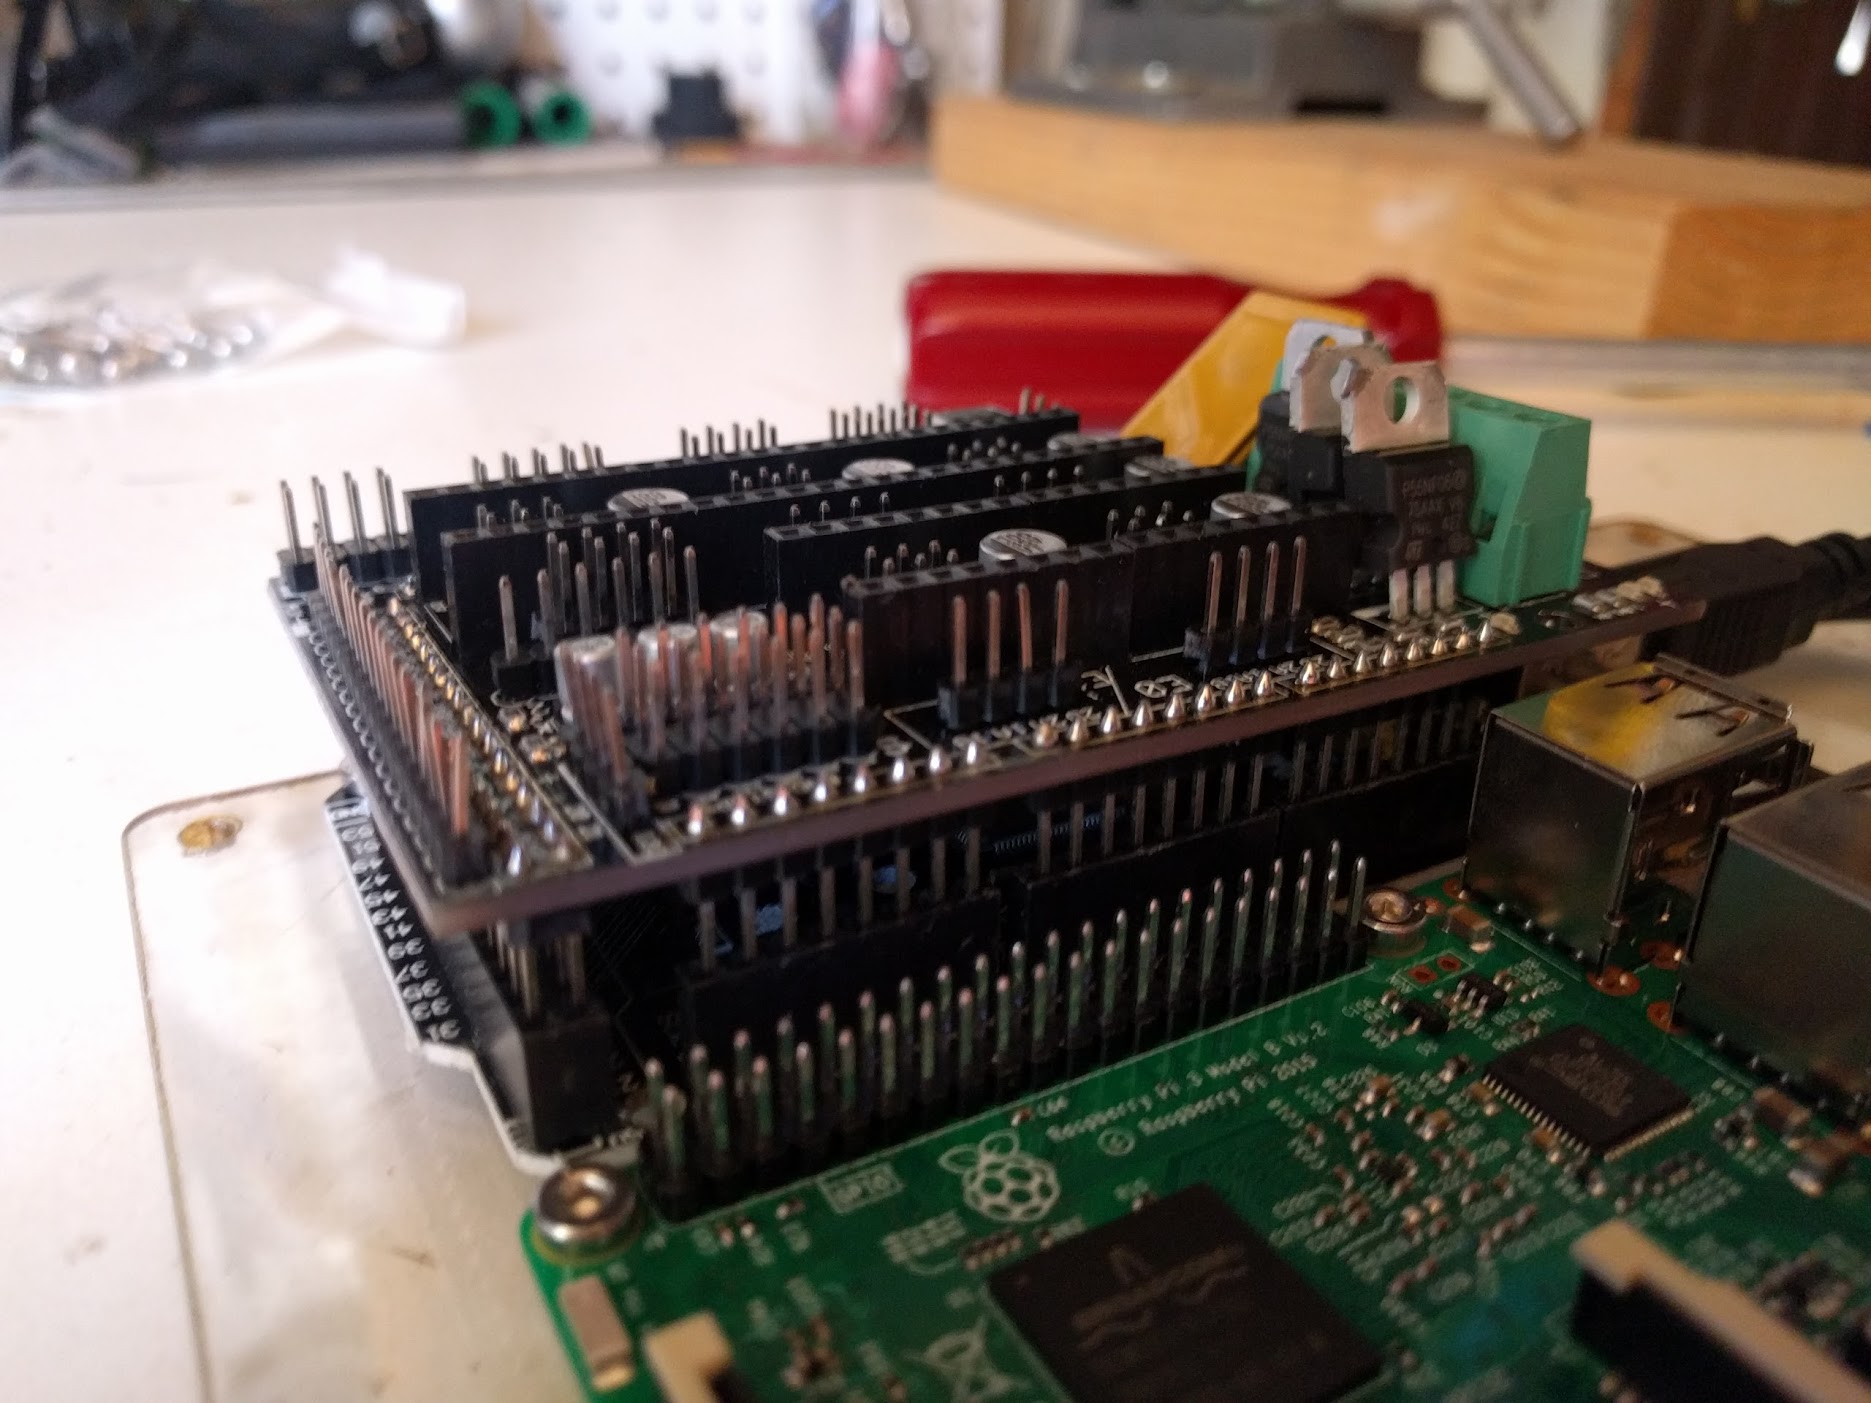
Carefully press the two boards together. Make sure that you do not bend any of the pins.
Step 6: Add the Stepper Drivers
Stepper Drivers are the small boards that mount on top of the RAMPS shield and power the stepper motors. The RAMPS shield has space for up to five drivers, but we’re only going to use three for FarmBot. We’ll use the spaces marked for the X, Y, and Z directions.
Mount your three stepper drivers on top of the RAMPS shield, being careful not to bend any pins.
Orientation is important!
If you put your stepper drivers in backwards then you risk frying all of your electronics.
For A4988 stepper drivers (min 1/16th step) The tuning screw on each stepper driver should be on the FAR end of the driver from the green power connector of the RAMPS shield.
For DRV8825 stepper drivers (min 1/32nd step) The tuning screw on each stepper driver should be on the NEAR end of the driver to the green power connector on the RAMPS shield.
See https://www.youtube.com/watch?v=_wOtZCnXlT4 for a visual explanation.