Seed Injector
Documentation and assembly instructions for the FarmBot Genesis Seed Injector
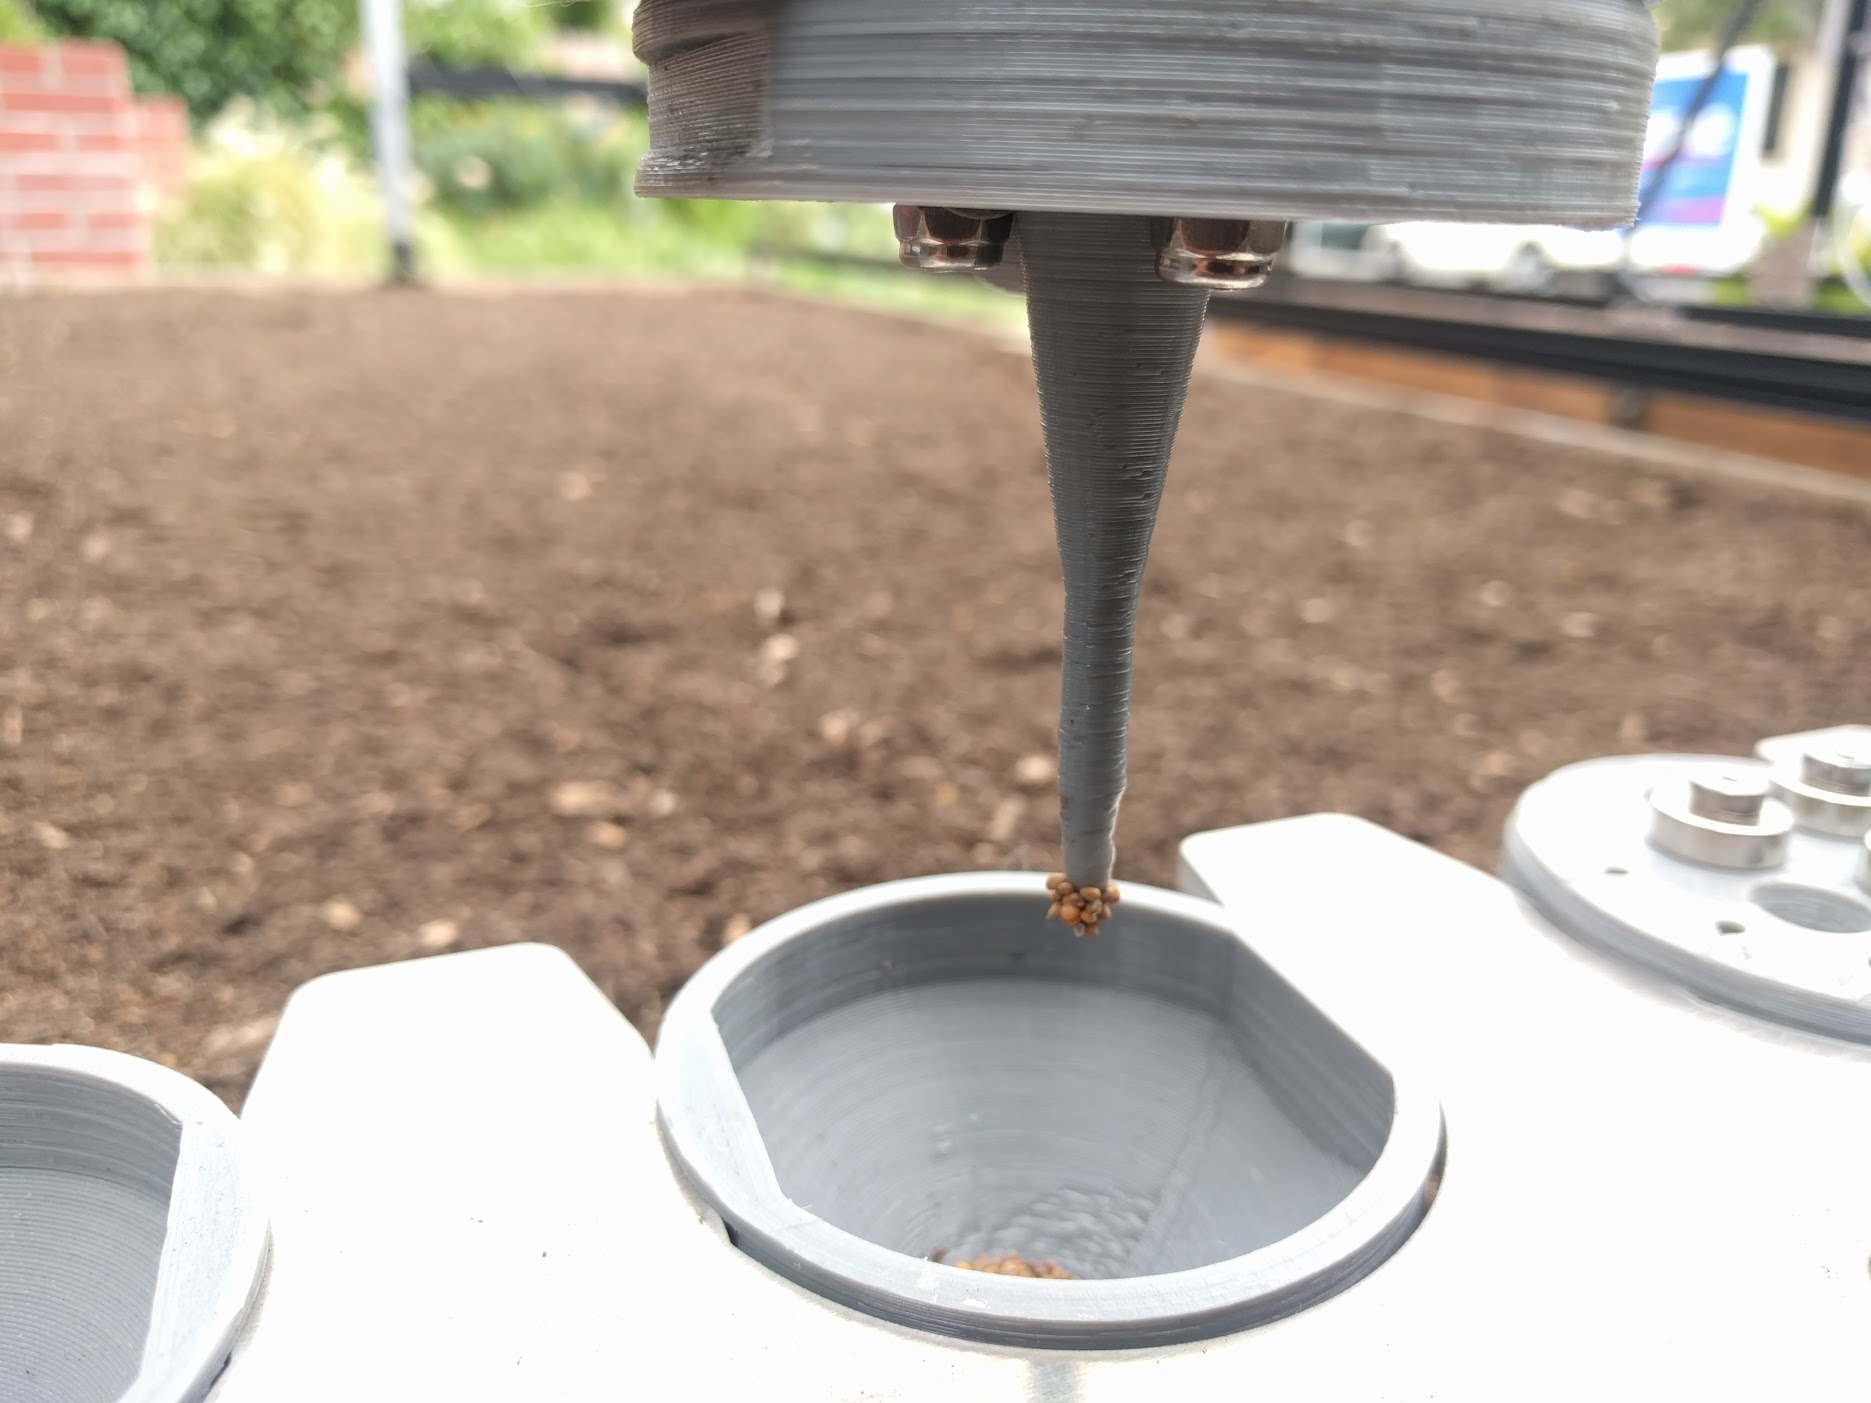
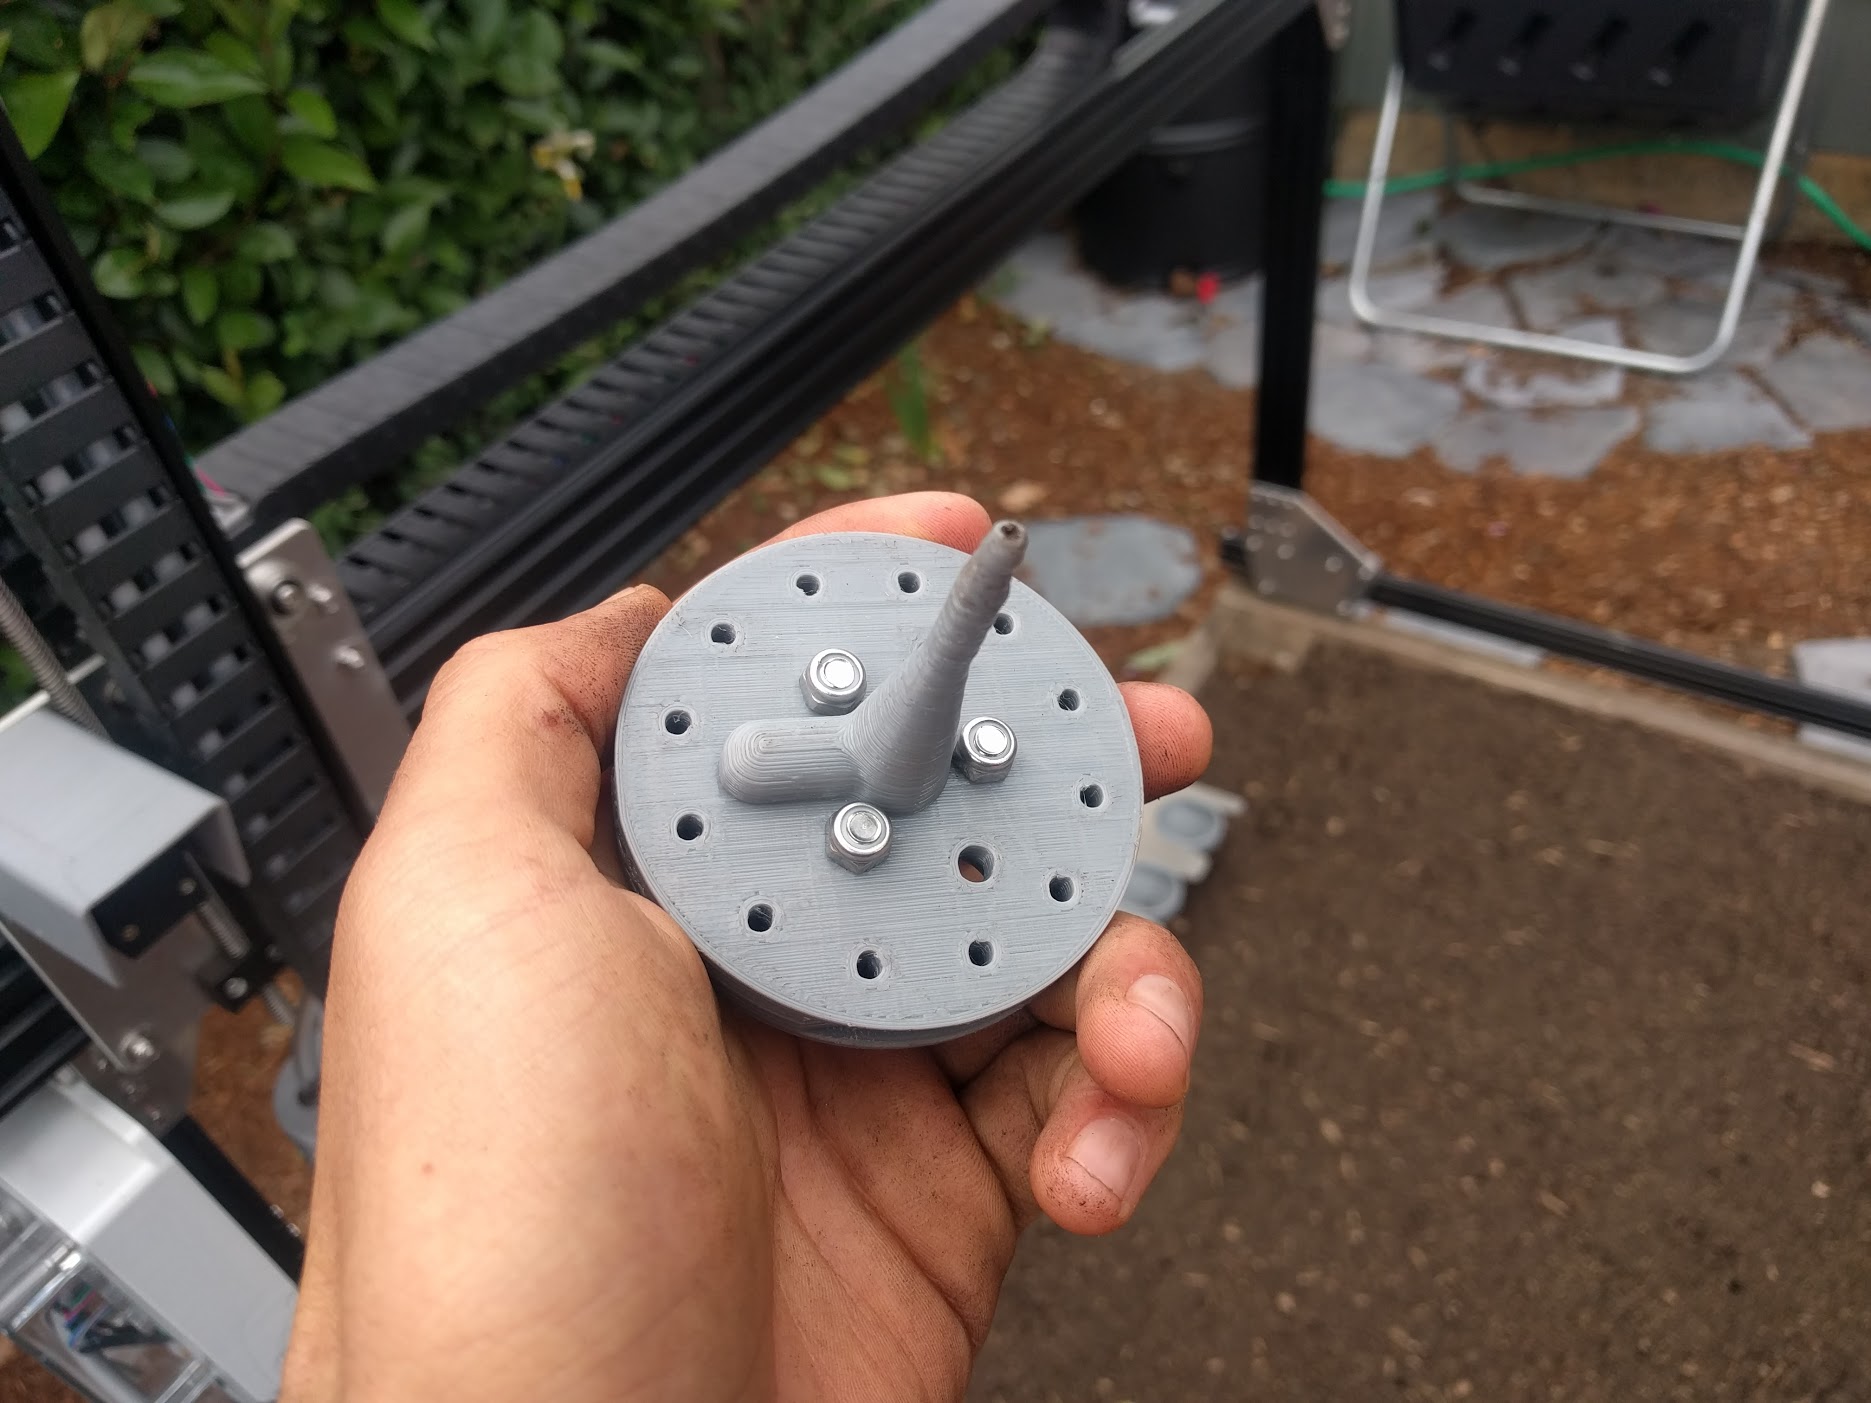
The seed injector works by using a strong vacuum pump to suction-hold a single seed onto the plastic tip. It is made of a single 3D printed plastic piece with a few other components screwed onto it for magnetic coupling and electronic verification with the UTM.
Assembly Instructions
15 minutes
This is the estimated time it will take to assemble the seed injector
Step 1: Gather the parts and tools
Gather all the seed injector parts from the table below and lay them out in a logical manner. To complete the assembly, you will also need the following tools:
- 2mm hex (allen) driver
- 3mm hex (allen) driver
- 6mm wrench
- 8mm wrench
- Wire strippers
- Scissors
| Qty. | Component |
|---|---|
| 1 | Seed Injector Base |
| 2 | M3 x 16mm Screws |
| 2 | M3 Locknuts |
| 3 | M5 x 25mm Screws |
| 3 | M5 Locknuts |
| 3 | 15 x 15 x 5mm Ring Magnets |
| 1 | Jumper Wire (18 guage, 25mm length) |
| 2 | Zipties |
Step 2: Install the Magnets
Opposites attract
For the seed injector to correctly mount to the UTM, all magnets on the seed injector must be attracted to the magnets in the UTM.
To find the correct orientation for a seed injector magnet, hold it near the mounting side of the UTM. Flip it around in your hand until you feel it attracting to the UTM’s magnets. This is the correct orientation for mounting to the seed injector base.
Secure the three ring magnets to the top of the seed injector base using three M5 x 25mm screws and M5 locknuts. The screw head should be on the magnet side of the seed injector base. Use the 3mm hex driver and 8mm wrench to tighten the components.
Step 3: Install the Electrical Screws
Use the 2mm hex driver and 6mm wrench to attach two M3 x 16mm screws and M3 locknuts into the holes labelled 2 and 3 on the seed injector base. The screw heads should be on the same side of the base as the magnets.
Step 4: Add the Jumper Wire
Use scissors to cut 25mm worth of jumper wire. Then use wire strippers to remove 5mm of rubber insulation from both ends of the jumper wire.
Attach the jumper wire to the bottom of each of the M3 screws using the two zipties.
Seed Containers
We offer the following types of seed containers, each optimized for different purposes. The seed puck has 16 small areas for holding seeds. It is best used when planting many different crops, and when the number of seeds per hole needs to be strictly controlled.
The Seed Bin
The seed bin is for holding large amounts of one type of seed. This is best used when planting many plants of the same crop, for example: when growing microgreens. To use a seed bin, simply slide it into the tool bay and fill it with seeds. Then run a planting sequence from the web app with the corresponding seed bin sequence and location.
If desired, you can mix a variety of seed types into one seed bin and have FarmBot plant whatever it happens to grab. Keep in mind though that FarmBot will have no way of knowing which seeds it grabs, so only use this technique when you will be taking care of all those plants identically. An example for this again might be when growing microgreens - you can grow three different types in the same area at the same time, all in the same way, without having to do three planting sequences or otherwise treat them differently.
The Seed Puck
A solution to control seed quantities is to separate seeds into smaller bins, with each bin holding the appropriate number of seeds for one “trip” of the seeder. The **seed puck ** holds 16 different seed groups in mini bins (or small cups) arranged in a grid. The seeds in each cup are to be planted in a single hole. The 16 cups may hold the same seeds (for 16 of the same plant) or different seeds (for up to 16 unique plants). Multiple seed pucks may be used for larger plots or varieties. FarmBot keeps track of the plant type for each cup in each seed puck.
Coming soon: The Seed Canister
How cool would it be if you could use the FarmBot web app to design your garden for up to a year in advance, and then purchase the seeds needed for that garden right from the app? This is the concept behind the seed canister - a year’s supply of seeds based on your garden design, delivered to your door.
The seed canister would simply be many seed pucks stacked inside a canister. Each puck would have a unique ID, be filled with various types of seeds according to your design, and be sealed with plastic on top to ensure vitality. When needed, FarmBot would message you to load in a new seed puck. Or, there may be an included tool that can allow FarmBot to automatically pull out the next puck from the canister on its own!
Change Log
- The seed injector tip has been lengthened and re-positioned into the center of the tool
- Now using button head M5 screws
Room for Improvement
- The vacuum pump based seed injector by design will always have difficulty in balancing vacuum power to safely hold seeds, while not having so much suction that too many seeds are picked up at once. A solution to control seed quantities is to separate seeds into smaller bins, with each bin holding the appropriate number of seeds for one “trip” of the seeder.

- Small seeds and other debris can become lodged into the seeder’s opening. Small debris can also be sucked all the way through to the vacuum pump and cause deteriorated performance or complete malfunction. This could be prevented by integrating a fine fabric or other mesh over the seeder’s opening such that air can pass through the membrane while seeds and other debris stay out. However, a filtering mesh could also become clogged with finer particles. Another solution is to use a standard vacuum, instead of a vacuum pump. This would allow debris and seeds to be accidentally sucked up without risk of malfunction, though it would not prevent seeds from becoming stuck. This could be alleviated with a different tip design.
