Install the cables and tubing
- Step 1: Add a Power Cord to your Power Supply
- Step 2: Feed the cables and tubing through the Z-axis cable carrier
- Step 3: Attach the Z-axis Cable Carrier
- Step 4: Feed the cables and tubing through the Z-axis cable carrier
- Step 5: Attach the Gantry Cable Carrier
- Step 6: Attach the cable clips
- Step 7: Feed the tubing, power cable, and peripheral cables through the tracks cable carrier
- Step 8: Attach the tracks cable carrier
Step 1: Add a Power Cord to your Power Supply
Attach a three pronged power cord to the power supply.
Keep it un-powered
Do not plug in your power supply to the wall at this time.
Step 2: Feed the cables and tubing through the Z-axis cable carrier
Feed the UTM cable, all three liquid/gas tubes, and the z-axis motor/encoder cable through the z-axis cable carrier.
Step 3: Attach the Z-axis Cable Carrier
Attach the z-axis cable carrier to the cross-slide plate using two M5 x 16mm screws, M5 washers, and M5 locknuts.
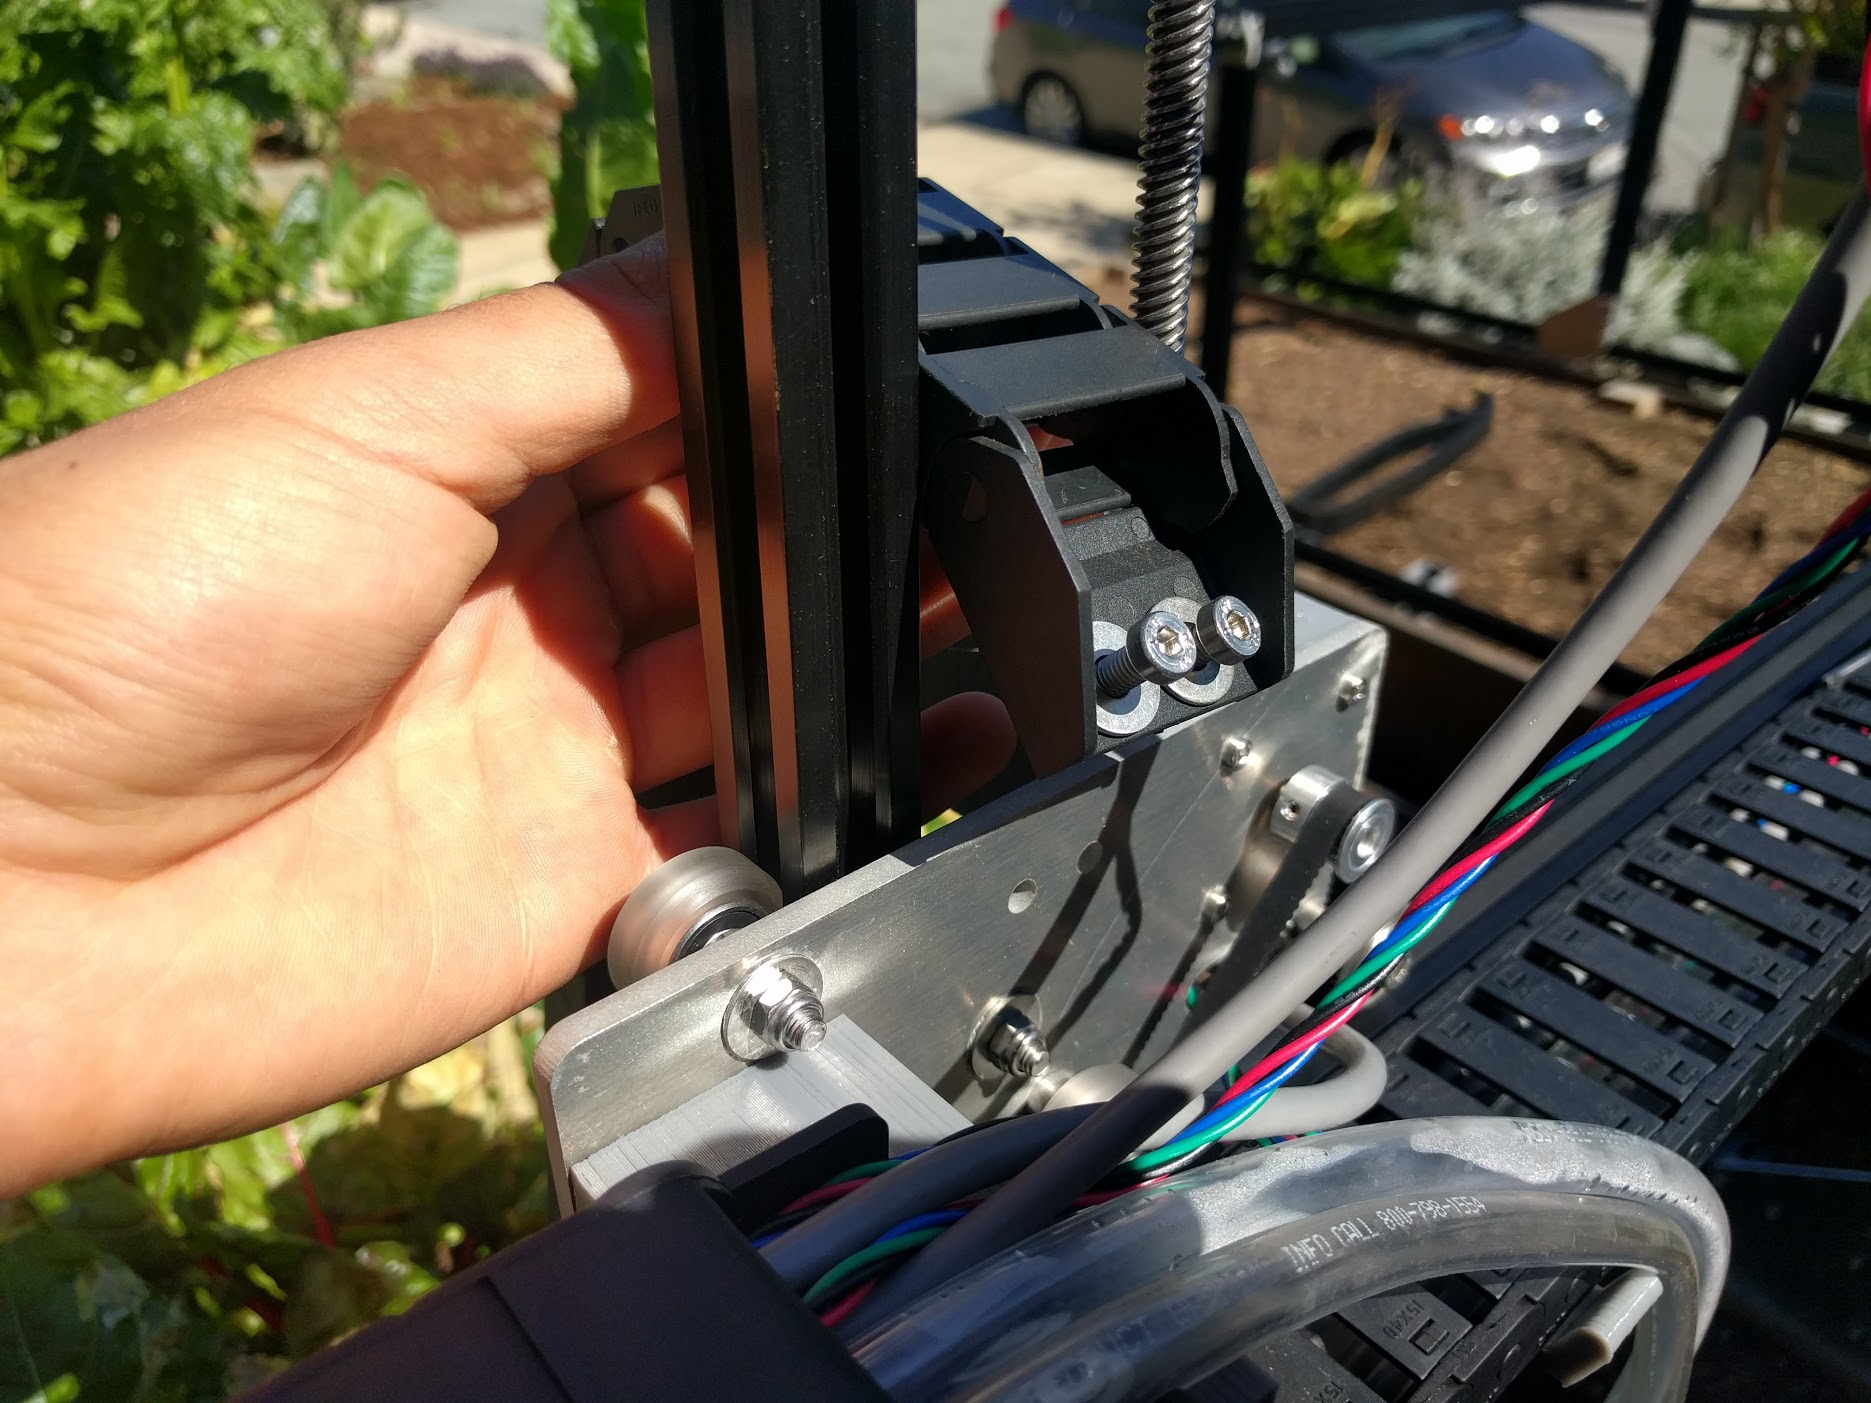

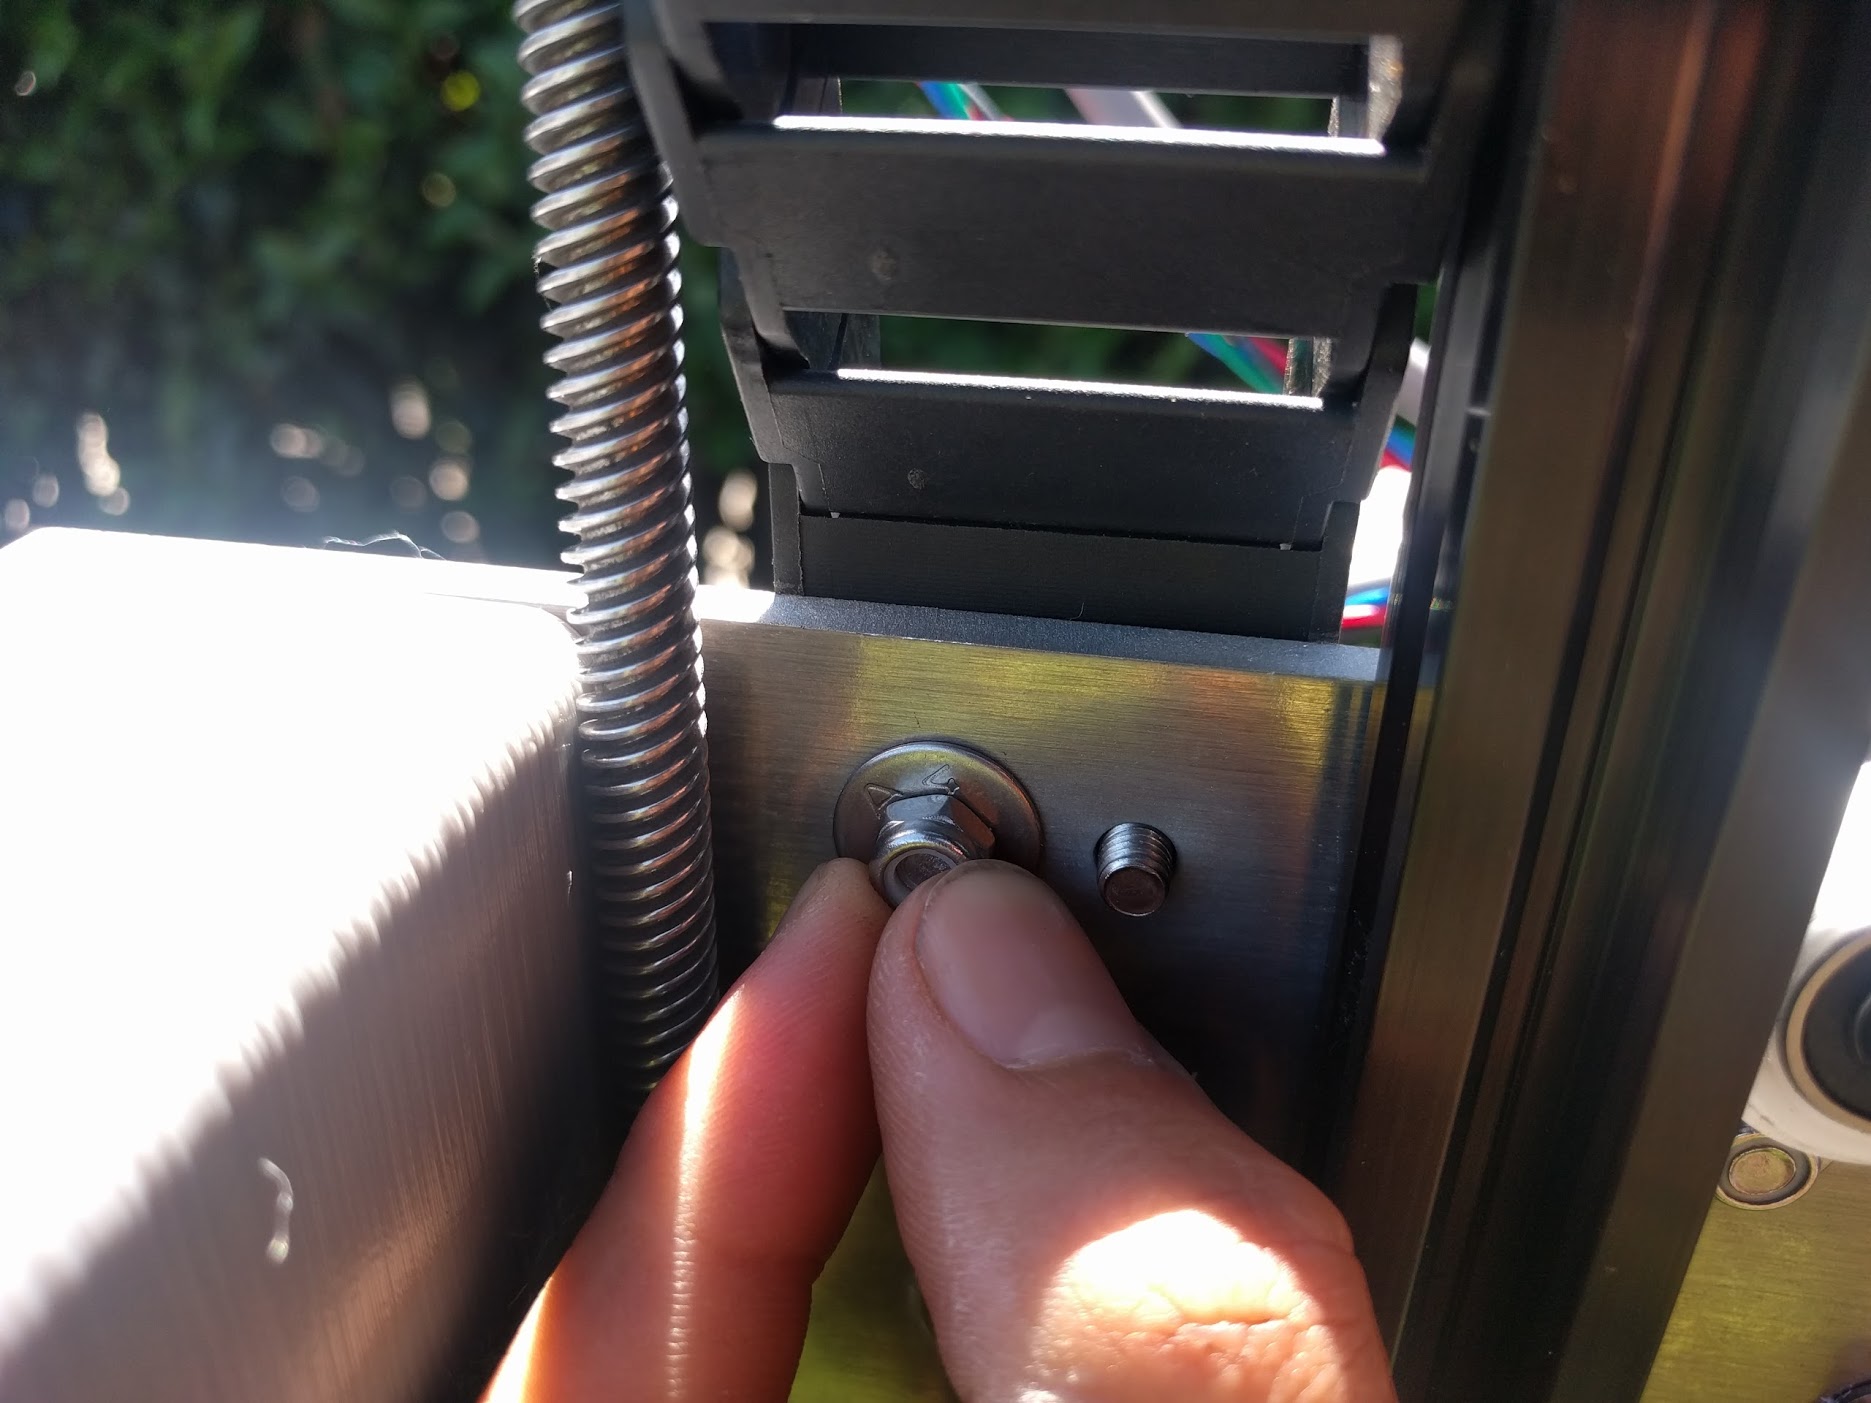
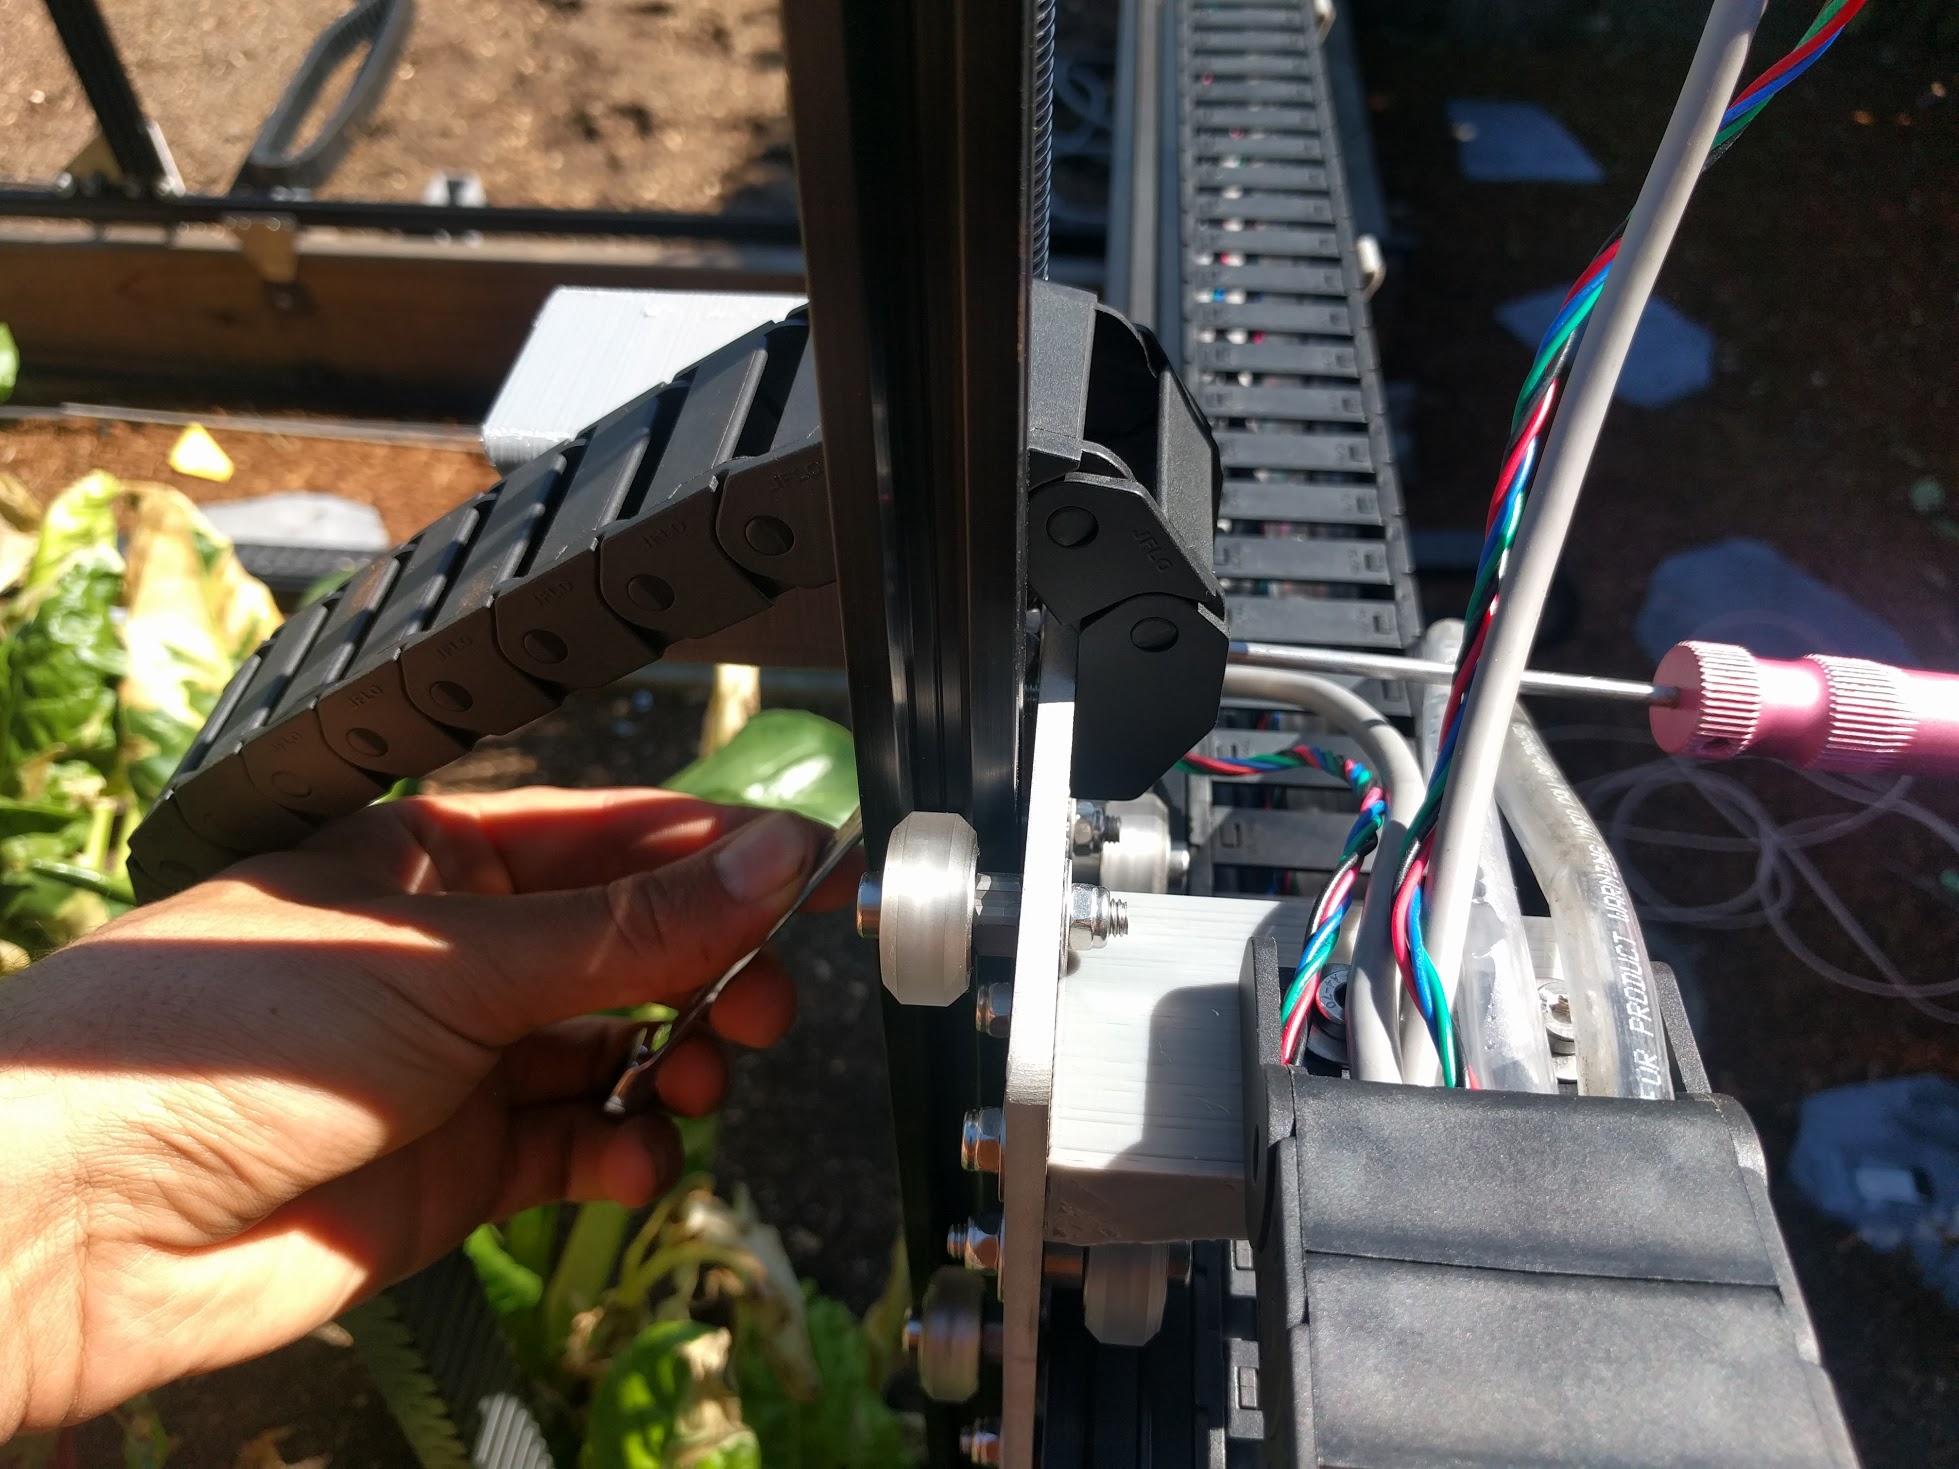
Attach the z-axis cable carrier to the z-axis cable carrier mounting plate using two M5 x 16mm screws, M5 washers, and M5 locknuts.
Step 4: Feed the cables and tubing through the Z-axis cable carrier
Feed all of the cables and tubing coming from the z-axis cable carrier, as well as the cross-slide motor/encoder cable through the gantry cable carrier.
Step 5: Attach the Gantry Cable Carrier
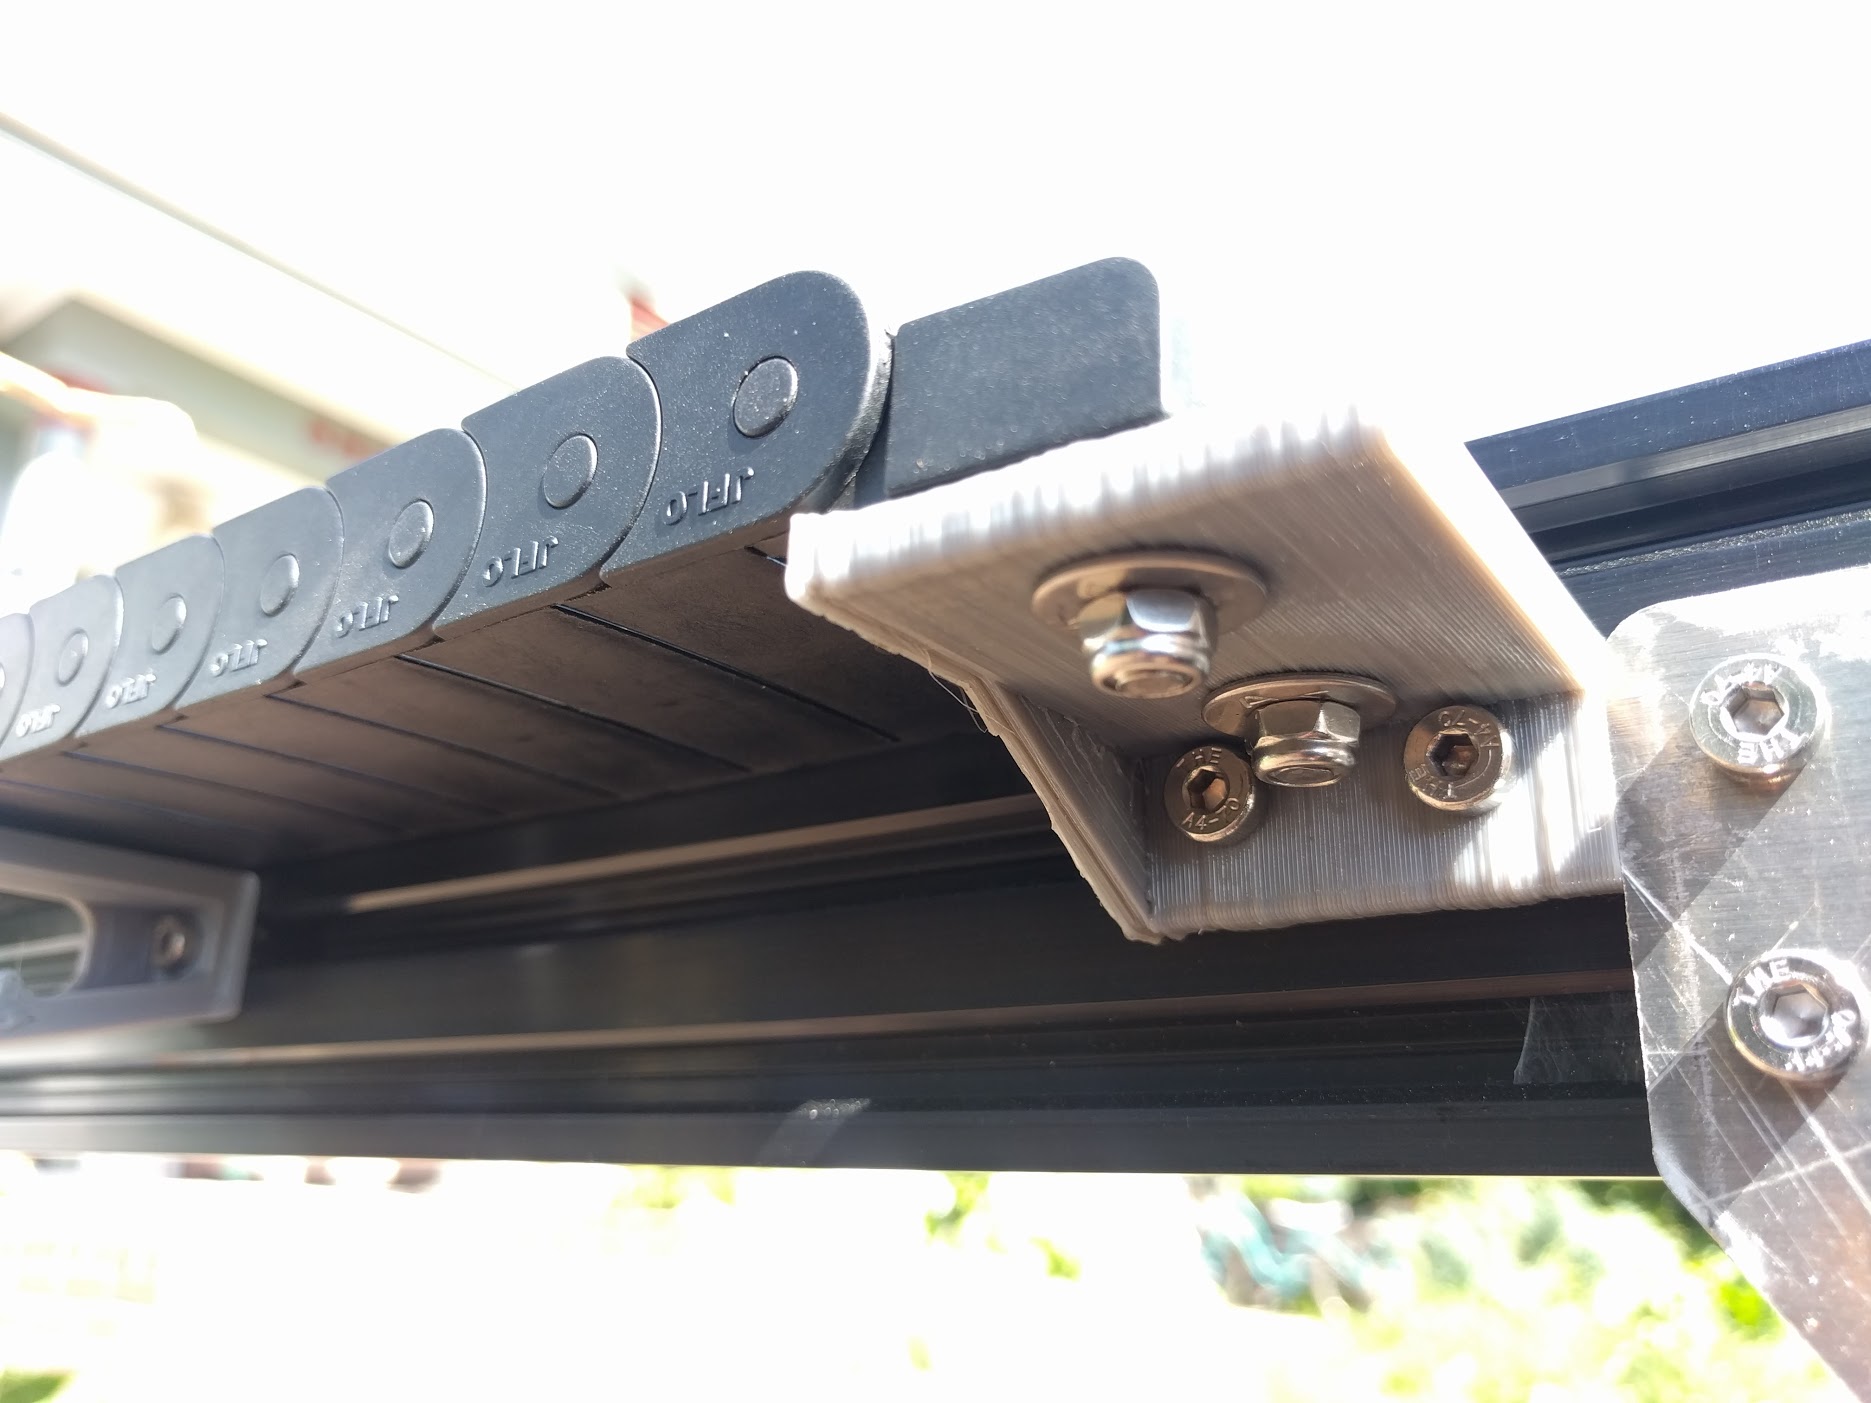
Attach the gantry cable carrier to the long cable carrier mount (on the cross-slide subassembly) using two M5 x 16mm screws, M5 washers, and M5 locknuts.
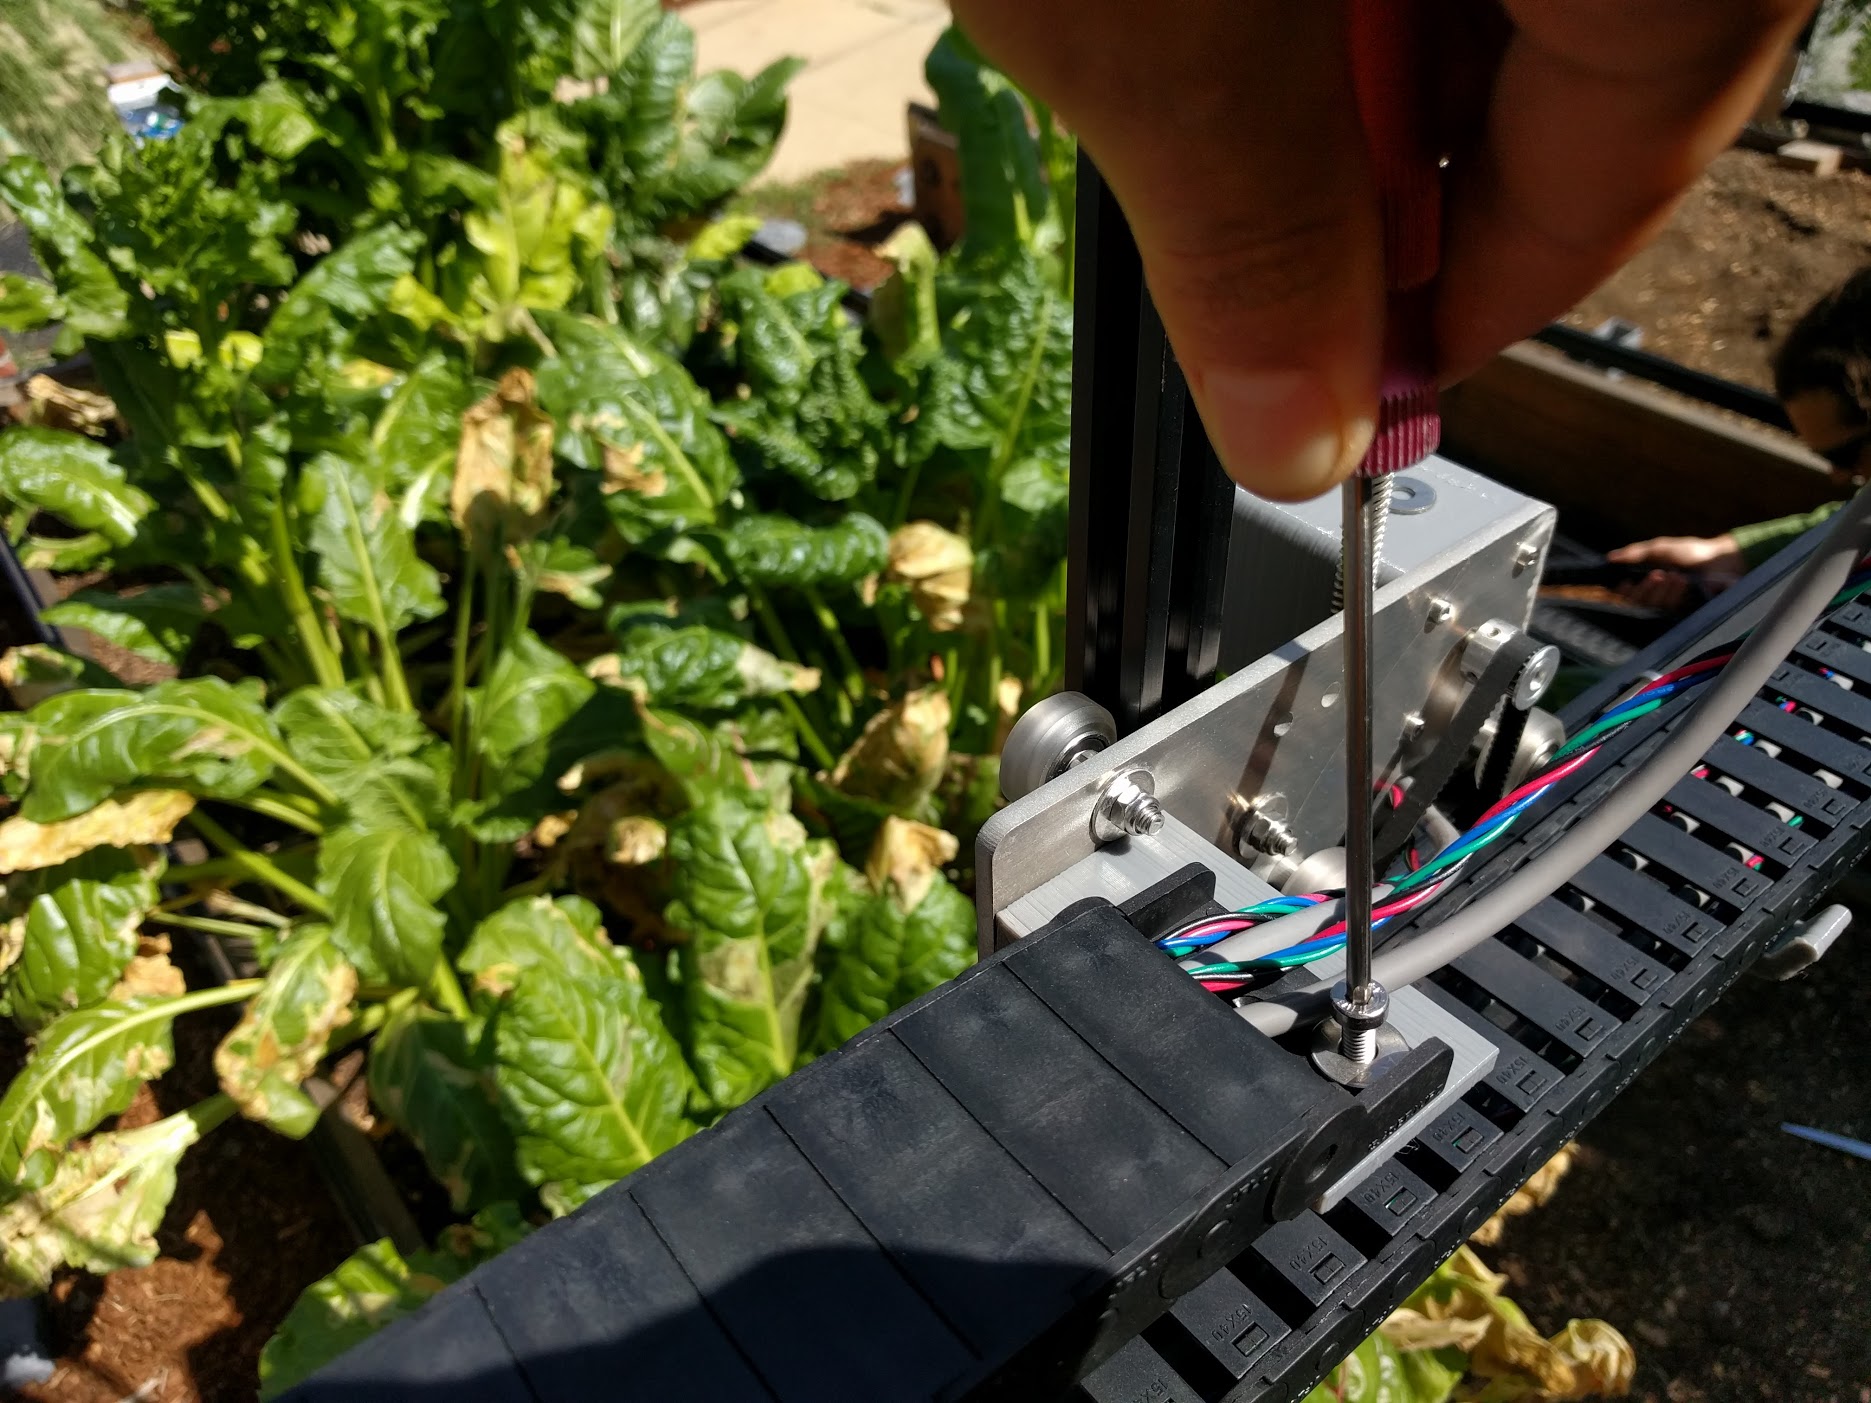

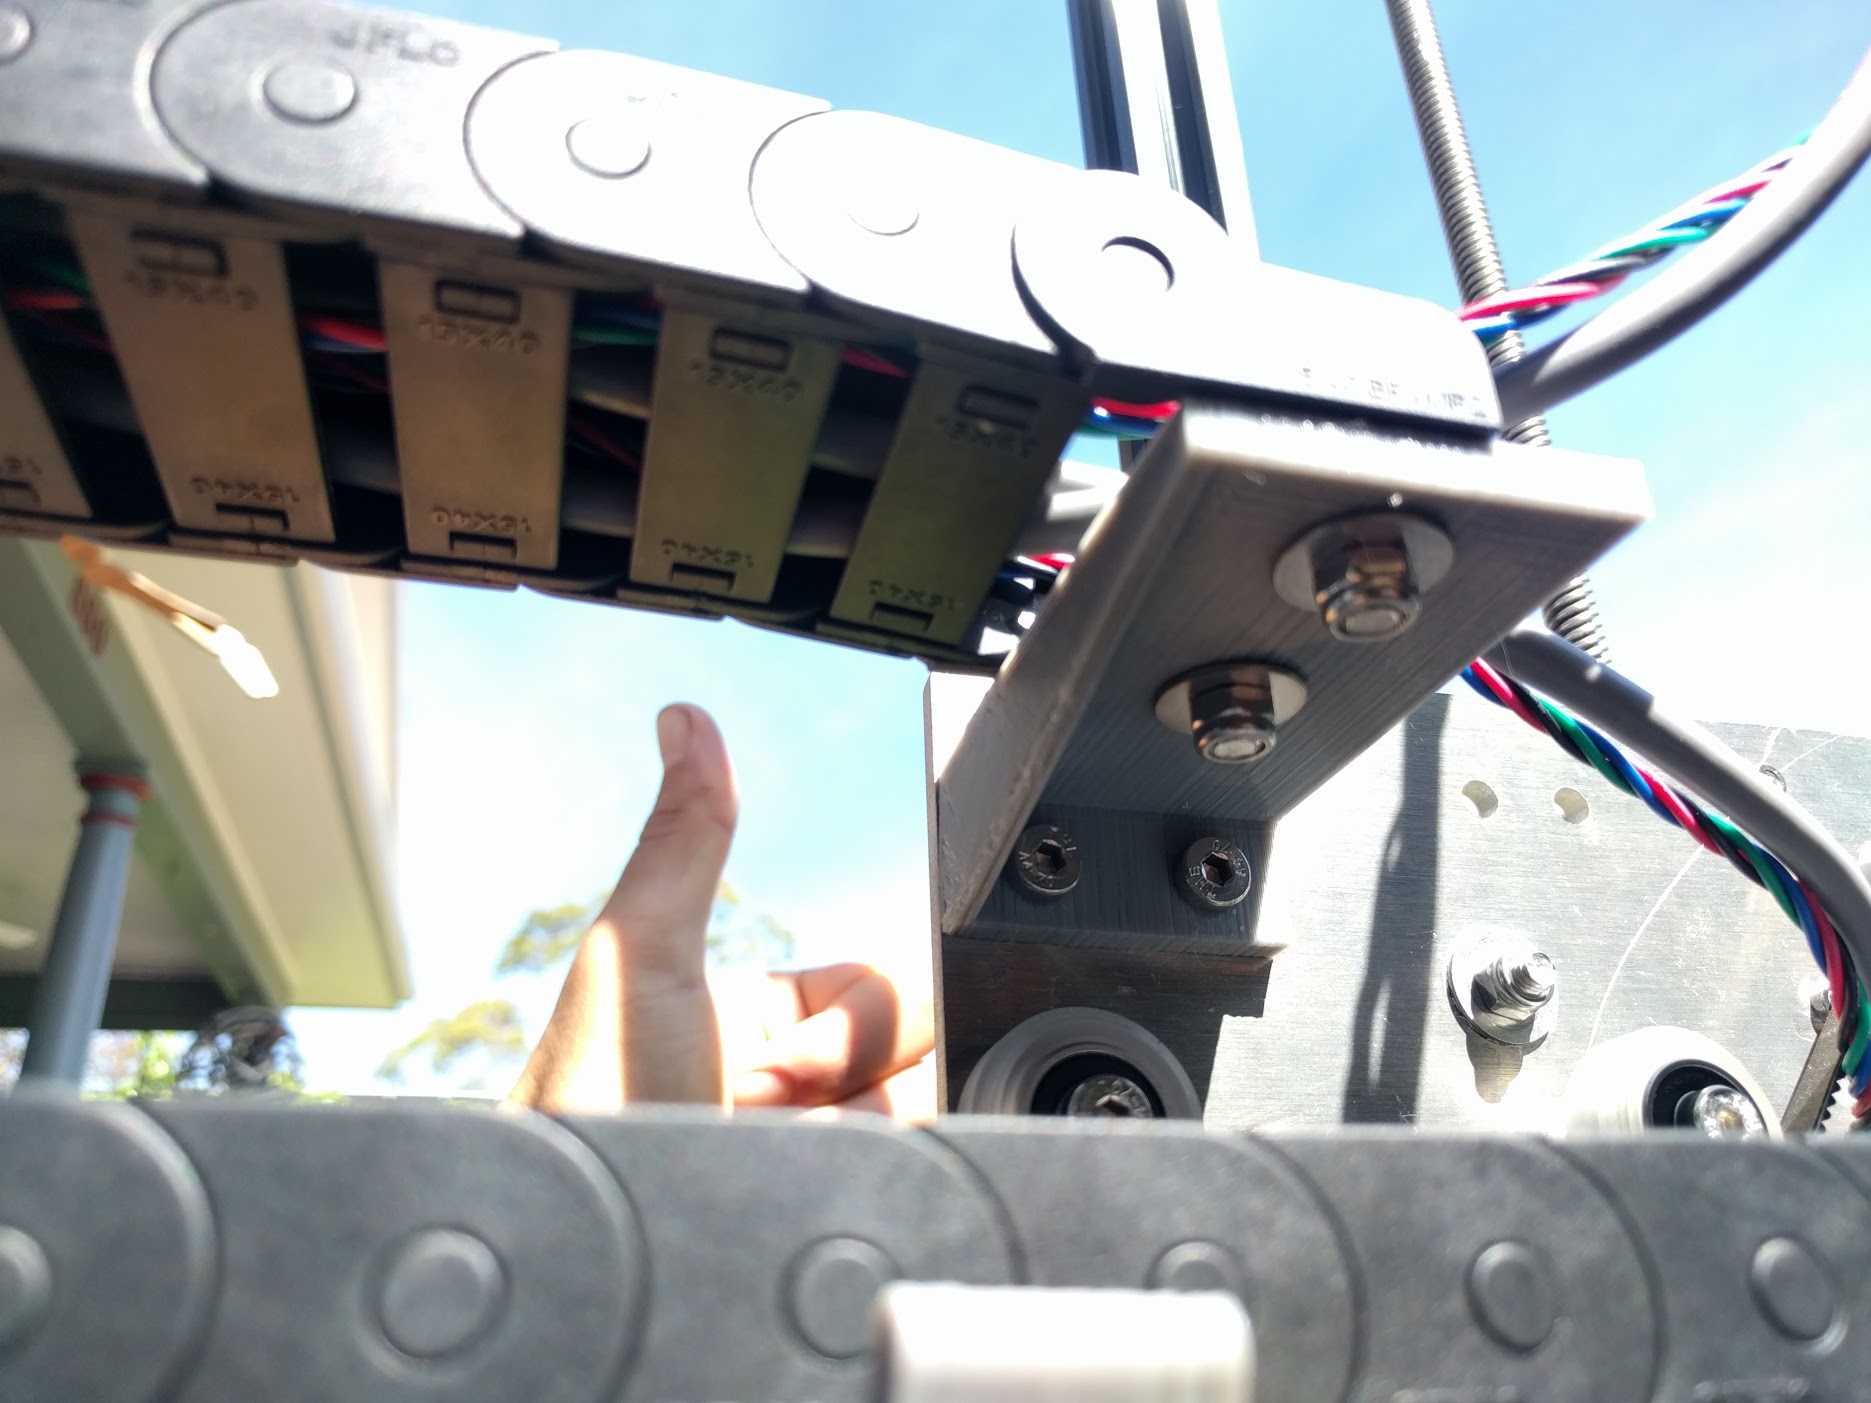
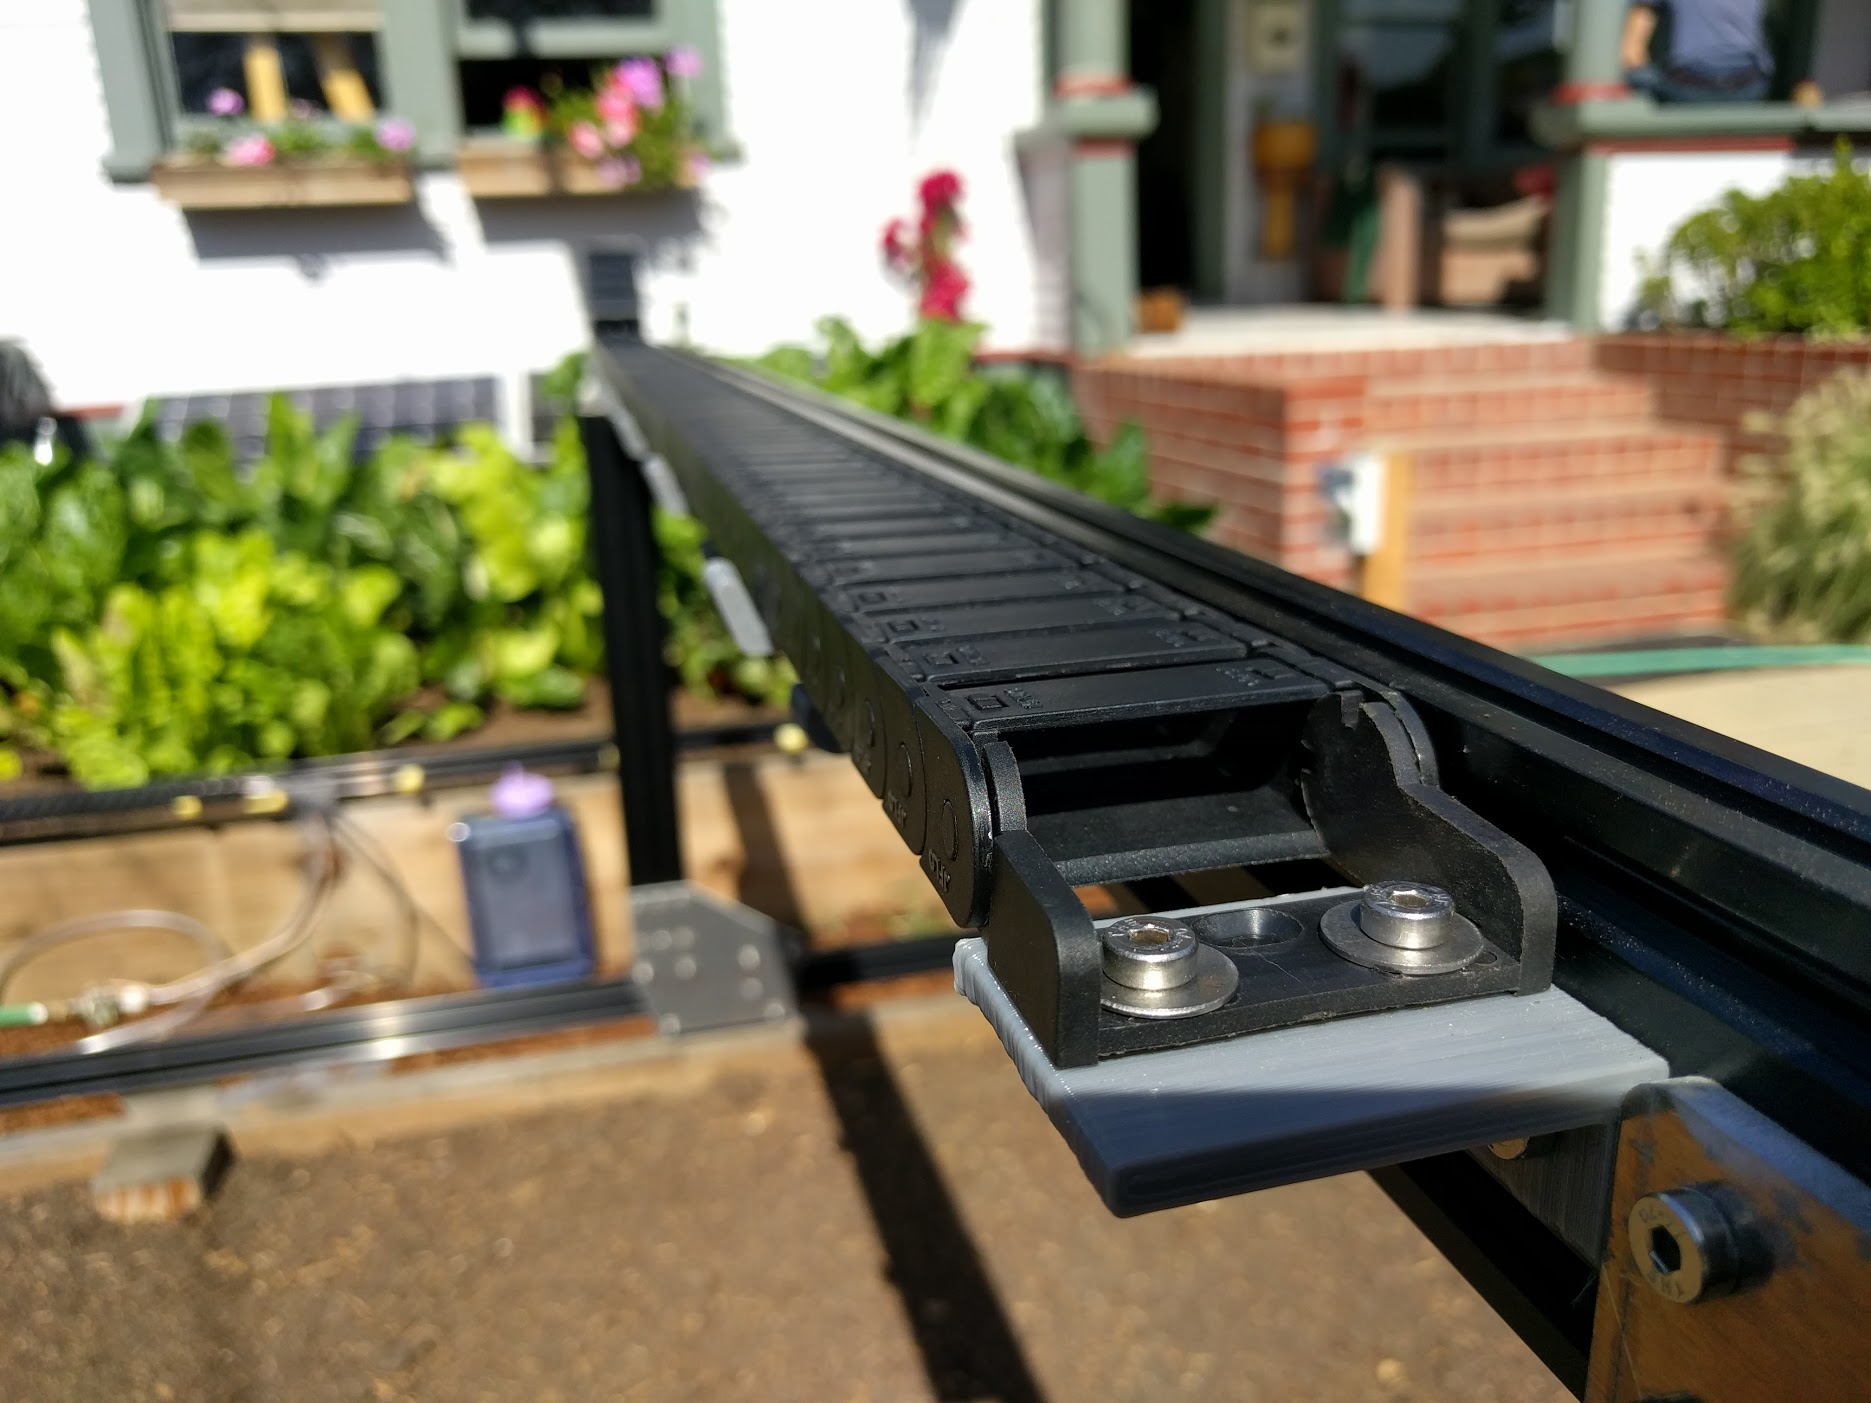
Attach the gantry cable carrier to the short cable carrier mount (on the gantry main beam) using two M5 x 16mm screws, M5 washers, and M5 locknuts.

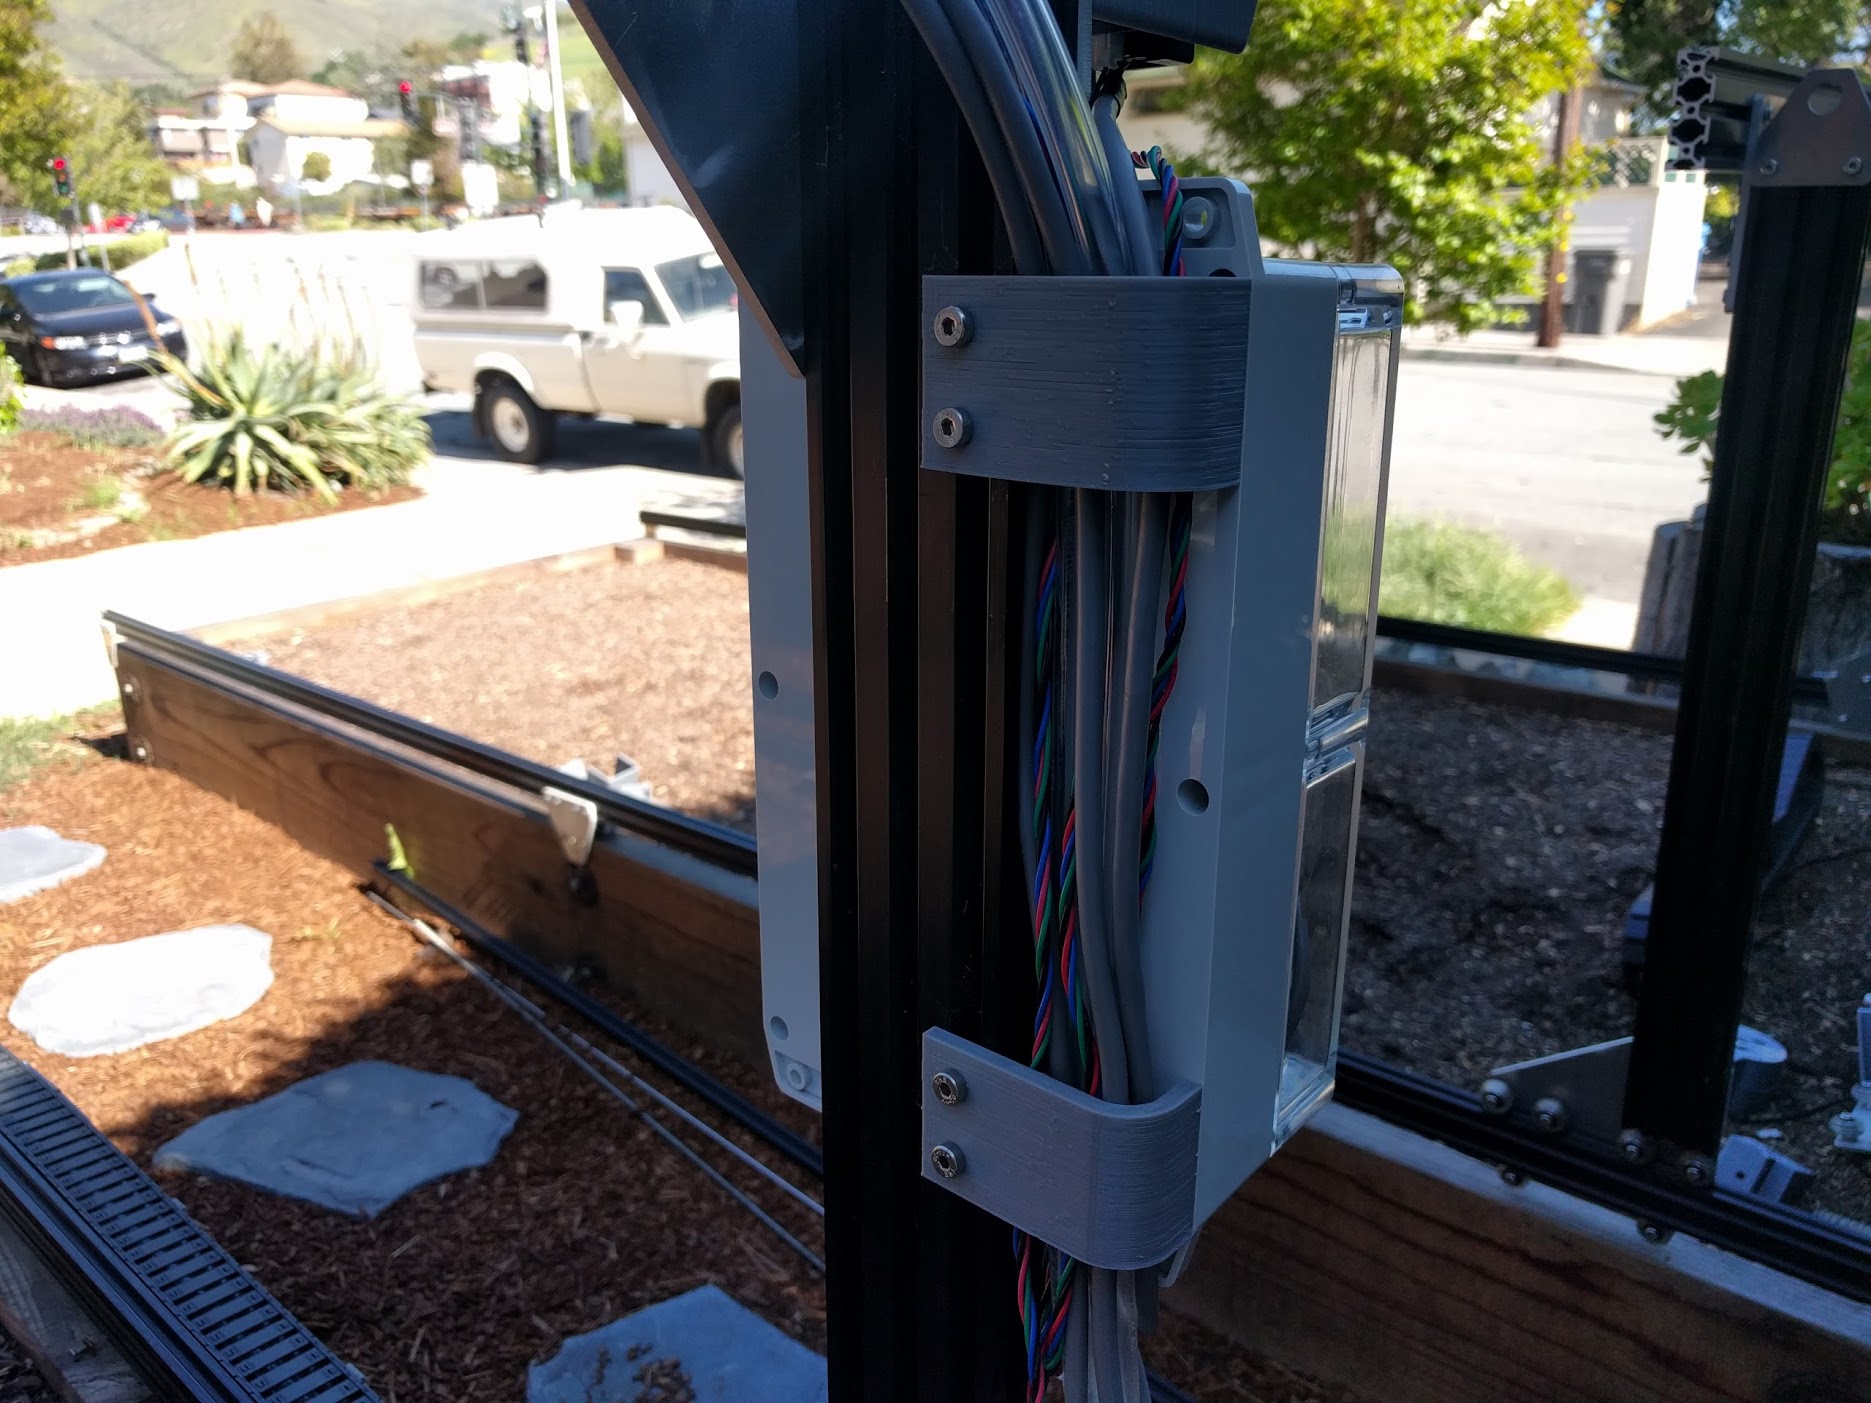
Step 6: Attach the cable clips
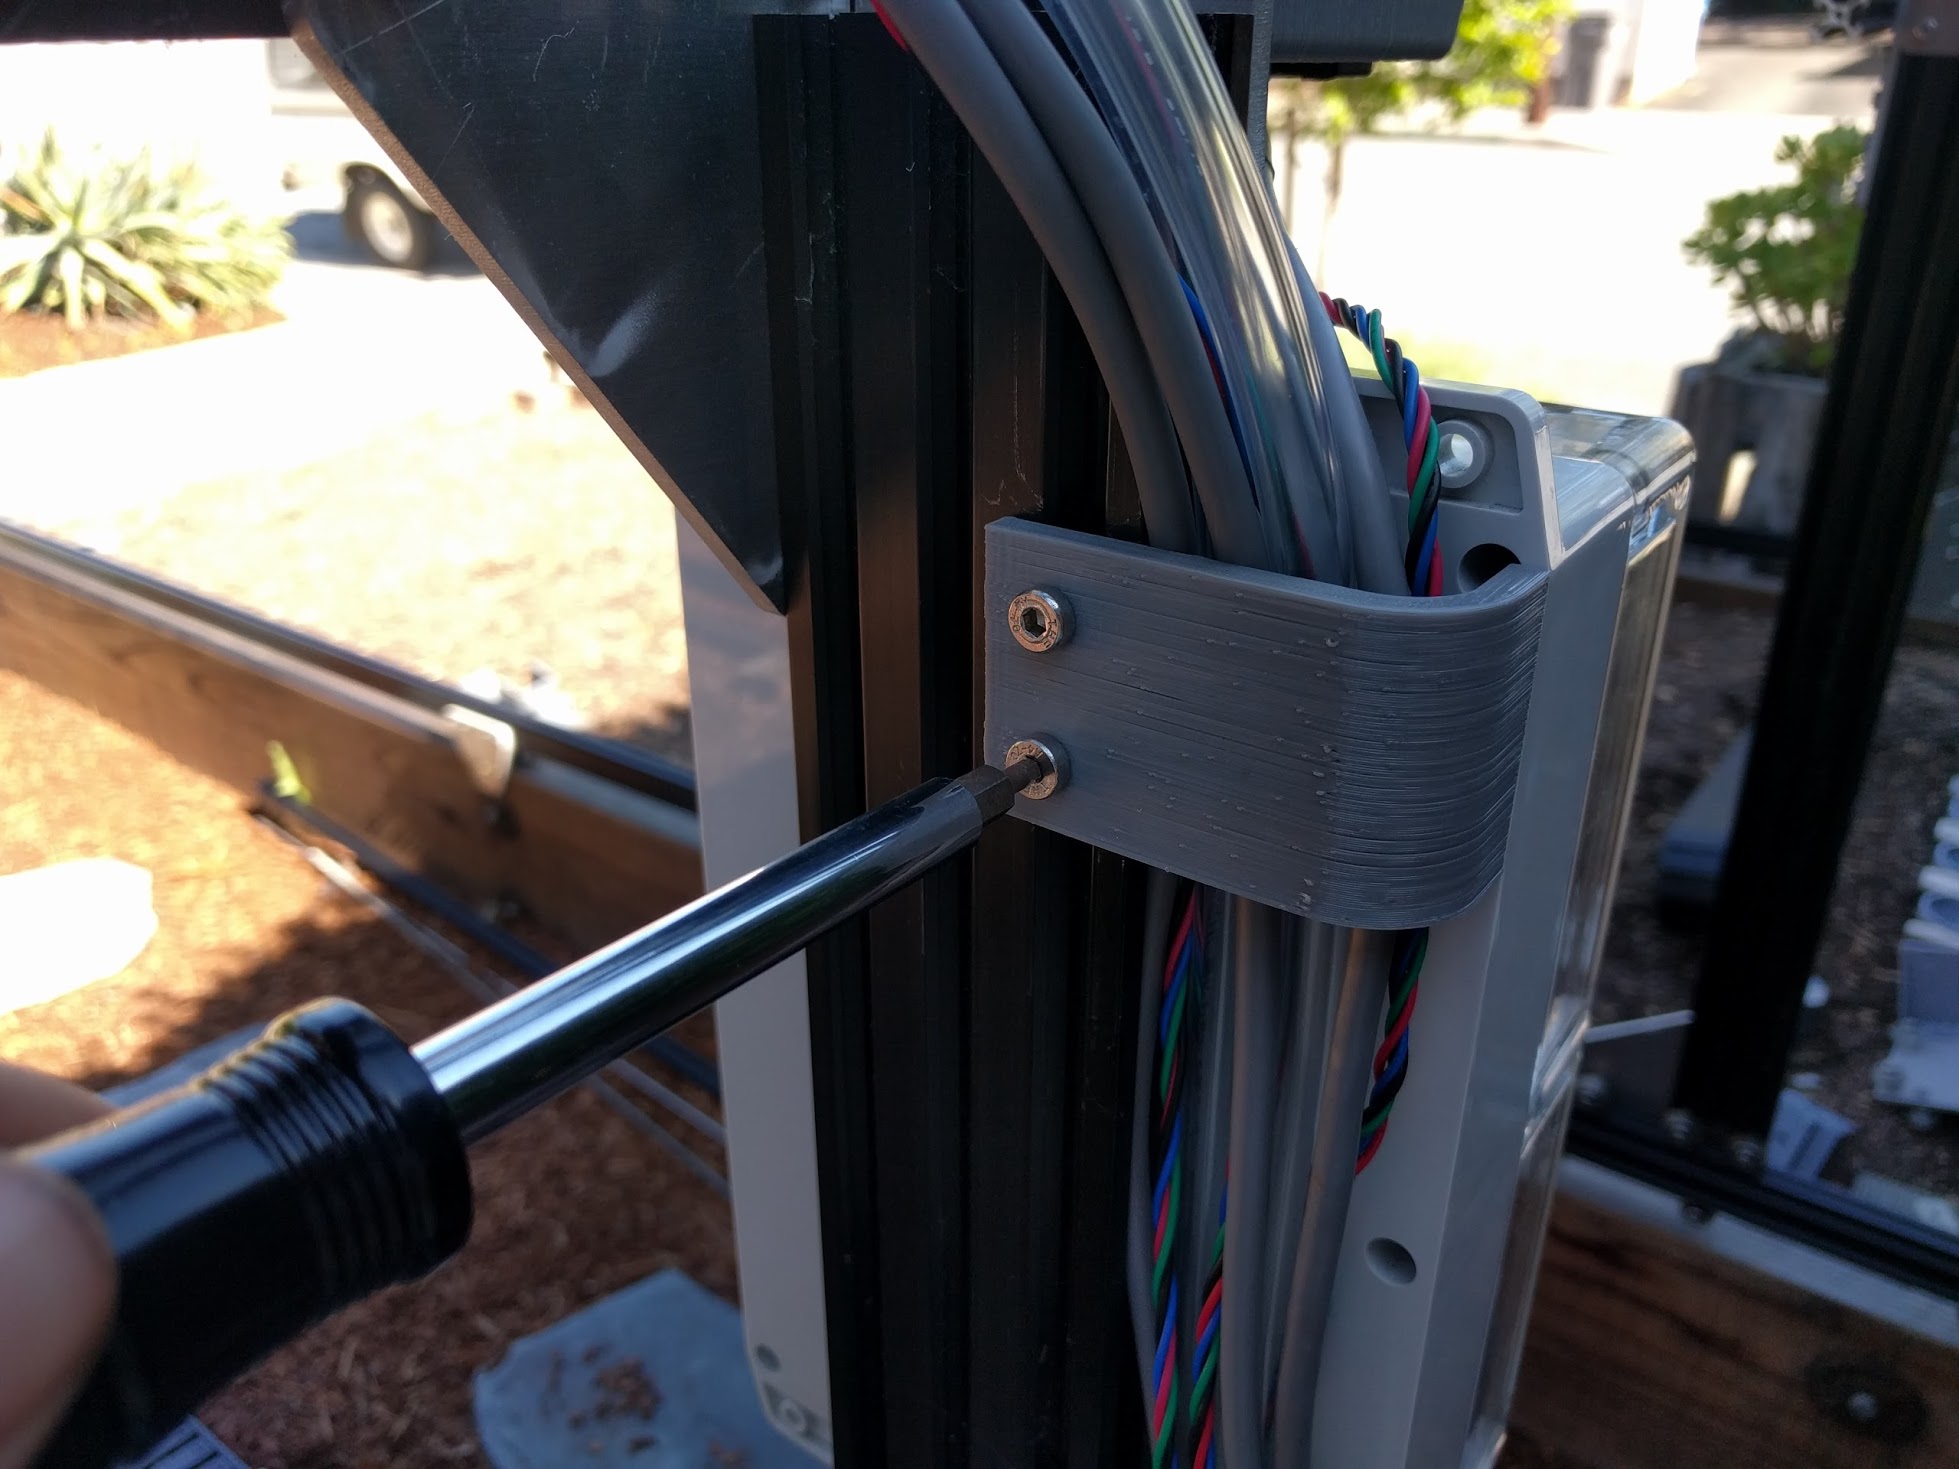
Attach the two cable clips to the gantry column using four M5 x 10mm screws and M5 tee nuts.

Step 7: Feed the tubing, power cable, and peripheral cables through the tracks cable carrier
Feed the three liquid/gas tubes, power cable, and two peripheral cables through the tracks cable carrier.
Step 8: Attach the tracks cable carrier
Attach the tracks cable carrier to the short cable carrier mounts (on the gantry main beam and on the tracks) using four M5 x 16mm screws, M5 washers, and M5 locknuts.