Plug Everything In
Step 1: Attach the RAMPS Shield to the Power Supply
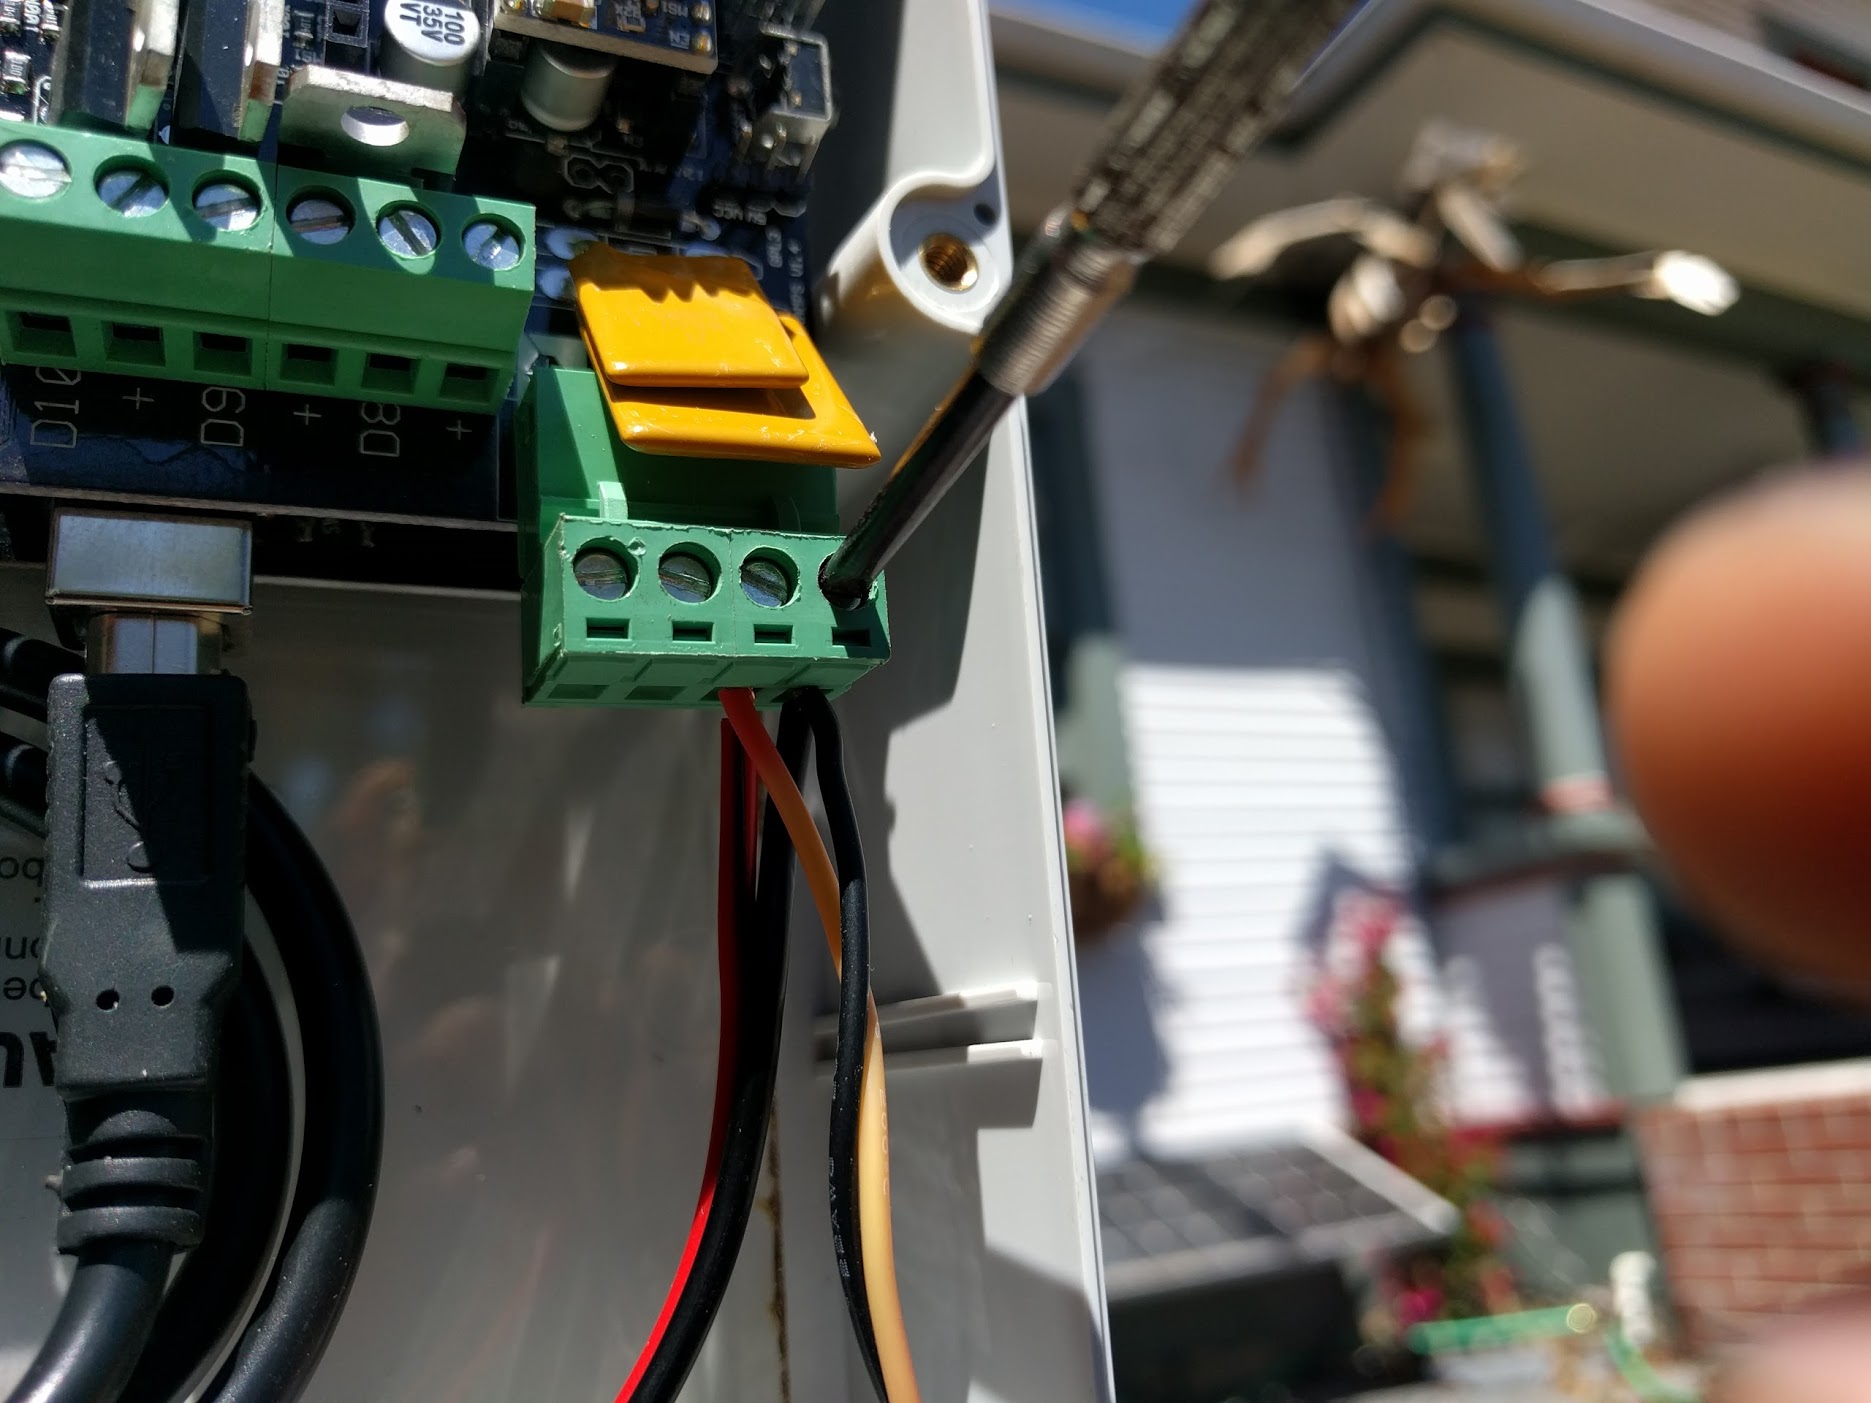
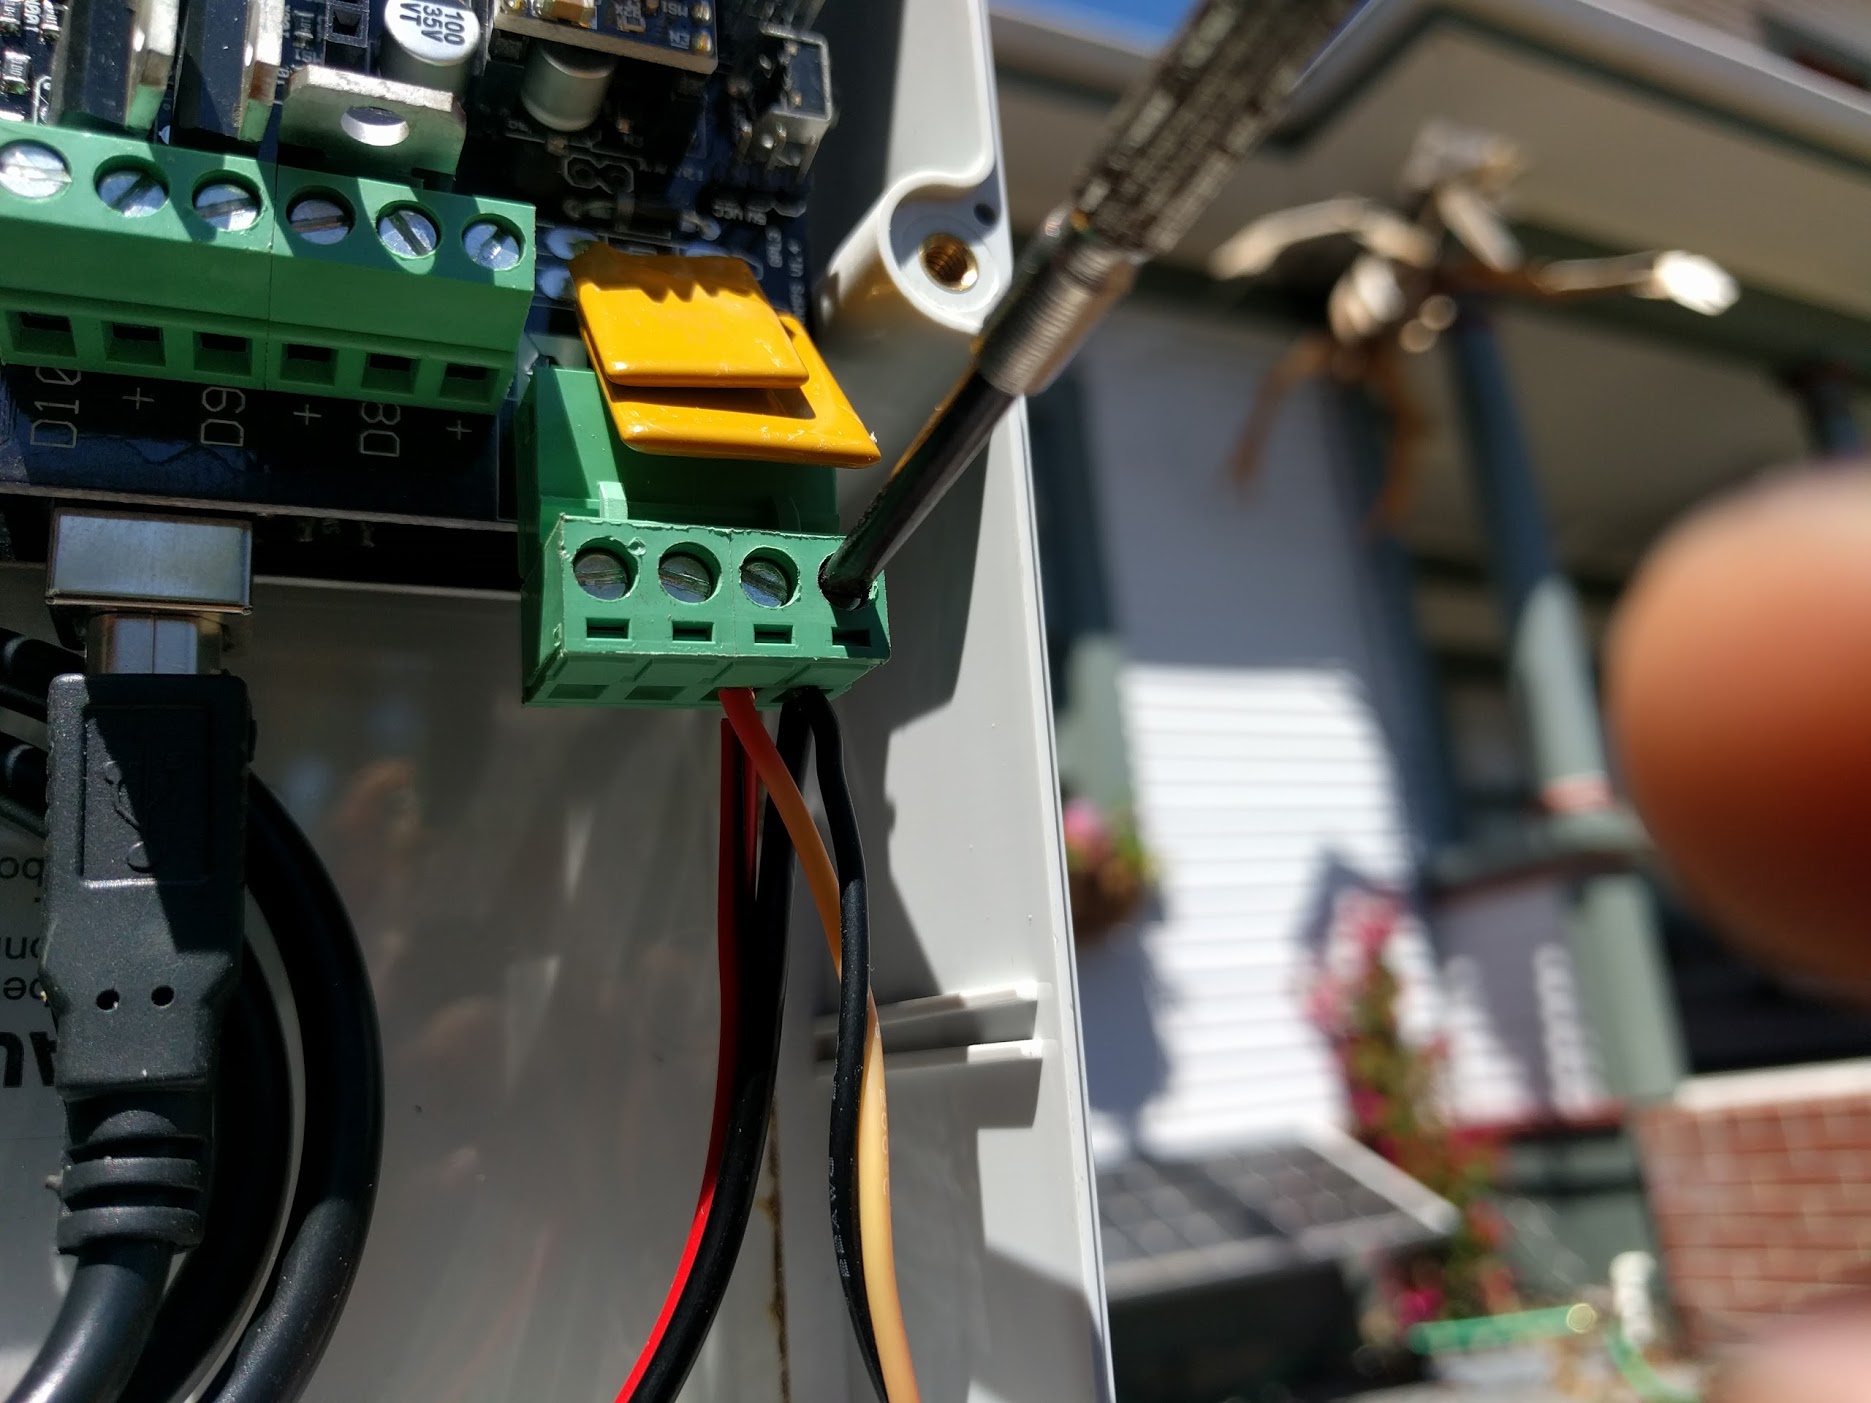
Use 2-16 stranded wire (two stranded wires of 16 gauge) to connect the power supply to the RAMPS shield. One wire should connect the ground output of the power supply to the negative/ground input on the RAMPS shield. The other wire should connect the +12V output of the power supply to the positive input on the RAMPS shield.

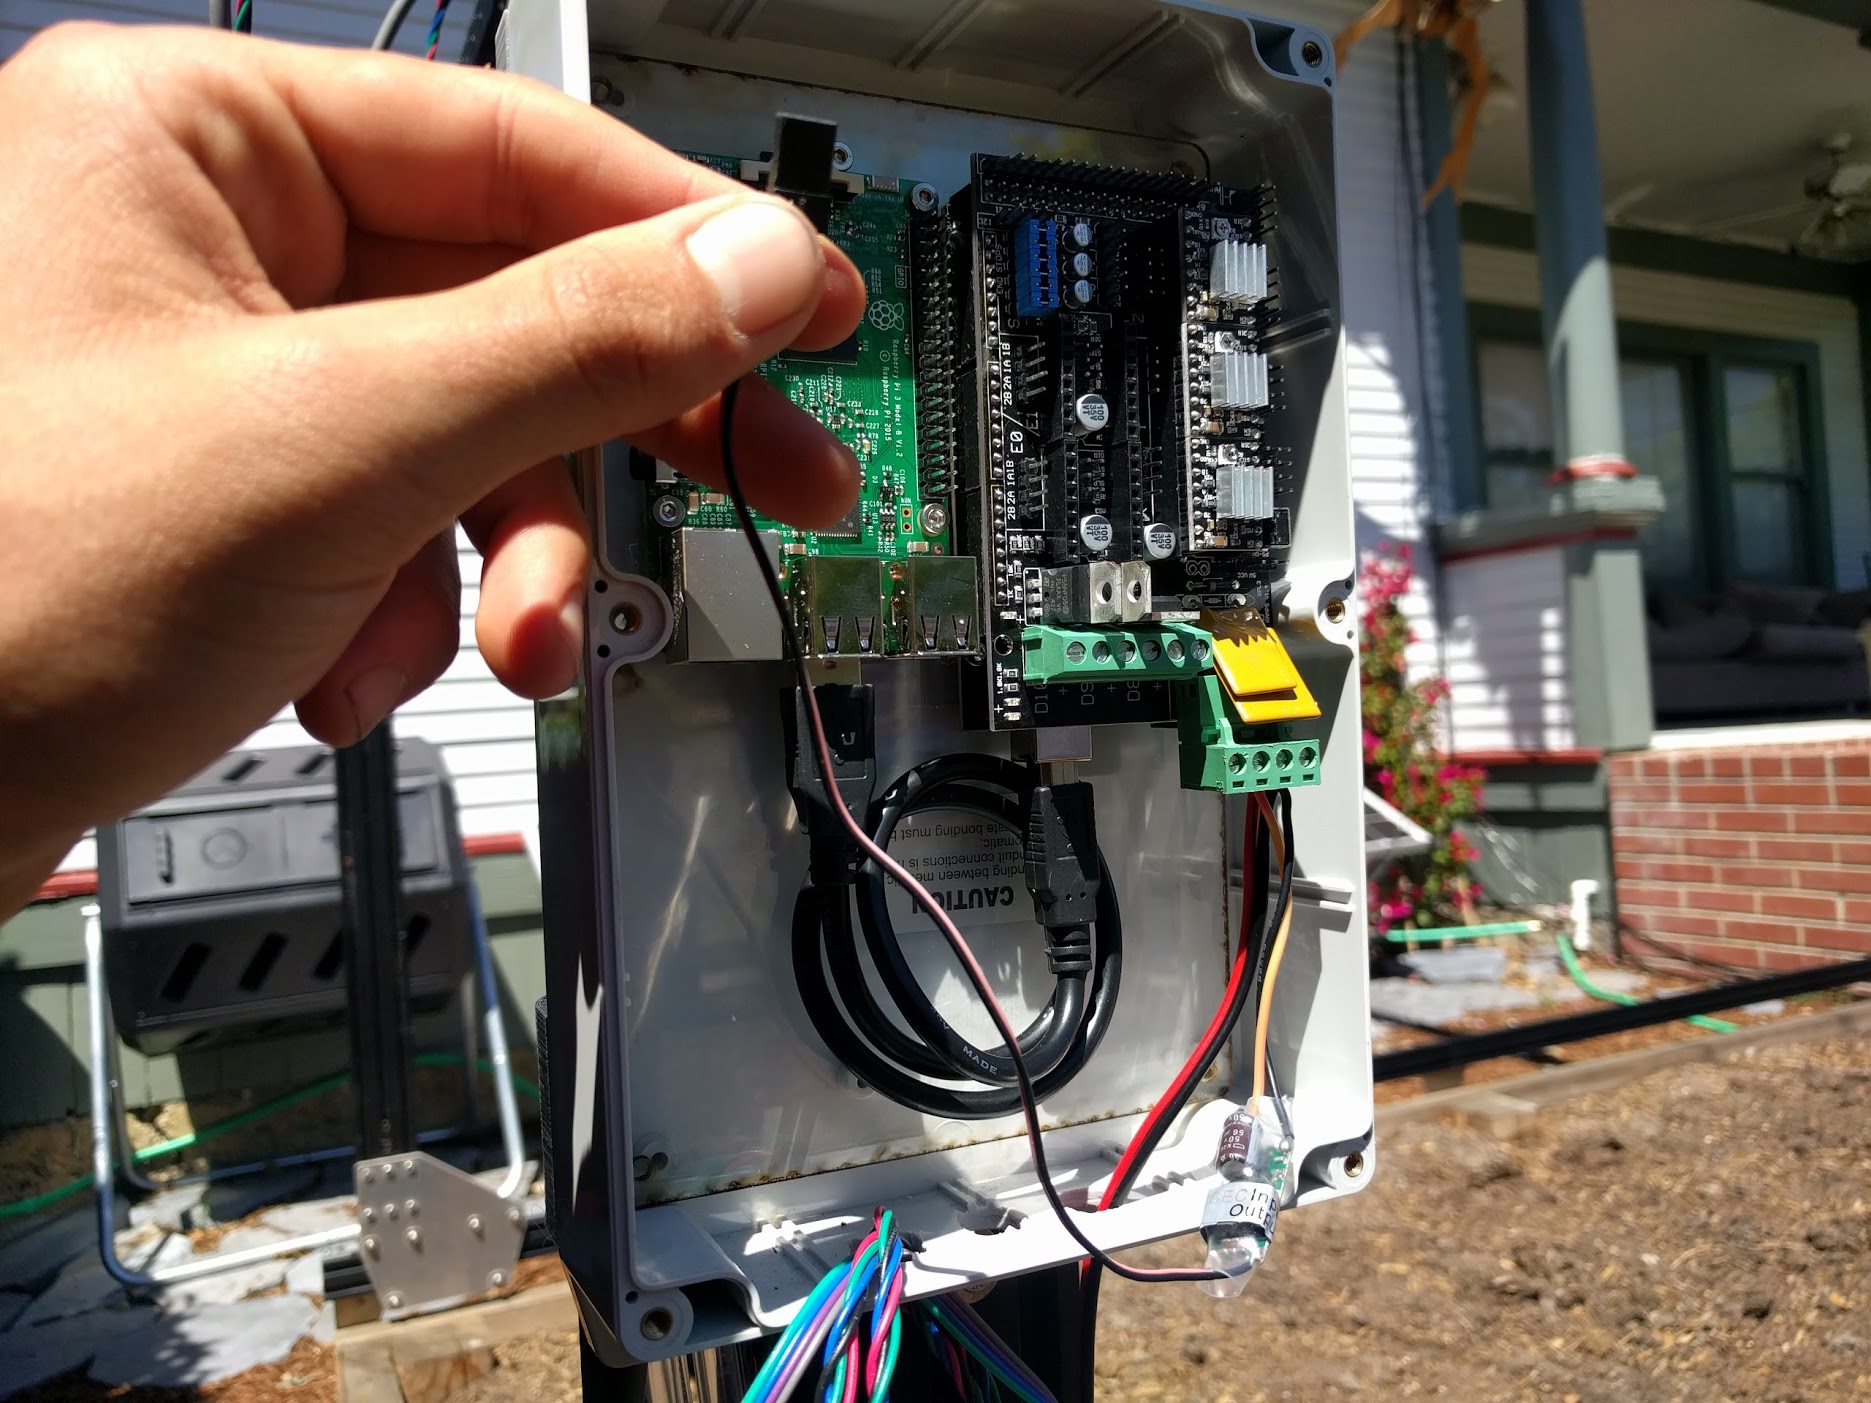
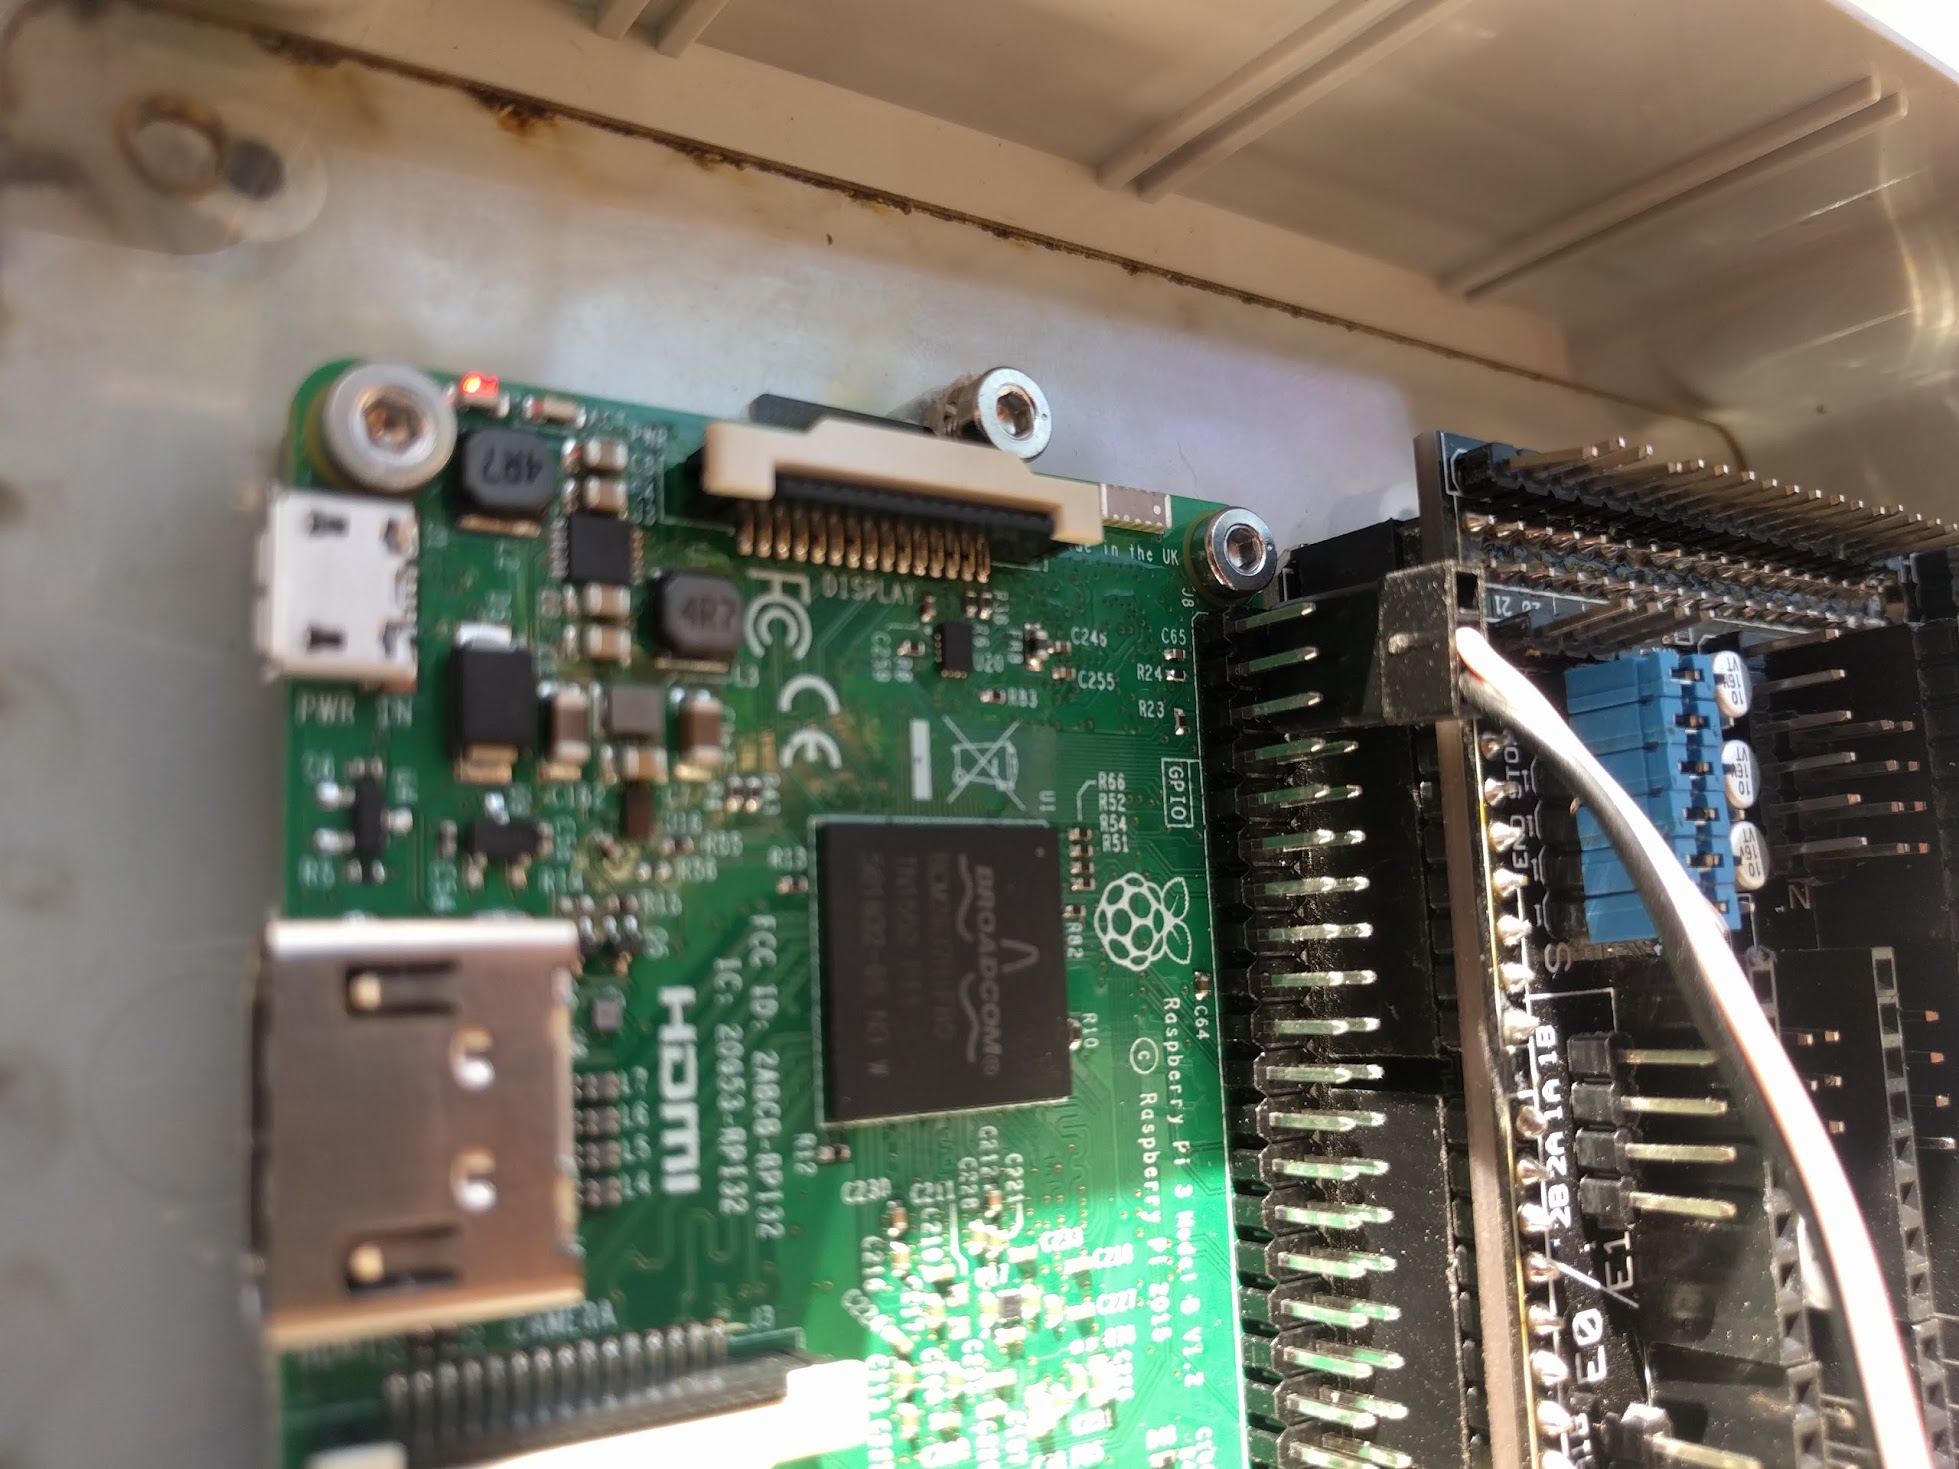
Step 2: Attach the DC/DC converter from the RAMPS Shield to the Pi


Step 3: Plug in the Stepper Motors and Rotary Encoders
Detailed instructions coming soon
Step 4: Plug in the UTM Cable’s Connectors
Detailed instructions coming soon
Step 5: Connect the peripherals
Detailed instructions coming soon
Step 6: Plug in the Power Supply
Before plugging in...
Double check all of your connections, component orientations, and ensure there are not any exposed wires that could short circuit or cause electrical shock.
The mark of success
If all has gone well, your Raspberry Pi should boot up, there should be no smoke, and you should revel in the little blinking red and green lights!