Replacing Stepper Drivers

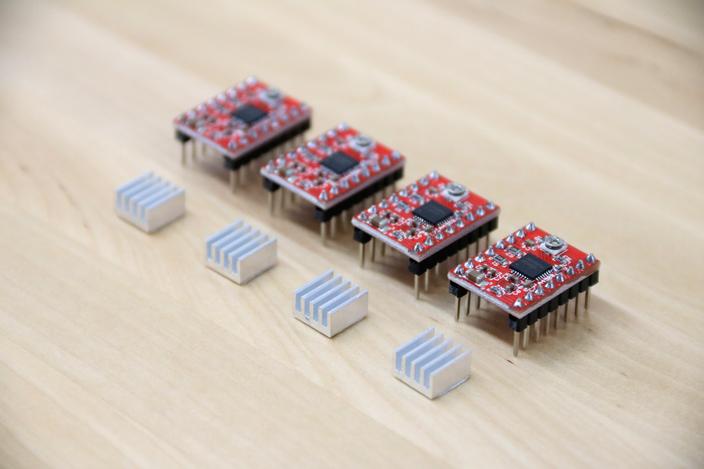
A4988 Stepper Drivers
It is possible for a stepper driver module to become damaged which may result in no movement at all along an axis. A common sign of a damaged stepper driver module is noticeable burn marks on the stepper driver chip or PCB.

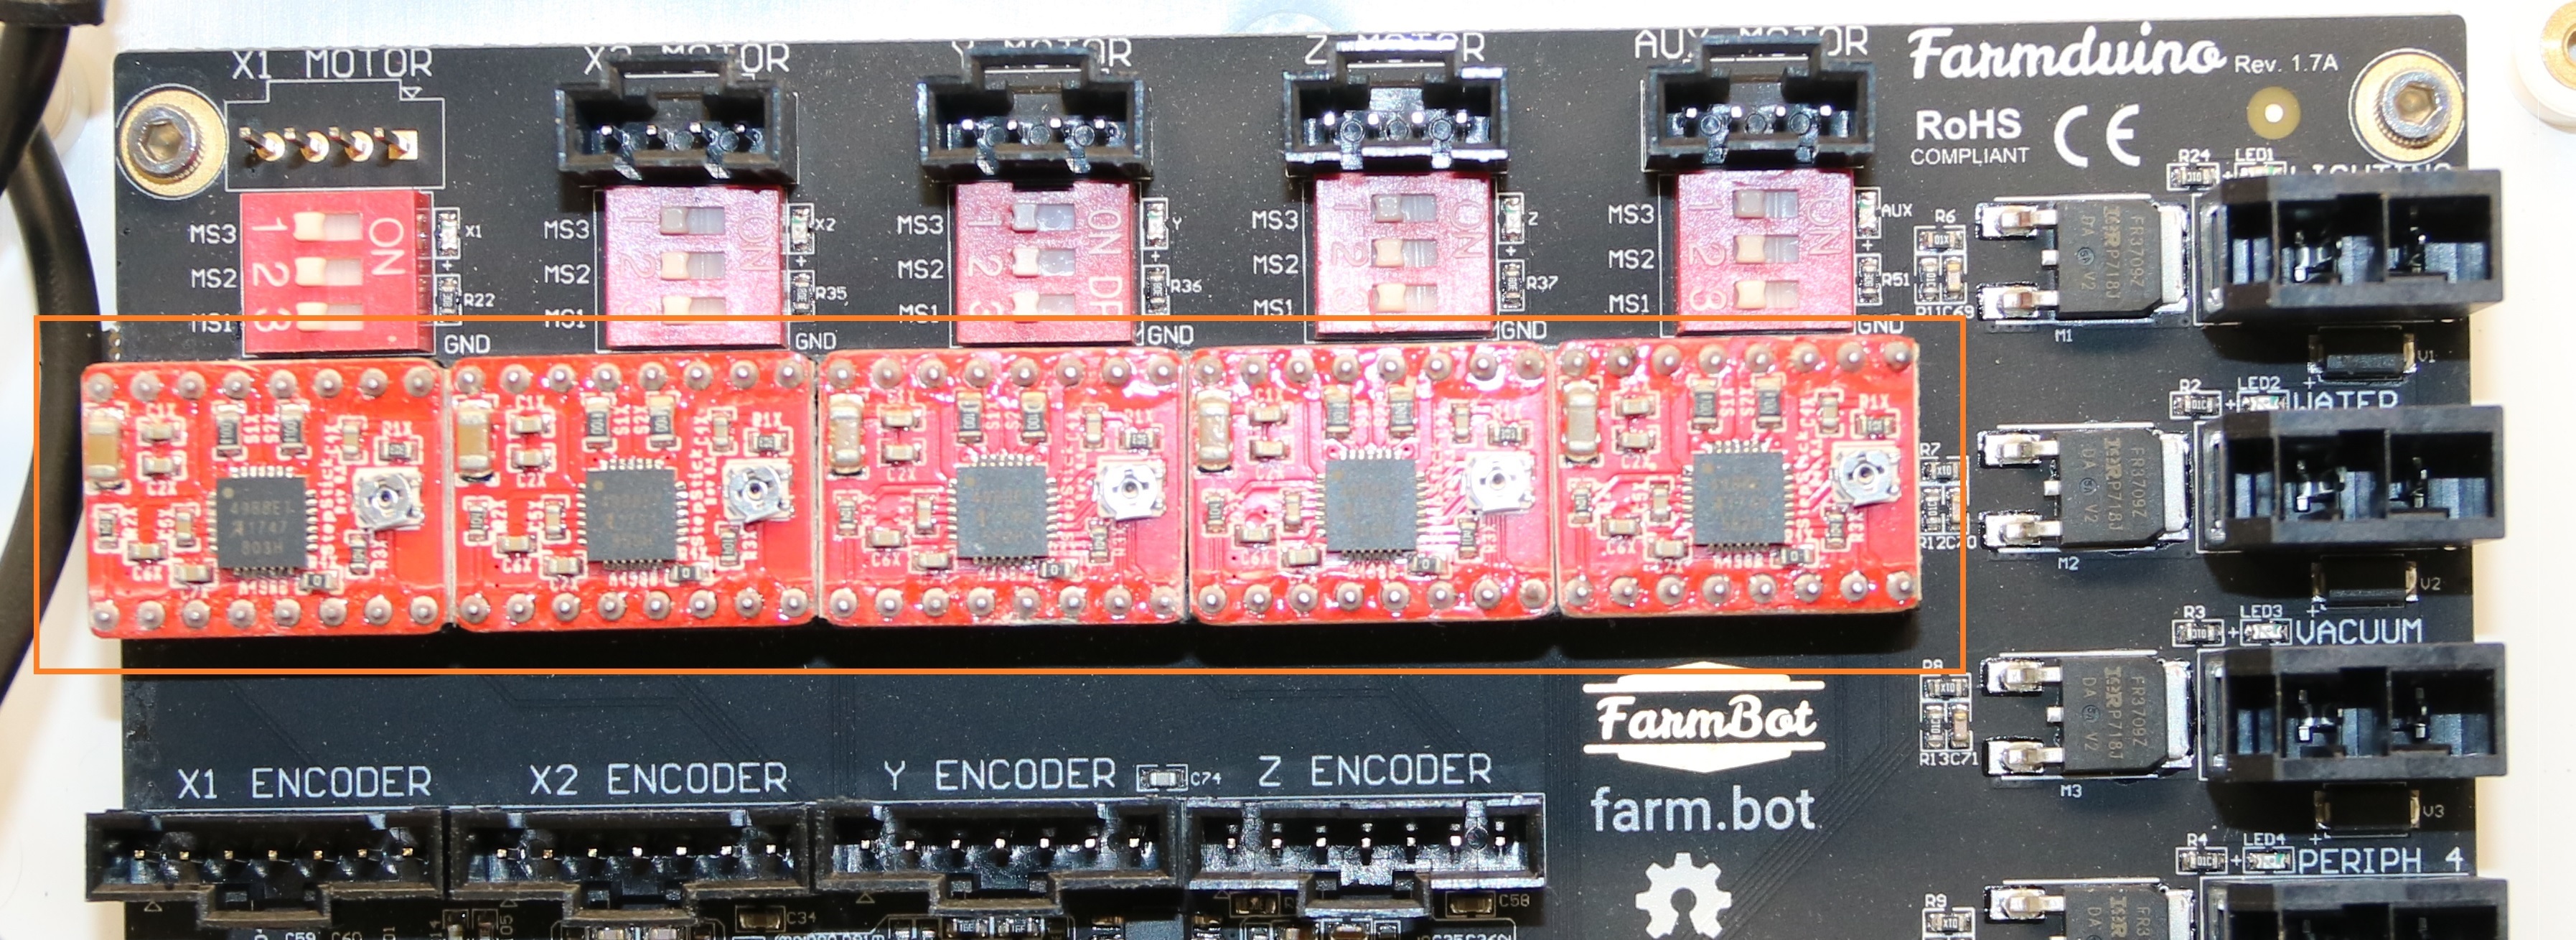
The stepper drivers are located on the Farmduino micro-control board. There is one available spare on the AUX MOTOR stepper driver.
If you suspect that one of your stepper drivers has been damaged, you can replace it with the extra 5th stepper driver module included in all kits.
Step 1: Power down your FarmBot
From the web app, instruct FarmBot to shutdown. Once it has shutdown, unplug the power supply from the power source.
Step 2: Replace the damaged stepper driver module
Carefully remove the damaged stepper driver module from the Farmduino or RAMPS shield. You may need to wiggle it slightly to facilitate removal.
Next, remove the 5th stepper driver module that is connected to the AUX motor slot.
Keeping the orientation the same, insert the 5th stepper driver module into the slot that was holding the damaged stepper driver module.
Keep the orientation
You MUST insert the stepper driver in the correct orientation. It should match all the other drivers. If you insert it incorrectly, you risk damaging all of the electronics.
Step 3: Power up your FarmBot
You may now plug your FarmBot back in and turn it on to test out the new stepper driver.