Assemble the Gantry Wheel Plates
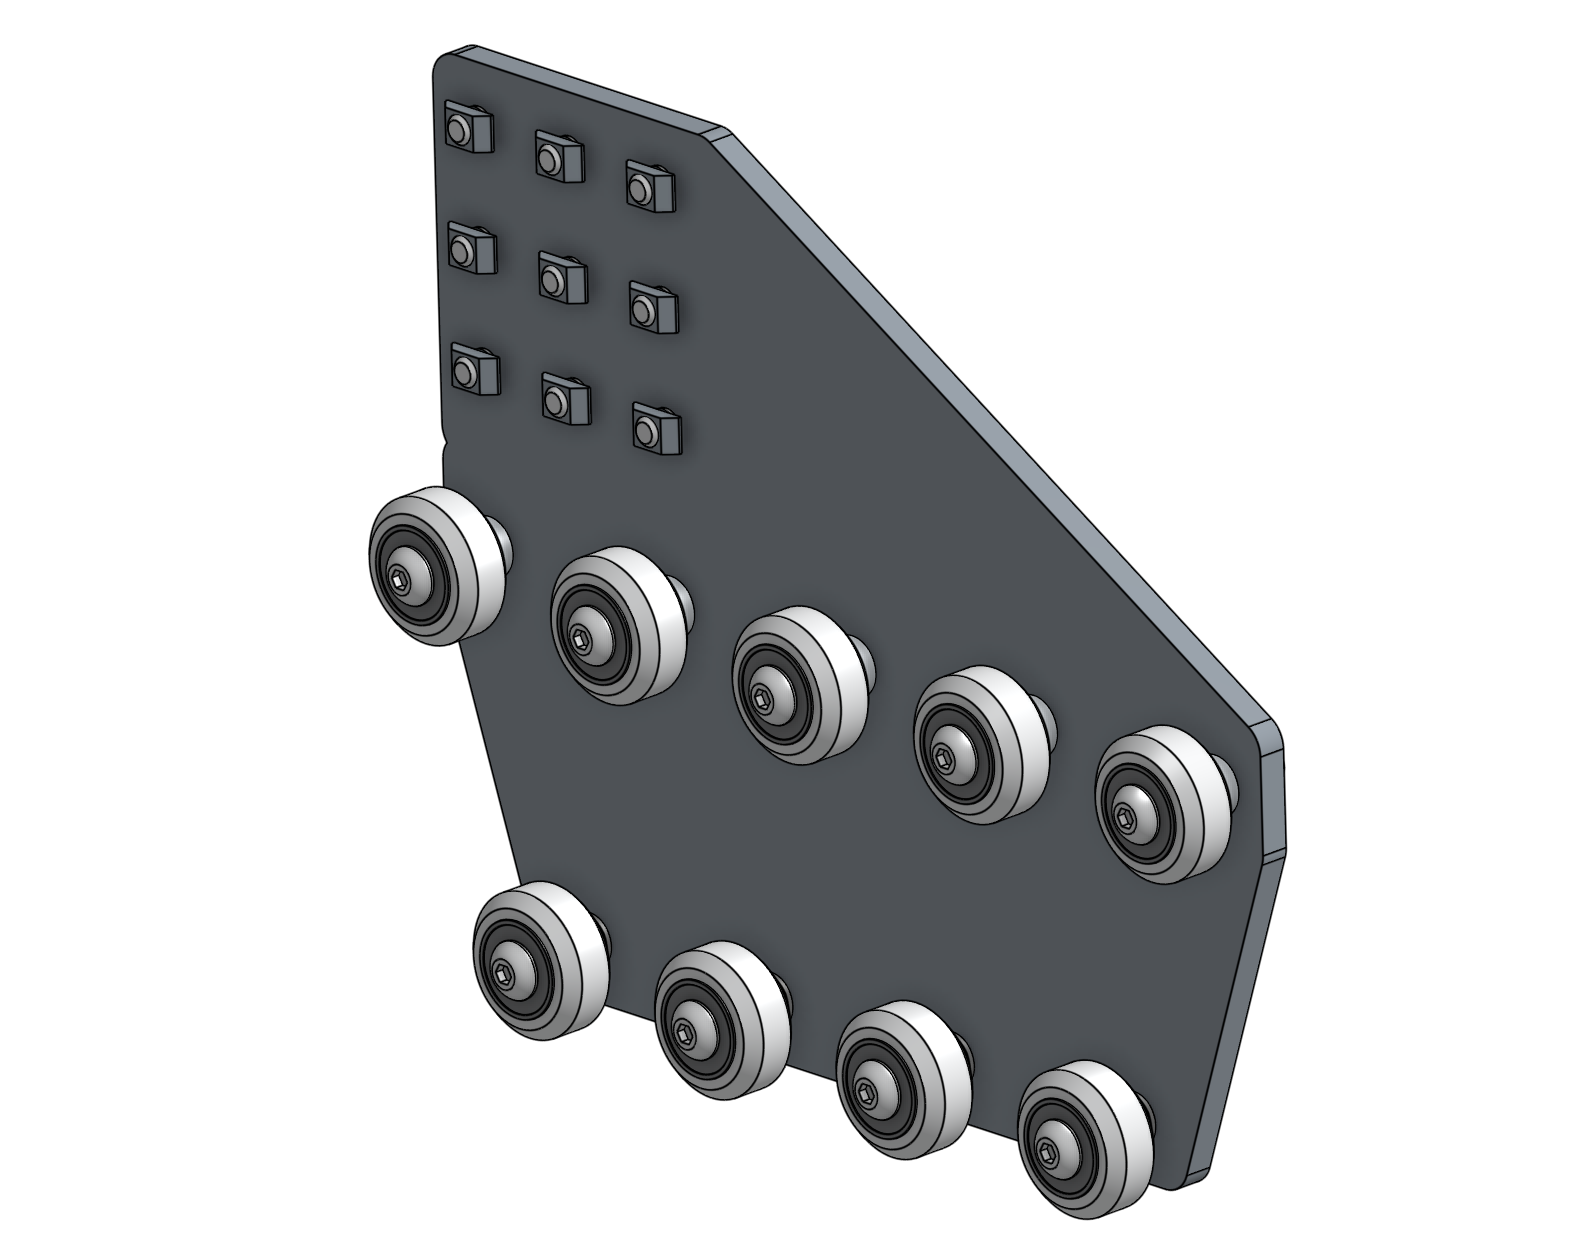
Before we start assembly, know that each completed gantry wheel plate will have nine wheel assemblies attached to it that allow it to slide along the tracks. The five wheels that ride on the top of the tracks will be attached to the plates with standard spacers. The four wheels that ride underneath the tracks will be attached to the plates with eccentric spacers. The eccentric spacers will be used to finely adjust the spacing between the top and the bottom wheels such that the gantry will roll smoothly and snuggly along the tracks.
For wheel assembly instructions, see Assemble the V-Wheels.
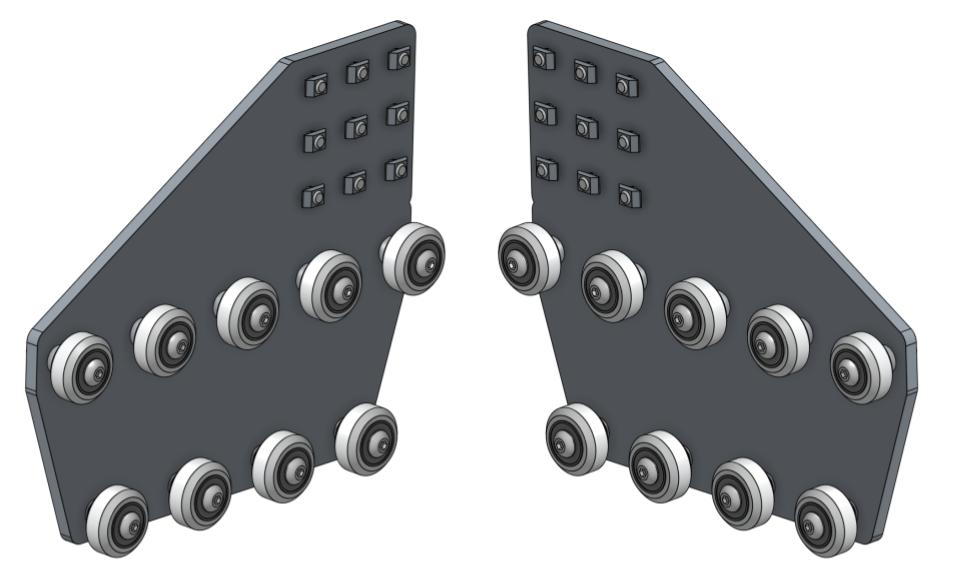
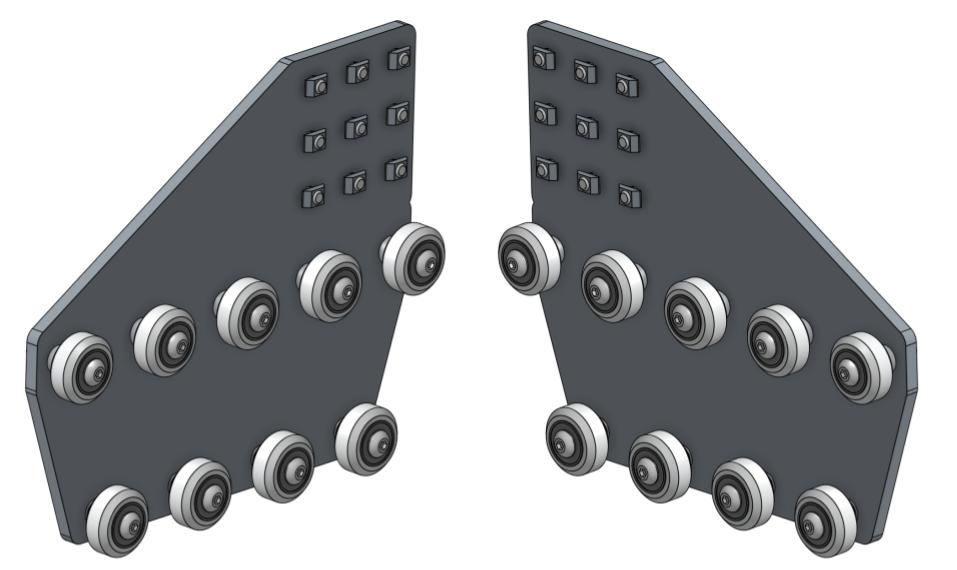
Note that you need to assemble a left-hand and right-hand version of the gantry wheel plate assemblies.
Pro tip
It is best to lay out the gantry wheel plates as a mirror image of each other and attach all of the wheels facing towards you to ensure you end up with both a left-hand and a right-hand assembly.
Step 1: Attach the upper V-wheels
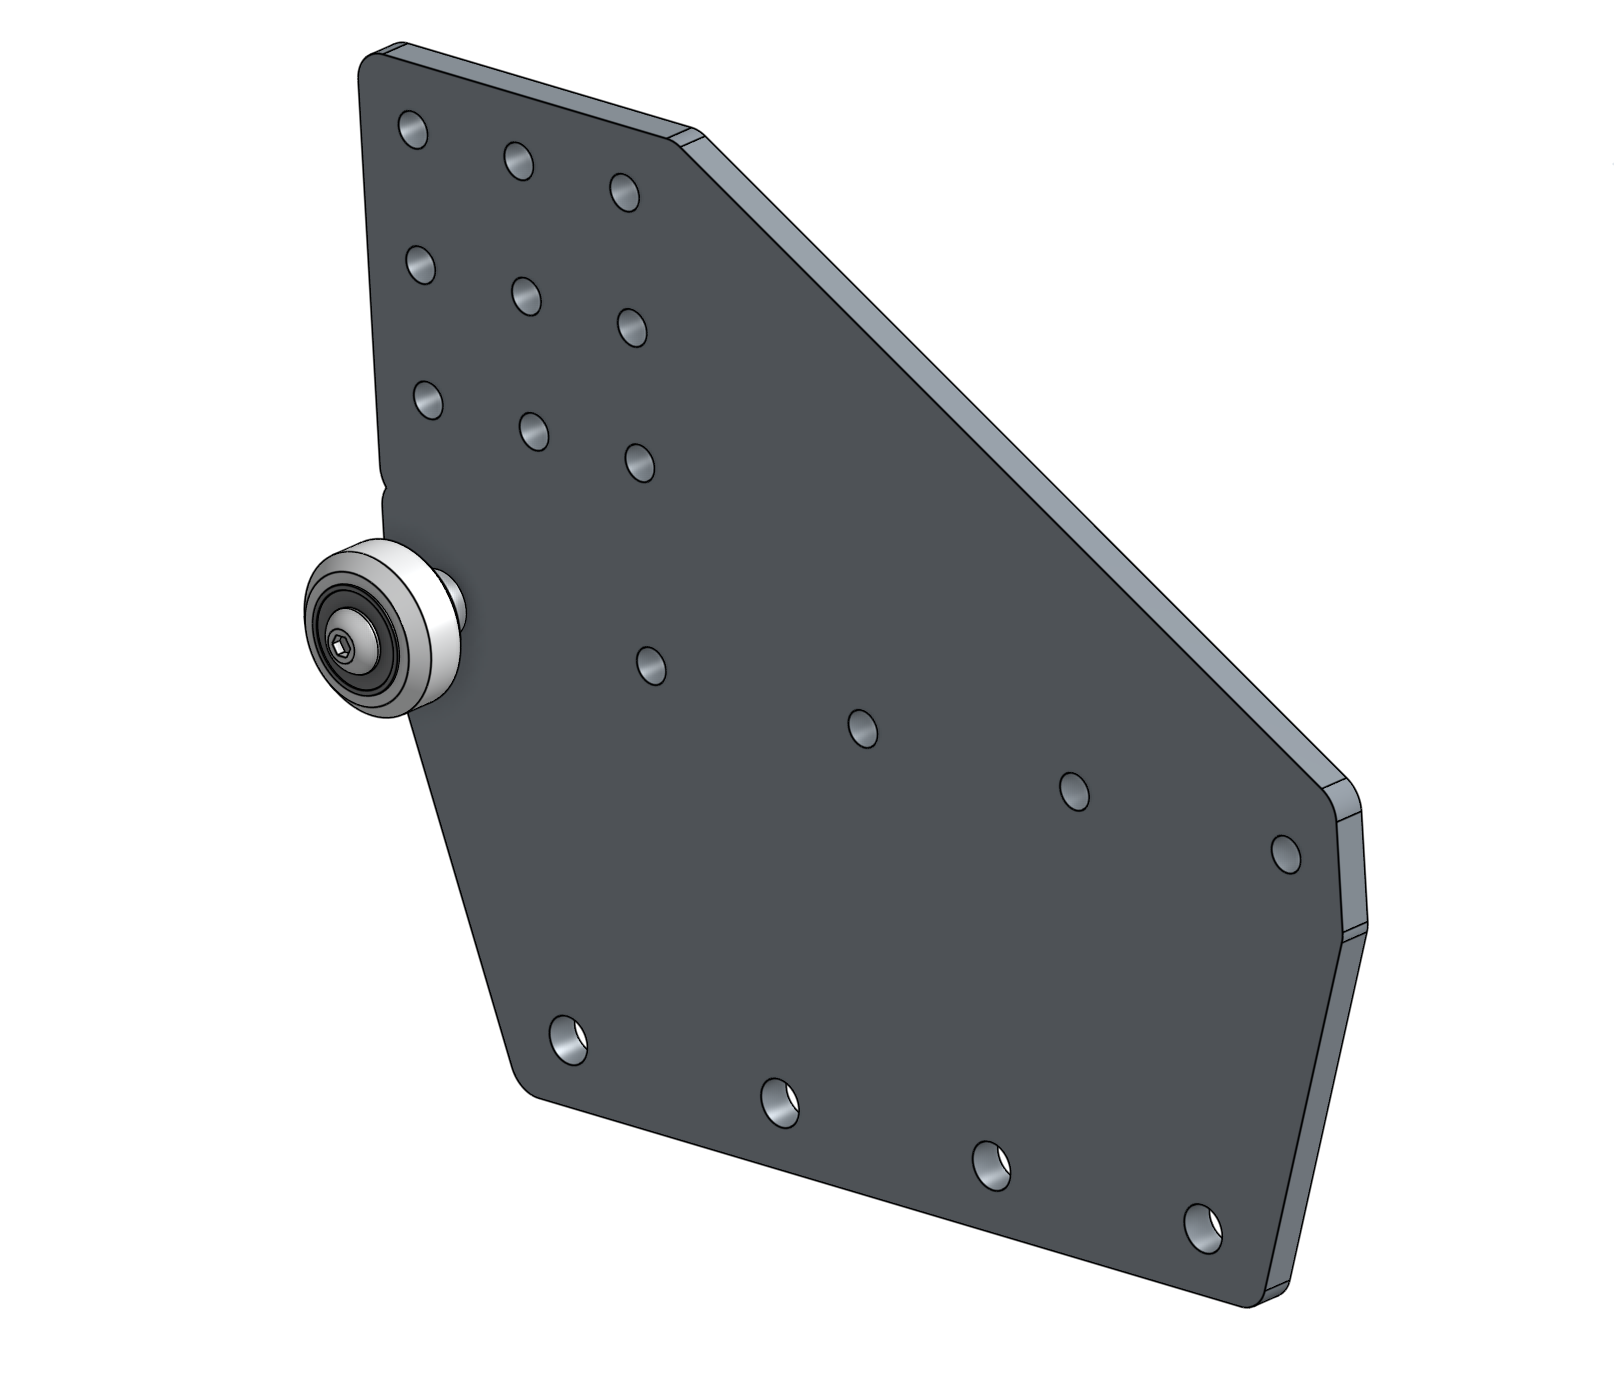
Insert an M5 x 30mm screw through a V-wheel and a standard 6mm spacer. Then insert this into the gantry wheel plate as shown.
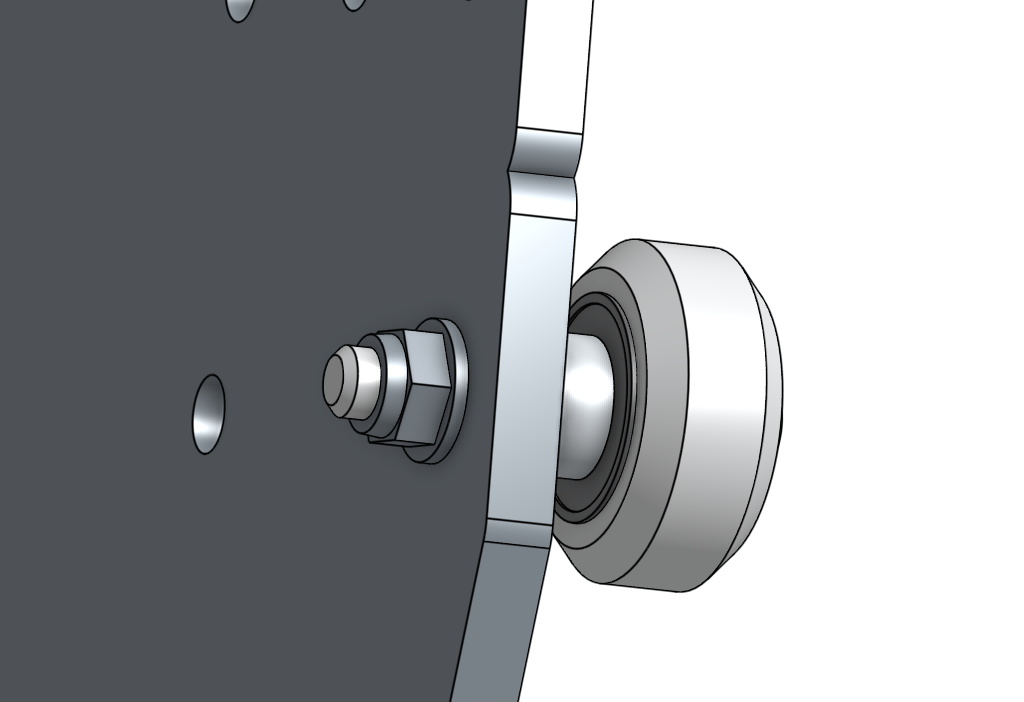
On the opposite side of the gantry wheel plate, add an M5 washer and an M5 locknut to the M5 x 30mm screw. Tighten the wheel assembly using the 3mm hex driver and the 8mm box wrench.
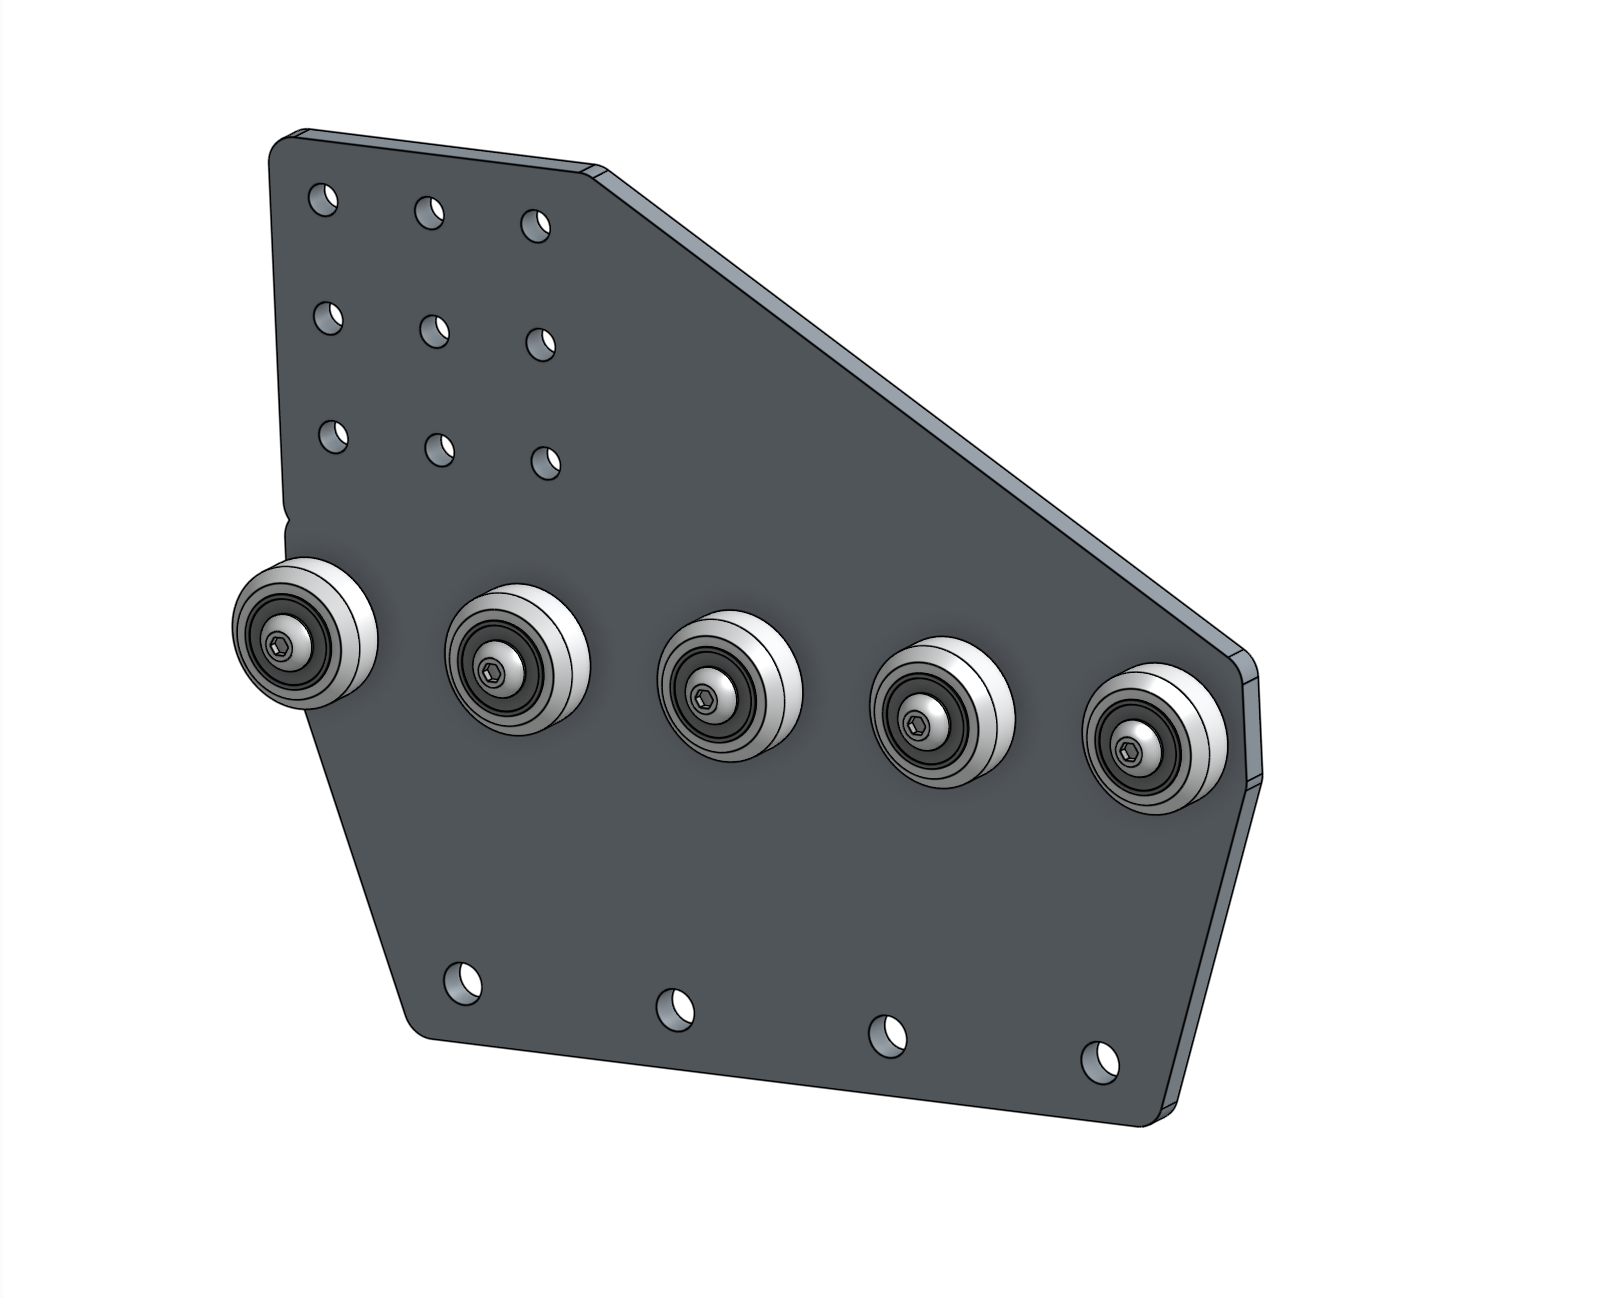
Repeat the above process for the remaining four V-wheels with standard spacers. All five of these wheels should be positioned on the plate in a straight line.
Step 2: Attach the lower V-wheels
Insert an eccentric spacer into the gantry wheel plate.
Snug fit
You may need to lightly tap the eccentric spacer into the hole using a mallet or hammer.
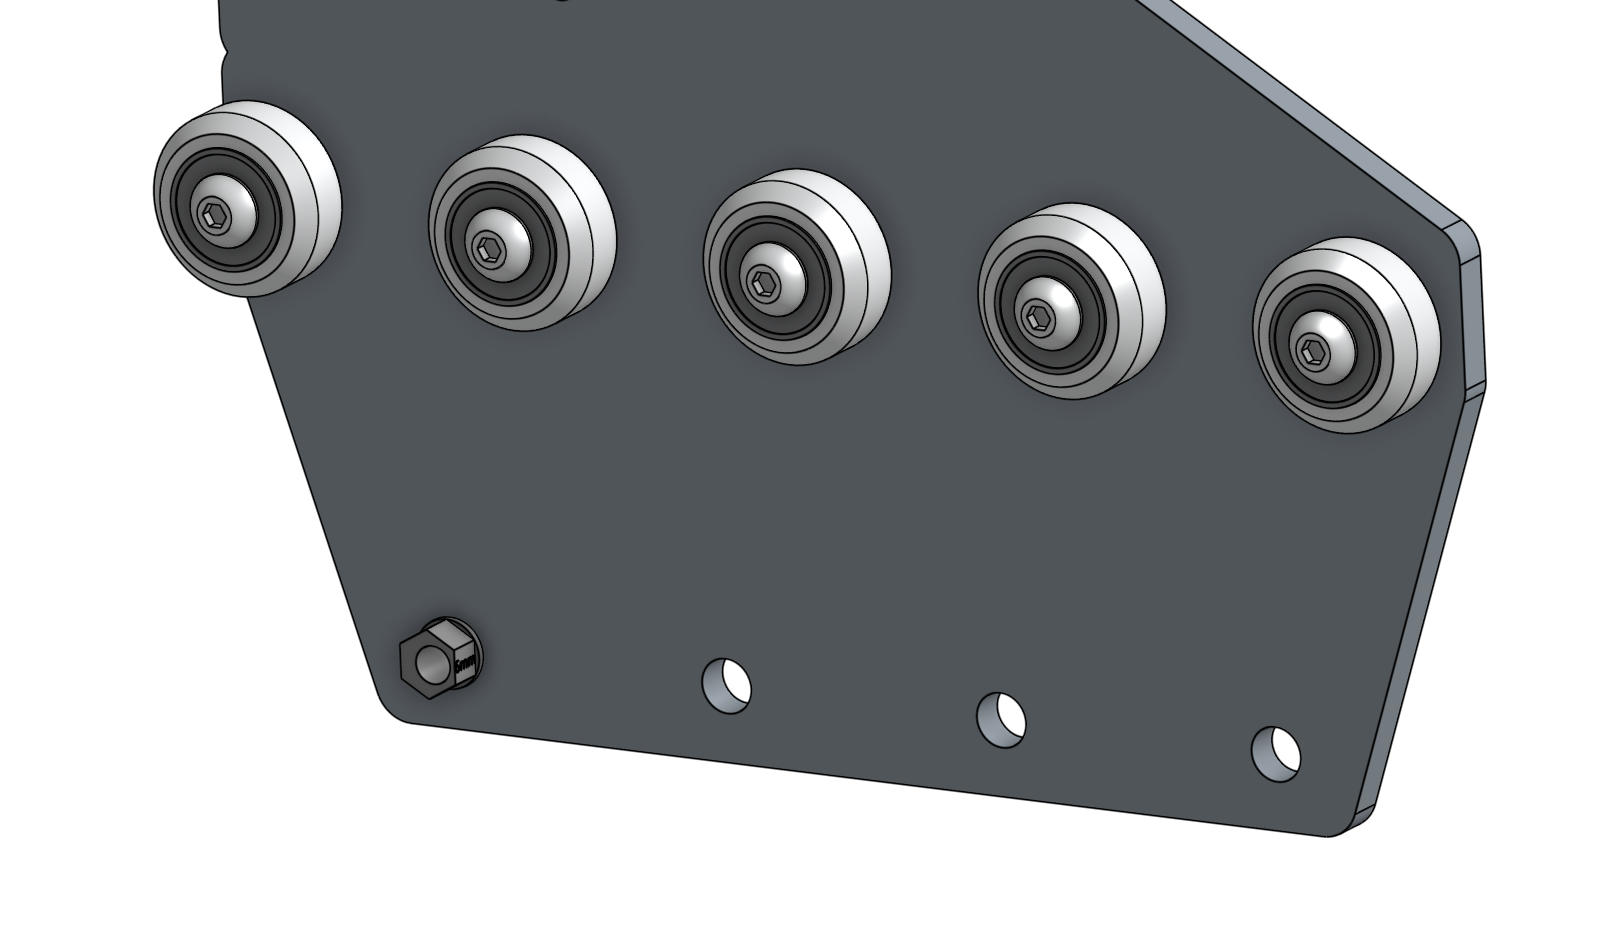
Then insert an M5 x 30mm screw with a V-wheel through the spacer and tighten with an M5 washer and an M5 locknut on the other side of the plate.
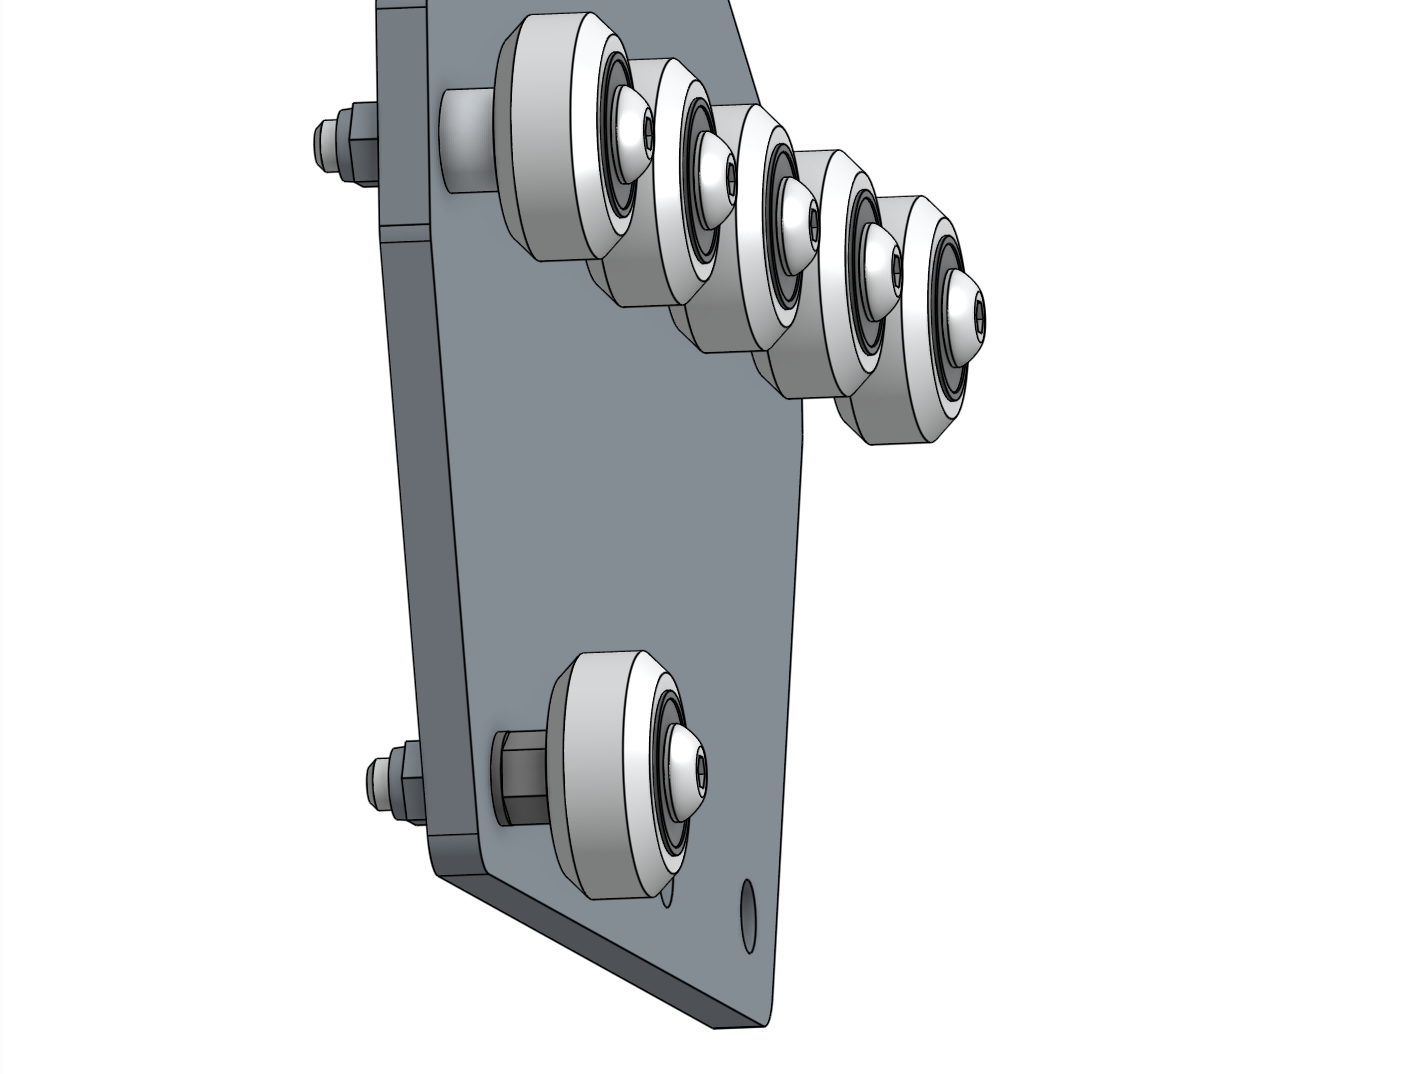
Repeat the above steps for the remaining V-wheels attached with the eccentric spacers.
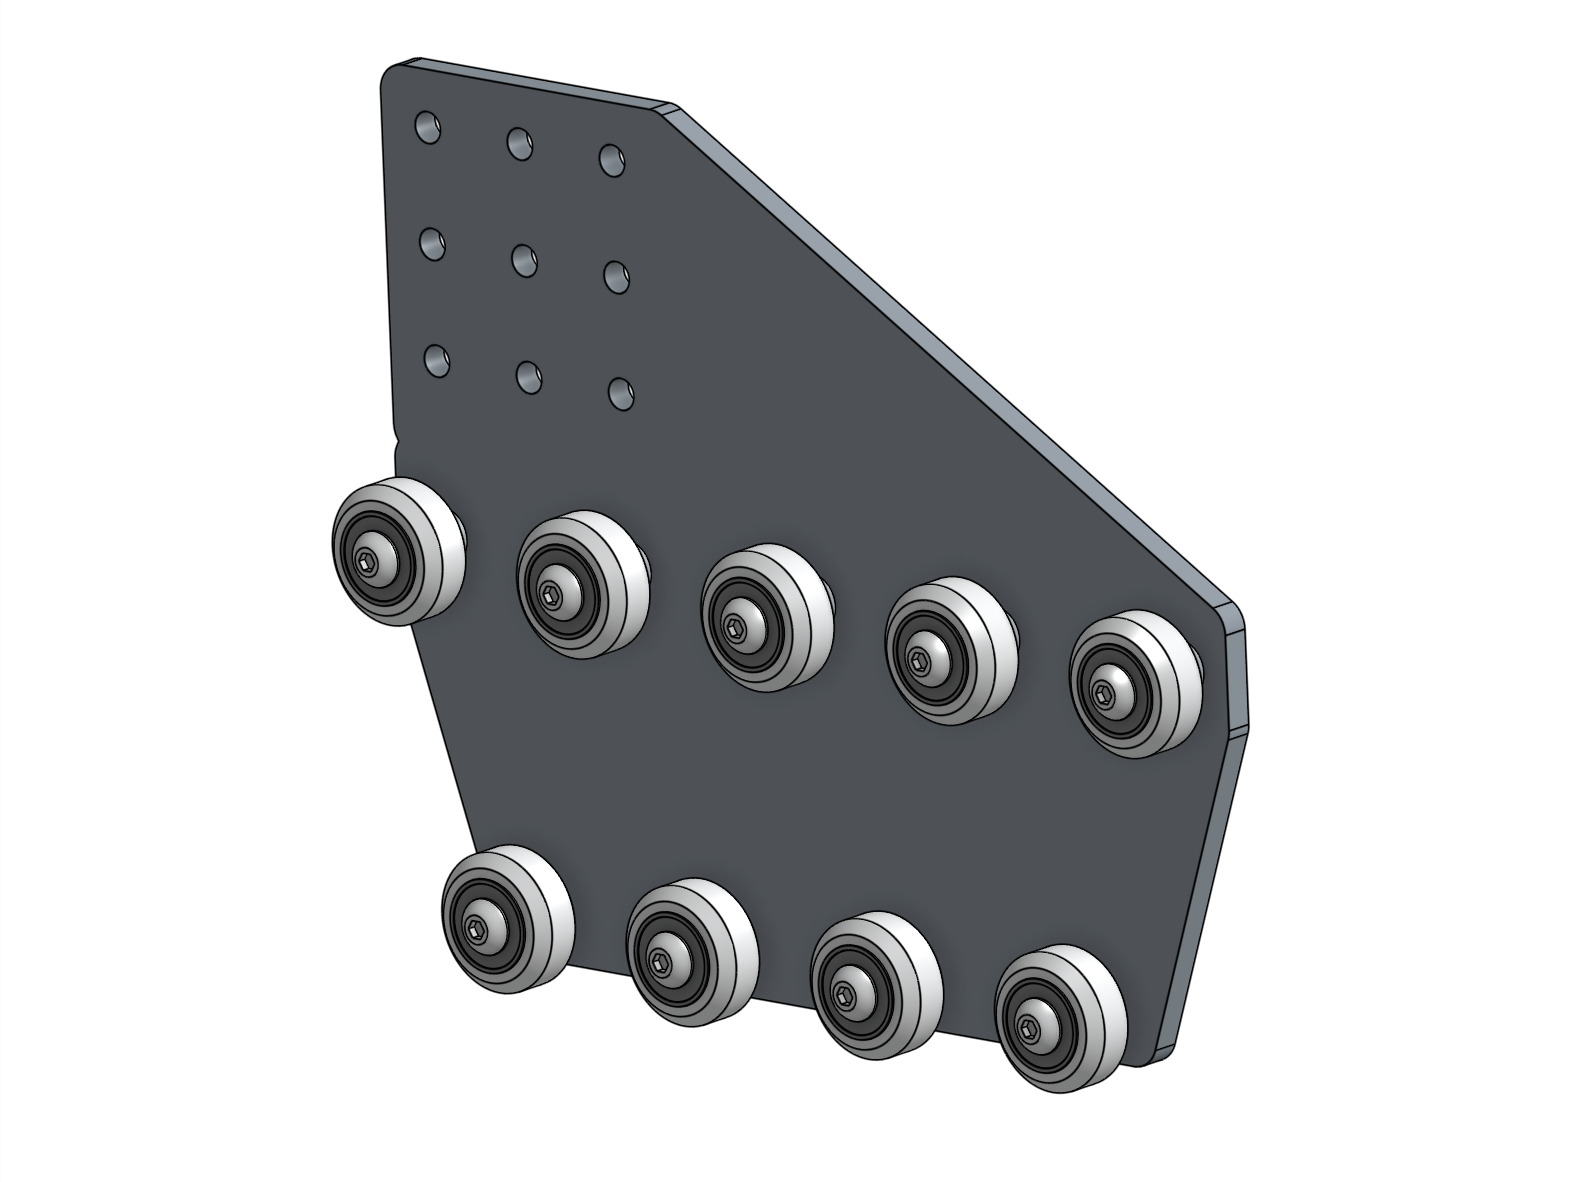
Step 3: Attach the plate/column mounting screws
Insert nine M5 x 10mm screws into the gantry wheel plate and loosely attach M5 tee nuts onto the screws. The tee nuts should reside on the same side of the plate as the V-wheels.
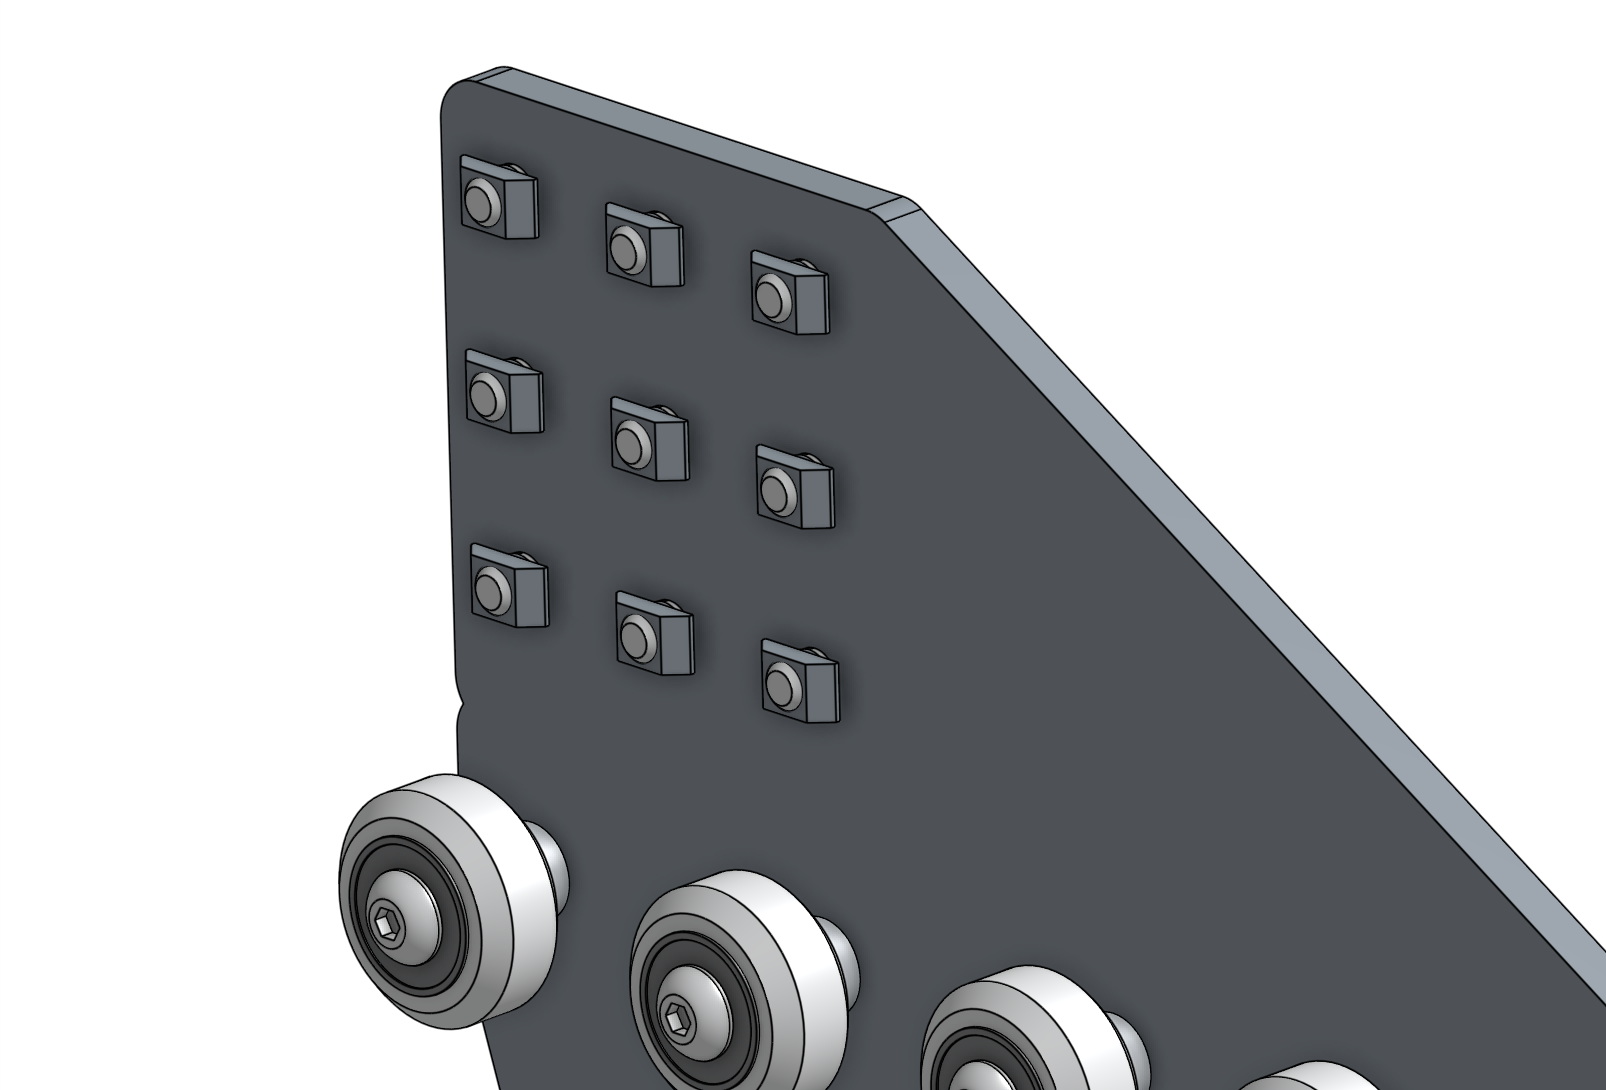
You should end up with one completed gantry wheel plate assembly.
Step 4: Repeat
Repeat the above steps for the second gantry wheel plate assembly. You should end up with two gantry wheel plate assemblies that are mirror images of each other.
Step 5: Adjust the V-wheel spacing
The eccentric spacers on the lower wheels of each gantry wheel plate assembly are used for making fine adjustments to the spacing between the lower wheels and the upper wheels. Adjusting this spacing is the key to having your gantry move smoothly and wobble-free across the tracks.
If the spacing is too little, then the gantry will not fit onto the tracks at all or be tough to move. If the spacing is too great, then the gantry will be wobbly and loose. Adjust the eccentric spacers using the eccentric spacer adjustment reference guide.