Cables and Tubing
Step 1: Feed the x-axis cable carrier
Feed the three liquid/gas tubes, two RAMPS power cables, solenoid valve cable, and vacuum pump cable through the x-axis cable carrier. Leave about 50cm of tubing and cable sticking out one of the ends for later attaching to the power supply and peripherals.
Pro tip
The cable carrier links can be opened up to make feeding and organizing the cables and tubes easier. Just remember to close them all after!
Step 2: Mount the x-axis cable carrier
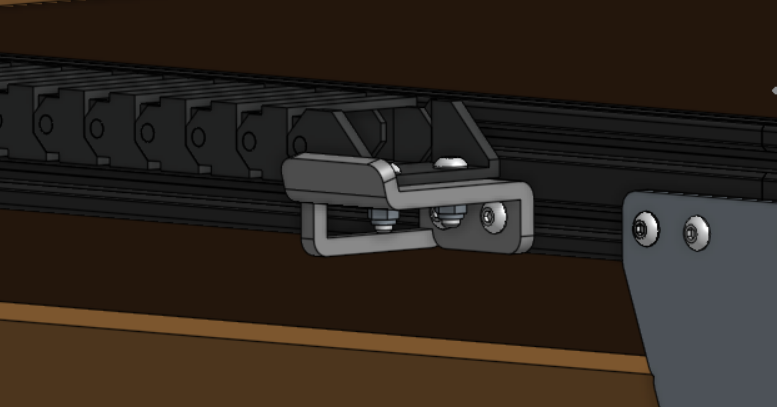
Use two M5 x 16mm screws, M5 washers, and M5 locknuts to attach the x-axis cable carrier to the single cable carrier support on the left-side gantry column.
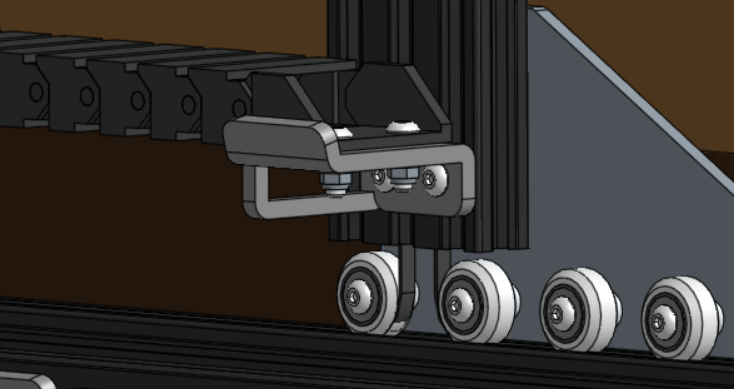
Repeat to attach the other end of the x-axis cable carrier to the cable carrier support just behind the track joining plate.
Step 3: Feed the y-axis cable carrier
Feed the UTM cable, all three liquid/gas tubes, and the y- and z-axis motor/encoder cables through the y-axis cable carrier.
Step 4: Mount the y-axis cable carrier
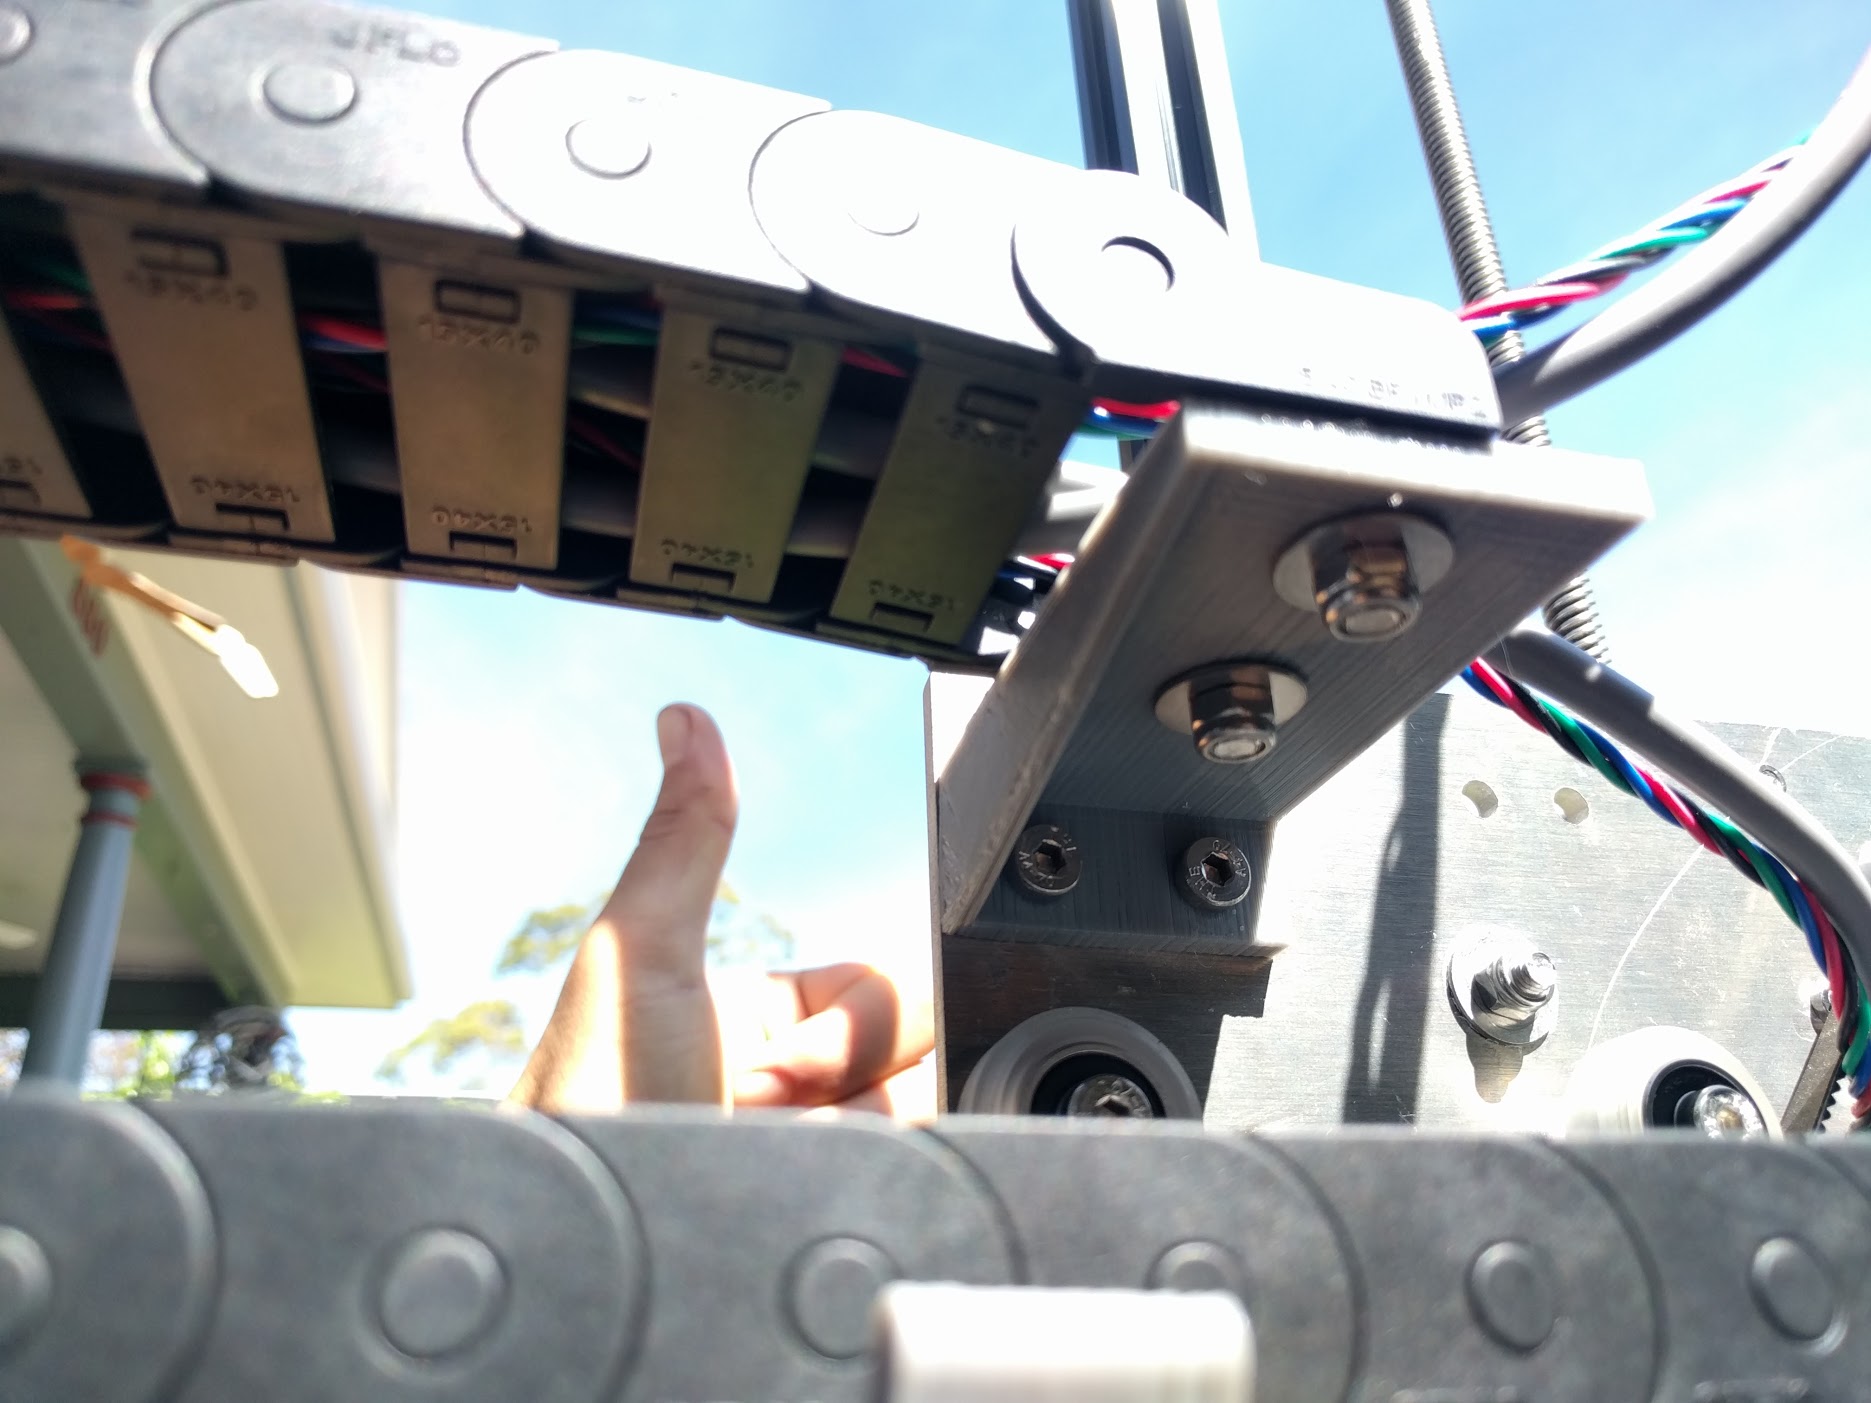
Use two M5 x 16mm screws, M5 washers, and M5 locknuts to attach the y-axis cable carrier to the left-most cable carrier support on the gantry main beam.
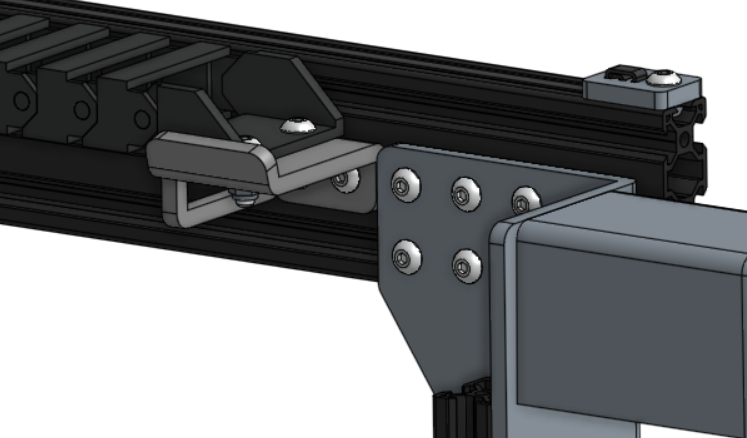
Repeat to attach the other end of the y-axis cable carrier to the long cable carrier support on the cross-slide.
Step 5: Feed the z-axis cable carrier
Feed the UTM cable, three liquid/gas tubes, and z-axis motor/encoder cables through the z-axis cable carrier.
Step 6: Mount the z-axis cable carrier
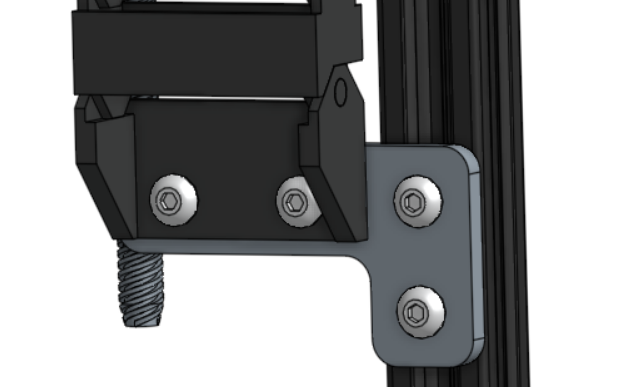
Attach the z-axis cable carrier to the cross-slide plate using two M5 x 16mm screws, M5 washers, and M5 locknuts.
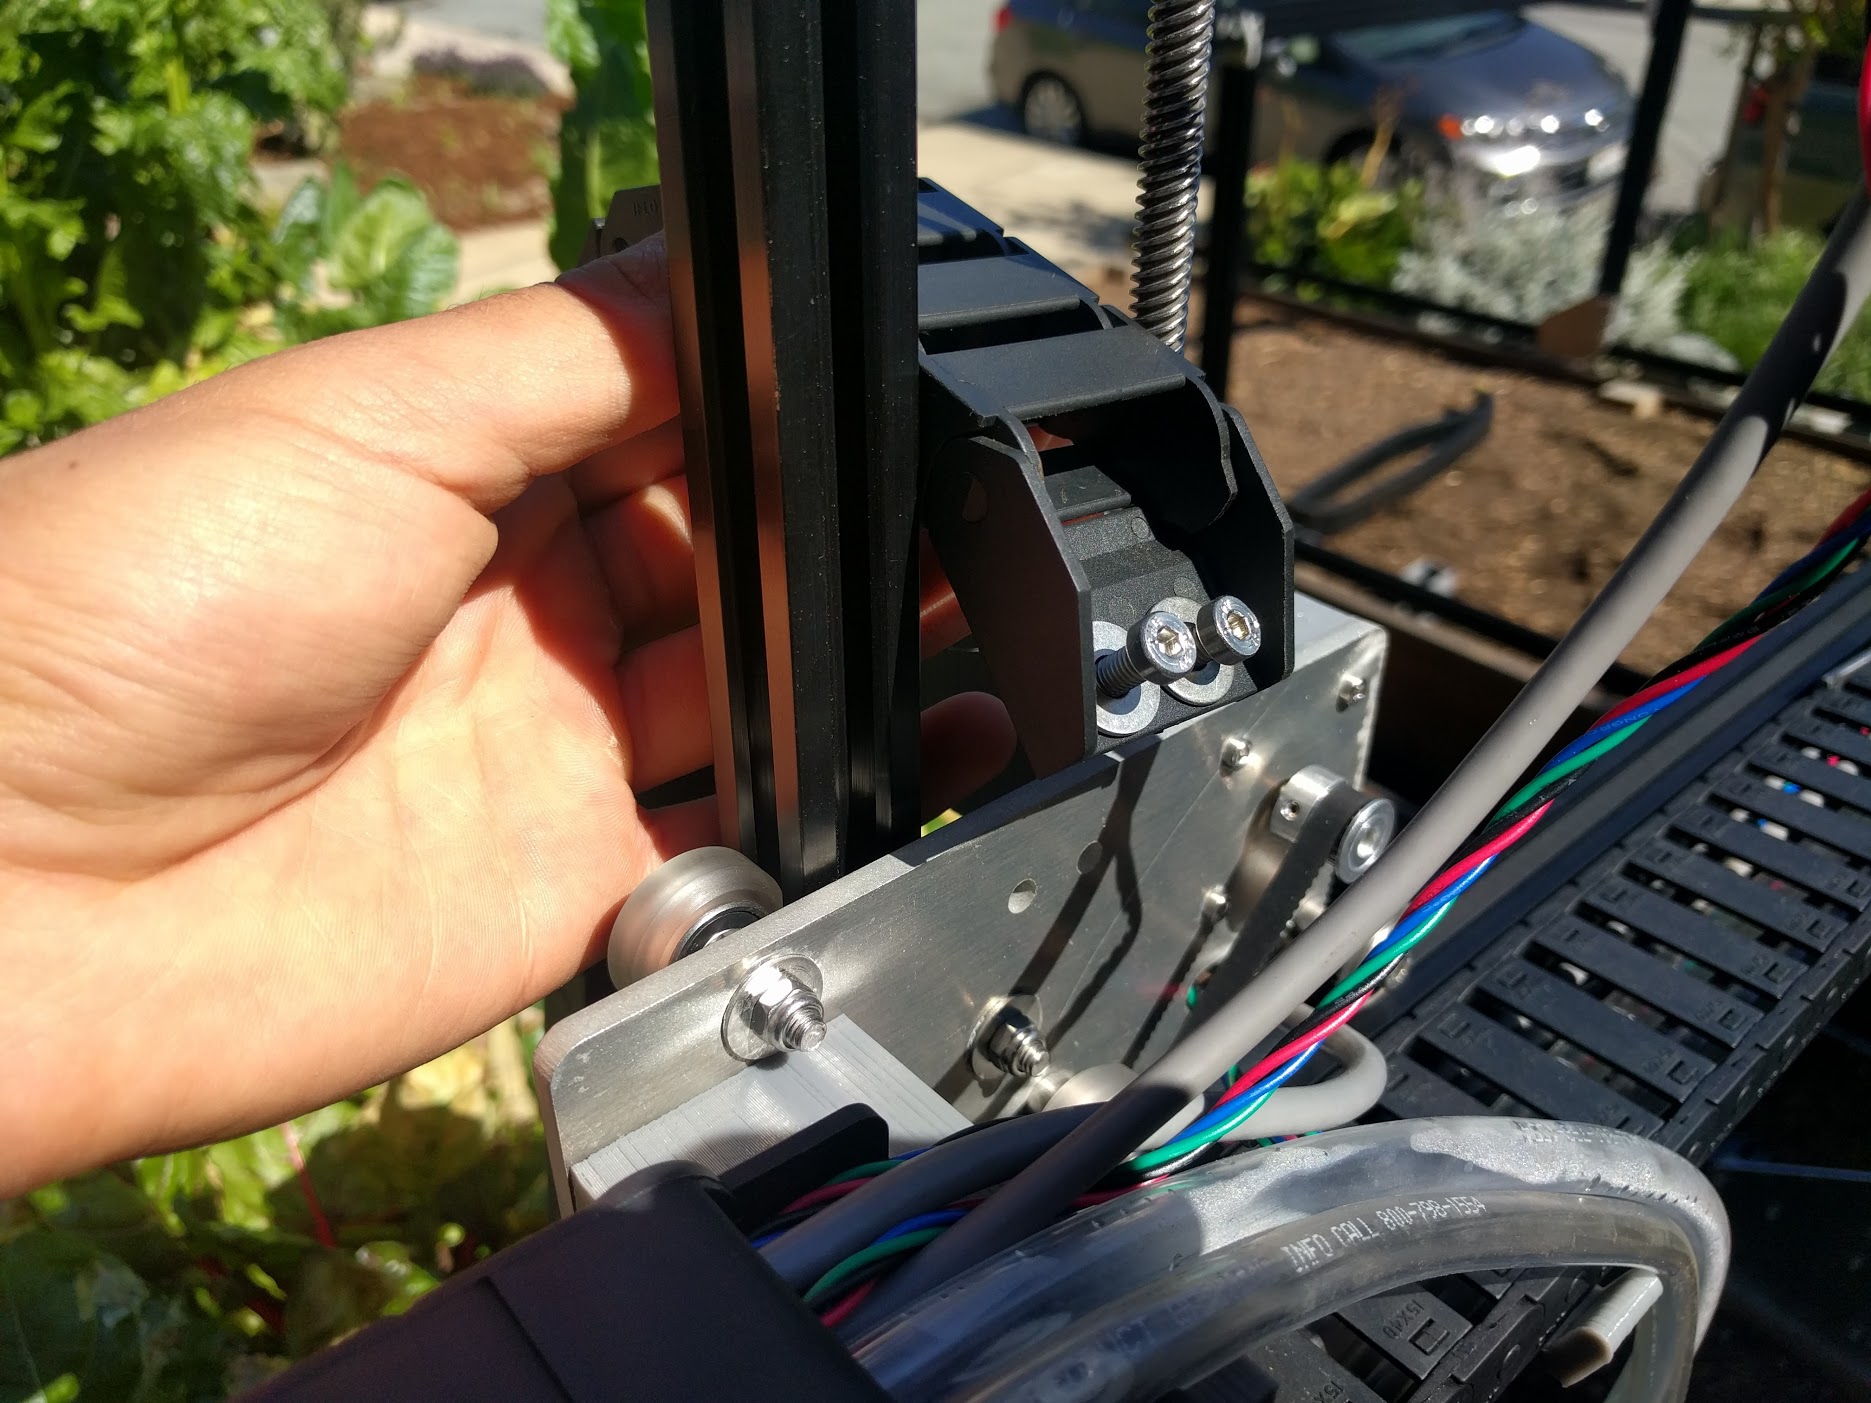
Repeat to attach the other end of the z-axis cable carrier to the z-axis cable carrier mounting plate.
Step 7: Attach the cable clips
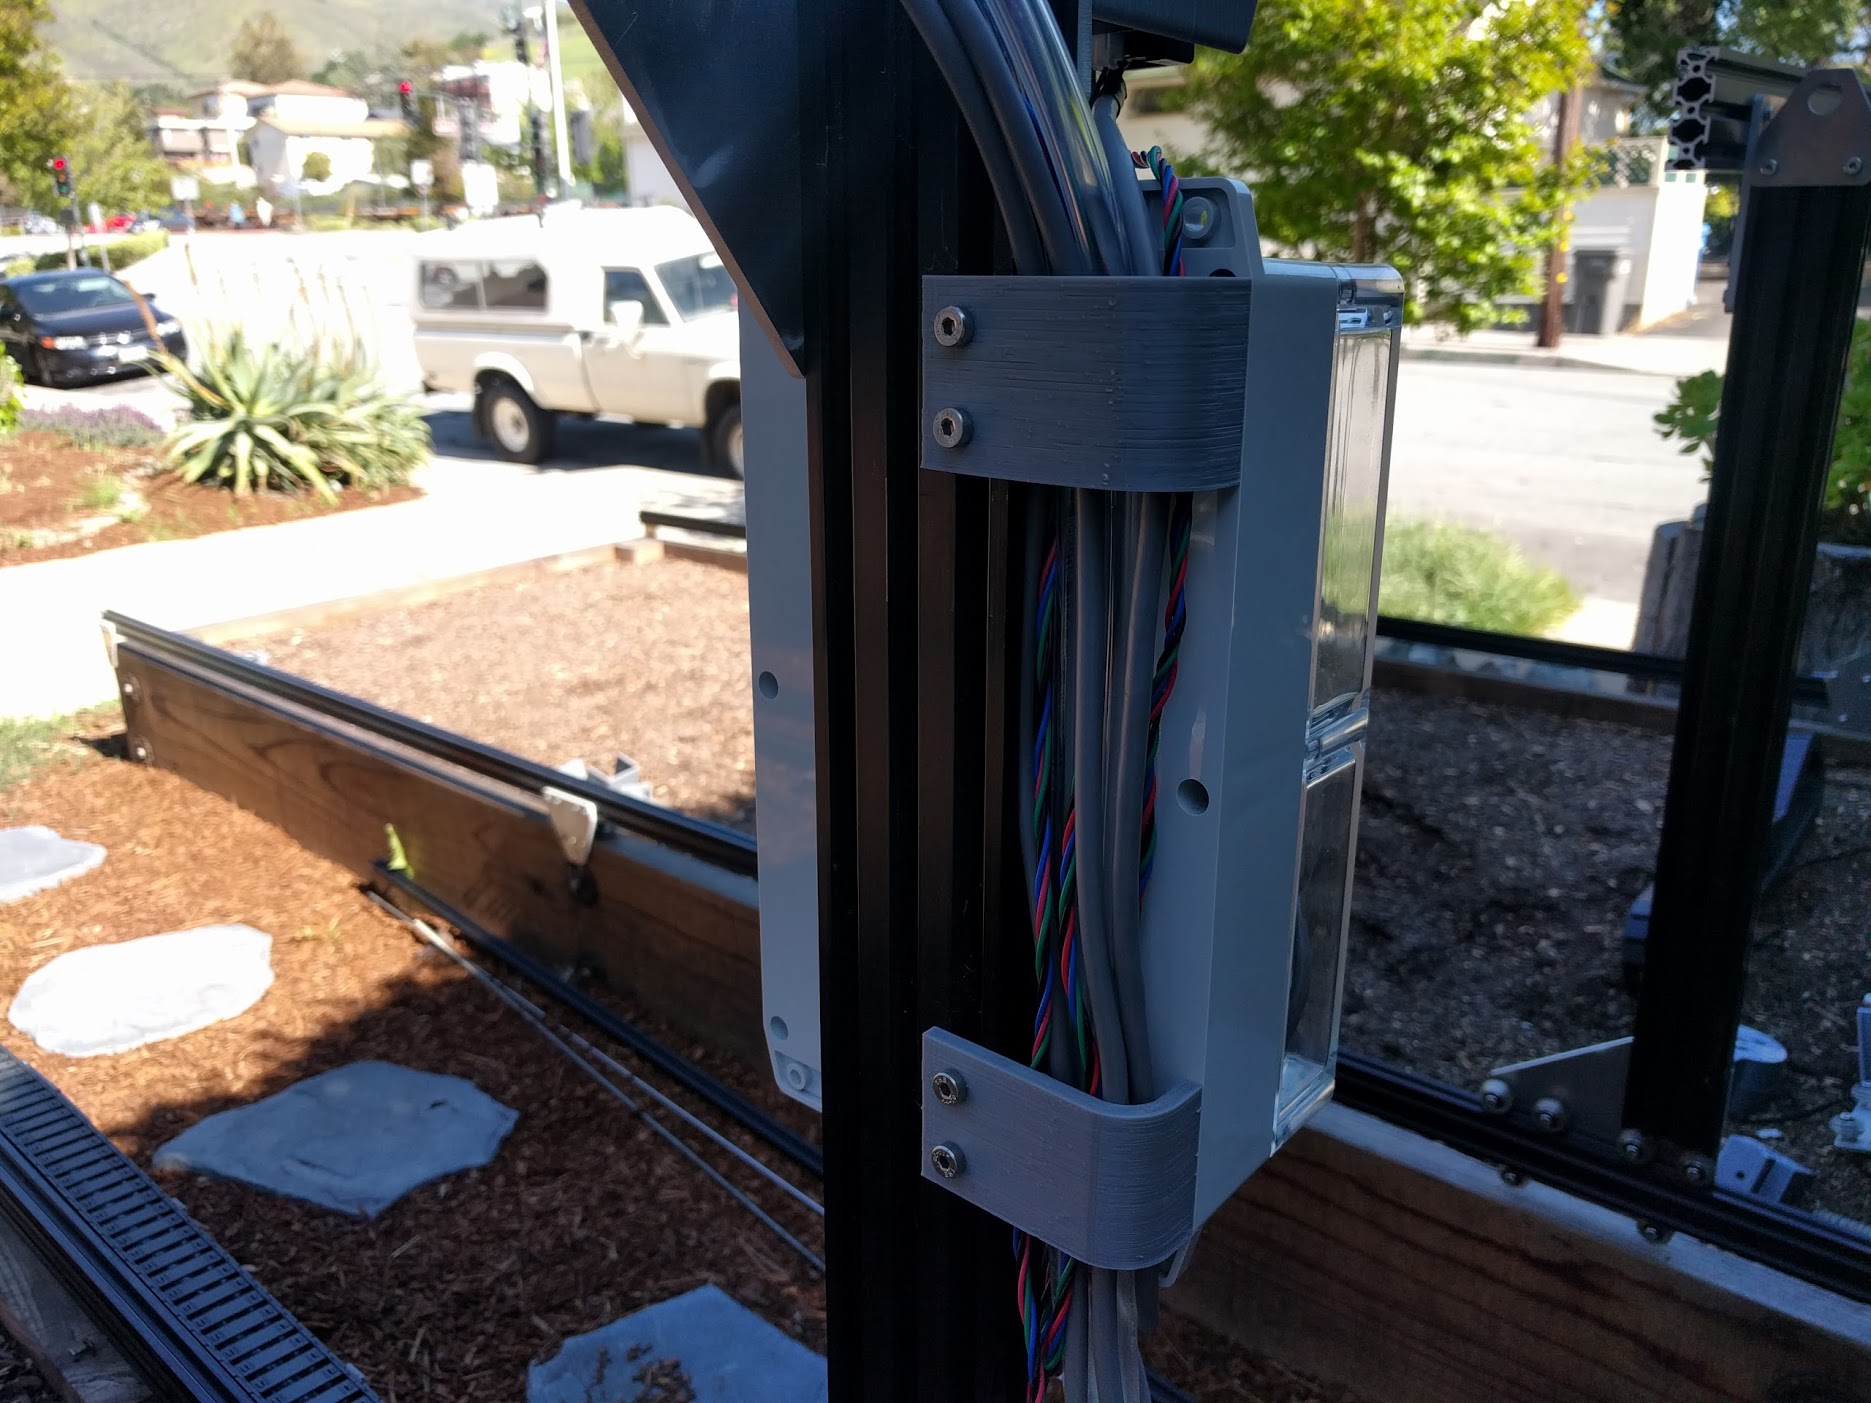
Attach the two cable clips to the left-side gantry column using four M5 x 10mm screws and M5 tee nuts.
