Weeder
Documentation and assembly instructions for the FarmBot Genesis Weeder
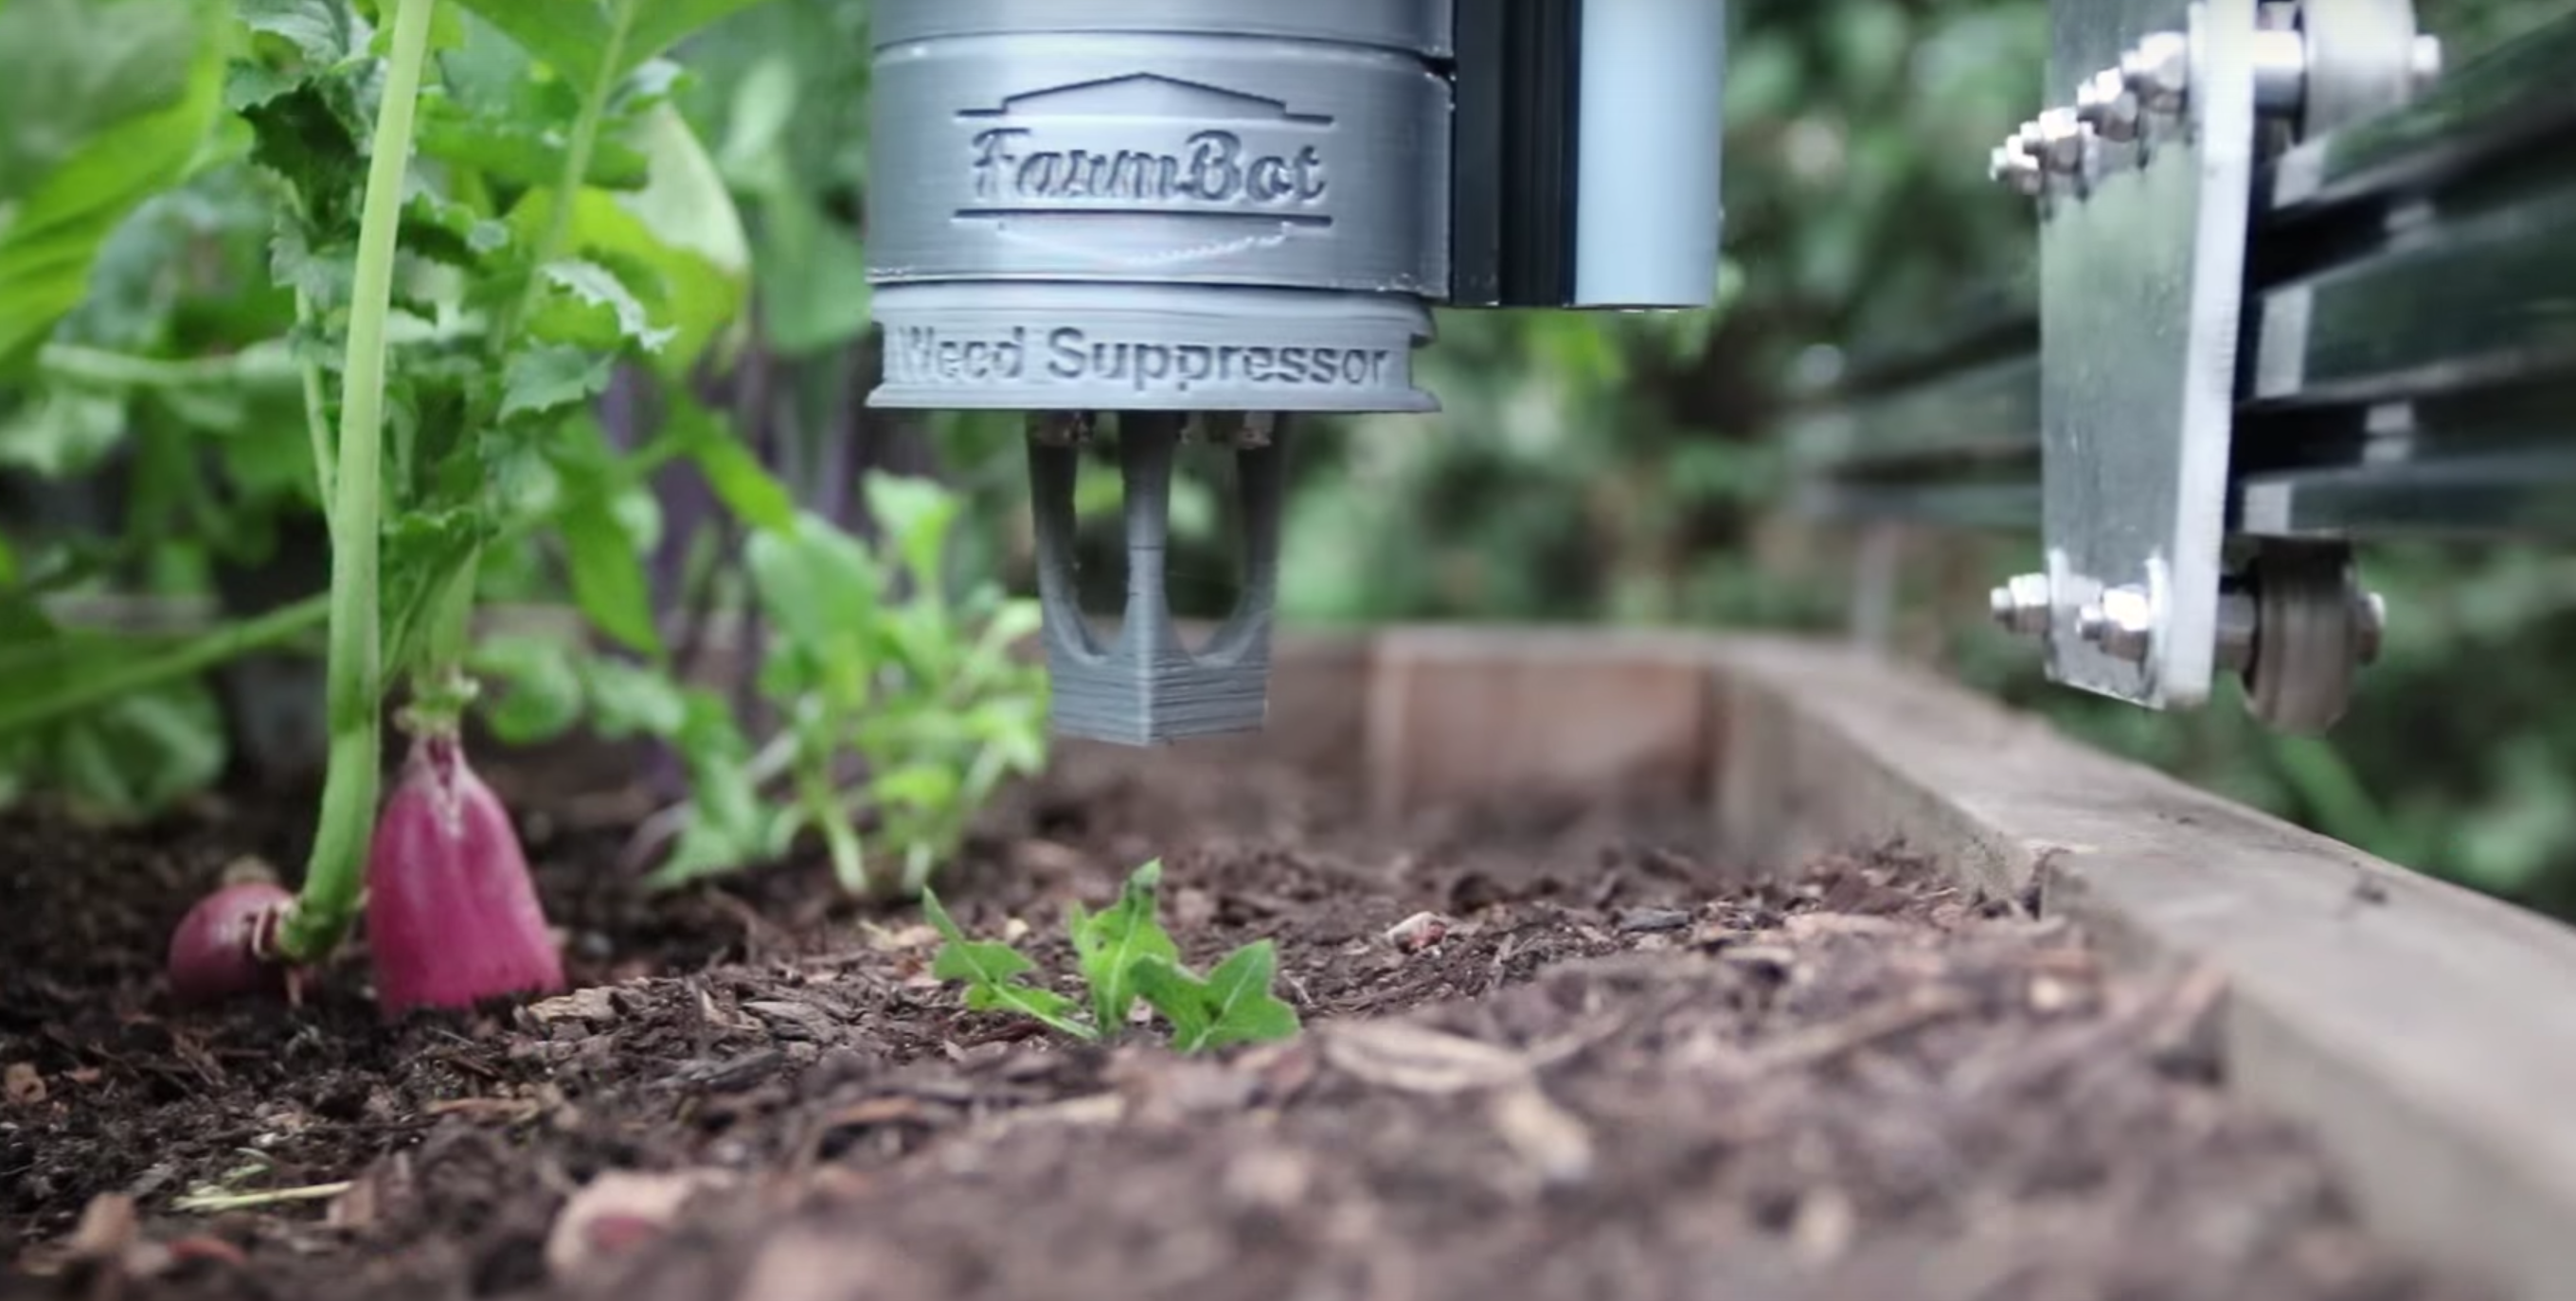
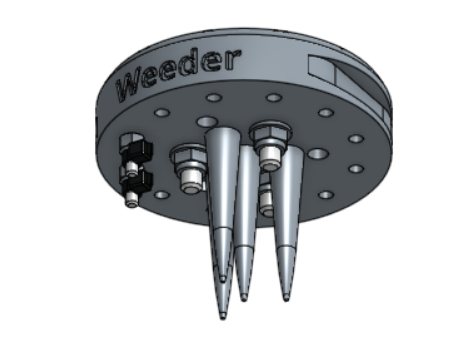
The weeding tool is a single 3D printable component magnetically mounts onto FarmBot’s UTM like any other tool. It works by driving the tool vertically into the soil in order to push any small weeds under the soil, and disrupt their young fragile root systems.

Weeding early and often
This tool, and FarmBot in general, is designed for removing weeds early and often such that the weeds are always small, young, and fragile, and therefore easily removed.
What makes this possible is FarmBot’s diligence. FarmBot has 24 hours a day to maintain your garden meticulously. It can be configured to remove weeds every single day that a human would never waste their time with. This prevents weeds from even having a chance at becoming a real problem.
If you configure FarmBot well, you will never even notice weeds in your garden because they will never have a chance to survive beyond germination. Over time, the number of weed seeds in your growing area will approach zero.
Not designed for large, established weeds
Do not expect this tool, or FarmBot in general, to be able to remove large, established weeds. Instead, configure your FarmBot to weed more often so that weeds do not have a chance at becoming large and established.
Assembly Instructions
15 minutes
This is the estimated time it will take to assemble the weeder..
Step 1: Gather the parts and tools
Gather all the weeding tool parts from the table below and lay them out in a logical manner. To complete the assembly, you will also need the following tools:
- 2mm hex (allen) driver
- 3mm hex (allen) driver
- 6mm wrench
- 8mm wrench
- Wire strippers
| Qty. | Component |
|---|---|
| 1 | Weeder Base |
| 2 | M3 x 16mm Screws |
| 2 | M3 Locknuts |
| 3 | M5 x 25mm Screws |
| 3 | M5 Locknuts |
| 3 | 15 x 15 x 5mm Ring Magnets |
| 1 | 18 guage x 5cm Jumper Wire |
| 2 | Zipties |
Step 2: Install the Magnets
Opposites attract
For the weeder to correctly mount to the UTM, all magnets on the weeder must be attracted to the magnets in the UTM.
To find the correct orientation for a magnet, hold it near the mounting side of the UTM. Flip it around in your hand until you feel it attracting to the UTM’s magnets. This is the correct orientation for mounting to the weeder’s plastic base.
Secure the three ring magnets to the top of the weeder base using three M5 x 25mm screws and M5 locknuts. The screw head should be on the magnet side of the weed suppressor base. Use the 3mm hex driver and 8mm wrench to tighten the components.
Step 3: Install the Electrical Screws
Use the 2mm hex driver and 6mm wrench to attach two M3 x 16mm screws and M3 locknuts into the holes labelled 2 and 3 on the weeder base. The screw heads should be on the same side of the base as the magnets.
Step 4: Add the Jumper Wire
Use wire strippers to remove 1cm of insulation from both ends of the jumper wire.
Attach the jumper wire to the M3 screws using two zipties.
