Attach the Electronics Box
Step 1: Gather the parts and tools
Gather all the parts from the table below and lay them out in a logical manner. To complete the assembly, you will also need the following tools:
| Qty. | Component |
|---|---|
| 1 | Electronics Housing |
| 6 | M5 x 10mm Screws |
| 6 | M5 Tee Nuts |
| 2 | Cable Guides |
Step 2: Add hardware to electronics box
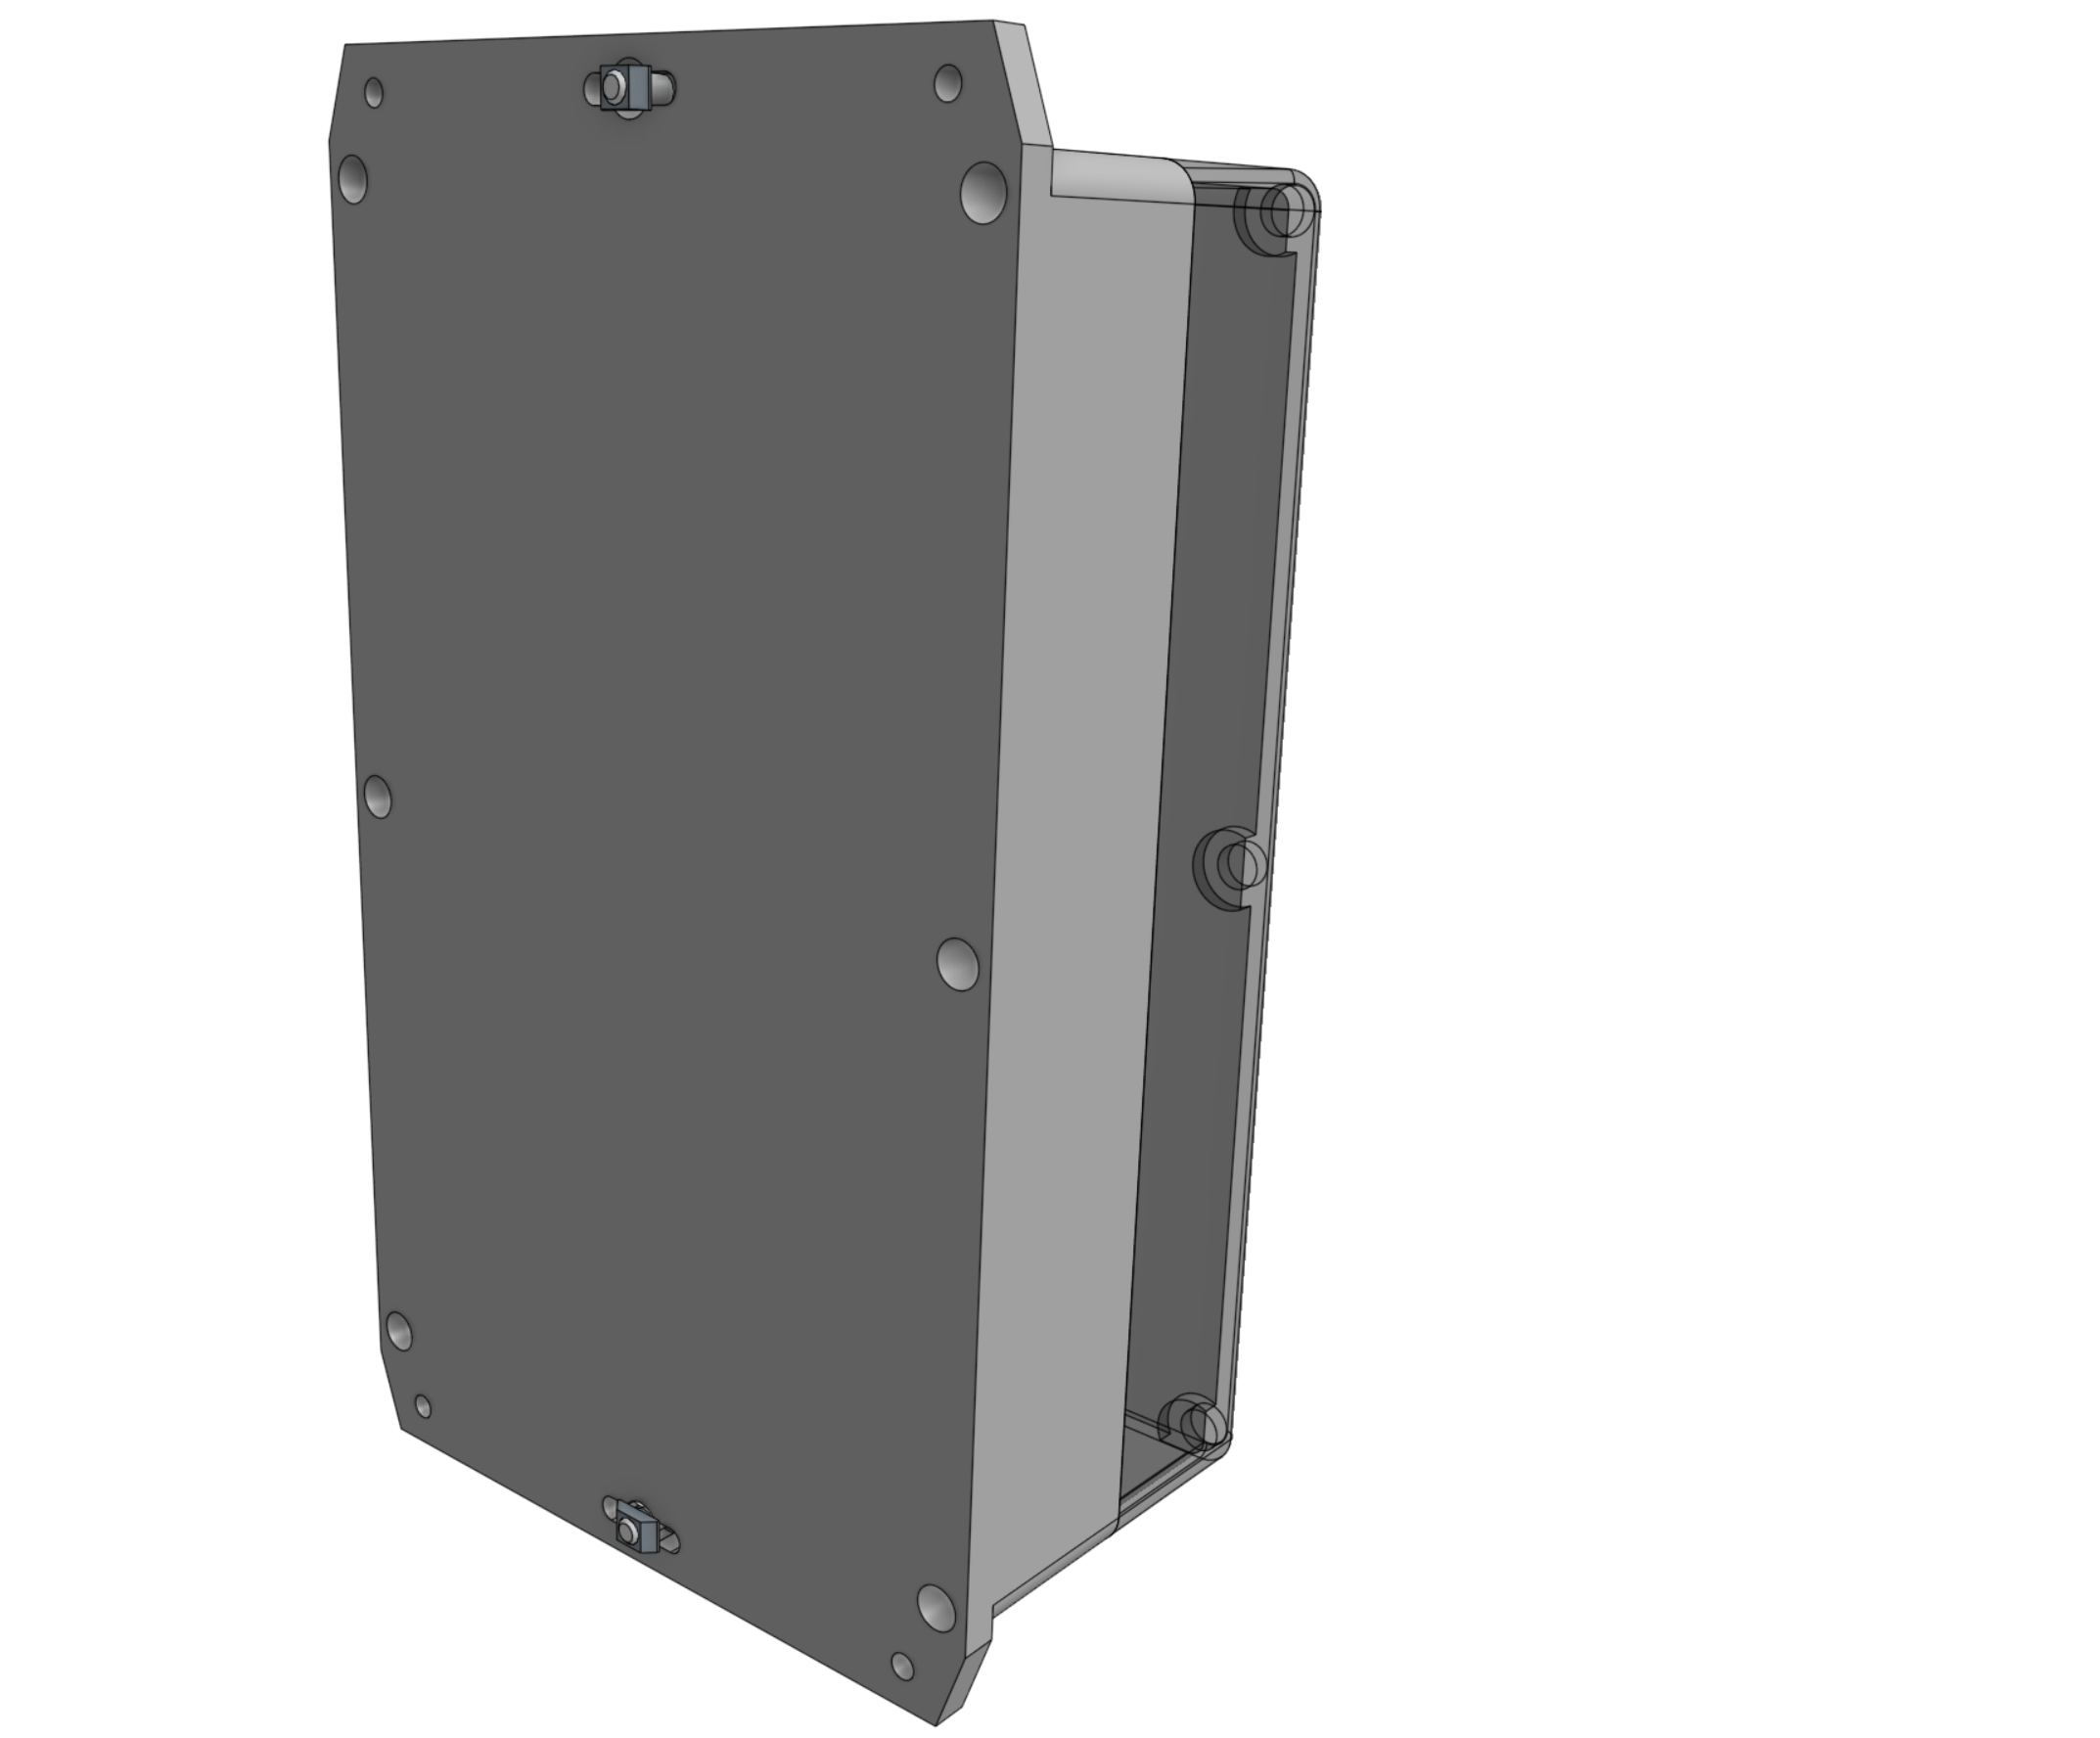
Put M5 x 10mm screws through the top and bottom mounting holes of the electronics box and thread on a tee-nut to each.

Step 3: Attach electronics box
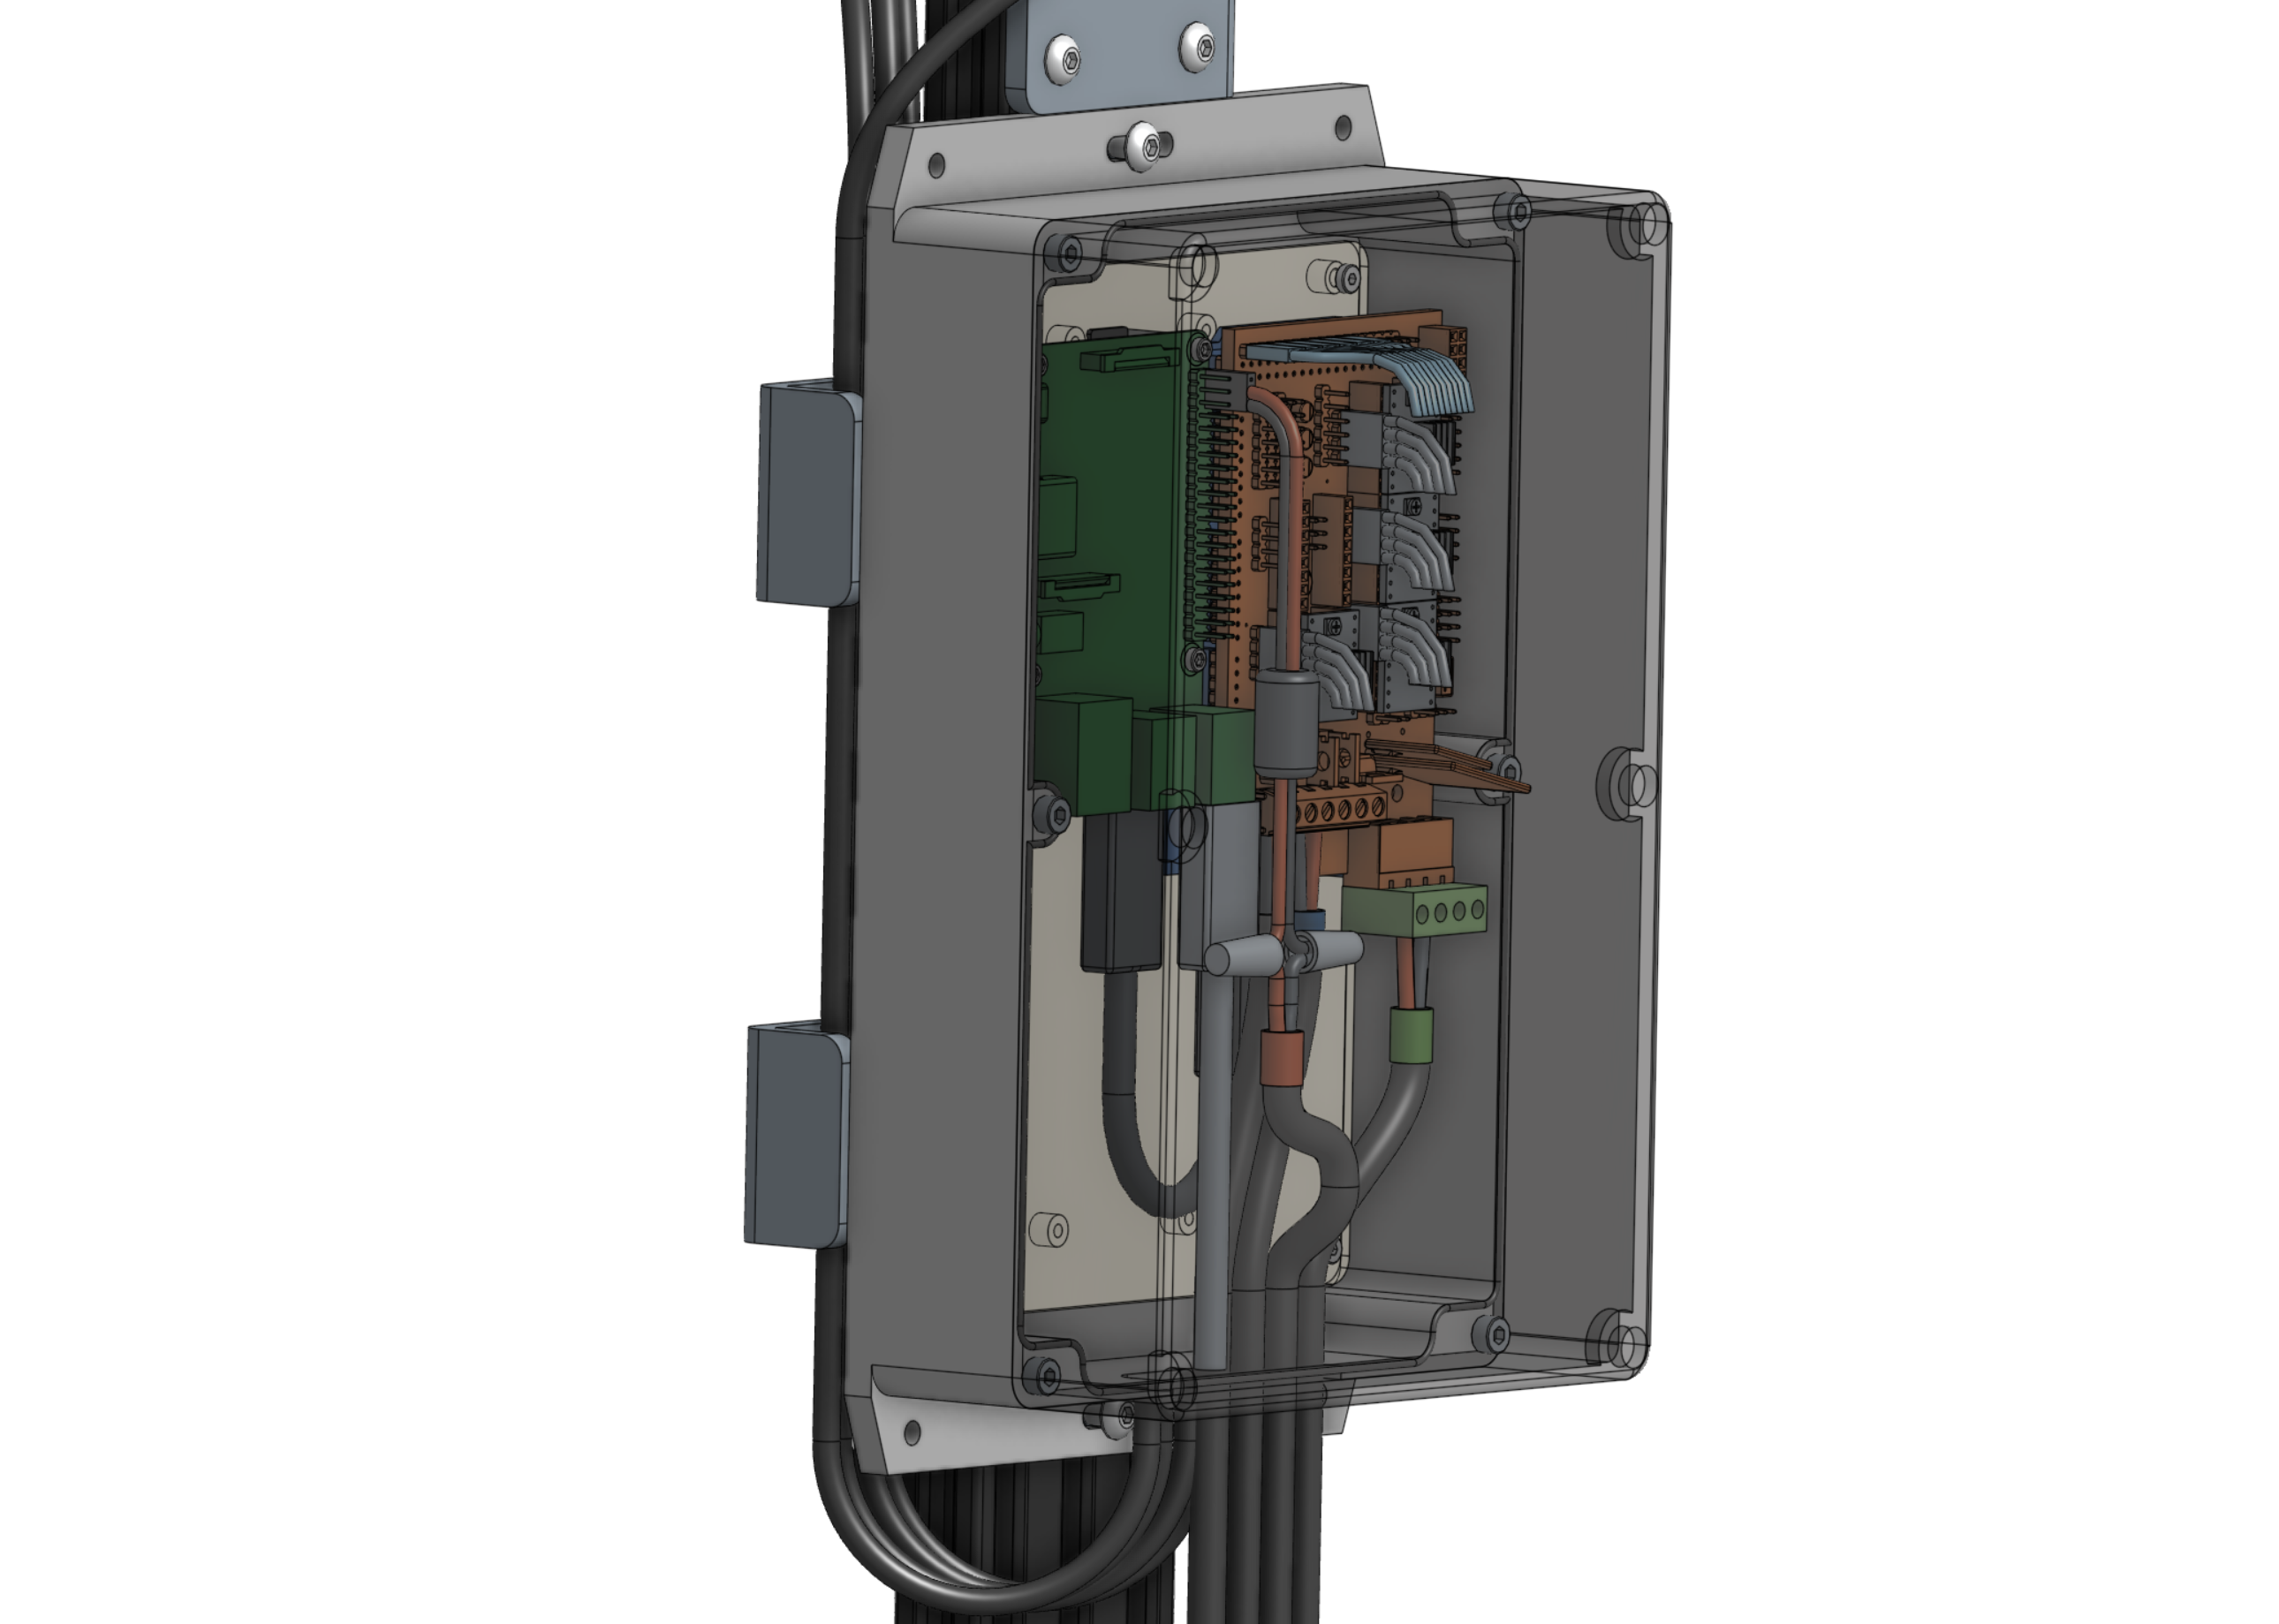
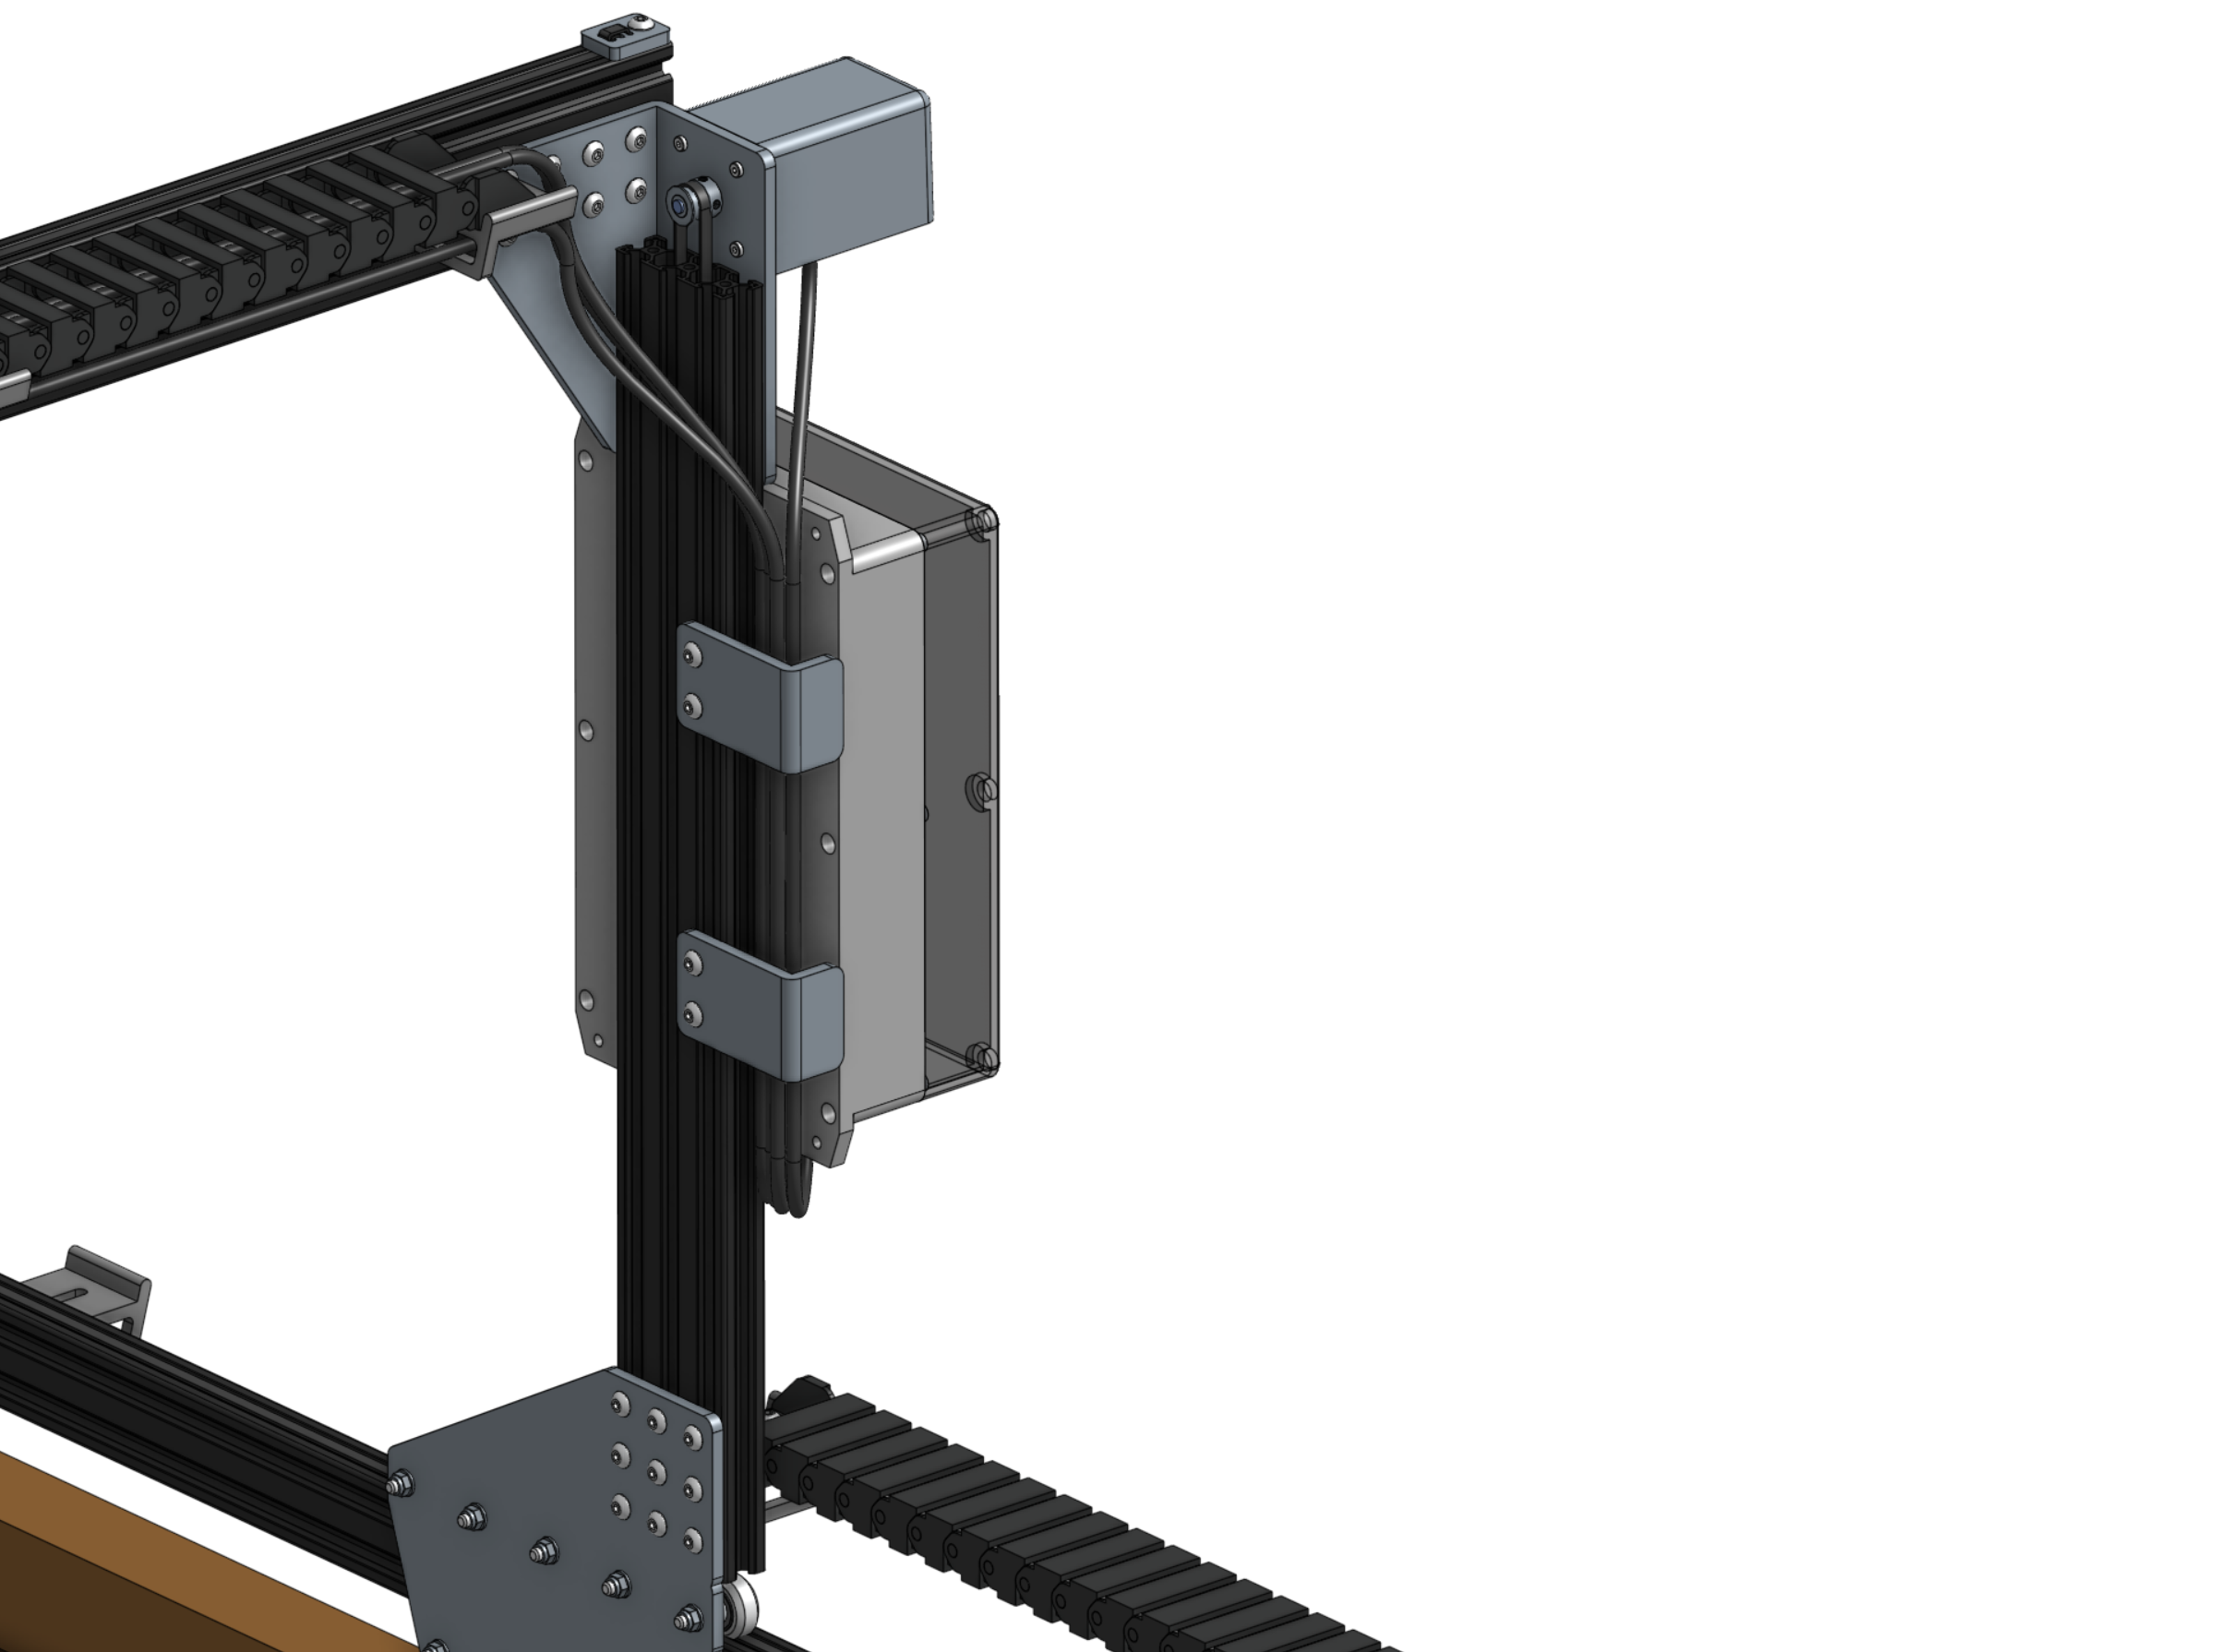
Line up the electronics box with the center channel of the gantry column and tighten the attachment screws.

Step 4: Attach the cable guides
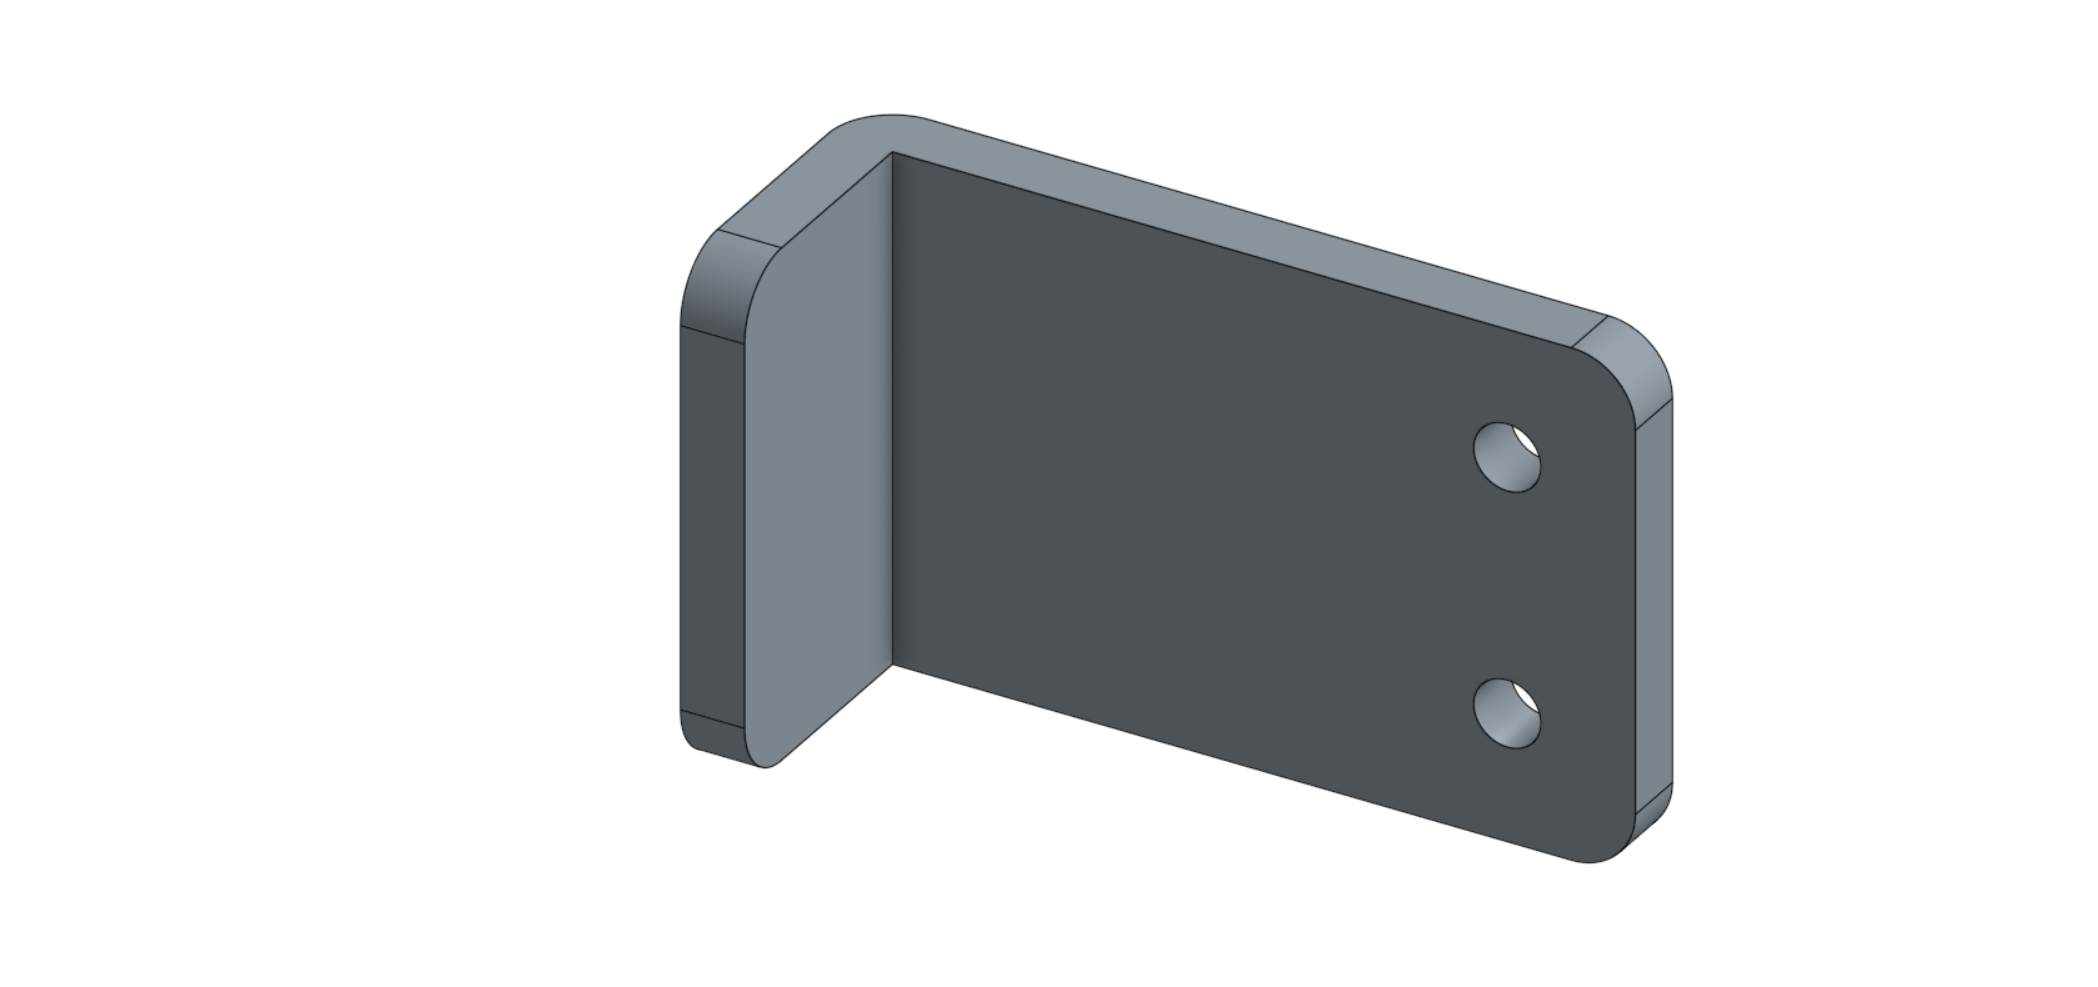
The Cable Guides keep the cables going from the electronics box to the Y-Axis cable carrier and X-Axis motors neat and organized.

Add M5 x 10mm screws and tee-nuts to the Cable Guides and attach the cable guides as shown.
