Watering Nozzle
Documentation and assembly instructions for the FarmBot Genesis watering nozzle
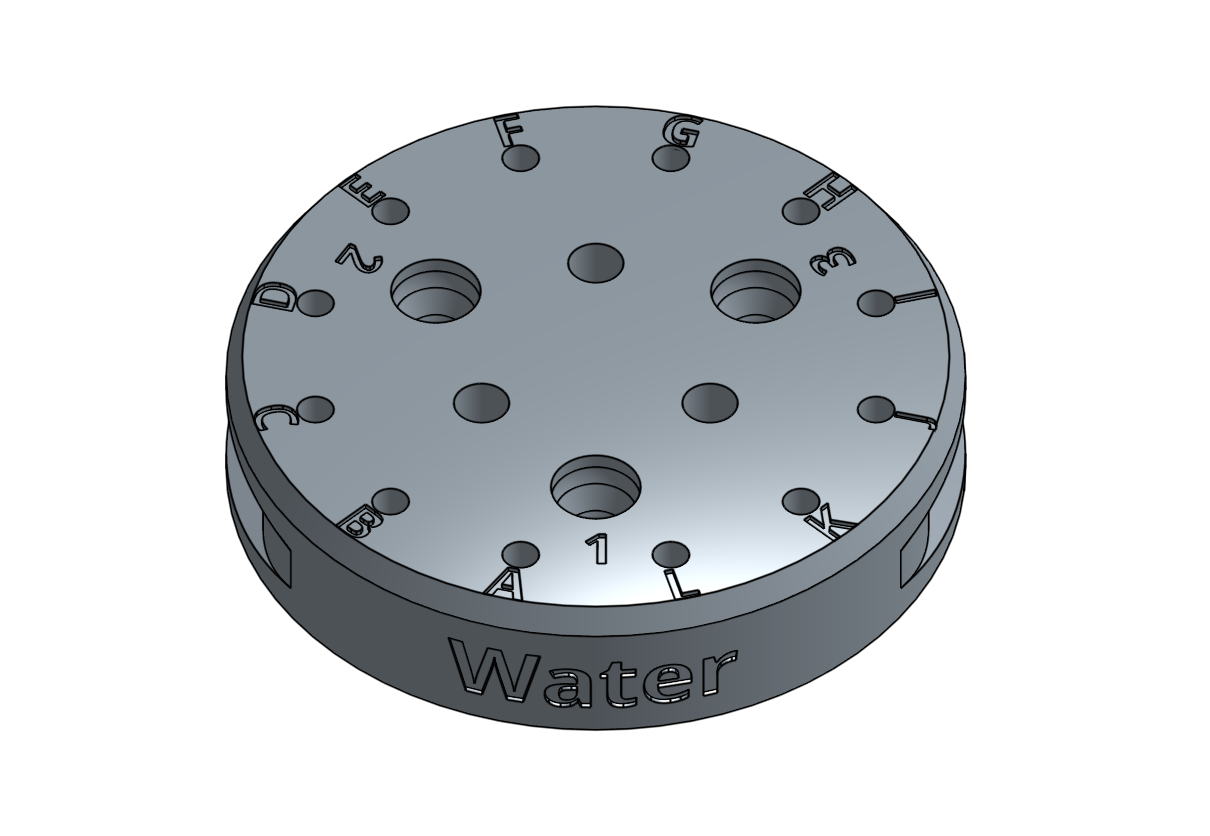
The watering nozzle is a single 3D printed component with a few extra parts for magnetic coupling and electronic verification with the UTM. It works as a simple diffuser nozzle by accepting a concentrated stream of water coming from the UTM and turning it into a gentle shower.
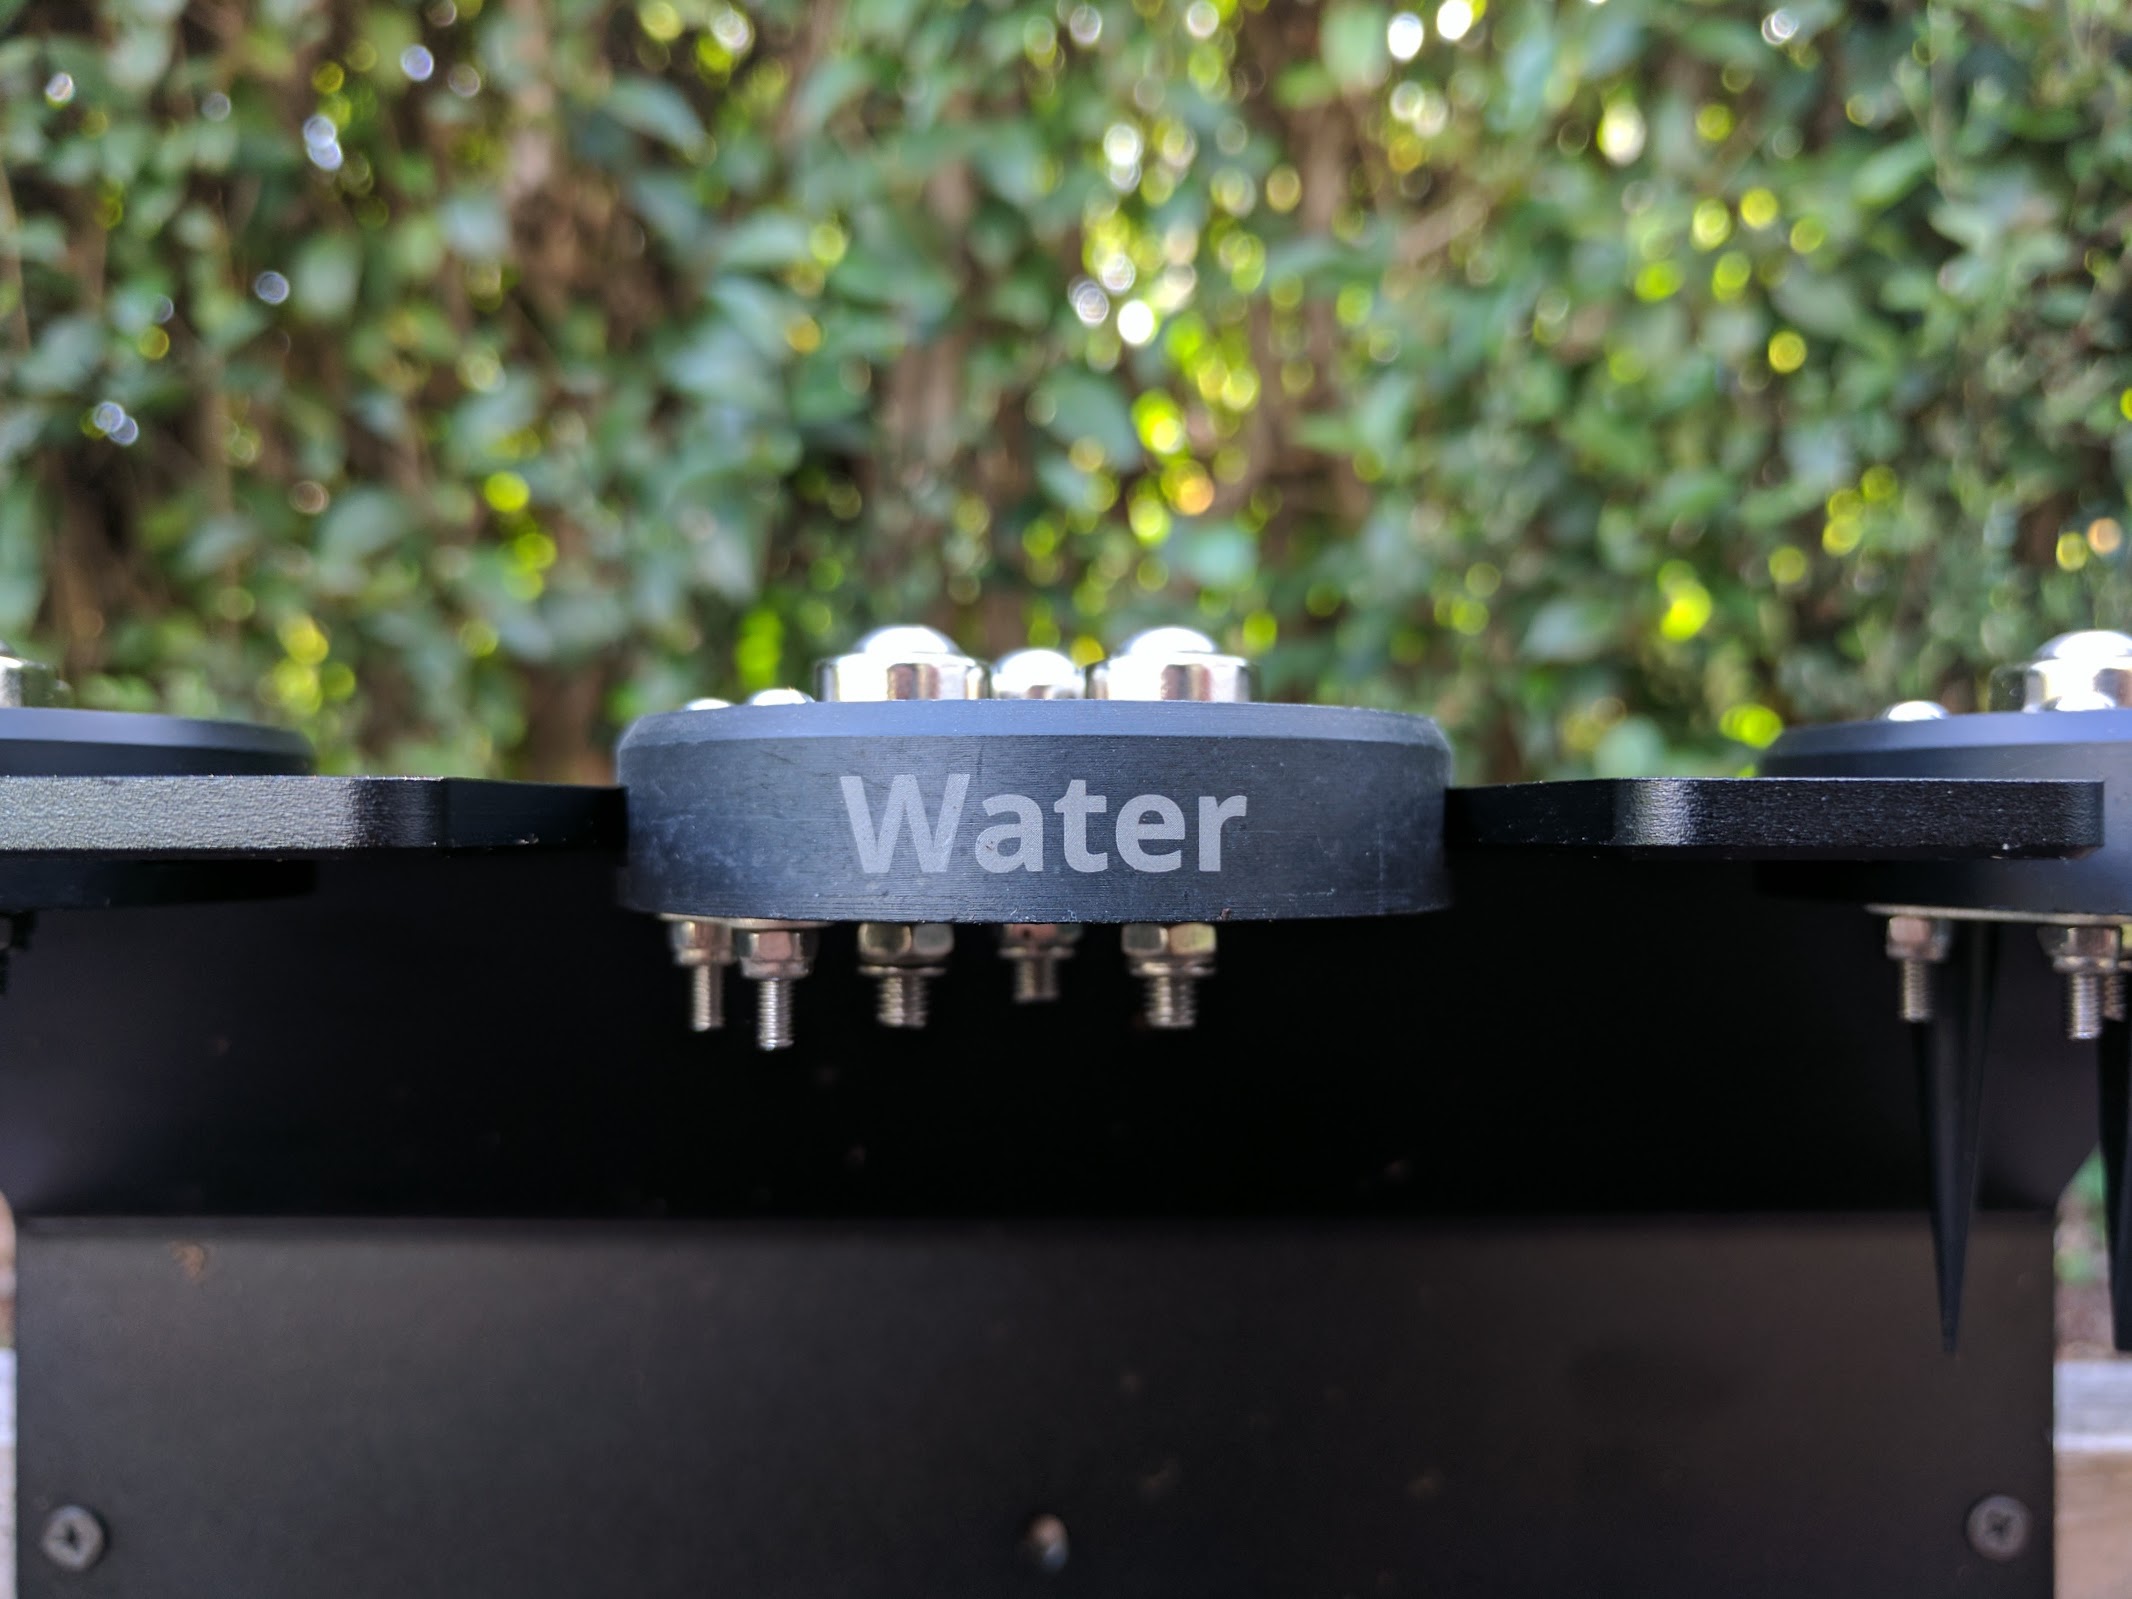

25 minutes
This is the estimated time it will take to assemble the Watering Nozzle
Step 1: Gather the parts and tools
Gather all the watering nozzle parts from the table below and lay them out in a logical manner. To complete the assembly, you will also need the following tools:
| Qty. | Component |
|---|---|
| 1 | Watering Nozzle Bottom |
| 1 | Watering Nozzle Top |
| 2 | M3 x 25mm Screws |
| 2 | M3 Locknuts |
| 3 | M5 x 30mm Screws |
| 3 | M5 Washers |
| 3 | M5 Locknuts |
| 3 | Ring Magnets |
| 1 | Jumper Link |
| 1 | Pressure Regulator |
| 1 | Garden Hose (not supplied with FarmBot kits) |
| 1 | Garden Hose Adapter |
| 1 | Solenoid Valve |
| 1 | Barbed Adapter |
Step 2: Assemble the watering nozzle
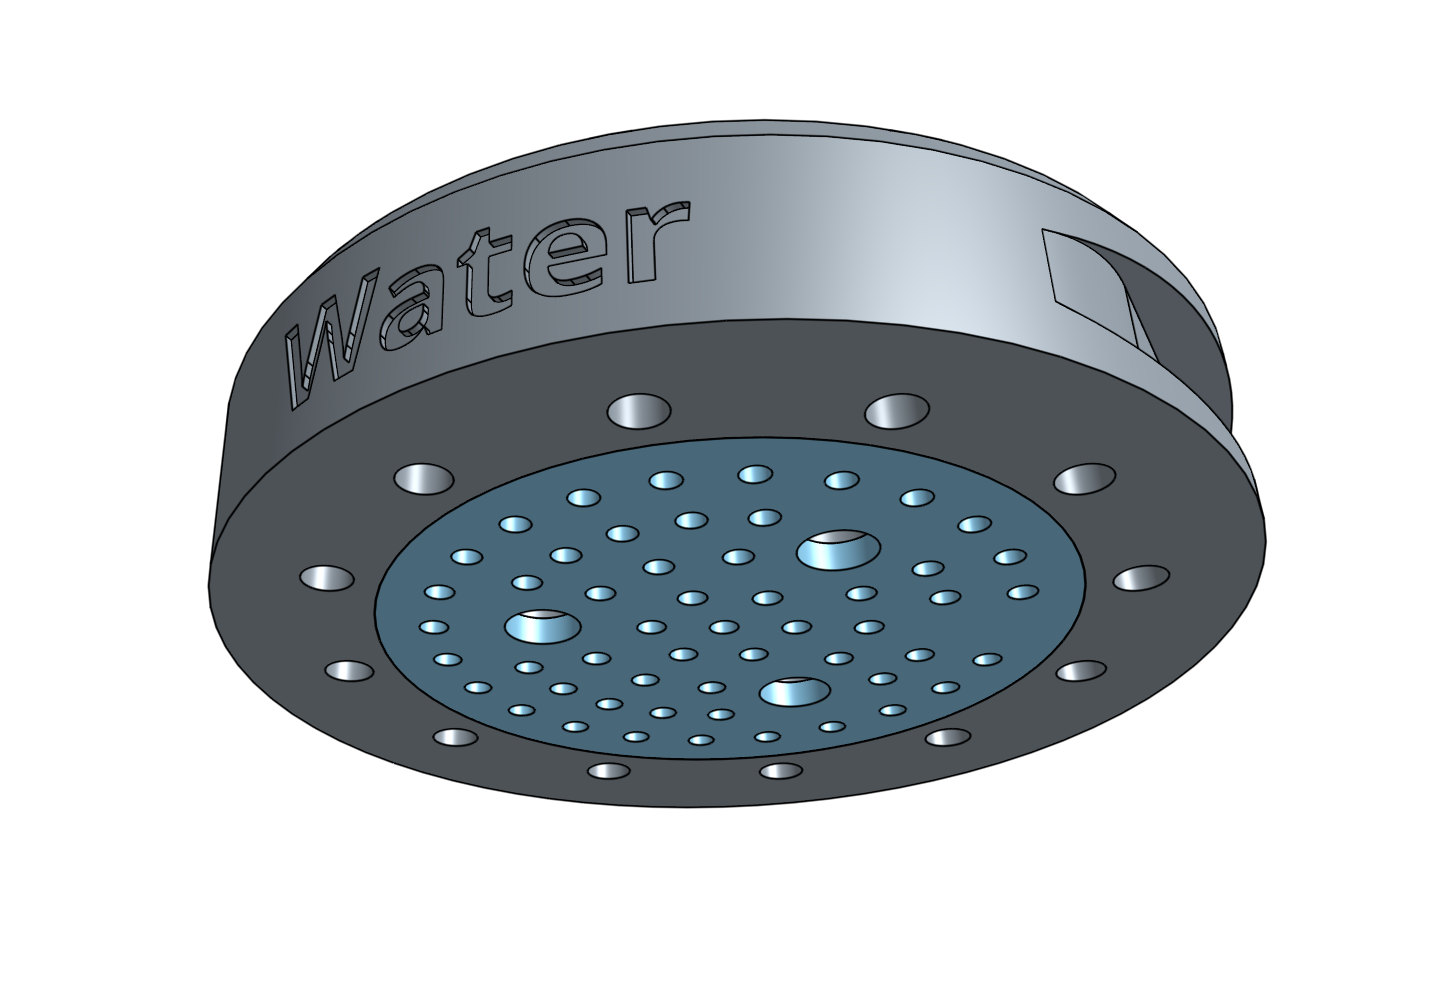
Align the watering nozzle bottom with the watering nozzle top such that the M5 holes for the magnets are aligned. Note that there are a few small nozzle holes missing from the watering nozzle bottom. The missing holes should be located directly below the liquid/gas port labelled “3” on the watering nozzle top (where the water will come in from the UTM).
Why the missing nozzle holes?
These holes are missing to allow the incoming concentrated water stream from the UTM to more evenly be distributed inside the watering nozzle and thus more evenly sprayed out the bottom of the tool.
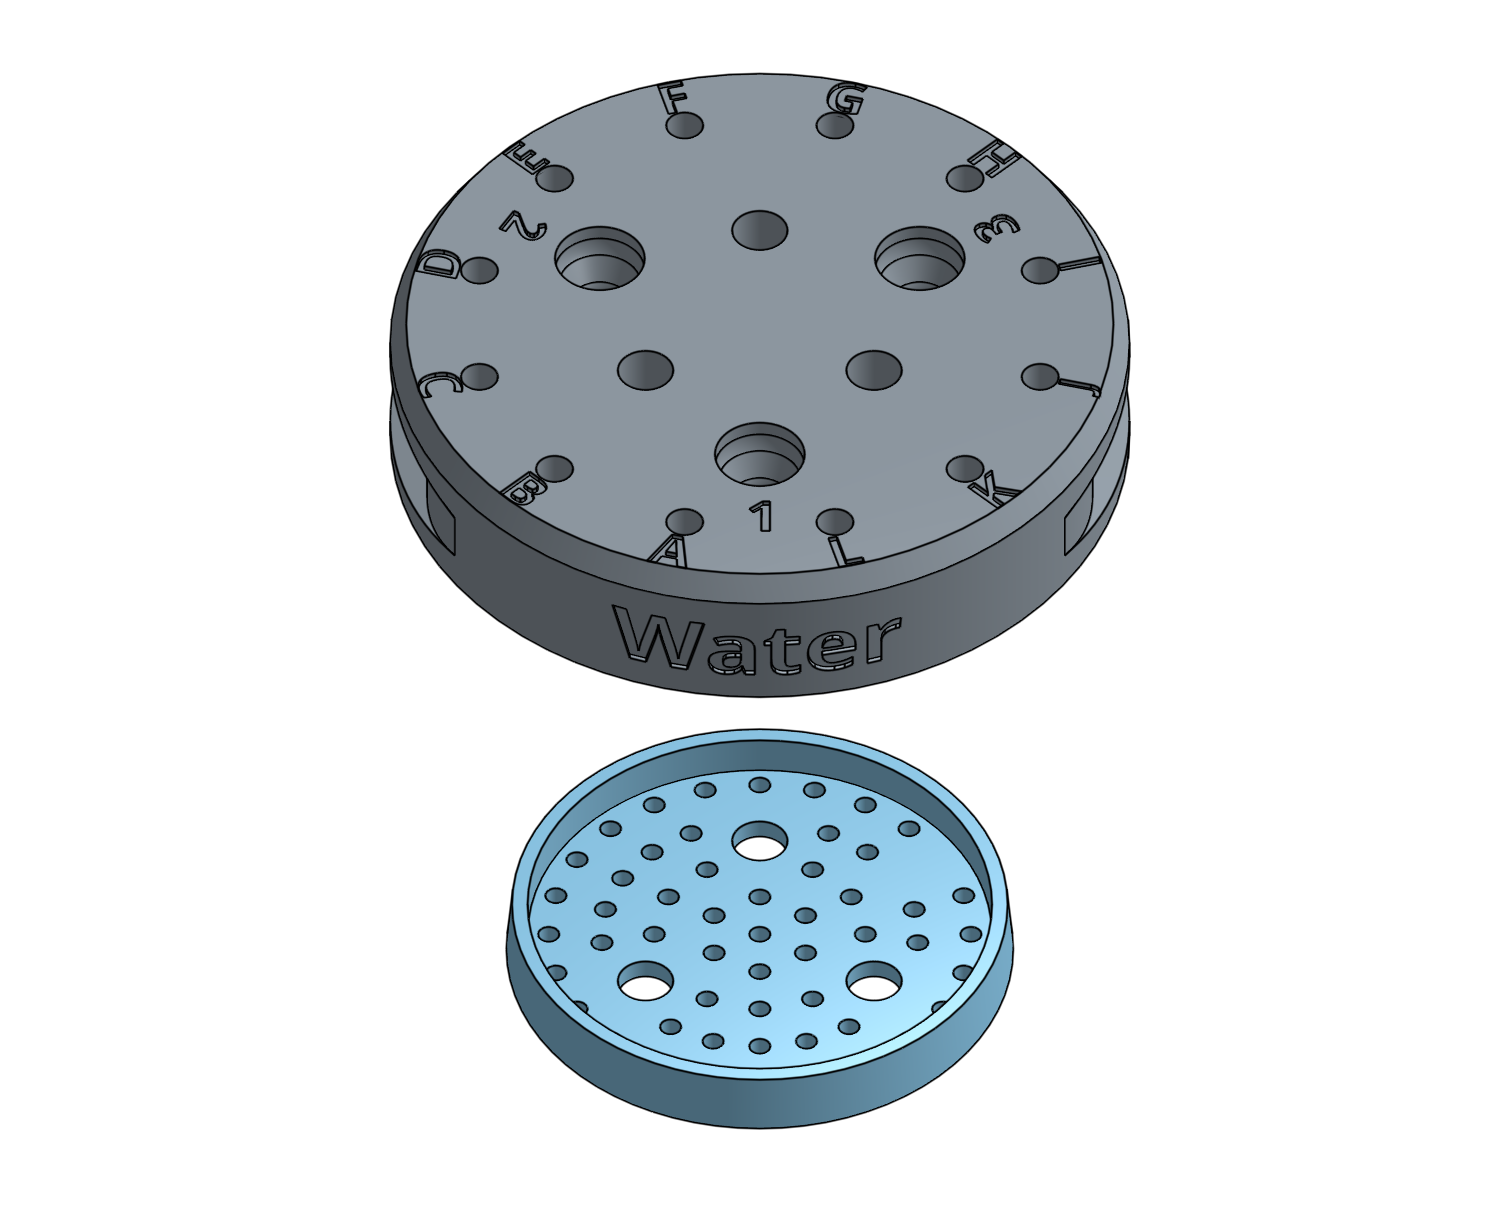
Press the watering nozzle bottom into the watering nozzle top. The two components will be secured in the next step.

Step 3: Install the universal tool hardware
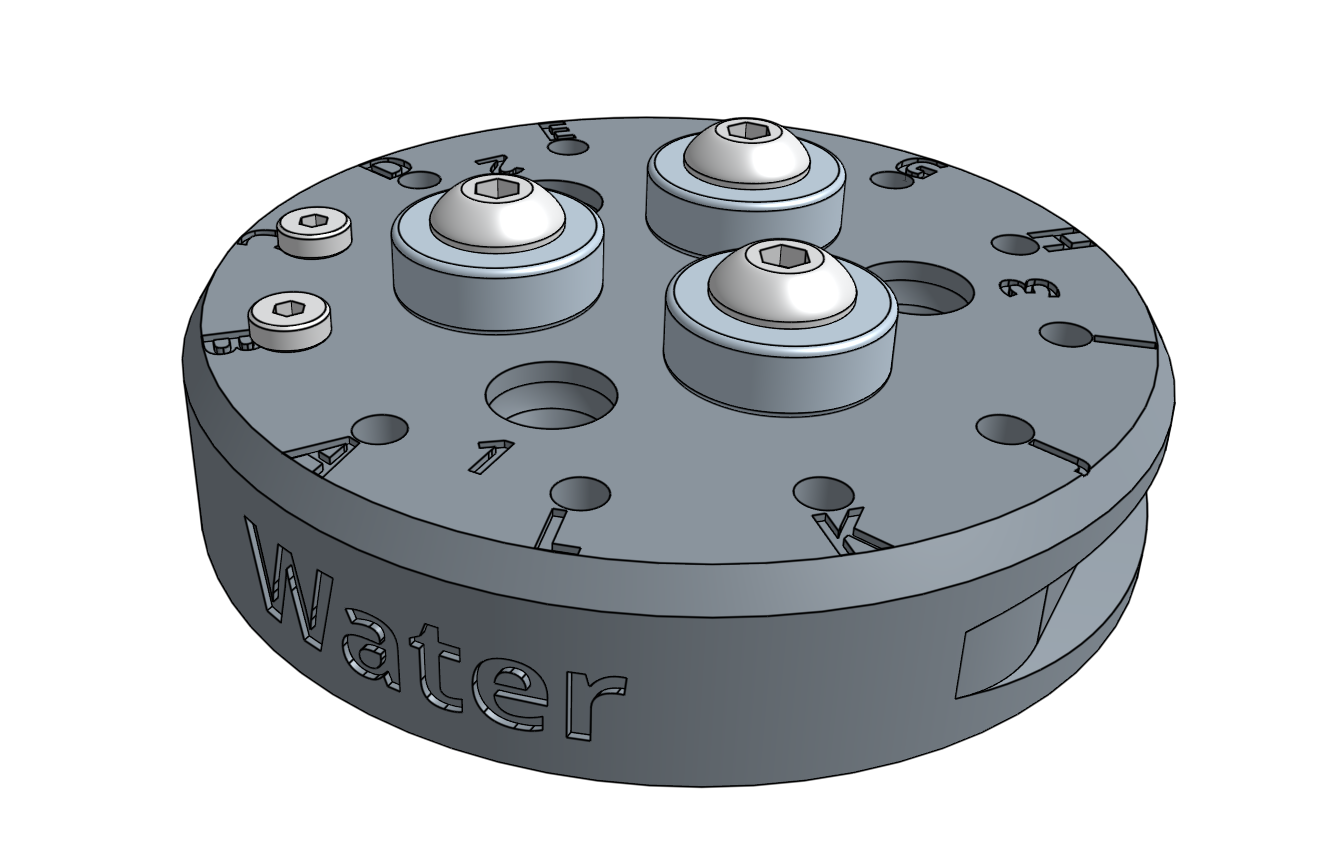
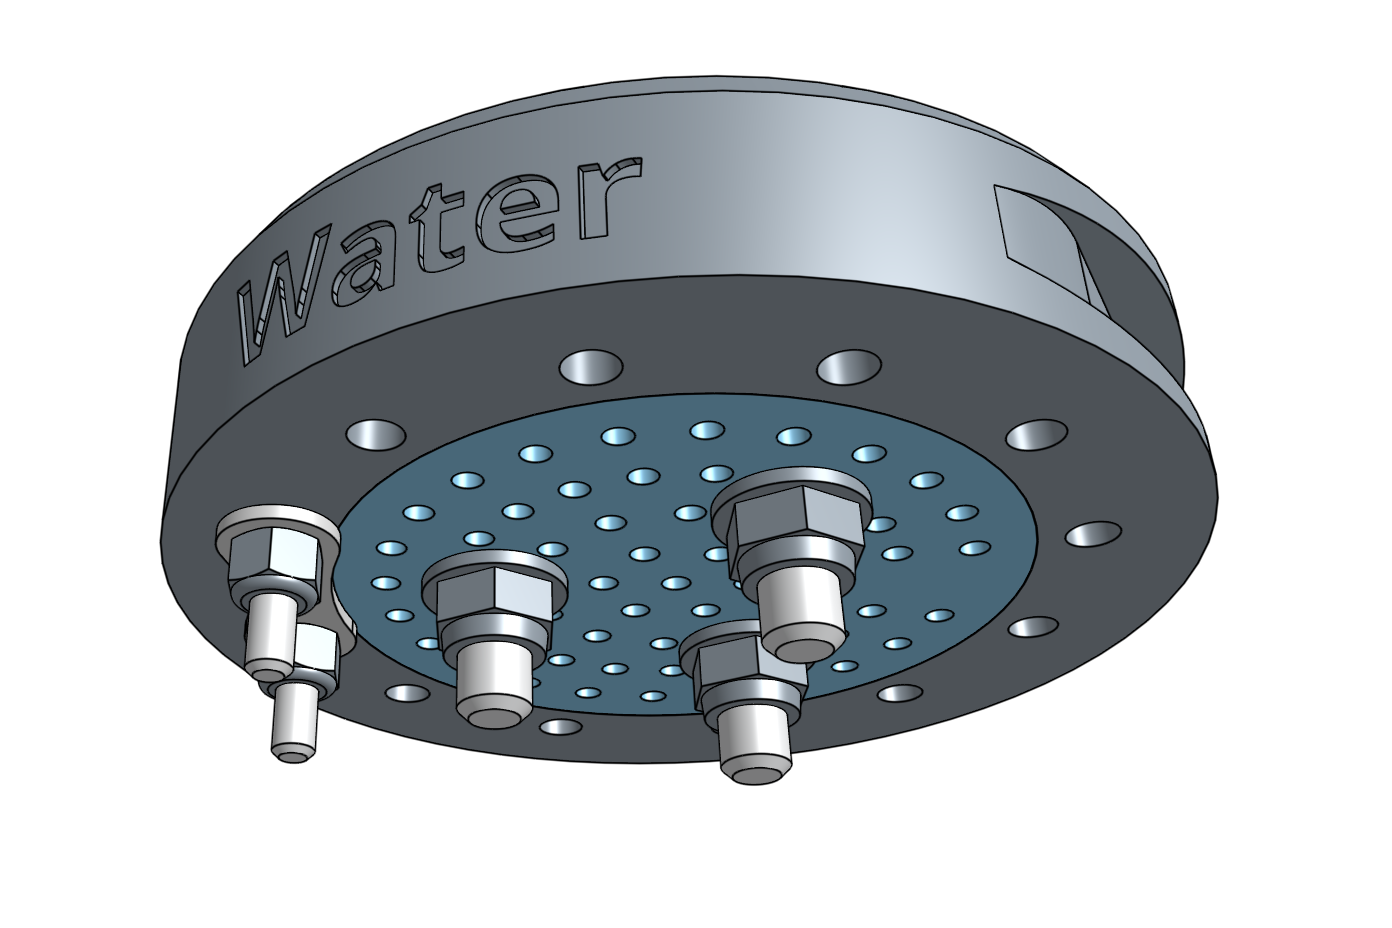
Install the magnets and tool verification jumper link using the instructions in the universal tool hardware reference guide. The M5 screws will secure the watering nozzle bottom and the watering nozzle top together.

Step 4: Connect FarmBot to the water source
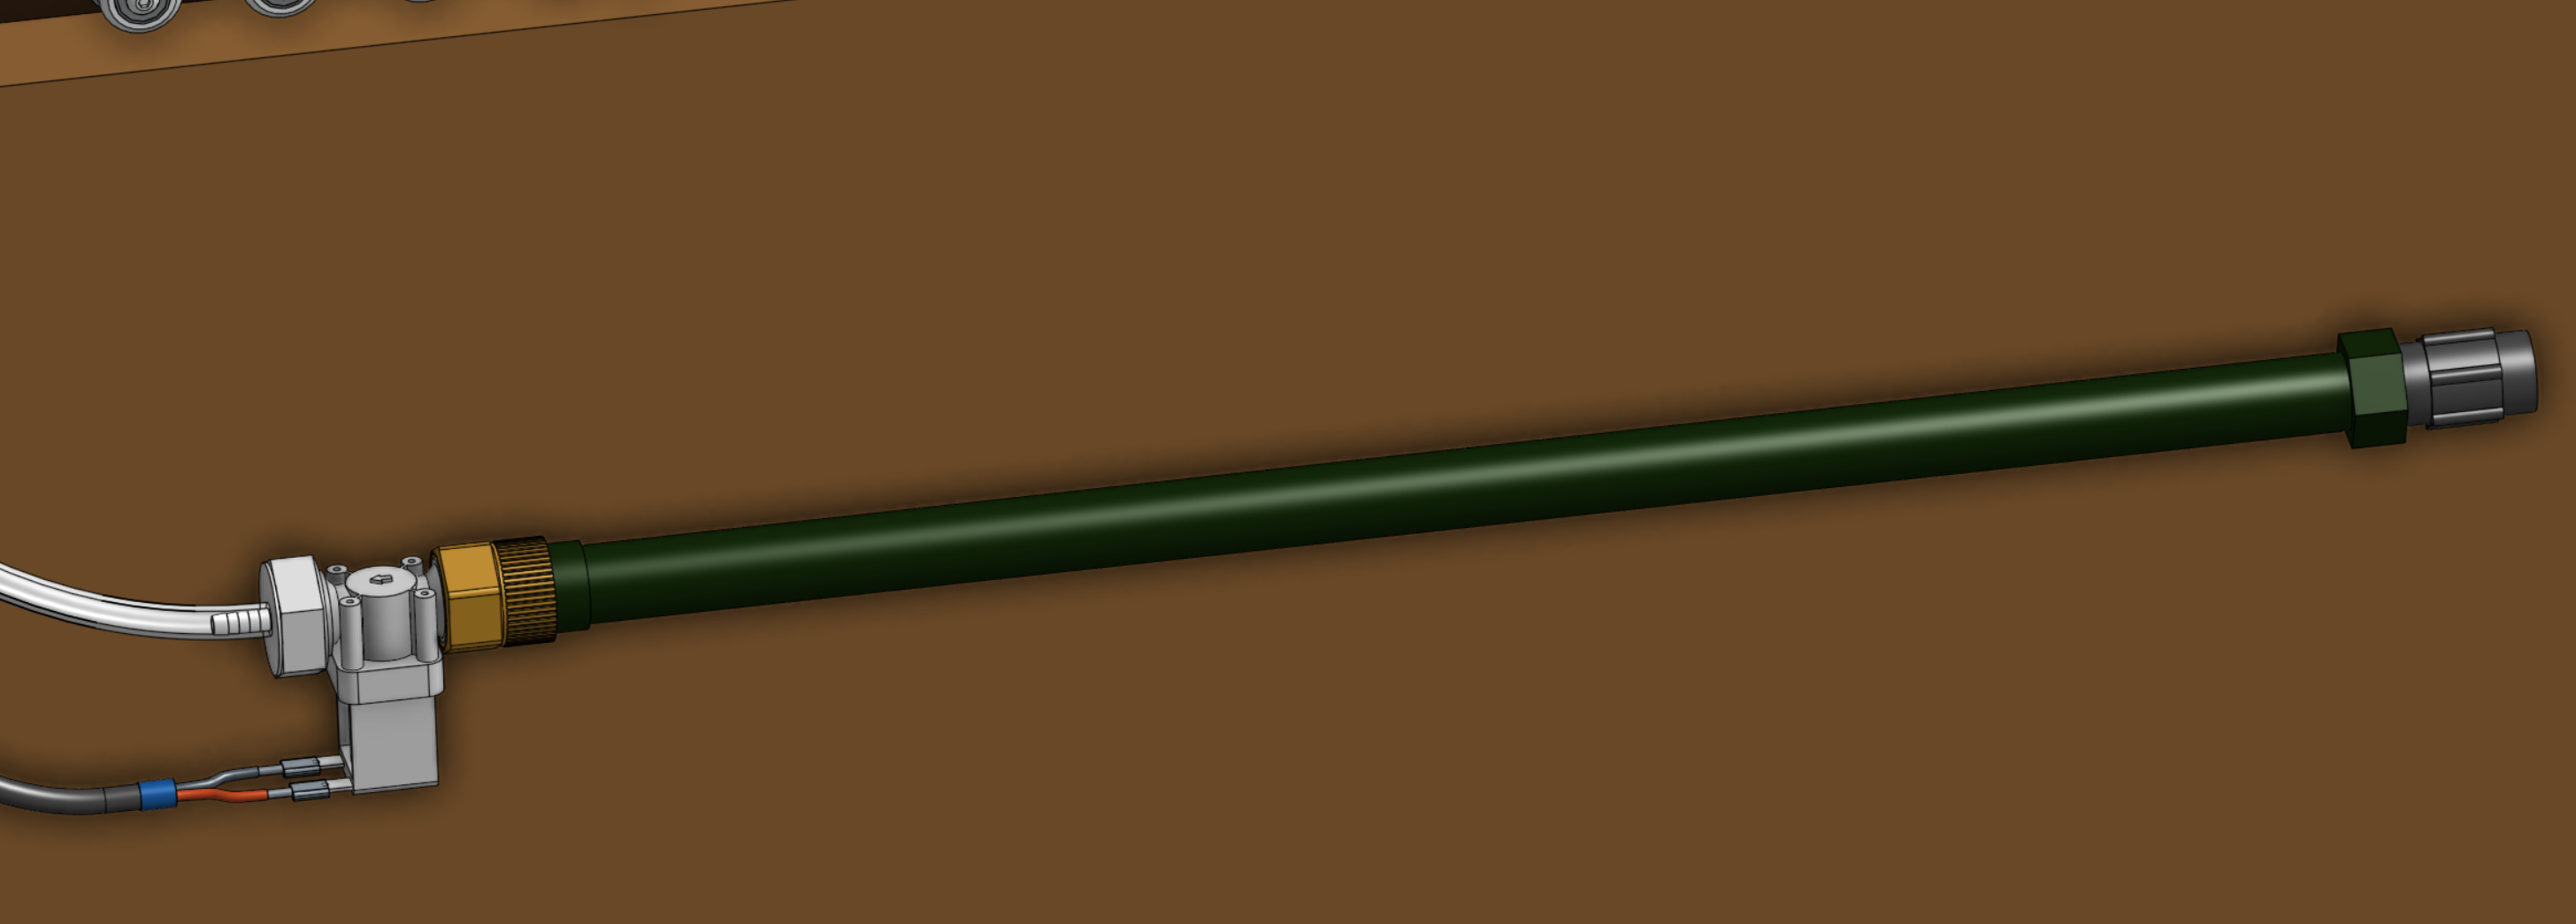
Screw the pressure regulator onto the faucet you will be using to supply FarmBot with municipal water.
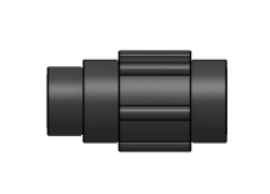
Screw the garden hose onto the pressure regulator. Note that you will need to provide a hose of the appropriate length for your installation - one is not provided with FarmBot kits.

Screw the garden hose adapter onto the other end of the garden hose.
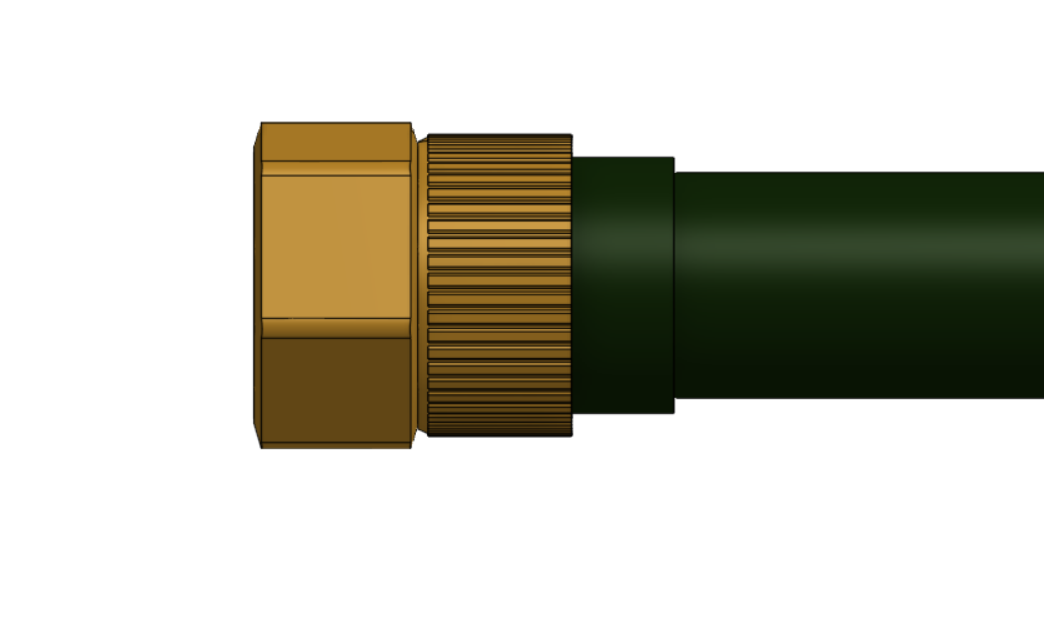
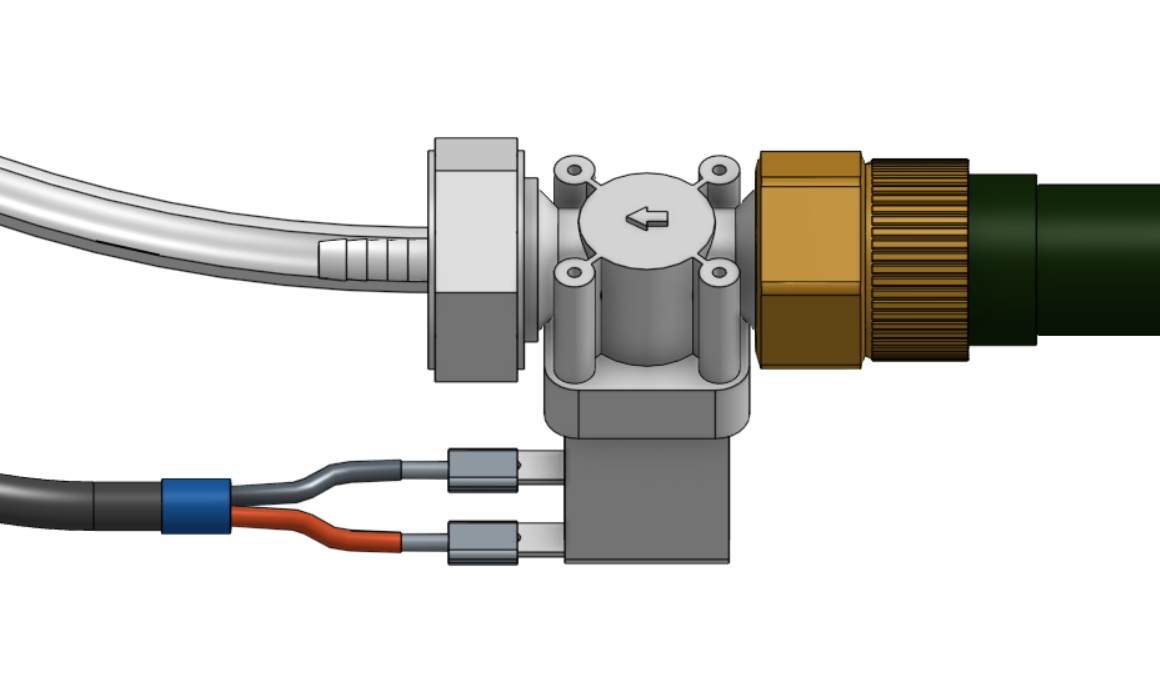
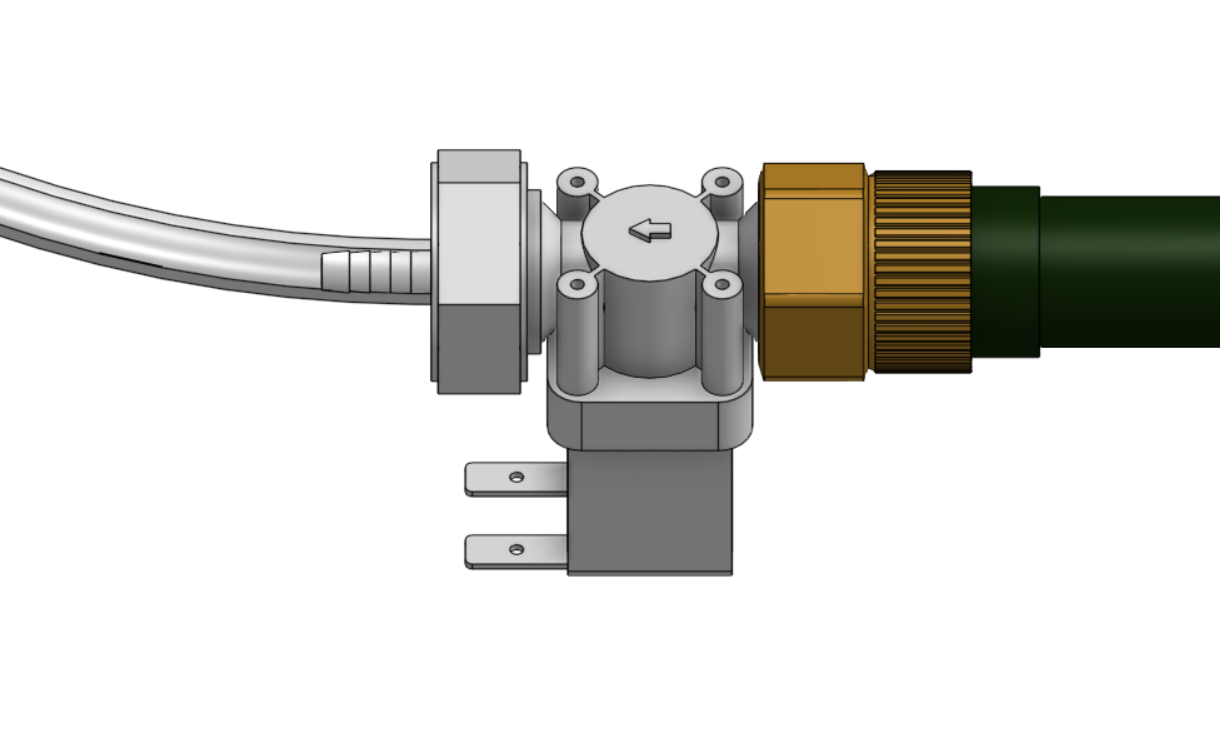
Screw the solenoid valve onto the other end of the garden hose adapter.
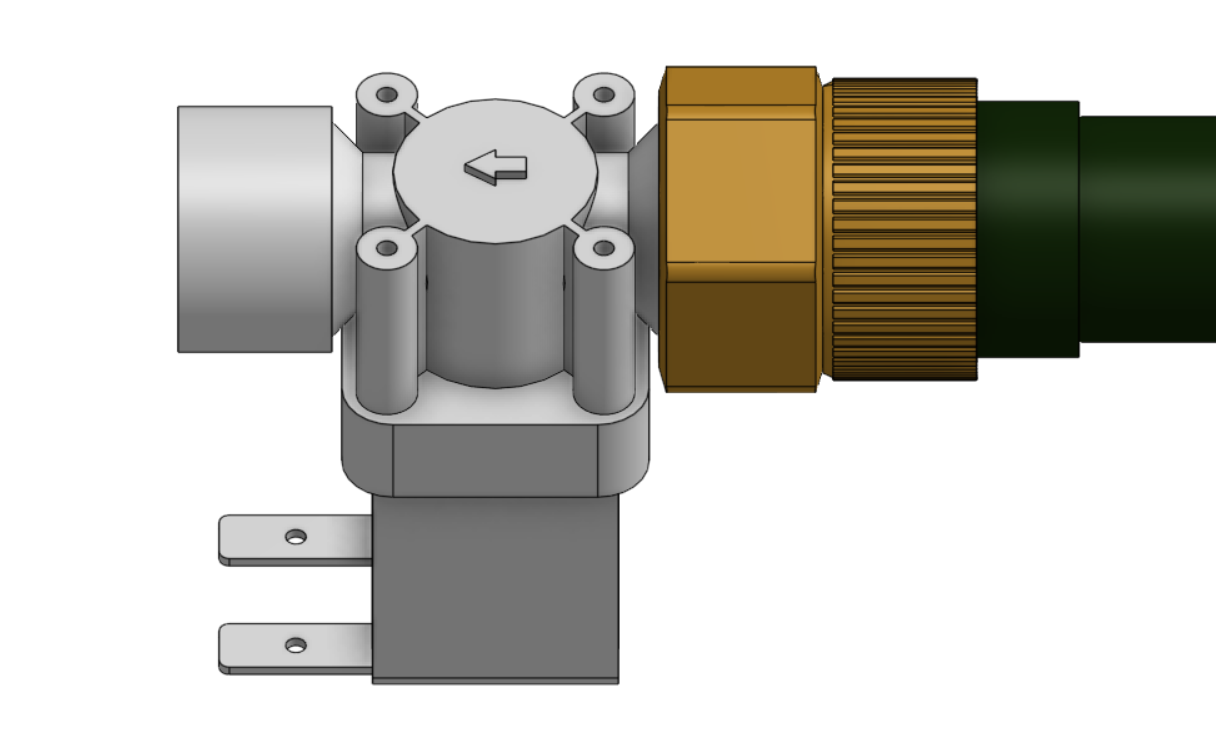
Screw the barbed adapter onto the solenoid valve.
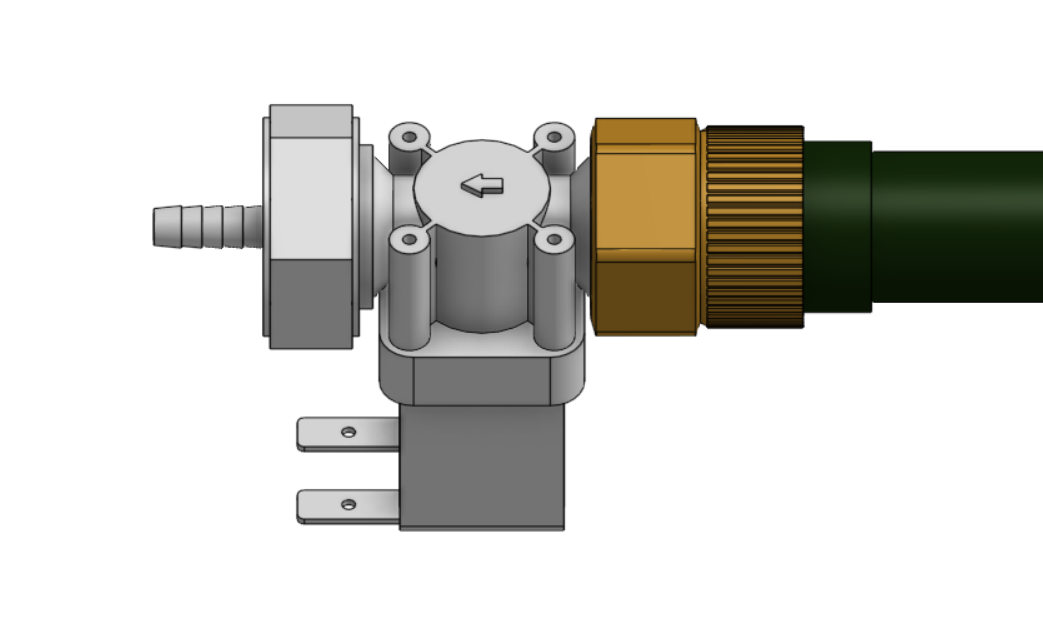
Push the water tube onto the barbed adapter and secure it with a zip tie.
Step 5: Wire up the solenoid valve
Connect the solenoid valve cable to the solenoid valve’s terminals.
Color labels
Note that the solenoid valve cable has blue heat shrink tubing around the ends to distinguish it from the vacuum pump cable and the RAMPS power cables.
