Change Log
All of the changes we made to FarmBot Genesis since the last version
- New metal surface treatment
- Tighter M5 hole tolerance
- Improved UTM
- Z-axis cable carrier guides
- Cable carrier supports
- Addition of the cable carrier spacer block
- Z-Axis motor mount
- Toolbay
- Back to borescopes
- 2-piece watering nozzle
- Luer lock needle seed injector
- Customizable weeding tool
- All tools and UTM
- New “jumper link”
- What’s next?
New metal surface treatment
Previous prototypes have called for the metal plates and brackets to be tumble polished. However, we have found through some experimentation that tumble polishing is not good enough. Now we are using a three step process:
- Tumble polishing to remove burrs and sharp edges/corners
- Sandblasting to remove any surface imperfections and give the parts a nice texture
- Clear or black anodization to give the parts a protective coating and professional, finished feel
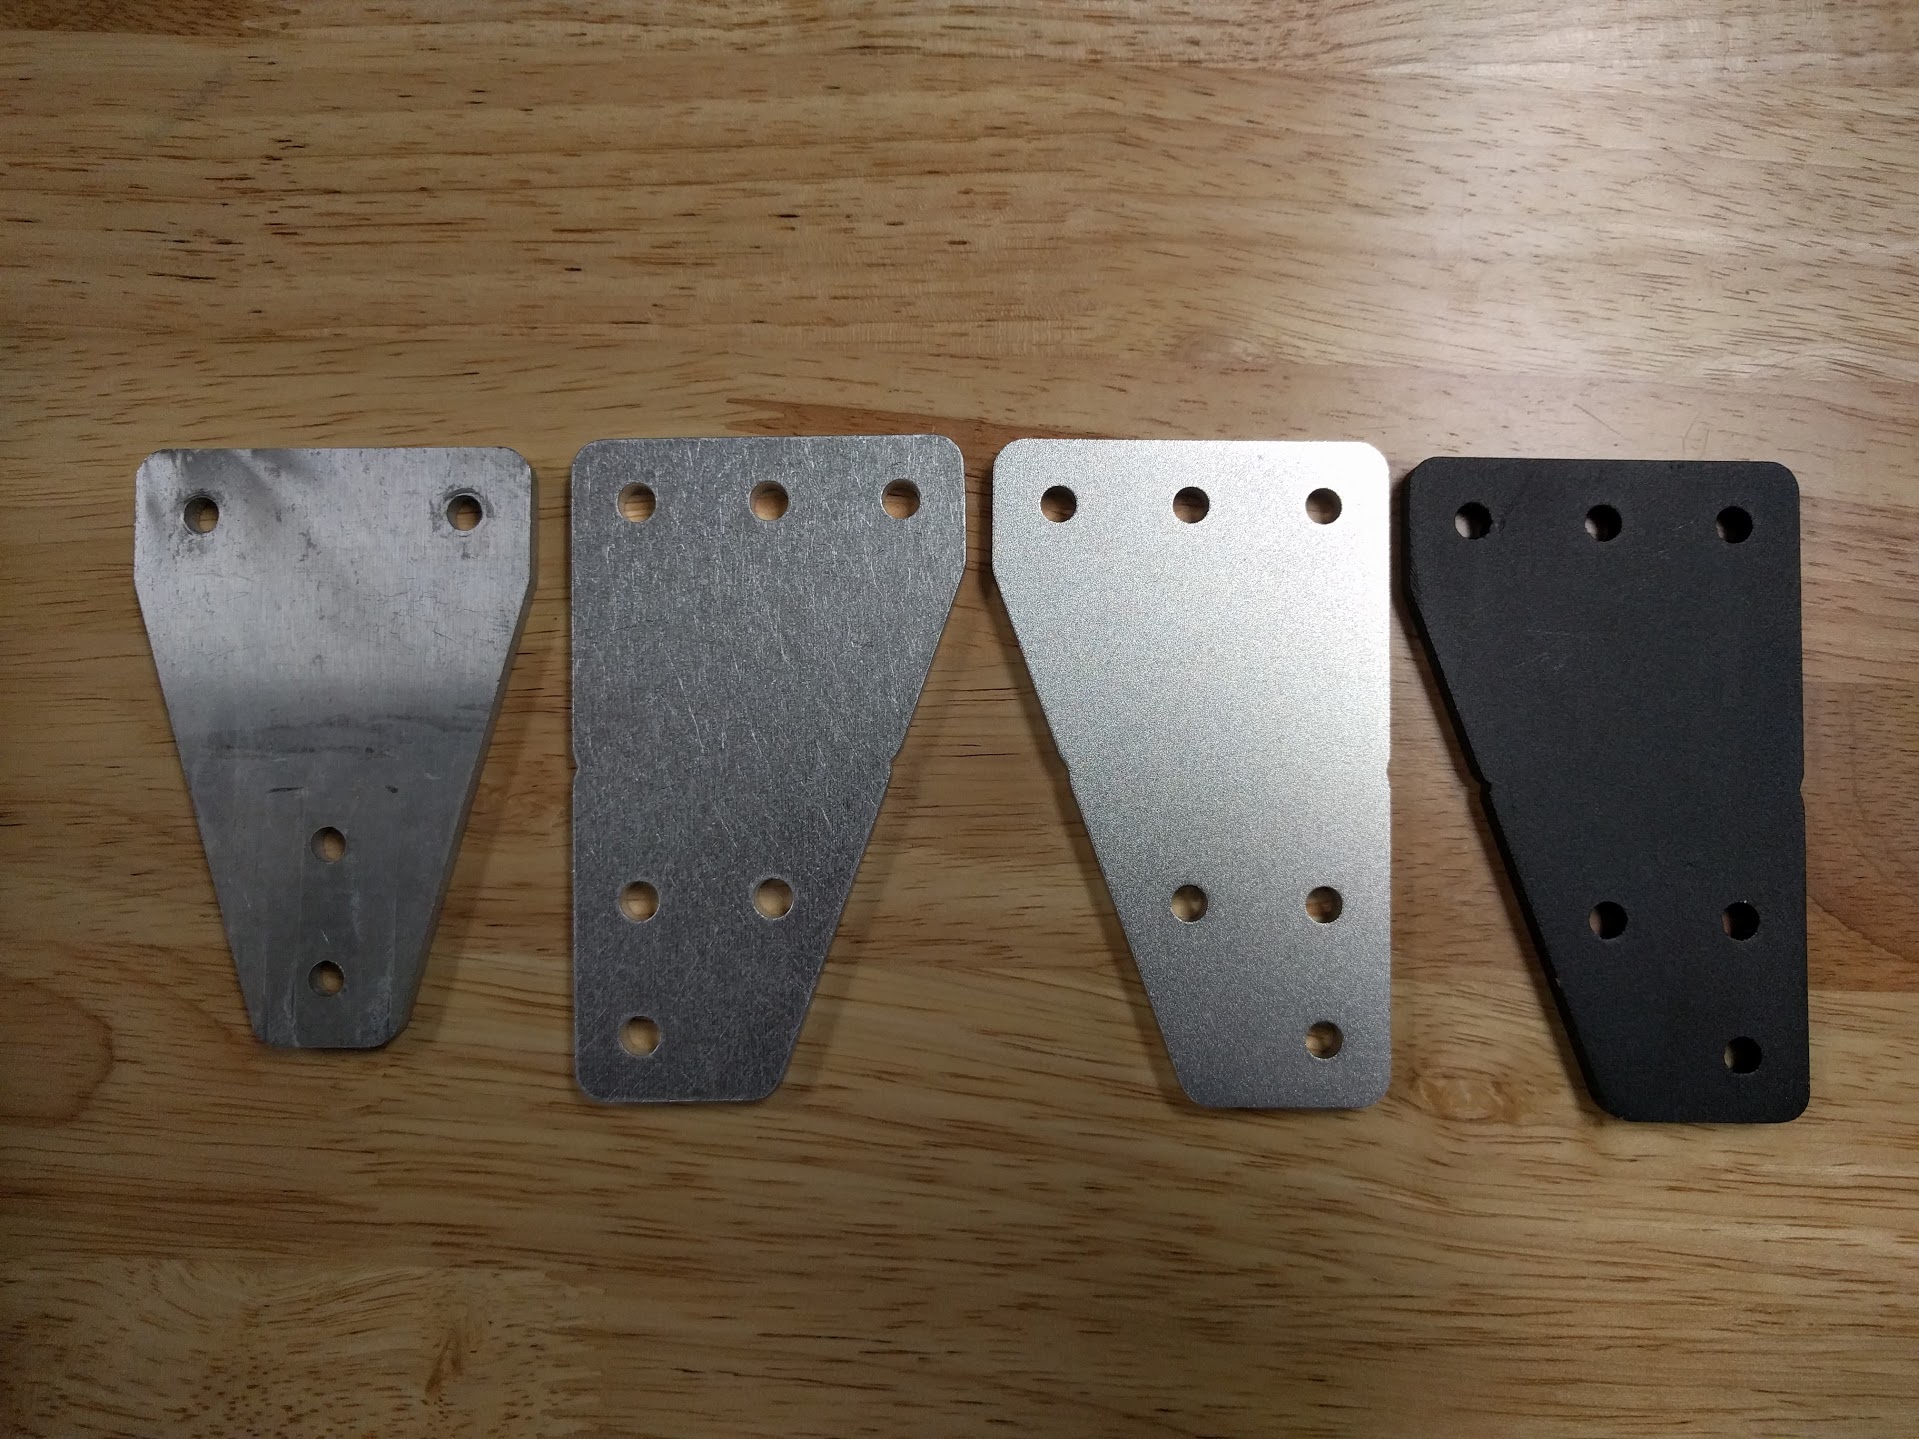
From left: Raw waterjet cut; laser cut with tumble polishing; machined with tumble polishing, sand blasting, and clear anodization; and machined with tumble polishing, sand blasting, and black anodization.
Tighter M5 hole tolerance
All M5 holes have been reduced in size from 5.5mm to 5.25mm to reduce the propensity to install them misaligned.
Improved UTM
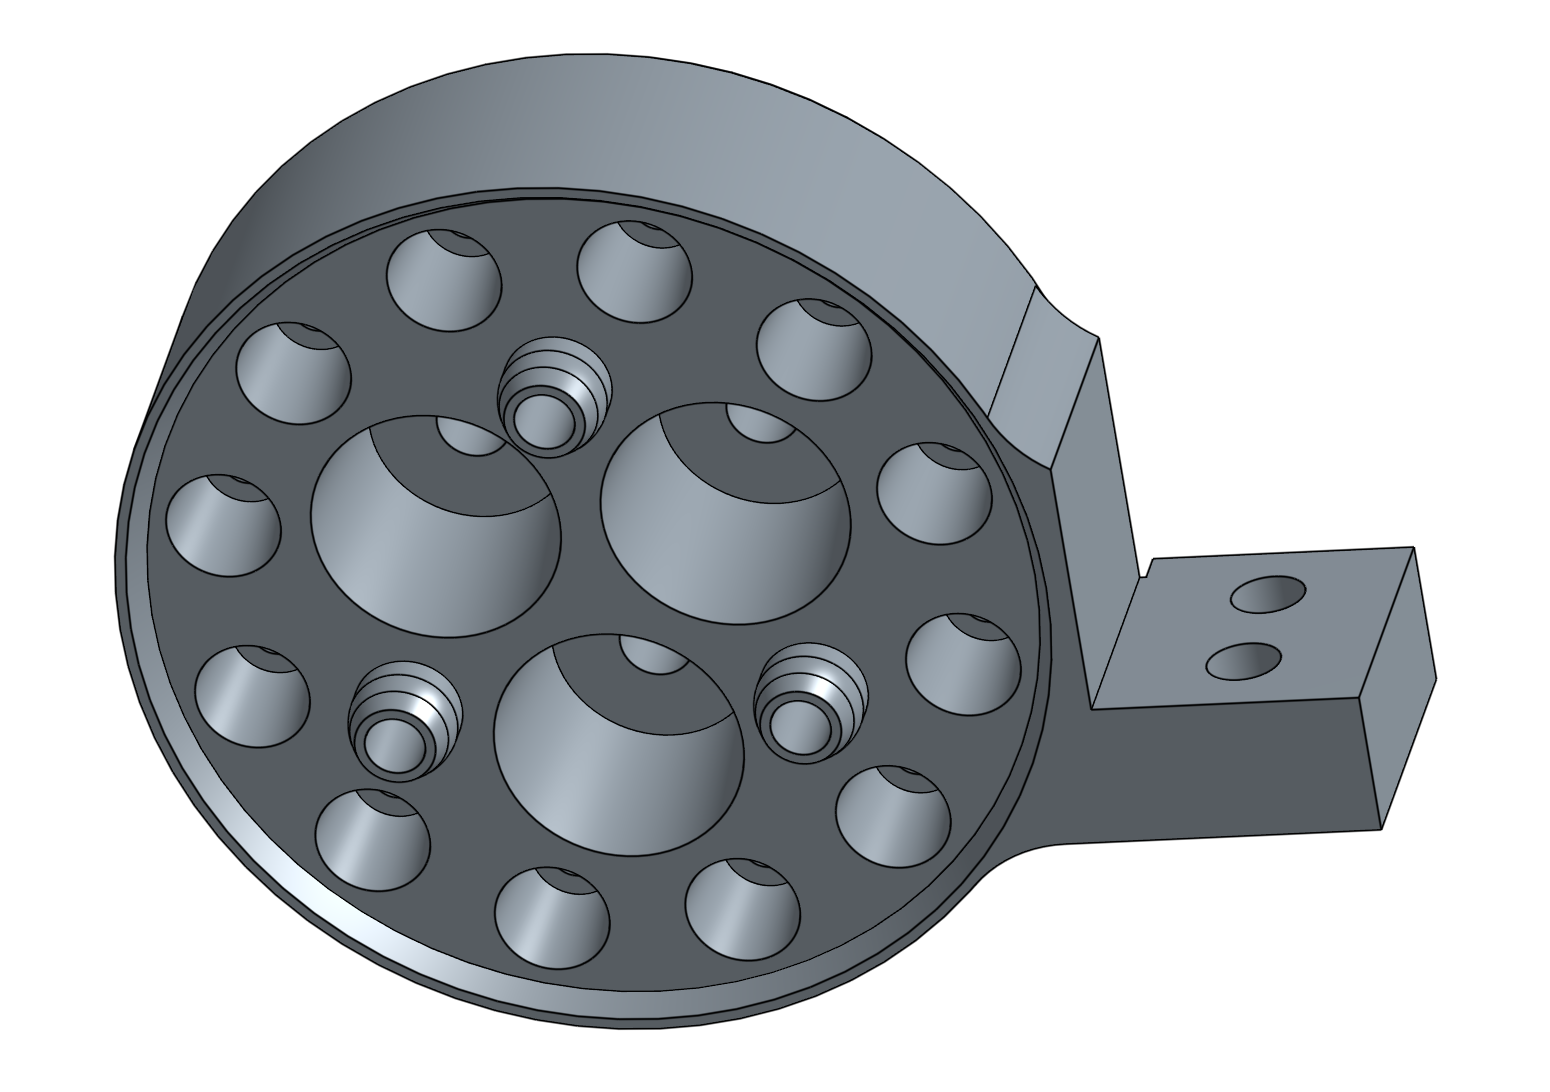
- Decreased the wire diameter of the electronics screw springs to 0.3mm to allow the tools to mount better on the UTM and create better seals with the o-rings.
- Switched from square profile o-rings to x profile o-rings to allow for better sealing with less required force.
- Removed the o-ring recess in the UTM to allow the o-rings to squish and seal more easily.
Z-axis cable carrier guides
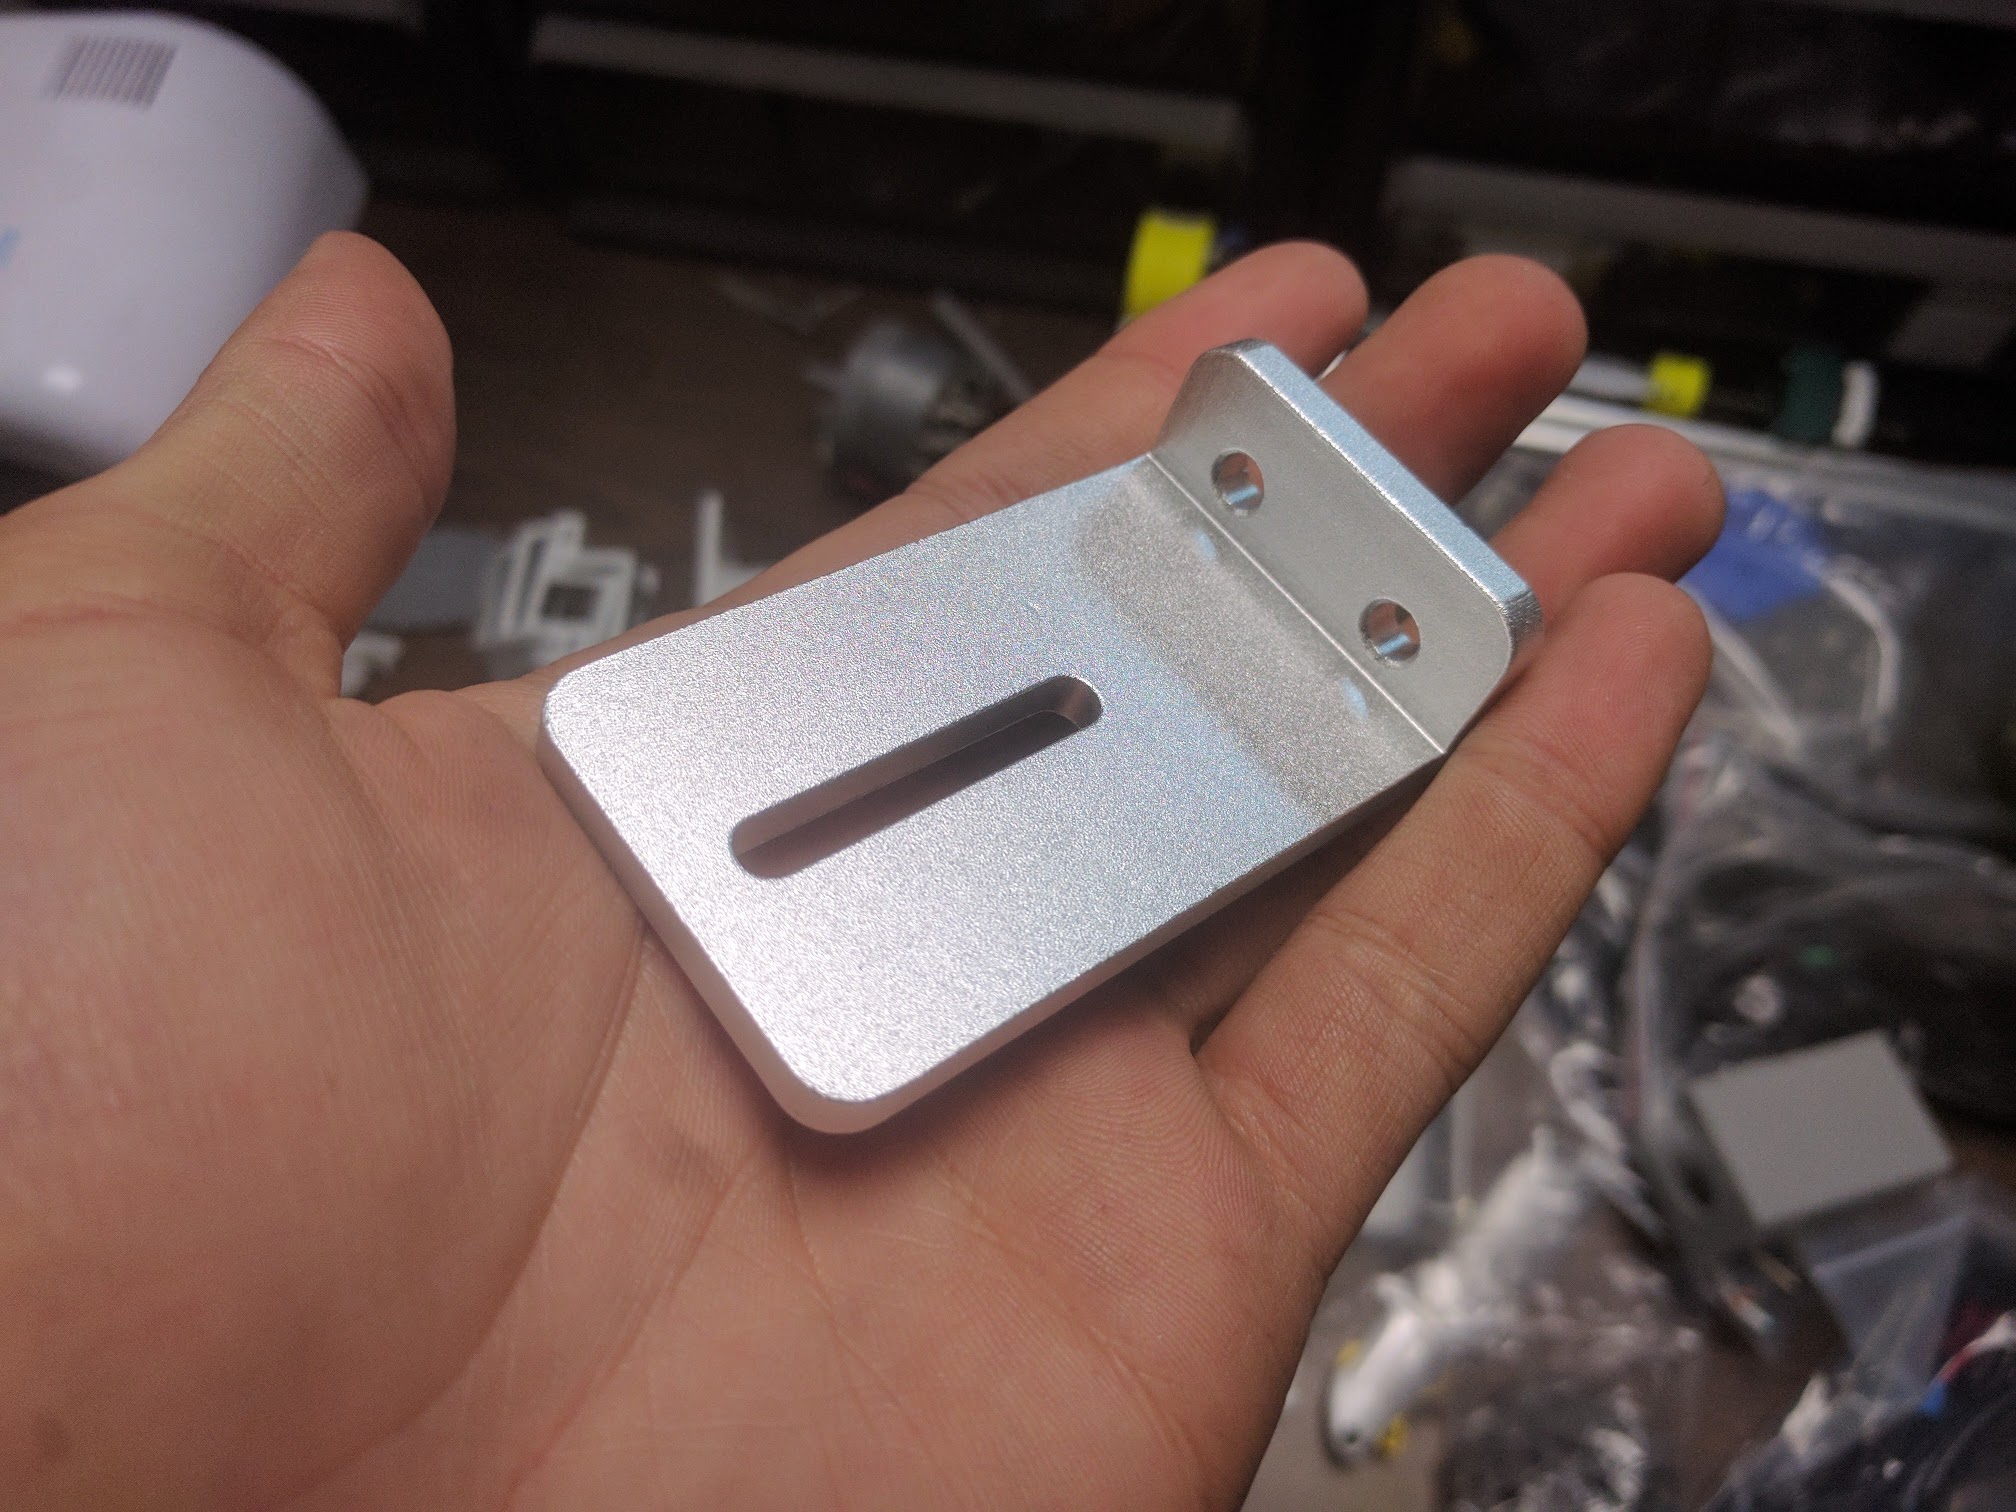
- Renamed to Vertical Cable Carrier Supports.
- Now made of machined or 3D printed plastic instead of bent metal.
- Made the component taller so that it can be mounted with two M5 screws and tee nuts for a more stable connection with the z-axis extrusion.
- Added a horizontal slot so that any of the supports can be used to mount the z-axis cable carrier to the z-axis extrusion. The z-axis cable carrier mounting plate is now deprecated and has been replaced with an additional vertical cable carrier support.
- Wire routing guide has been increased in size for added strength.
Cable carrier supports
- Renamed to Horizontal Cable Carrier Supports.
- Now made of machined or 3D printed plastic instead of bent metal.
- Removed some unnecessary holes in the Long Cable Carrier Mount
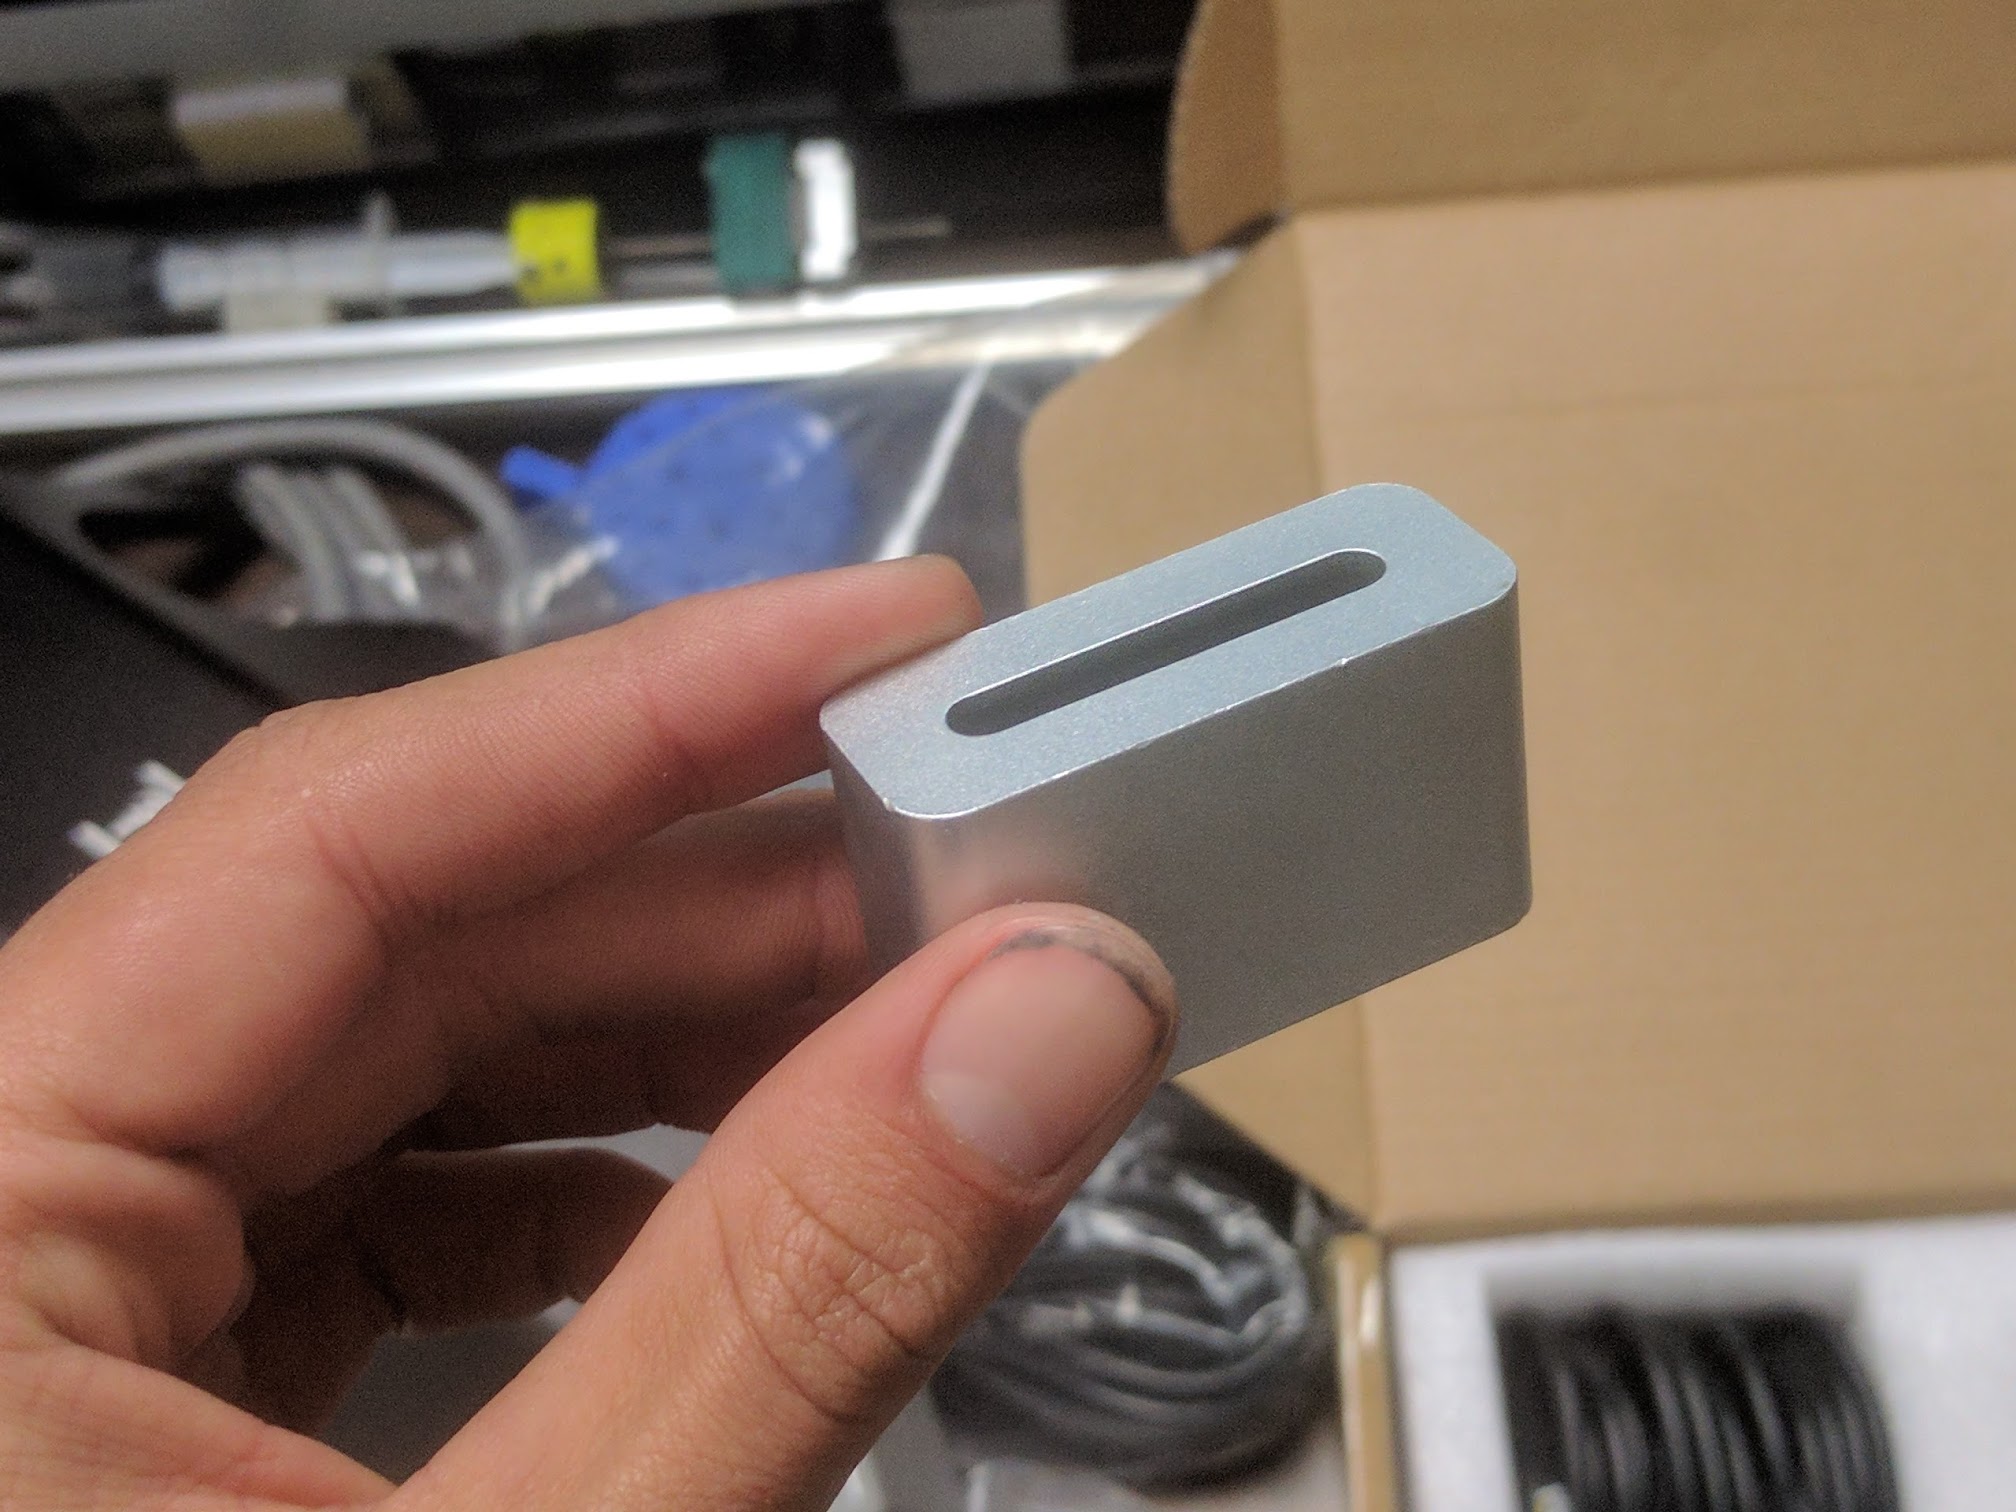
Addition of the cable carrier spacer block
This component is mounted between the z-axis cable carrier and the cross-slide plate in order to offset the cable carrier and allow it to make its tight bend radius more easily when the z-axis is extended as low as it can go.
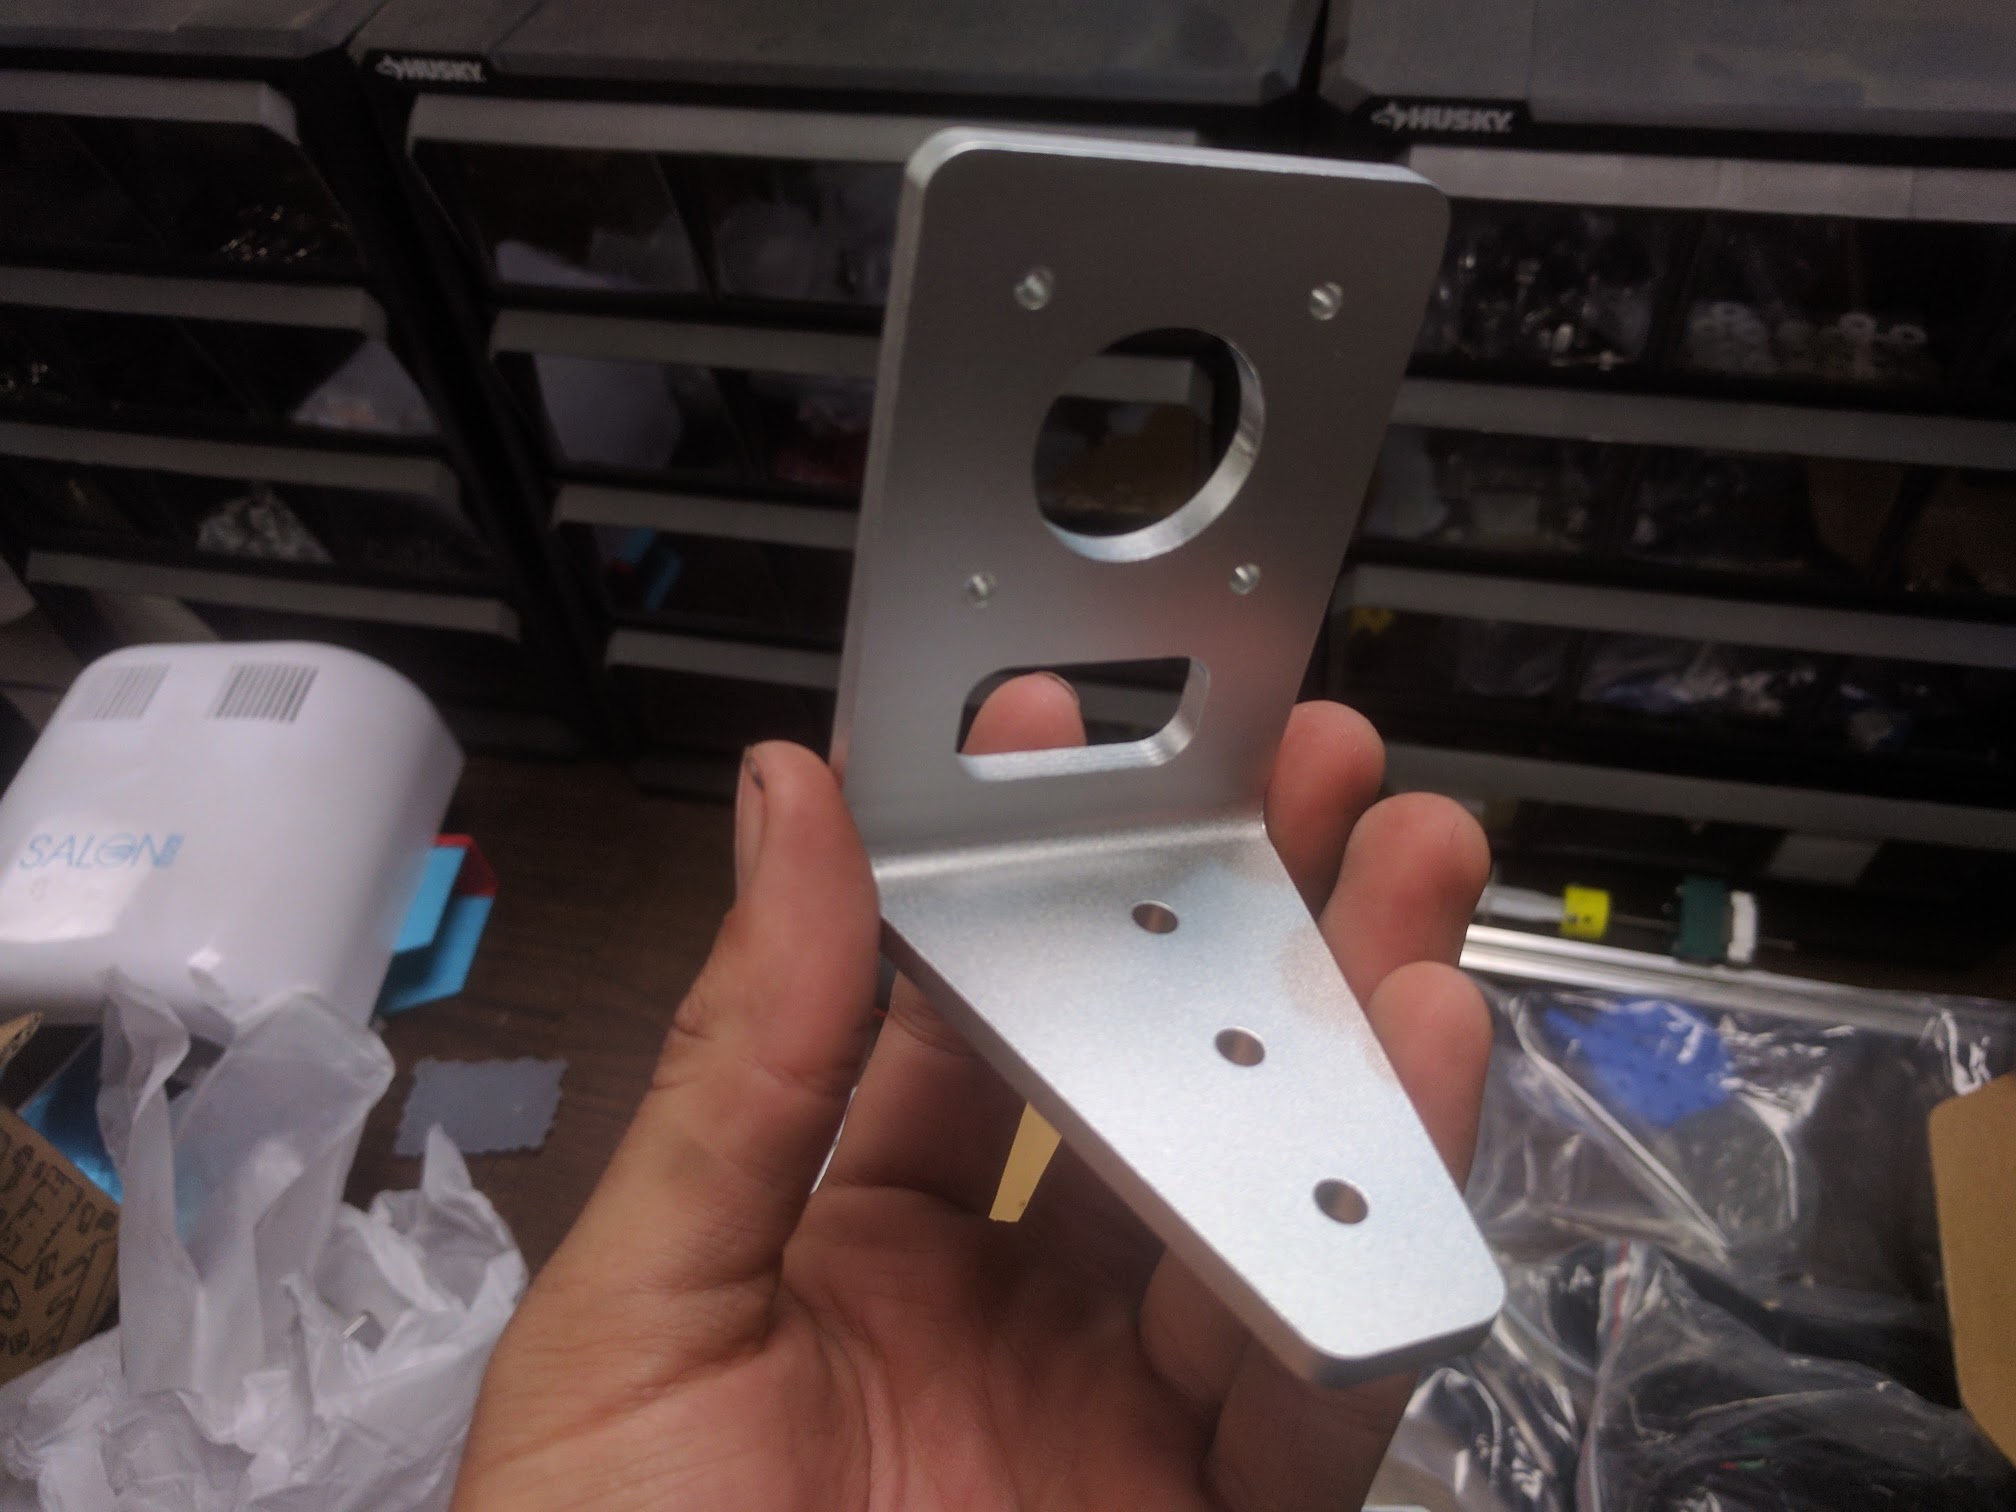
Z-Axis motor mount
Replaced the bent metal and welded design with a lighter weight and lower cost single bent plate design.
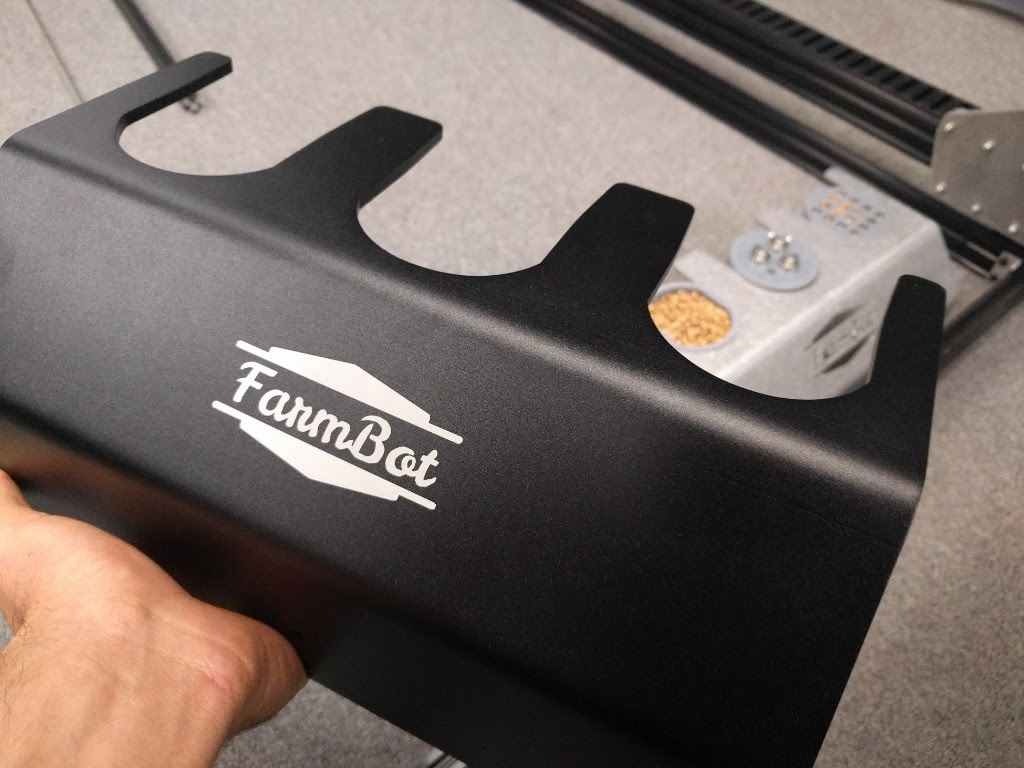
Toolbay
The FarmBot logo is no longer cut out of the metal. Instead the entire tool bay is anodized black and the logo has been laser engraved onto it.
Back to borescopes
After testing the Raspberry Pi camera as FarmBot’s downward facing camera, we have decided to go back to using a modified borescope camera. This is because the Raspberry Pi camera board is bulky, required a specialized, expensive, and bulky ribbon cable to HDMI to ribbon cable connection to the Raspberry Pi, a custom rainproof housing, and a complicated mount.
A borescope of sufficient resolution and proper focus is a more optimal solution from a cost, aesthetics, and functionality perspective.
2-piece watering nozzle
The previous watering nozzle design could only be produced with 3D printing because of the complicated internal cavity features.
The new design is a two-piece system that allows the individual pieces to be either machined or injection molded in addition to 3D printed. The two pieces are then screwed together using the same screws that hold the magnets onto the tool.

Luer lock needle seed injector
The previous seed injector design could only be produced with 3D printing because of the complicated internal cavity features. Furthermore, the design had poor internal airflow properties, and was an expensive component to produce that was limited to one orifice size.
The new design uses a more easily produced tool base that can be machined or injection molded in addition to 3D printed. Interchangeable luer lock needles allow the user to switch out the orifice size of their seed injector in just 10 seconds and for very little cost. This will aid the user in finding the best orifice size to use for their particular seeds and soil conditions. We plan to ship a variety of luer lock needles with every FarmBot kit.
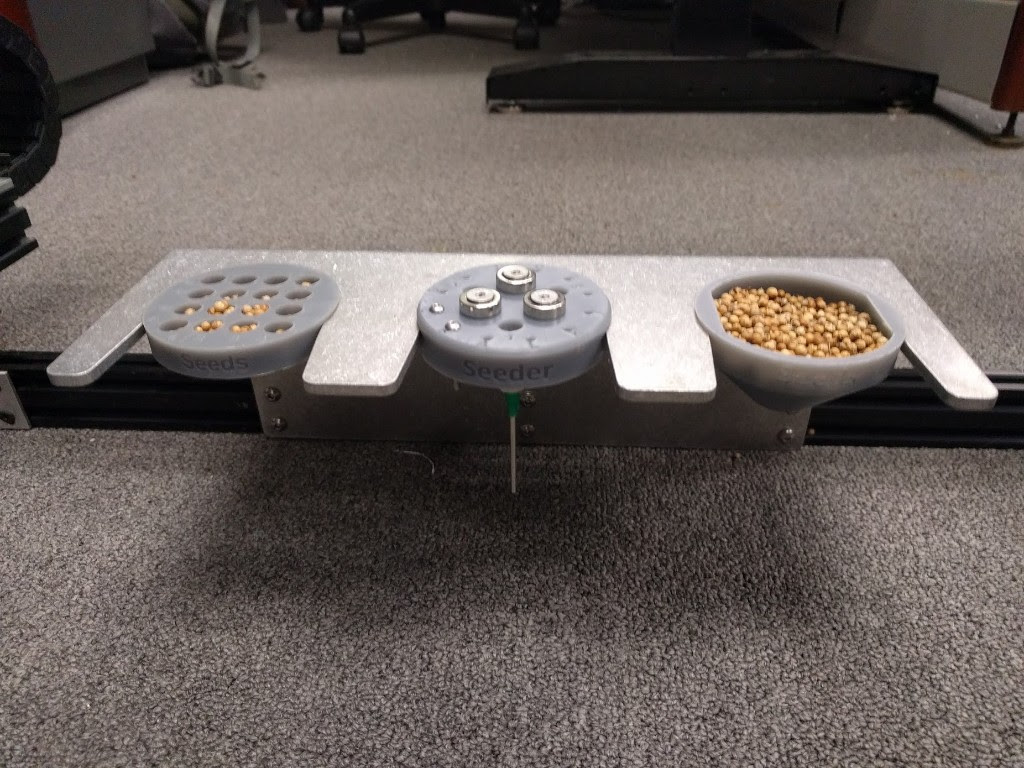
Customizable weeding tool
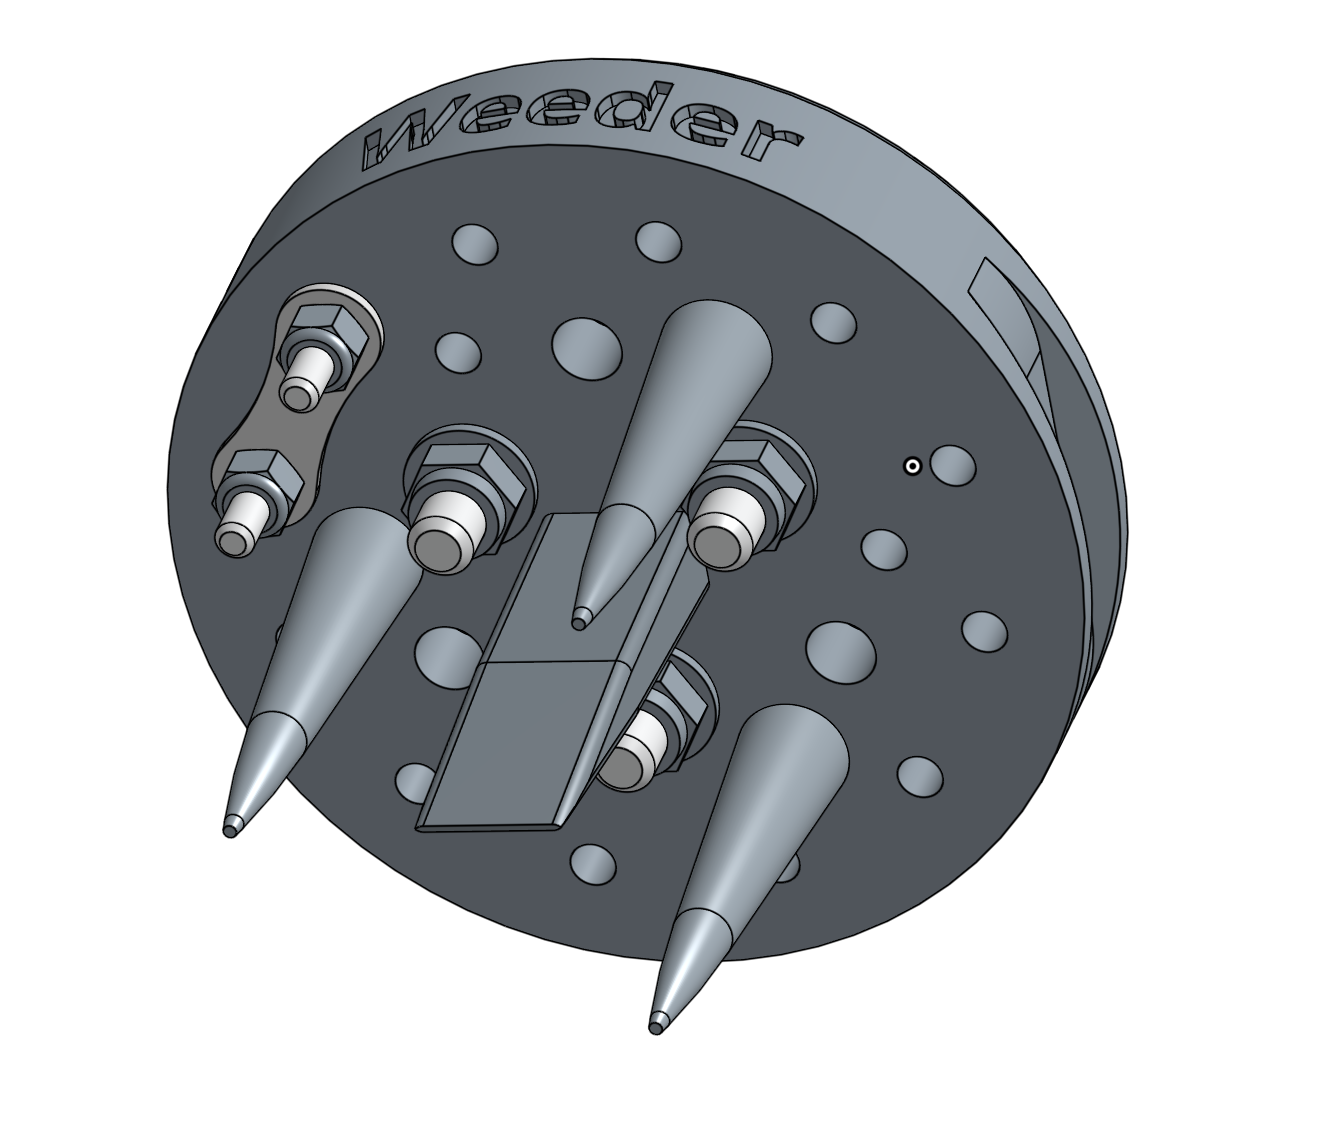
The previous version of the weeder was a single 3D printed component that was not customizable. Because everyone will have soils of various textures and types of weeds, we thought it would be more effective to have a weeding tool design that people could customize to work best in their conditions.
The new design consists of a tool “base” that “implements” can be attached to with M3 screws. The implements included with the first batch of FarmBot Genesis Kits are three plastic “spikes” and one plastic “blade”. This combination has proven to be effective at burying unwanted plants under the soil while not being too difficult to push down. It has also exhibited a low likelihood of becoming clogged with soil.
With the customizable design, users can change the configuration of the implements, choose to add more or fewer, and can also experiment with other types of implements such as corkscrews, rods, and other forms.
All tools and UTM
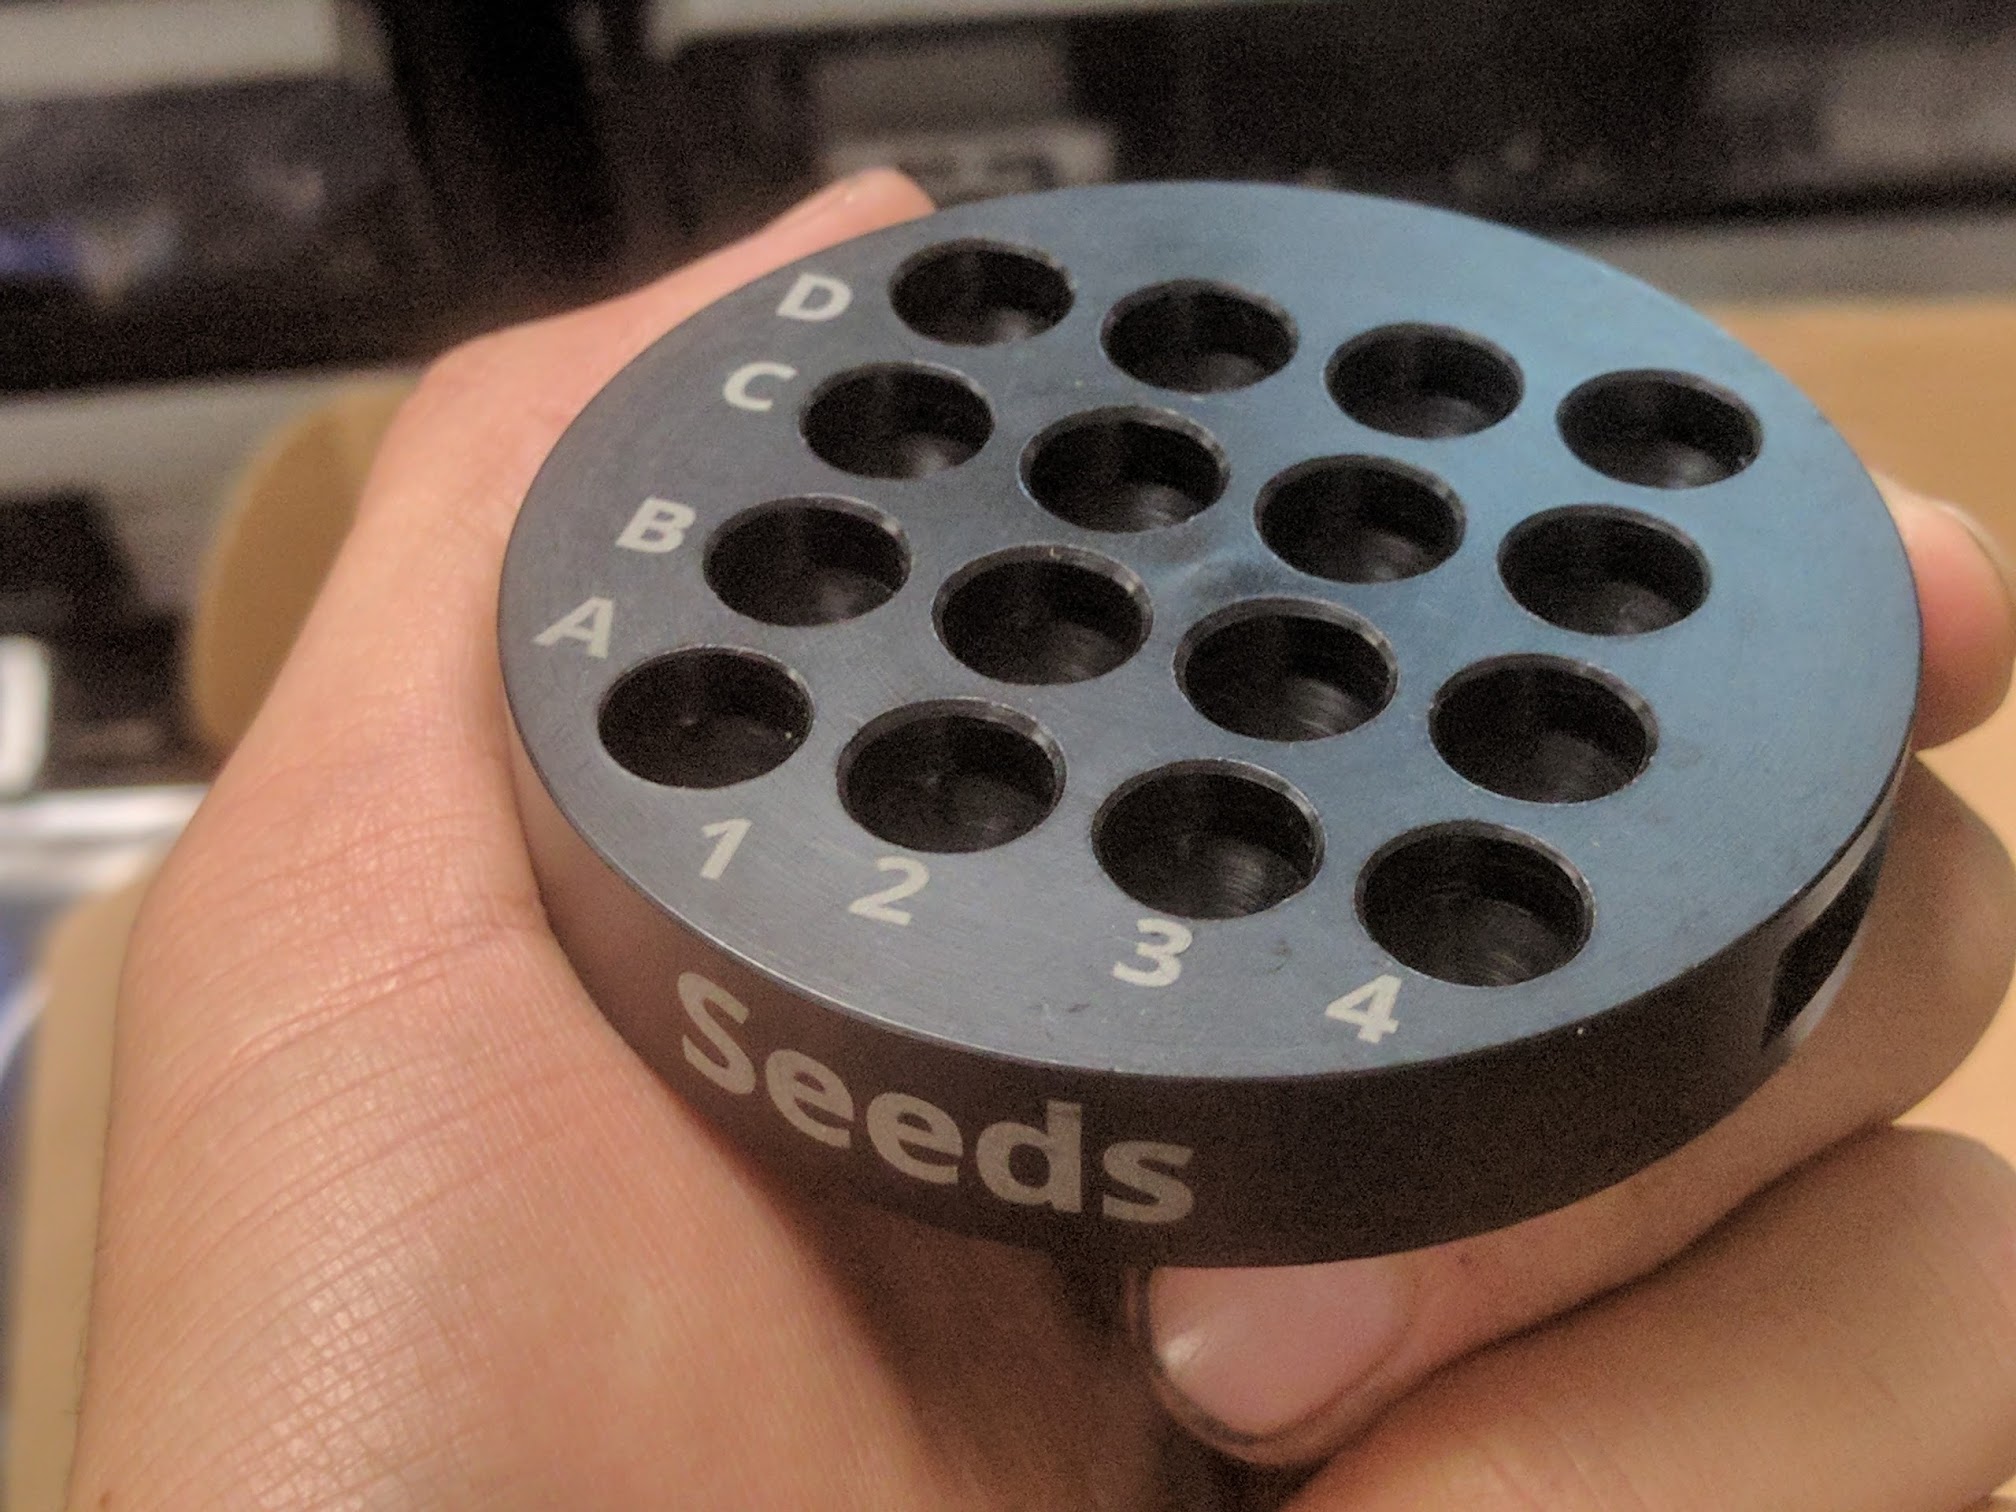
The text labels on the top of all Tools, Seed Pucks and Trays, and the UTM have been laser engraved for production parts instead of embossed into the part. This process was less expensive than machining and allows the text to be more easily read because it produces a higher contrast text.
New “jumper link”
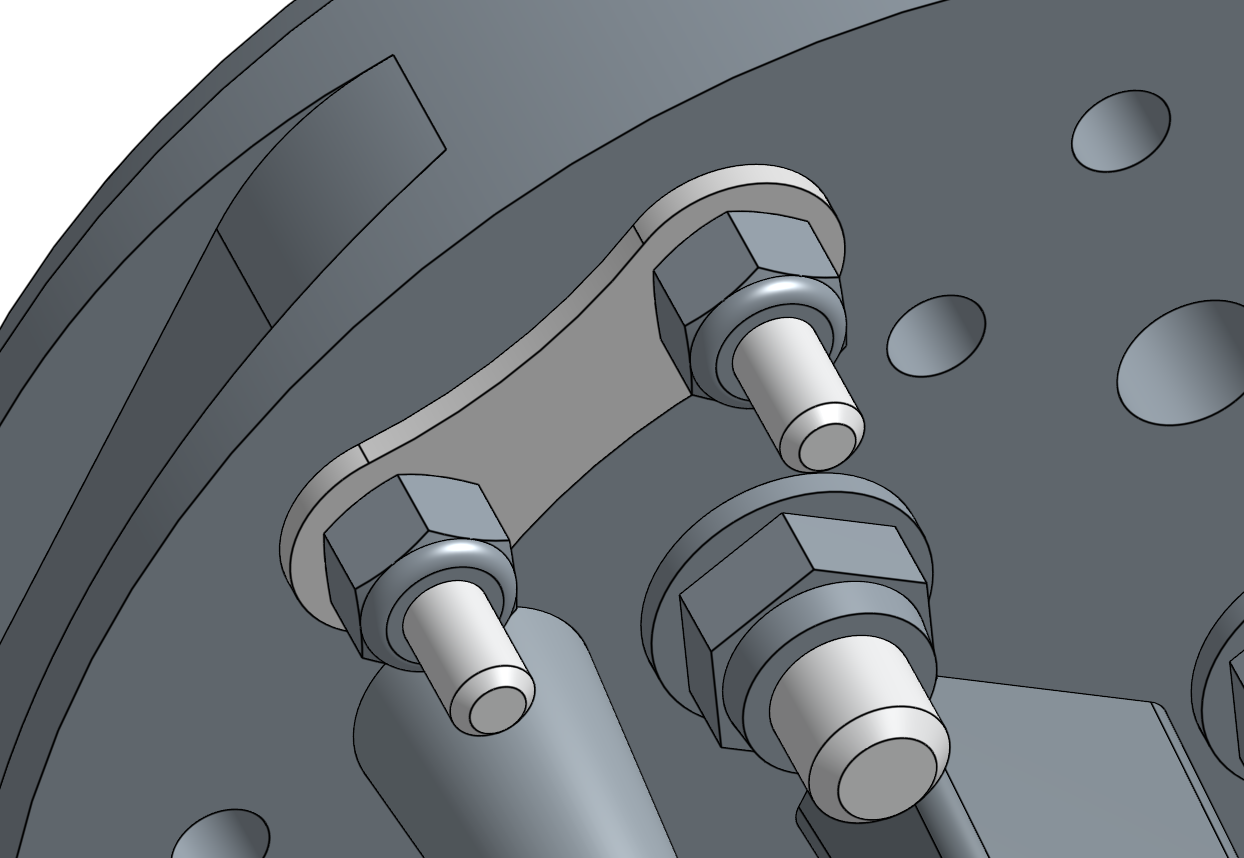
Previous Tools used a short jumper wire zip-tied between two of the electronics screws to serve as a way for FarmBot to validate if Tools are mounted or not. In v1.2, the jumper wire and zip-ties have been replaced with a small piece of metal called a Jumper Link that is secured attached between two adjacent electronic screws using the already existing M3 locknuts.
