Assemble the Electronics Box
30 minutes
This is the estimated time it will take to setup the Electronics.
Step 1: Install FarmBot OS
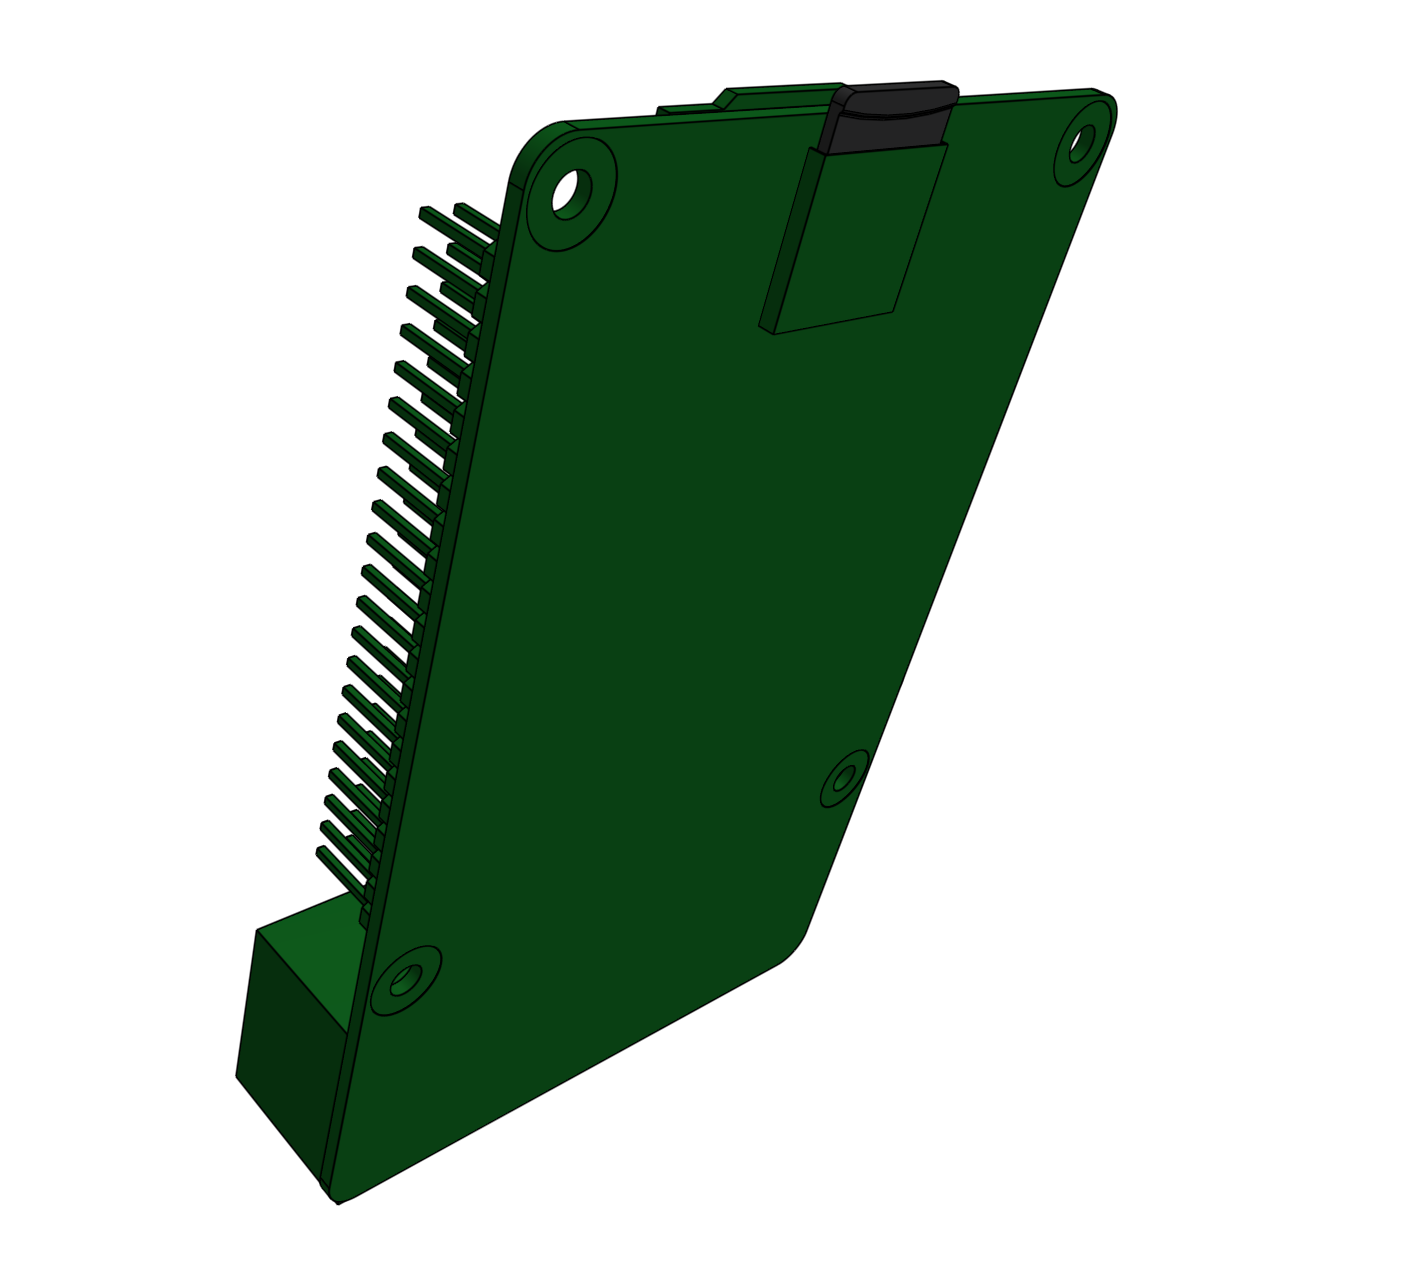
Follow the instructions on the Raspberry Pi software page to install FarmBot OS onto the microSD card. Then insert the microSD card into the slot in the backside of the Raspberry Pi.
Step 2: Mount the Farmduino
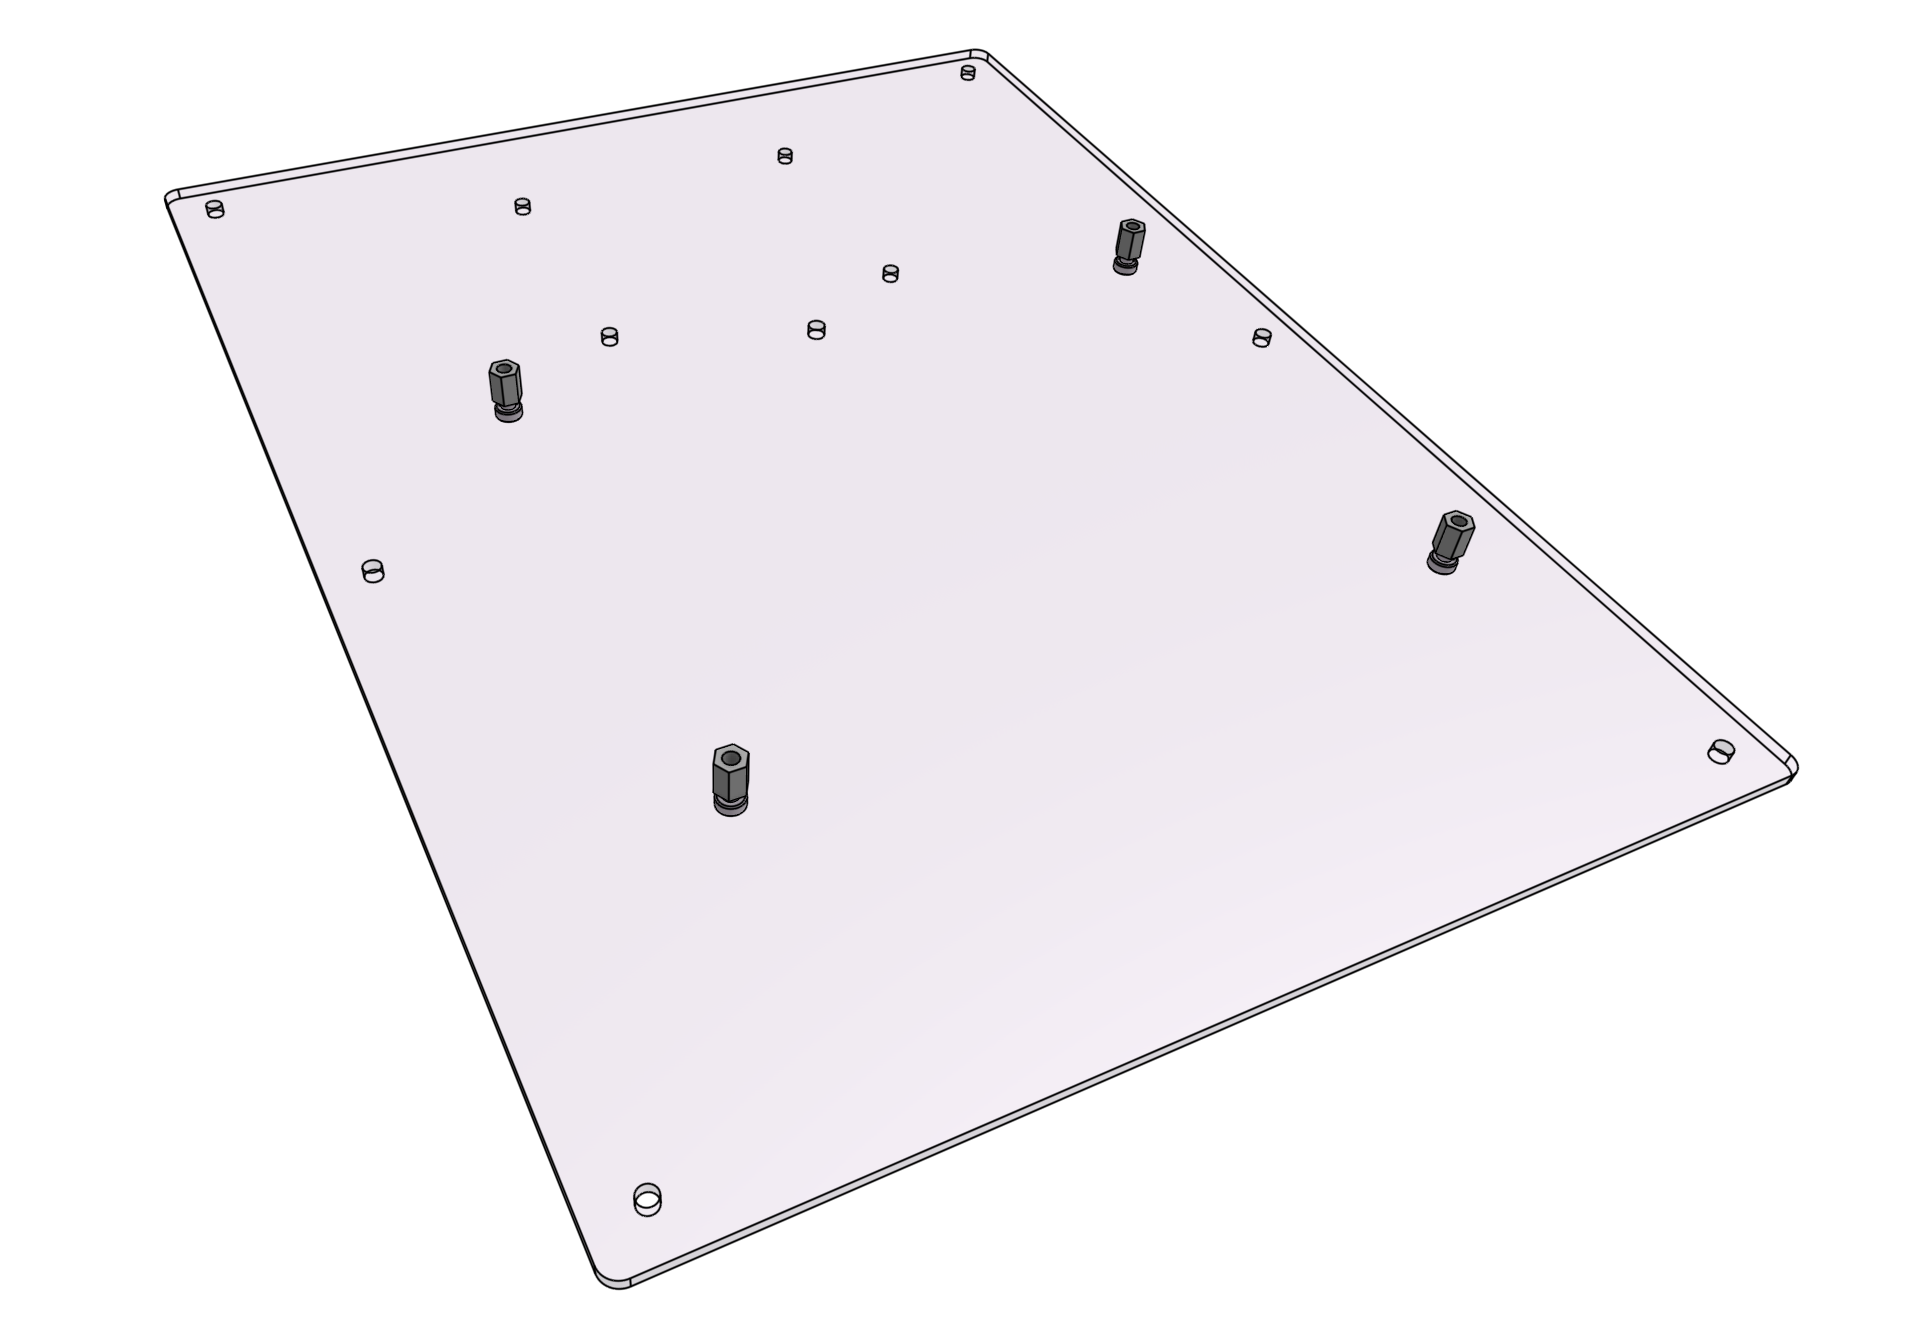
Use four M2.5 x 4mm screws to attach four M2.5 x 6mm standoffs to the electronics mounting plate. The screws should be on the backside of the plate while the standoffs should be on the front.
The electronics mounting plate shipped with the Genesis kits come with a protective film. Gently peel it off to expose the clear plastic underneath, if desired.
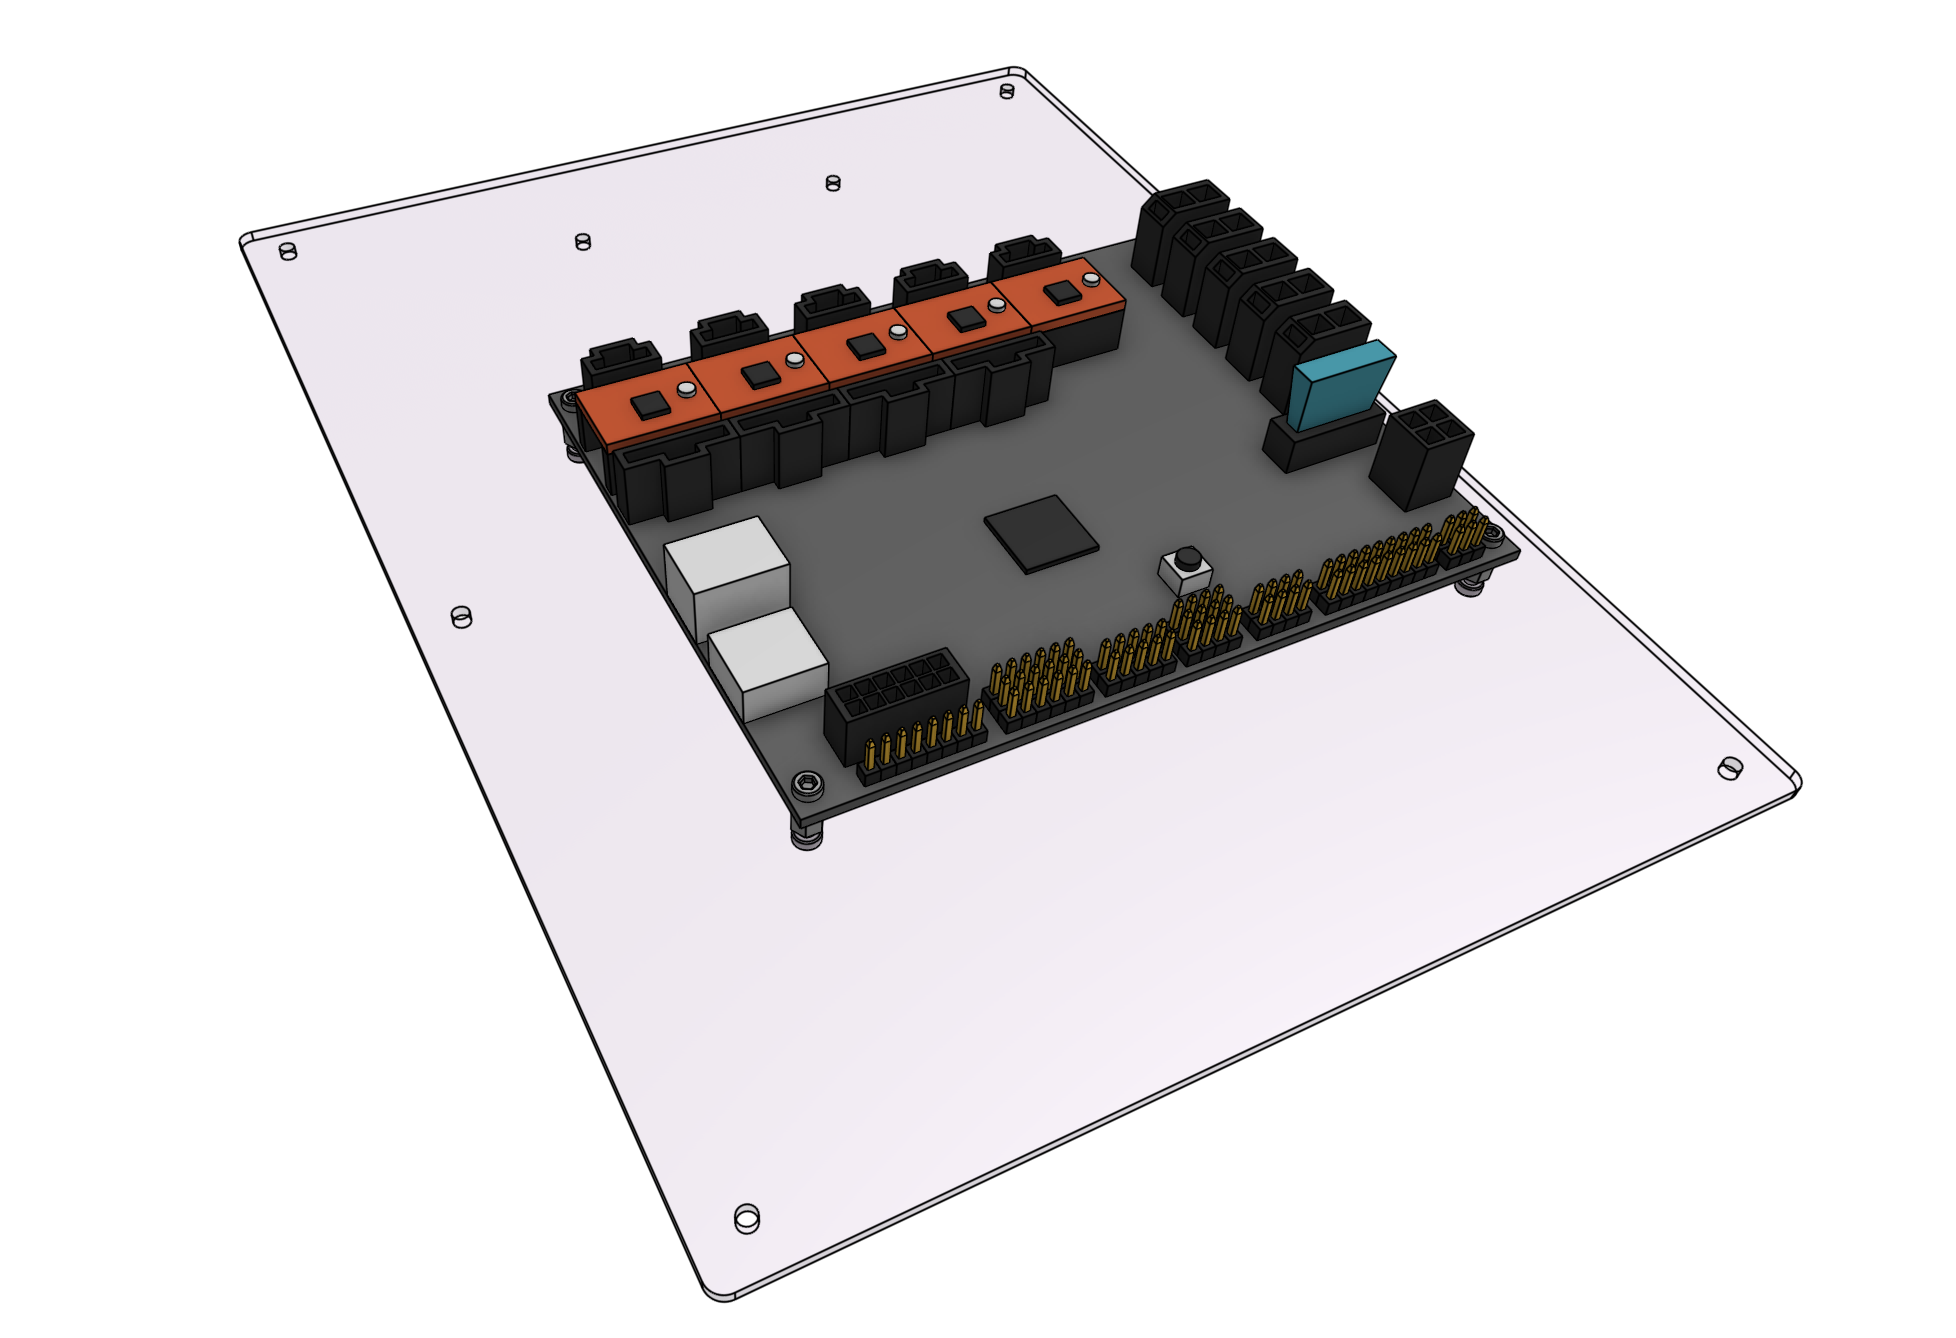
Attach the Farmduino to the standoffs using four M2.5 x 4mm screws.
Step 3: Mount the Raspberry Pi
Use four M2.5 x 4mm screws to attach four M2.5 x 16mm standoffs to the electronics mounting plate. The standoffs should be on the same side of the plate as the Farmduino.
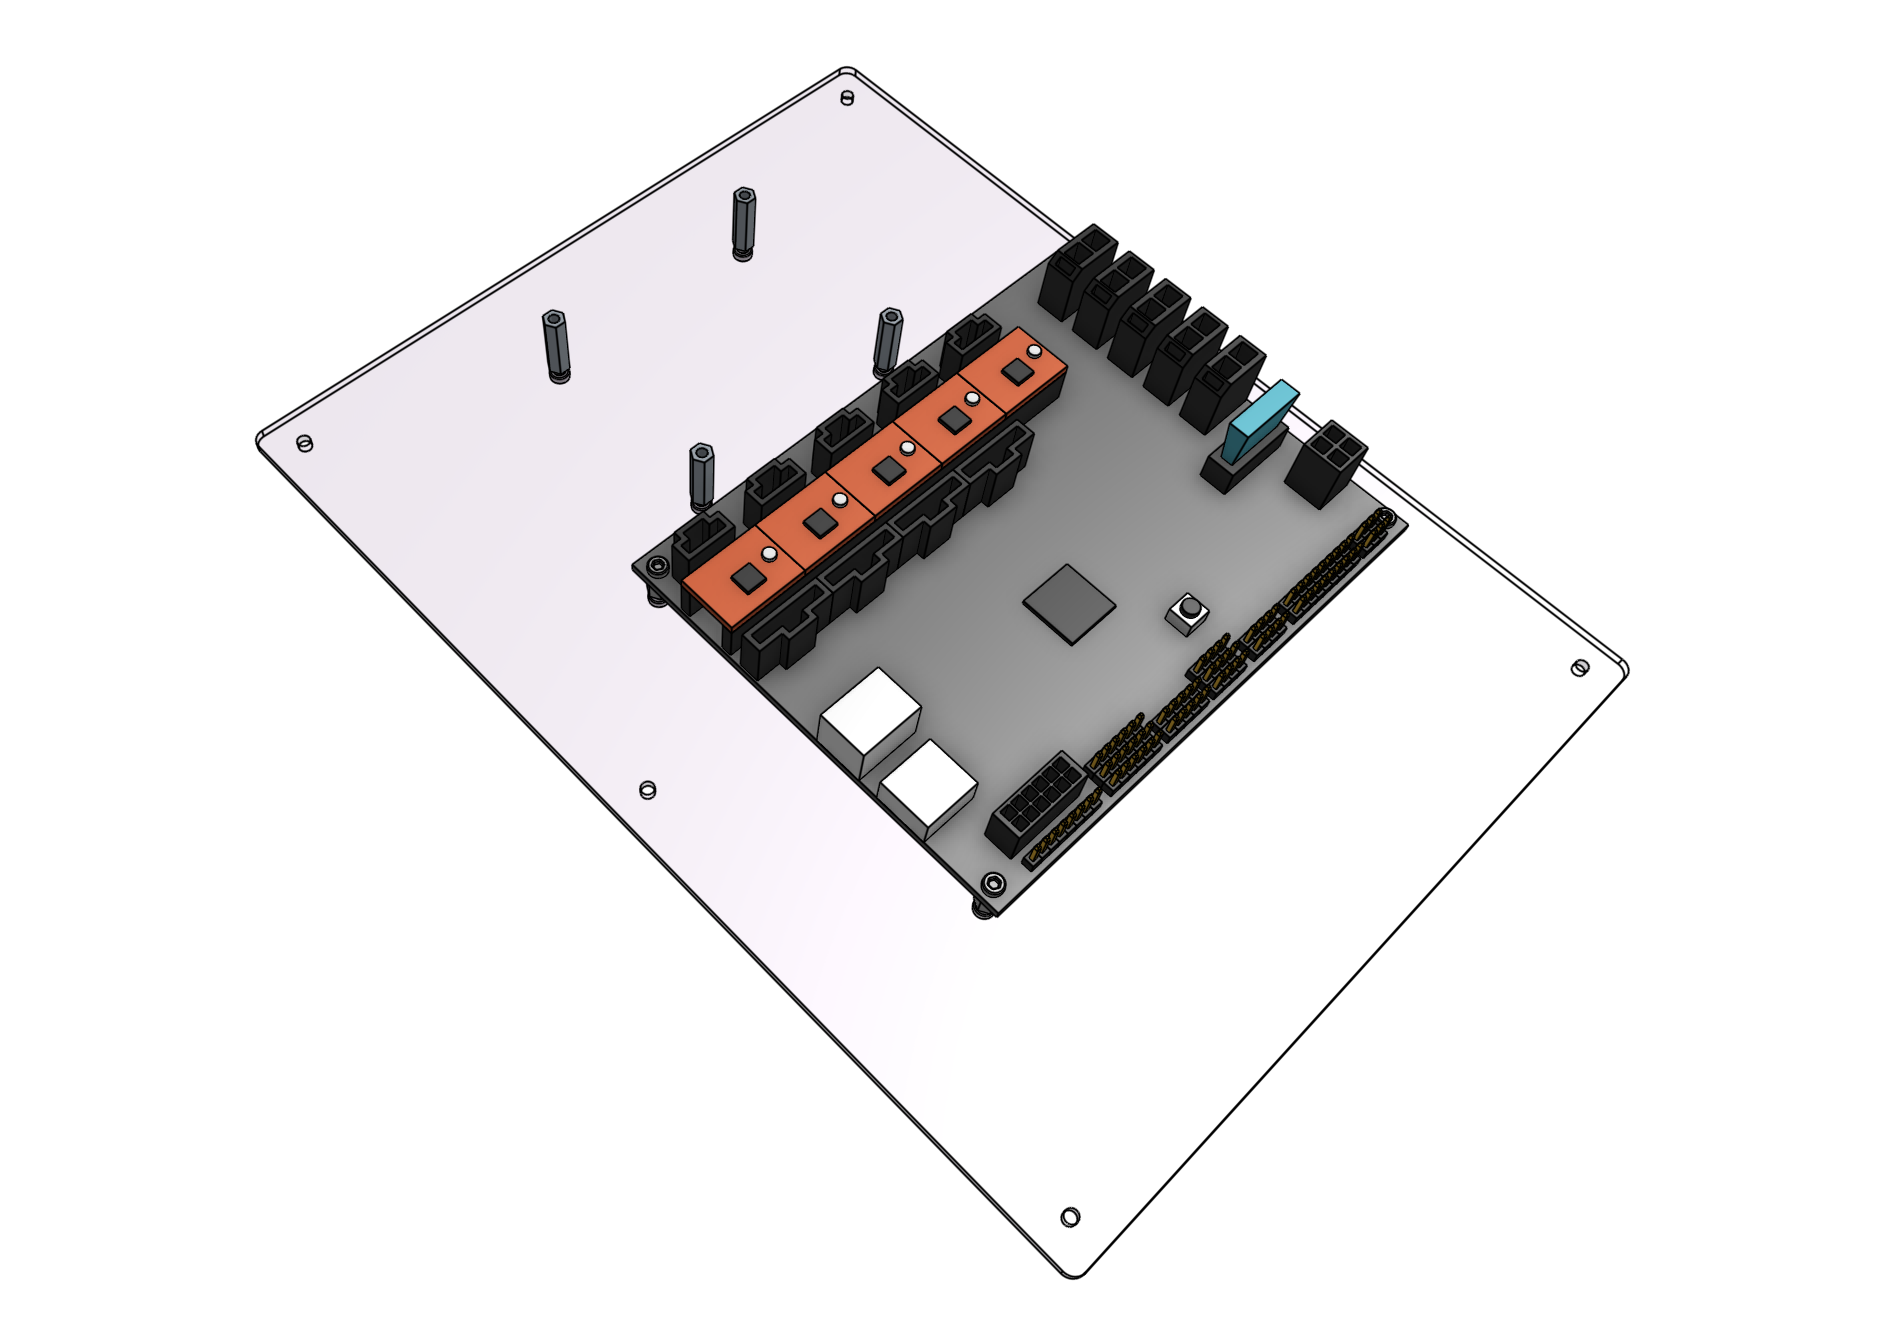
Attach the Raspberry Pi to the standoffs using four M2.5 x 4mm screws.
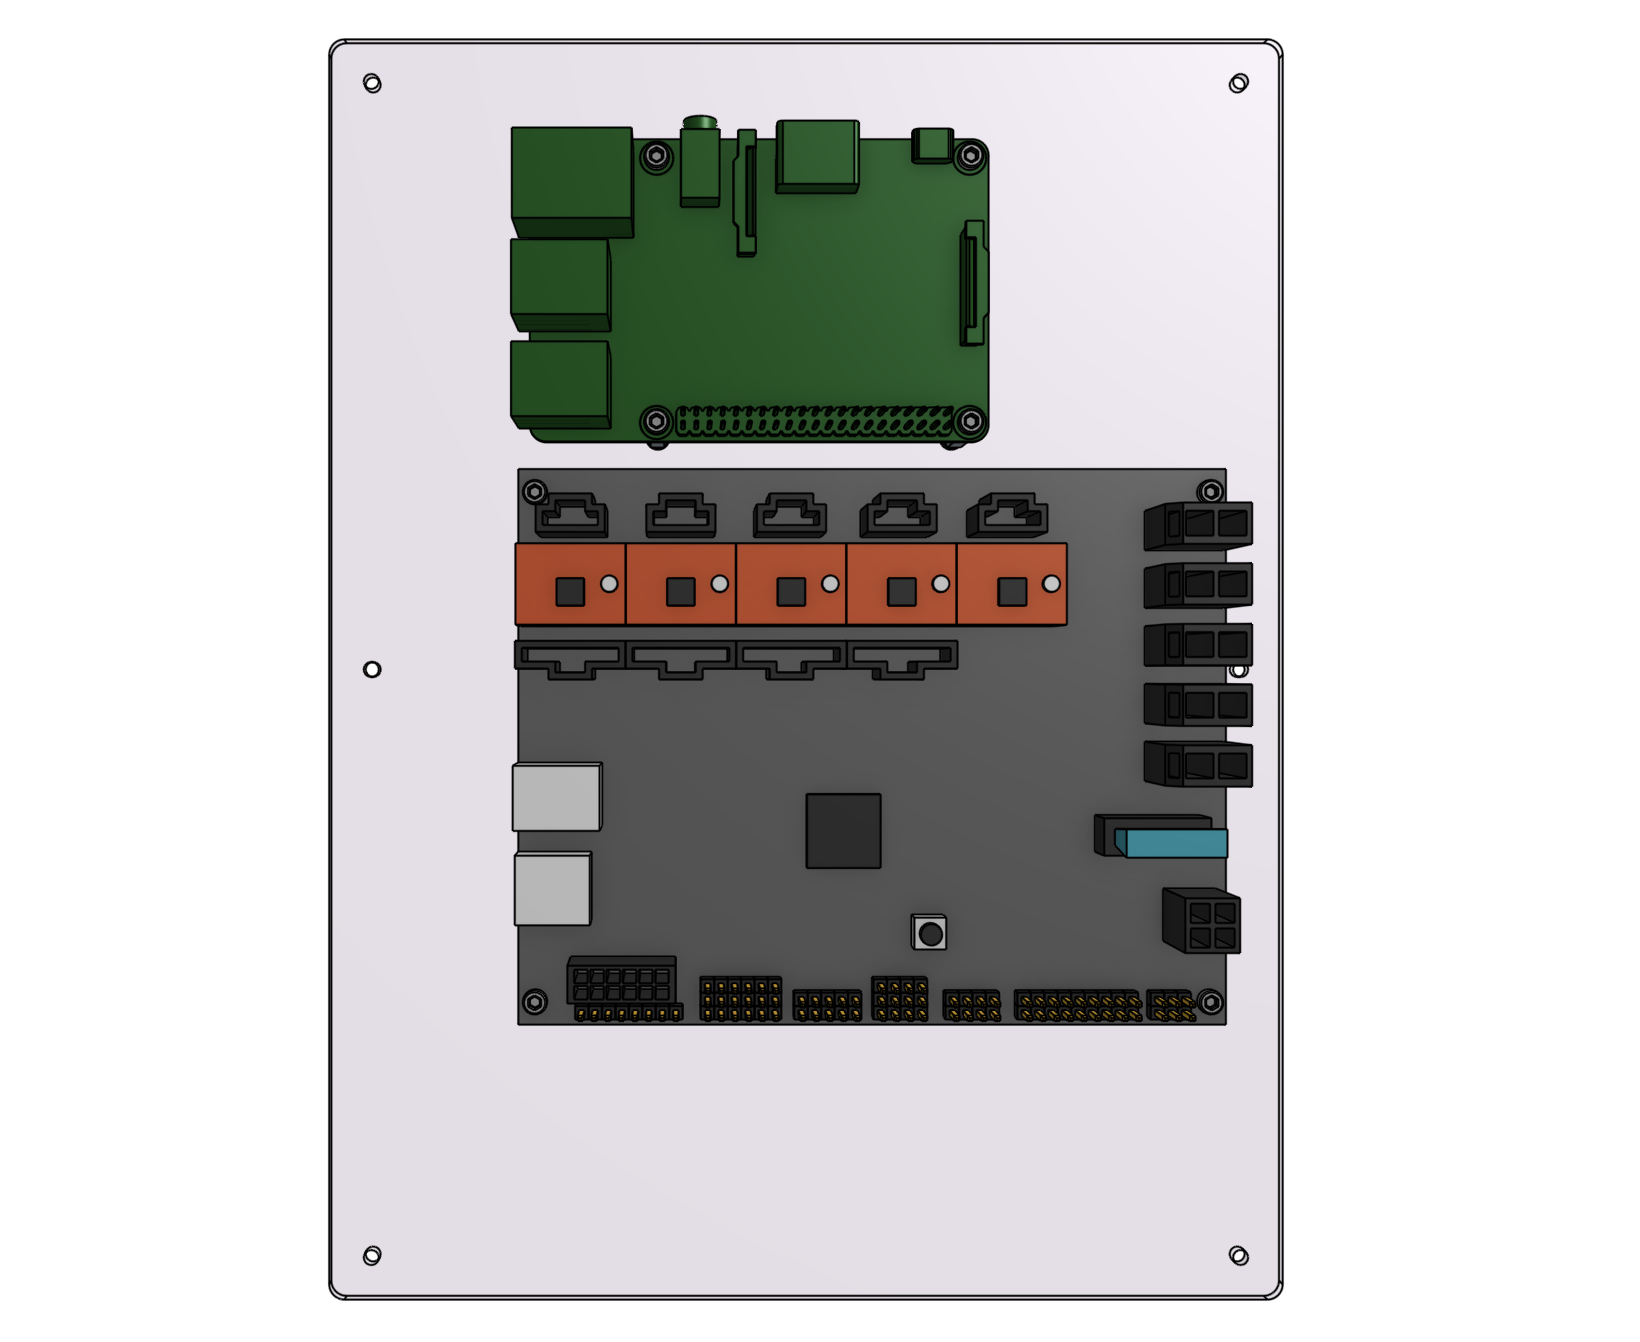
Step 4: Connect the Farmduino to the Raspberry Pi
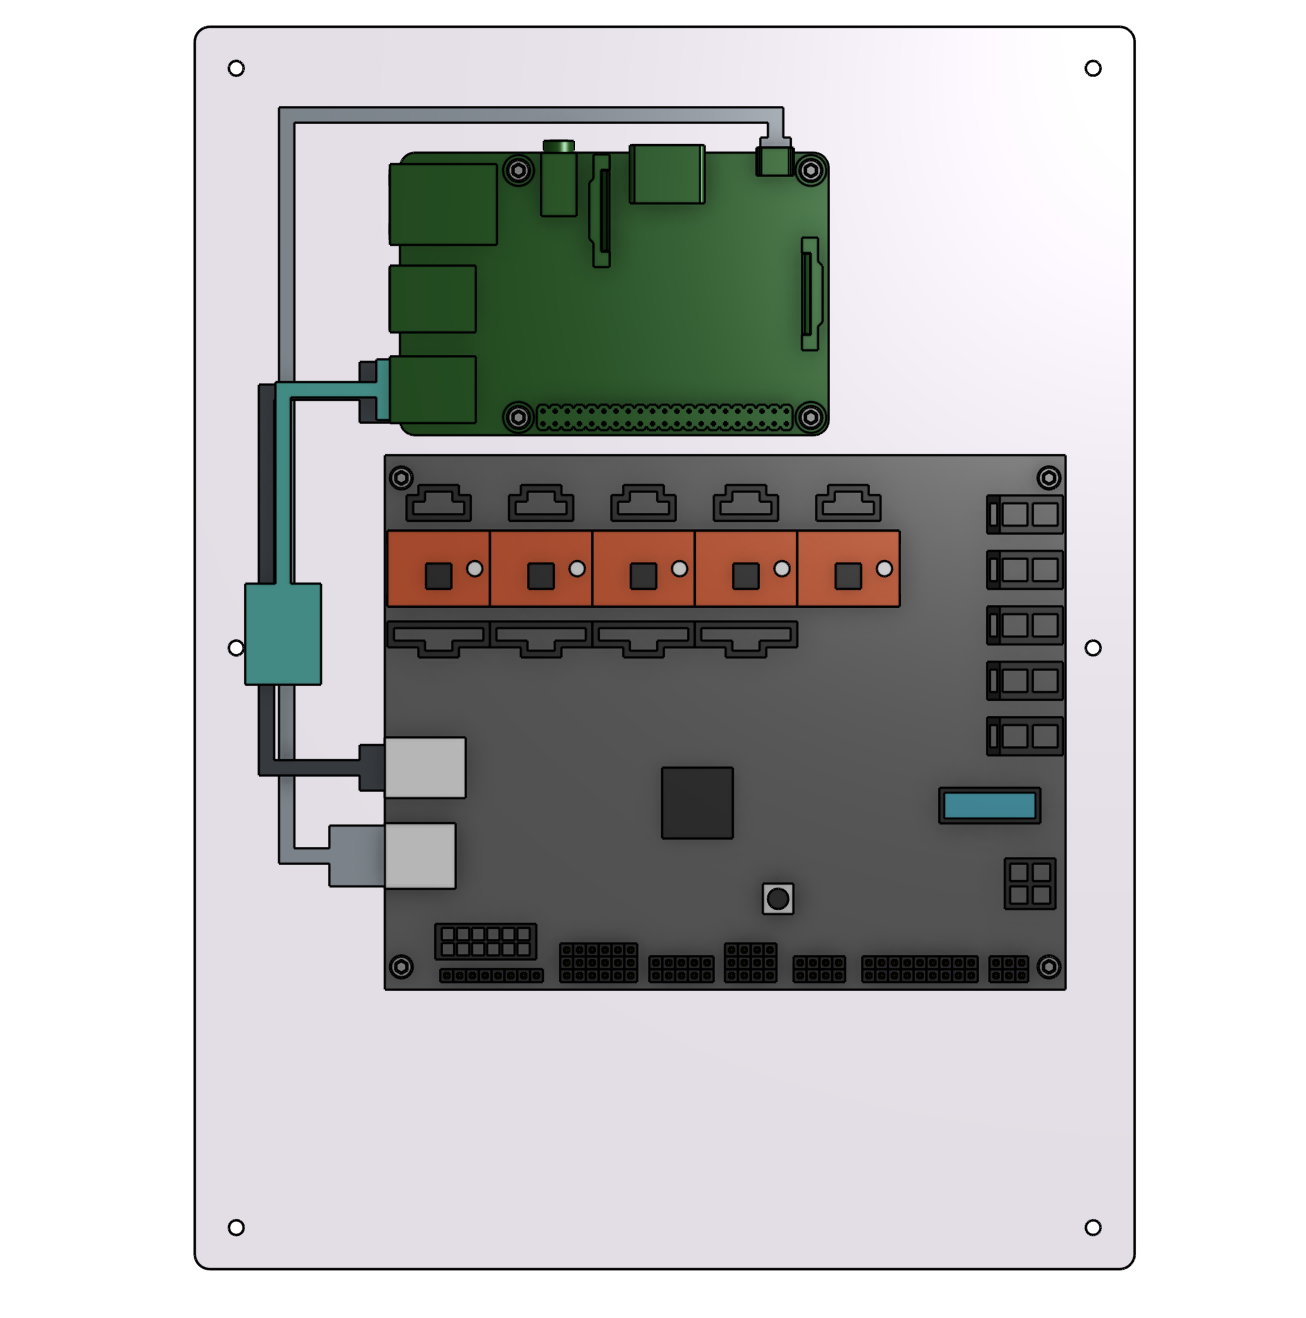
Connect the Raspberry Pi data cable (shown in gray) to the Raspberry Pi’s power input and the Farmduino’s USB power output.
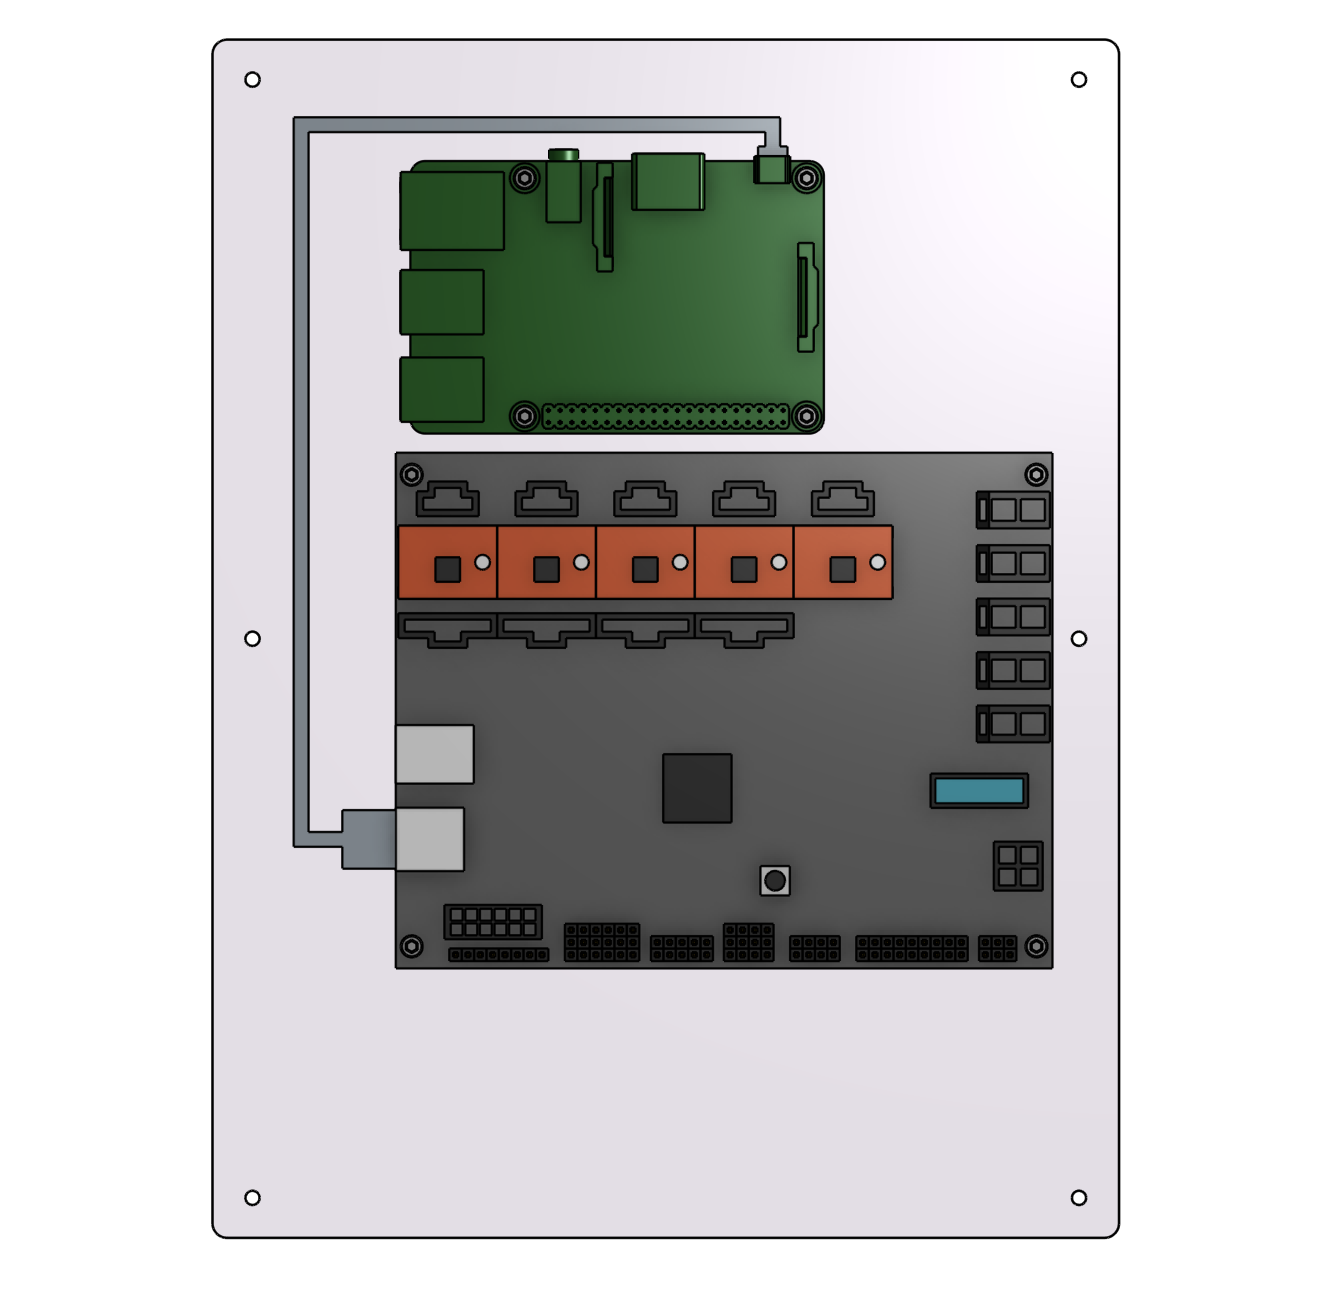
Connect the Farmduino data cable (shown in black) to the Farmduino’s data input and one of the Raspberry Pi’s USB ports. It does not matter which USB port you plug into on the Pi.
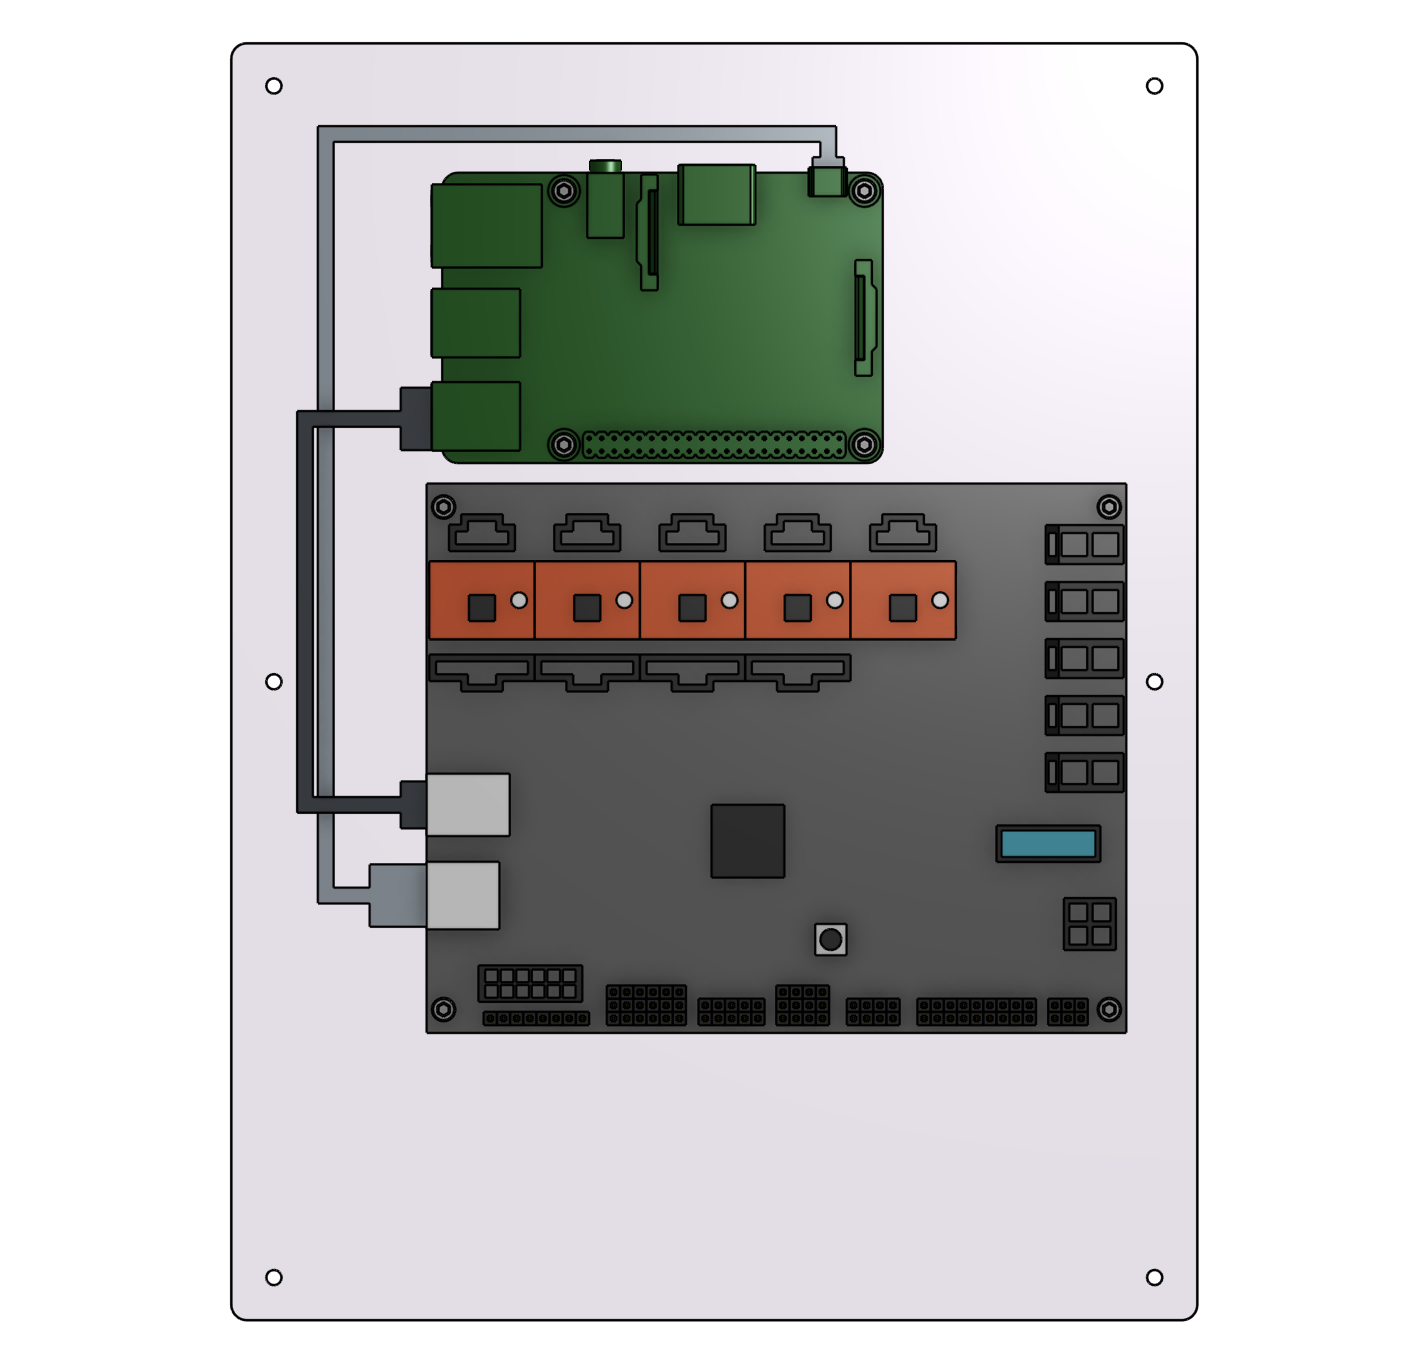
Step 5: Connect the USB adapter cable
Connect the USB Adapter Cable (shown in blue) to one of the USB ports on the Raspberry Pi. It does not matter which USB port you plug into on the Pi.
Step 6: Mount everything in the box
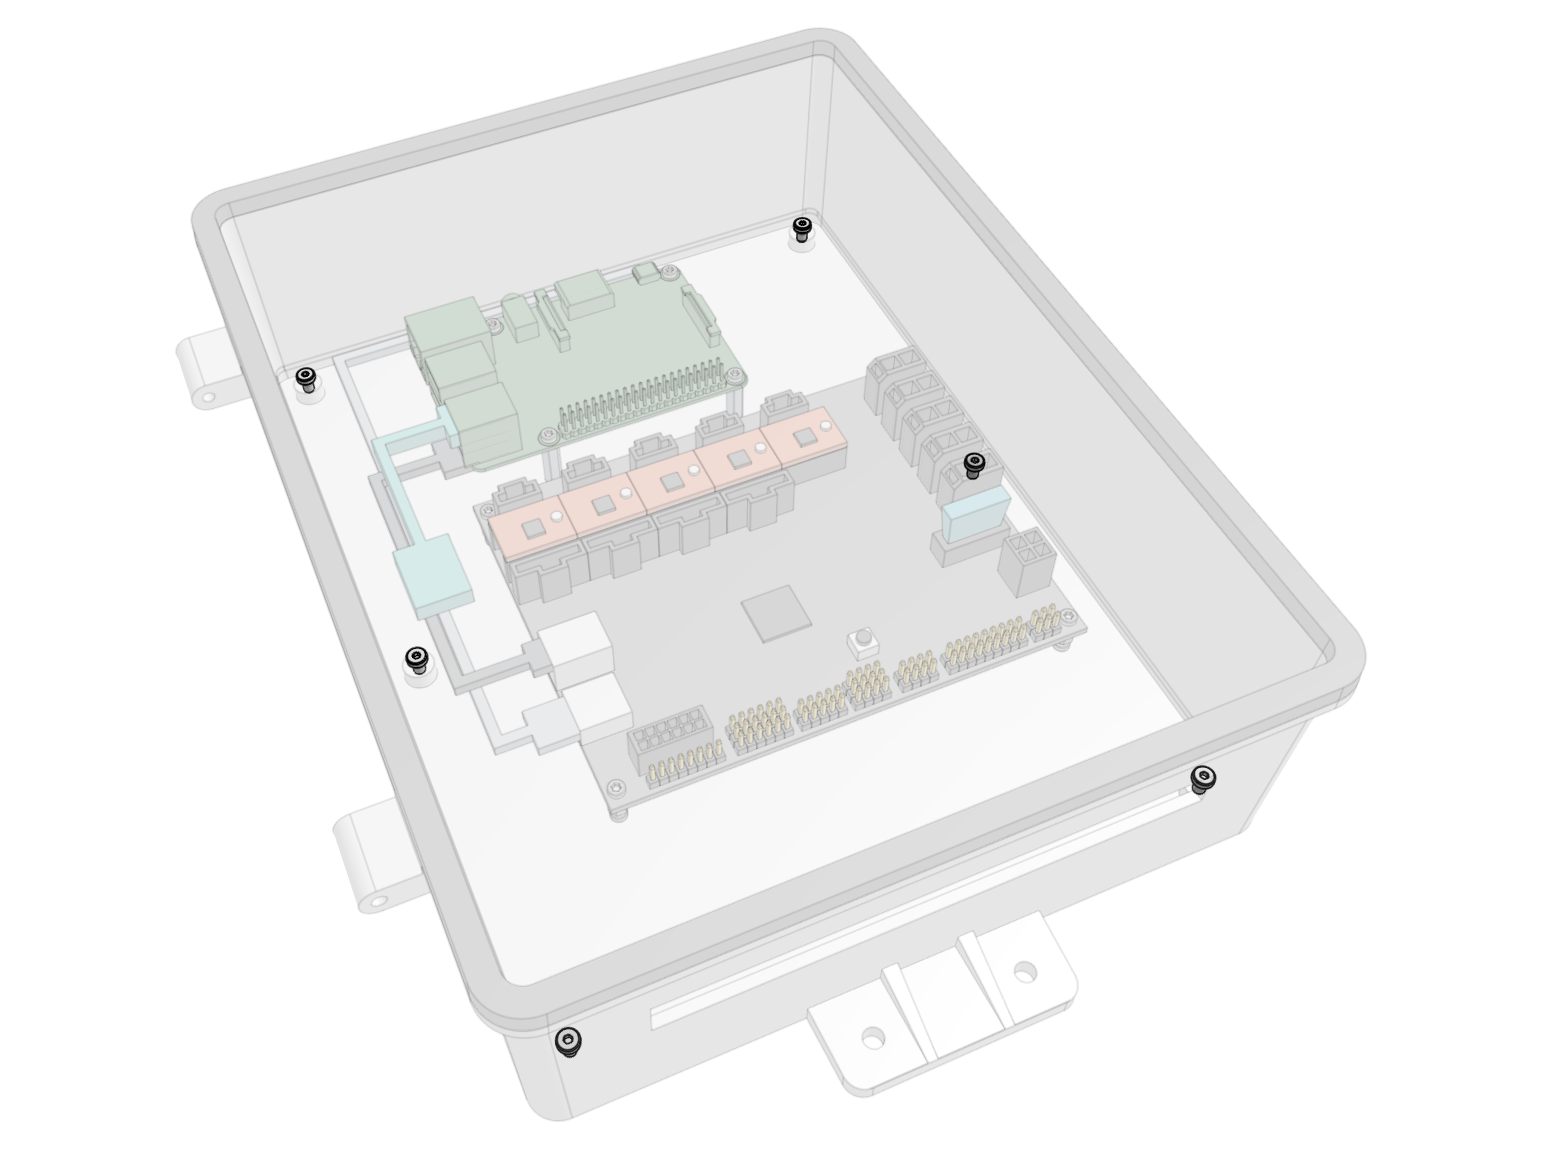
Mount the electronics mounting plate in the electronics box using six M3 x 5mm screws. The Farmduino should be nearest the slot in the bottom of the box.
Don't over-tighten
The screws will thread into the mounting bosses in the back of the box. Be careful not to over-tighten the screws or you risk stripping the mounting bosses.
Step 7: Attach the stepper driver heatsinks
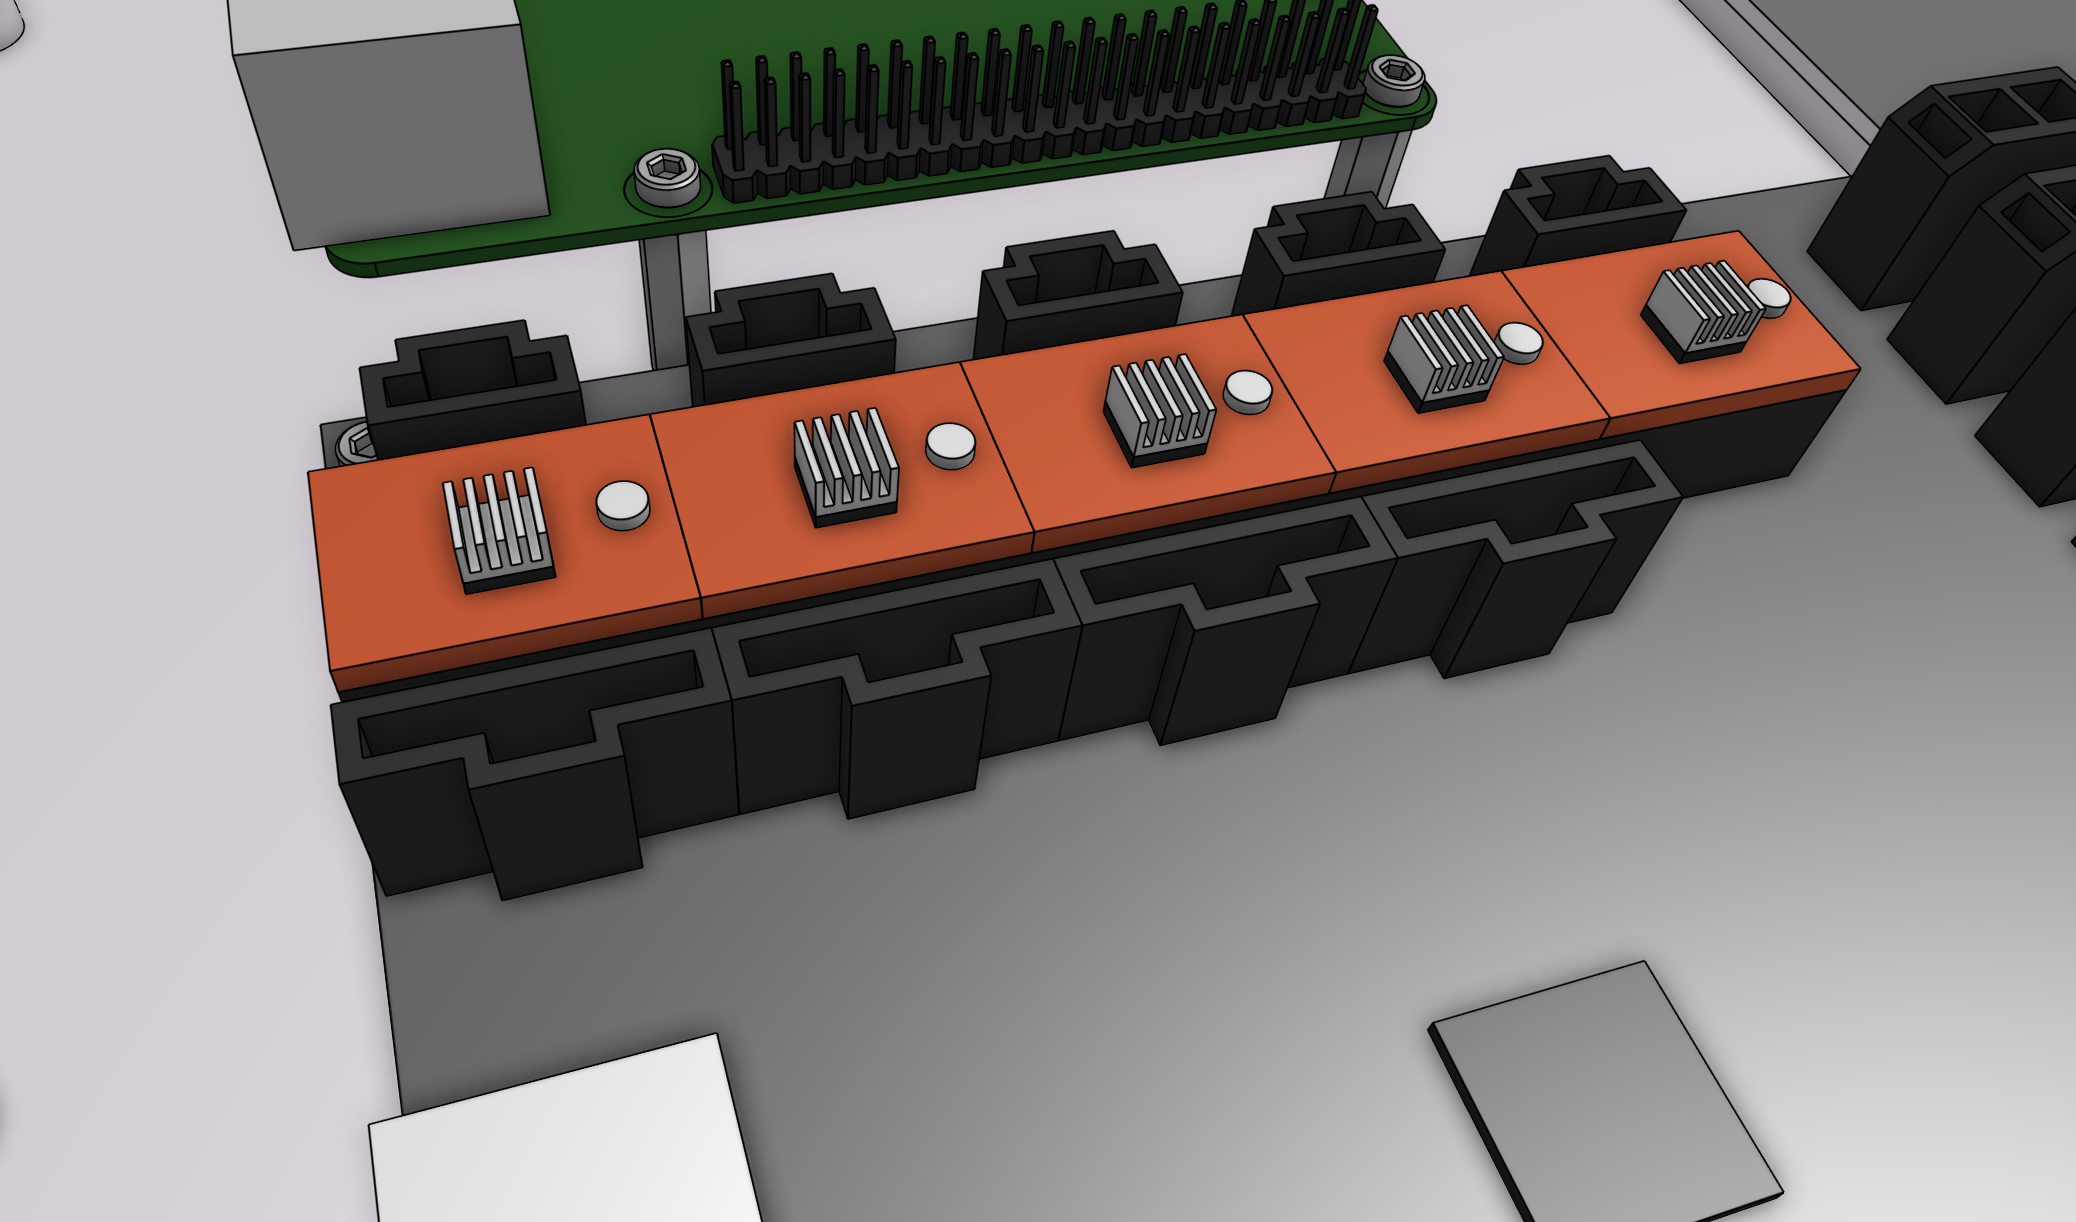
Peel off the protective paper on the bottom of the stepper driver heatsinks to expose the adhesive.
Press the heatsinks onto the black chips on the stepper drivers. Make sure the edges of the heatsinks are not touching any of the soldered components on the drivers.
