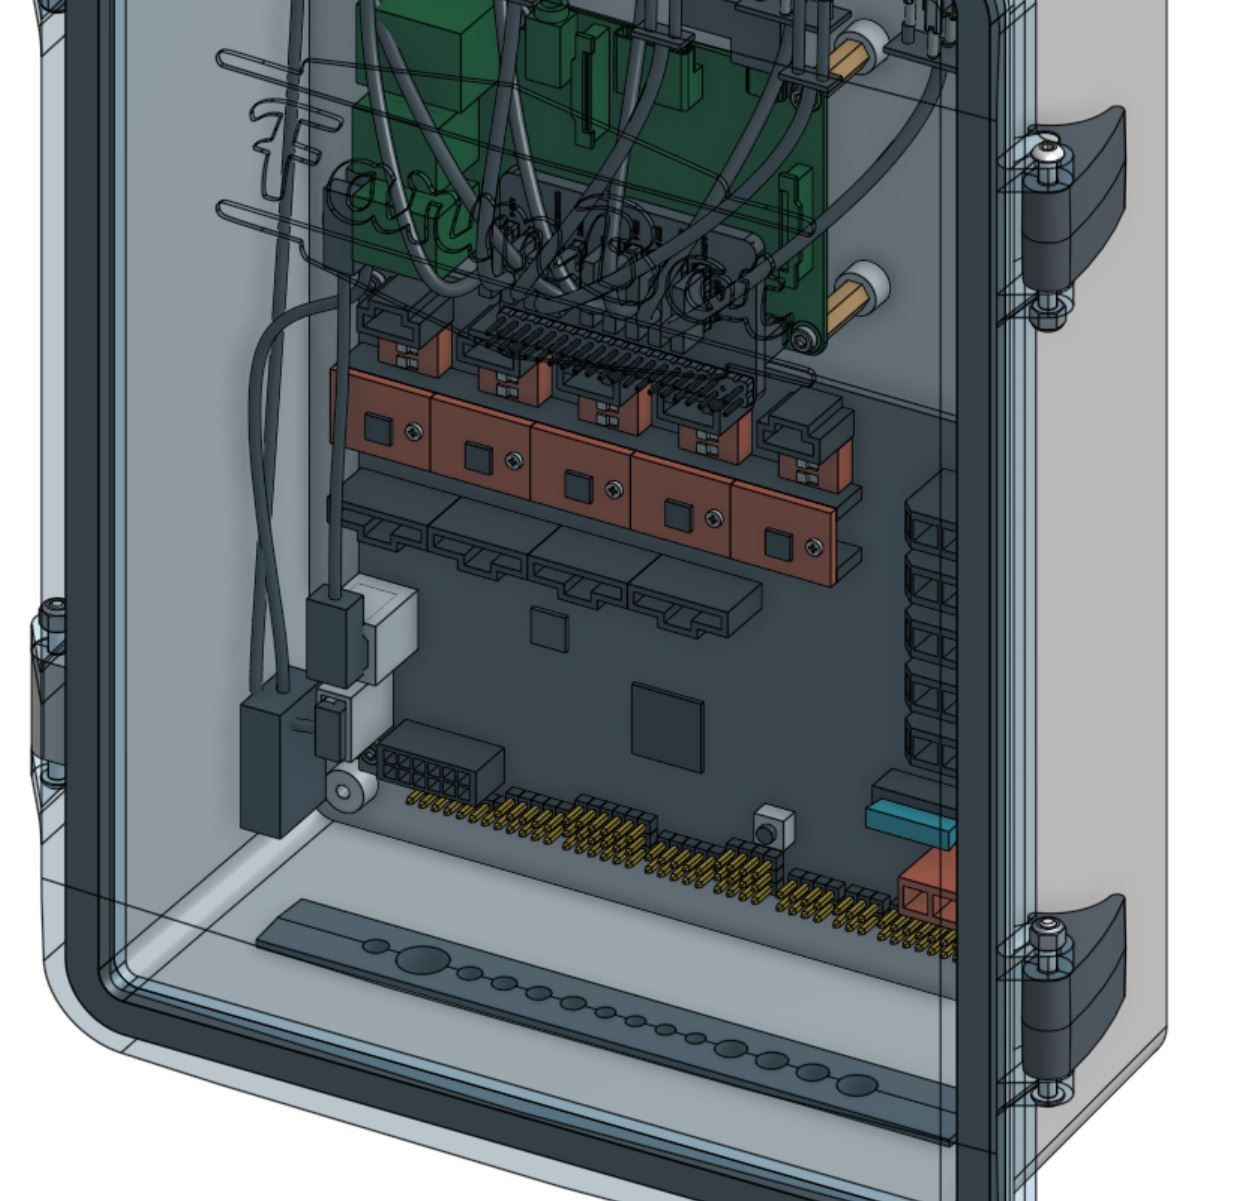
Electronics Box Pre-Assembly
Pre-assembly instructions for the Genesis and Genesis XL electronics box
- Step 1: Insert the supergland
- Step 2: Mount the Farmduino
- Step 3: Mount the Raspberry Pi
- Step 4: Mount the Pi Adapter Board
- Step 5: Mount the buttons and LEDs
- Step 6: Connect the Pi Power Cable
- Step 7: Connect the Farmduino data cable
- Step 8: Connect the USB Adapter Cable
- Step 9: Connect the Button and LED cables
- Step 10: Insert the lid gasket
- Step 11: Attach the lid
- Step 12: Attach the latches
Step 1: Insert the supergland
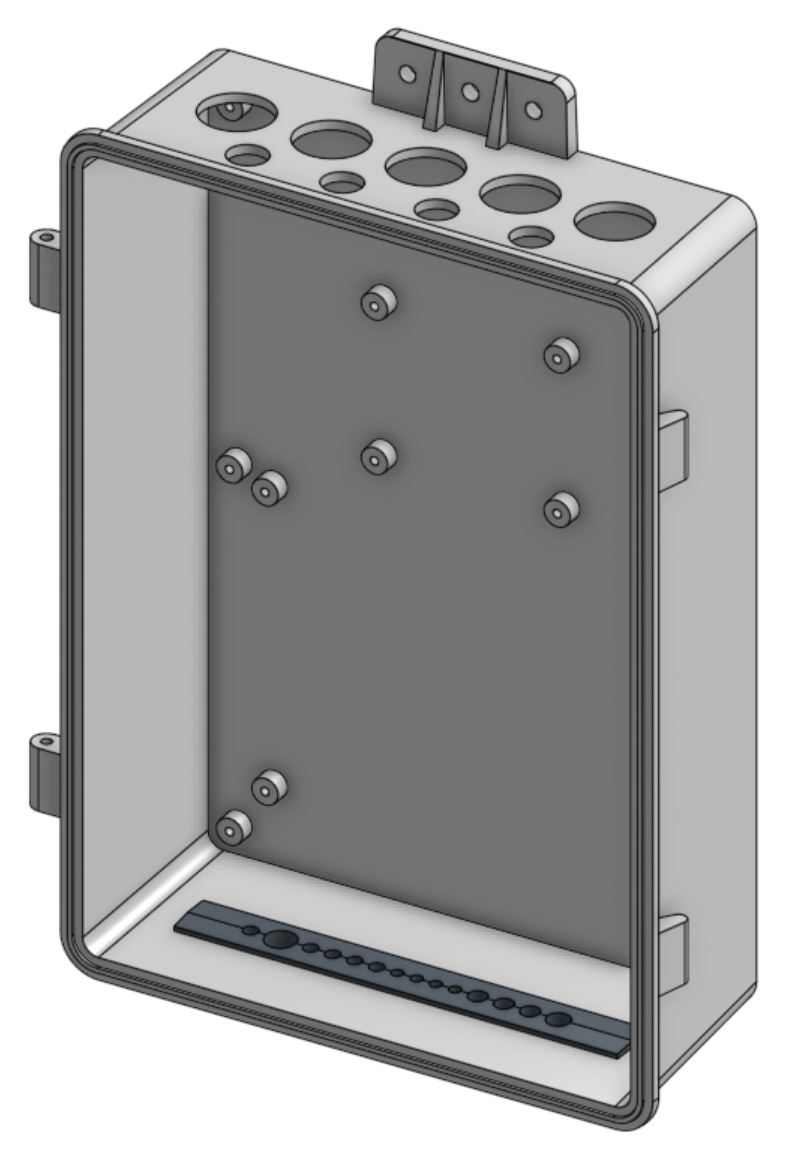
Insert the supergland into the slot in the bottom of the electronics box.
Step 2: Mount the Farmduino
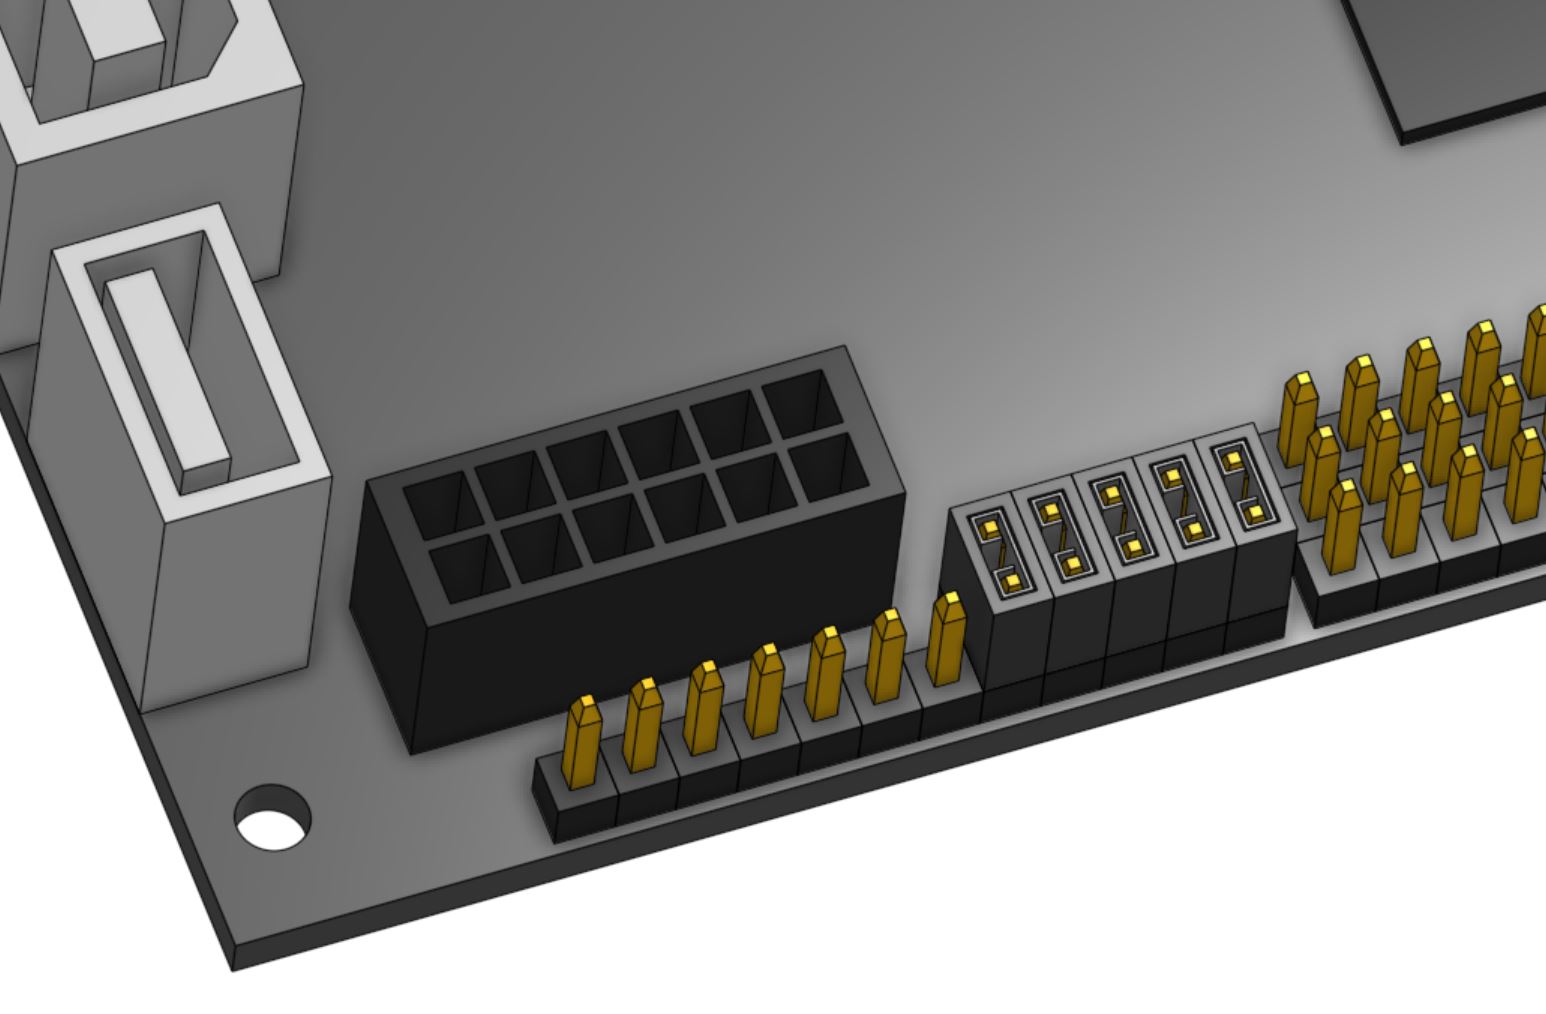
Mount five pin jumpers to UTM pins A through E.
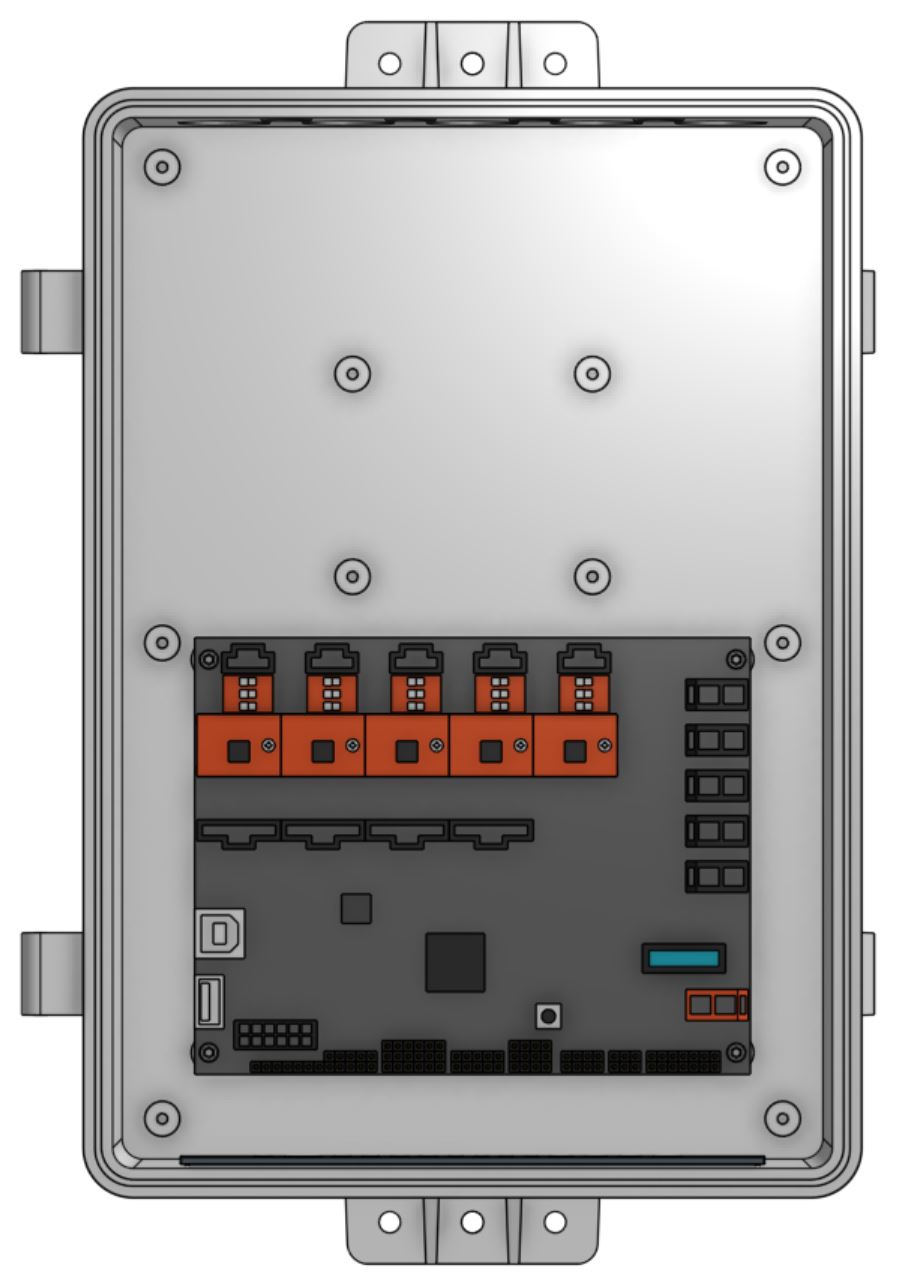
Then mount the Farmduino into the electronics box with four M2.5 x 4mm screws.
Step 3: Mount the Raspberry Pi
Insert the microSD card into the Raspberry Pi. Then mount the Pi into the electronics box with four M2.5 x 4mm screws.
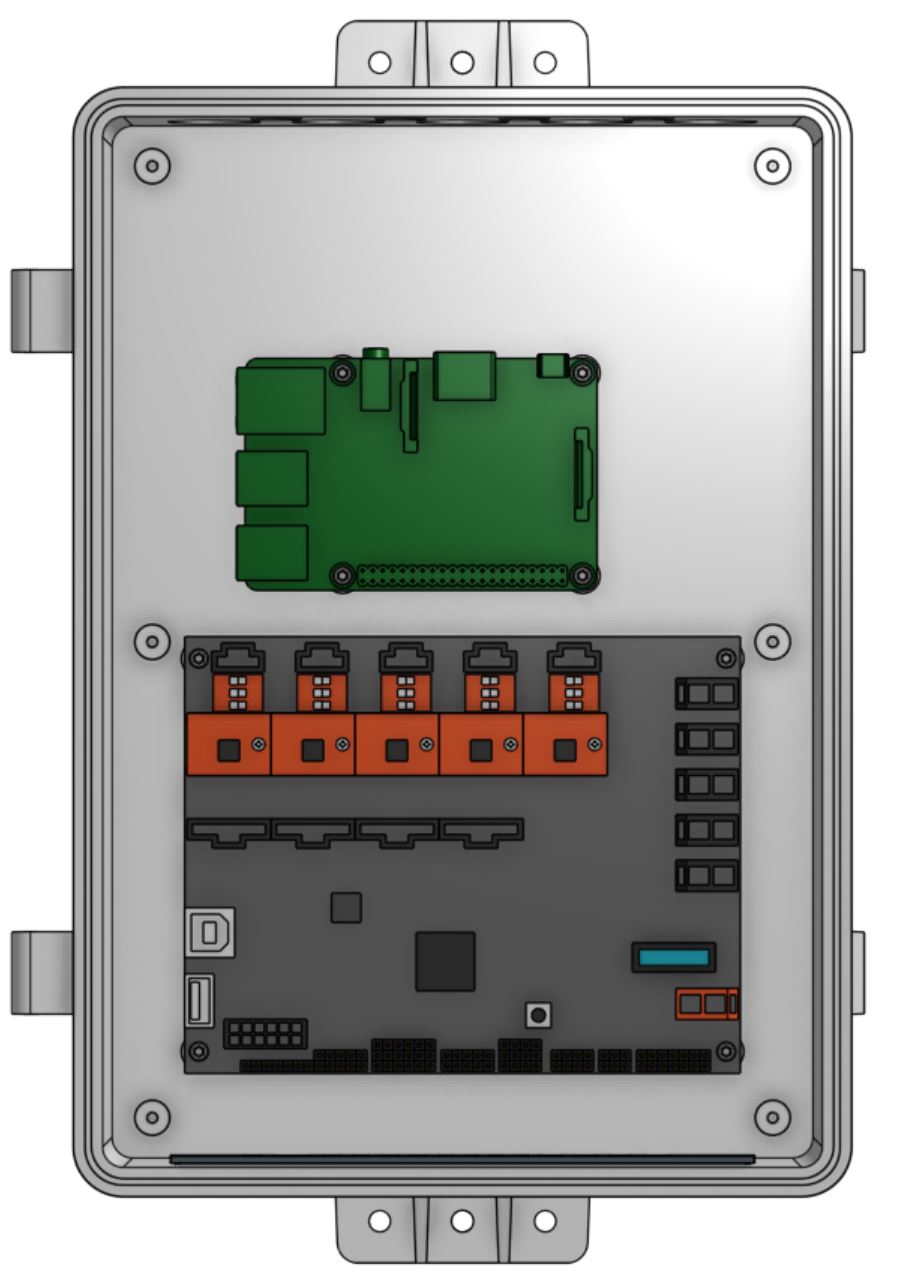
Step 4: Mount the Pi Adapter Board
Press the Pi Adapter Board onto the Raspberry Pi GPIO pin header.
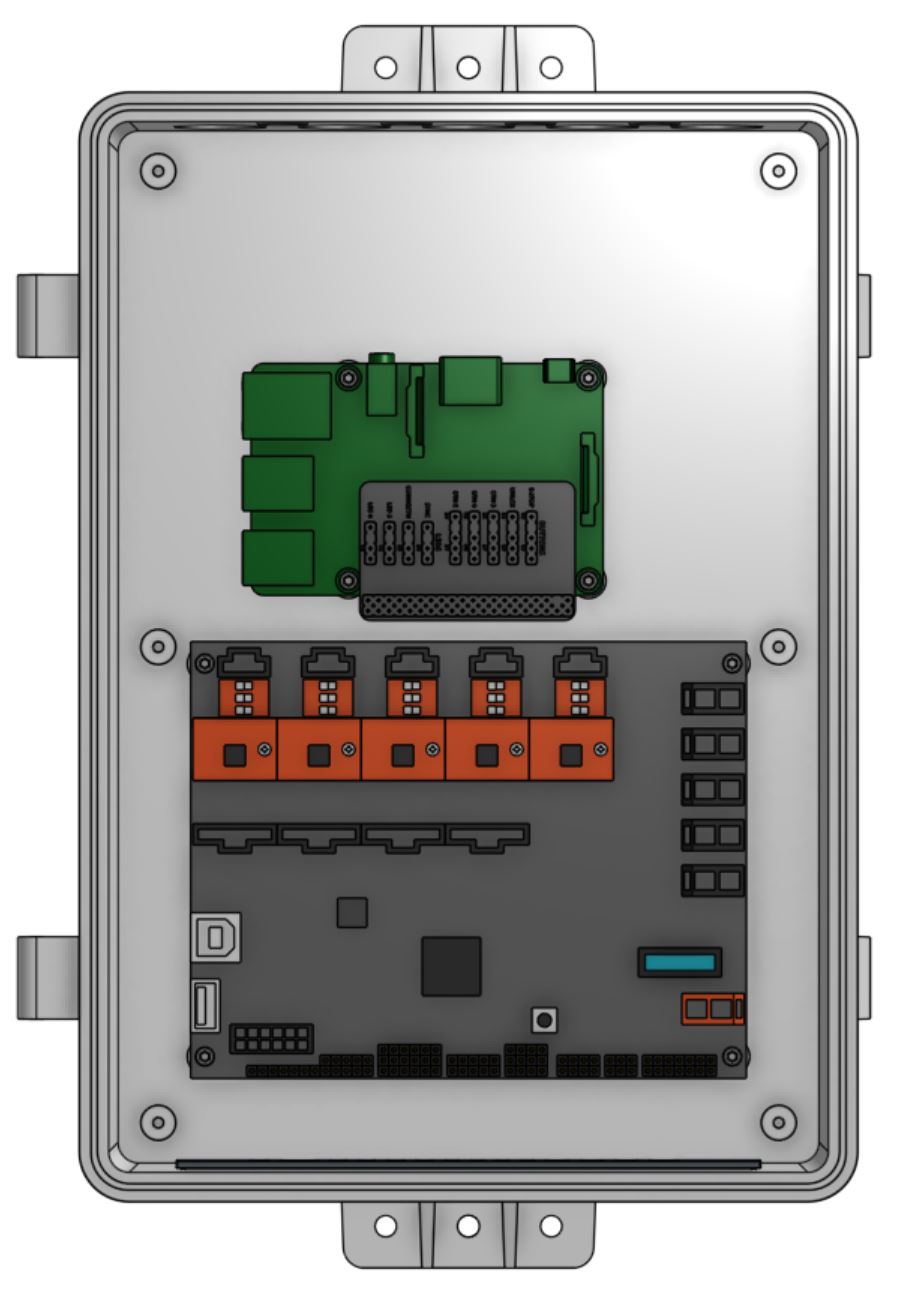
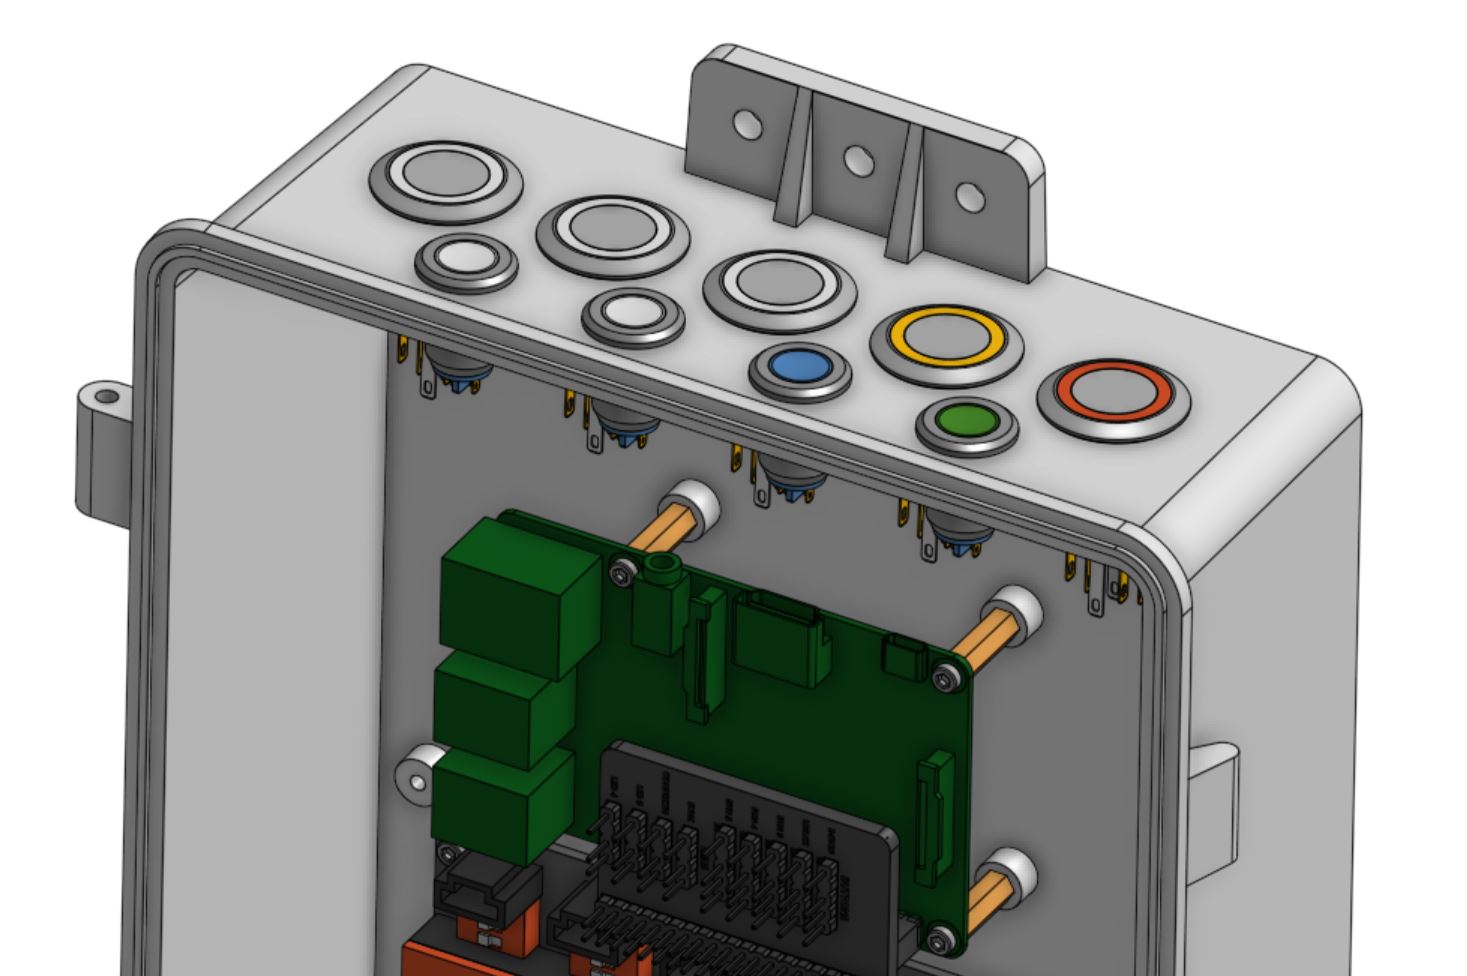
Step 5: Mount the buttons and LEDs
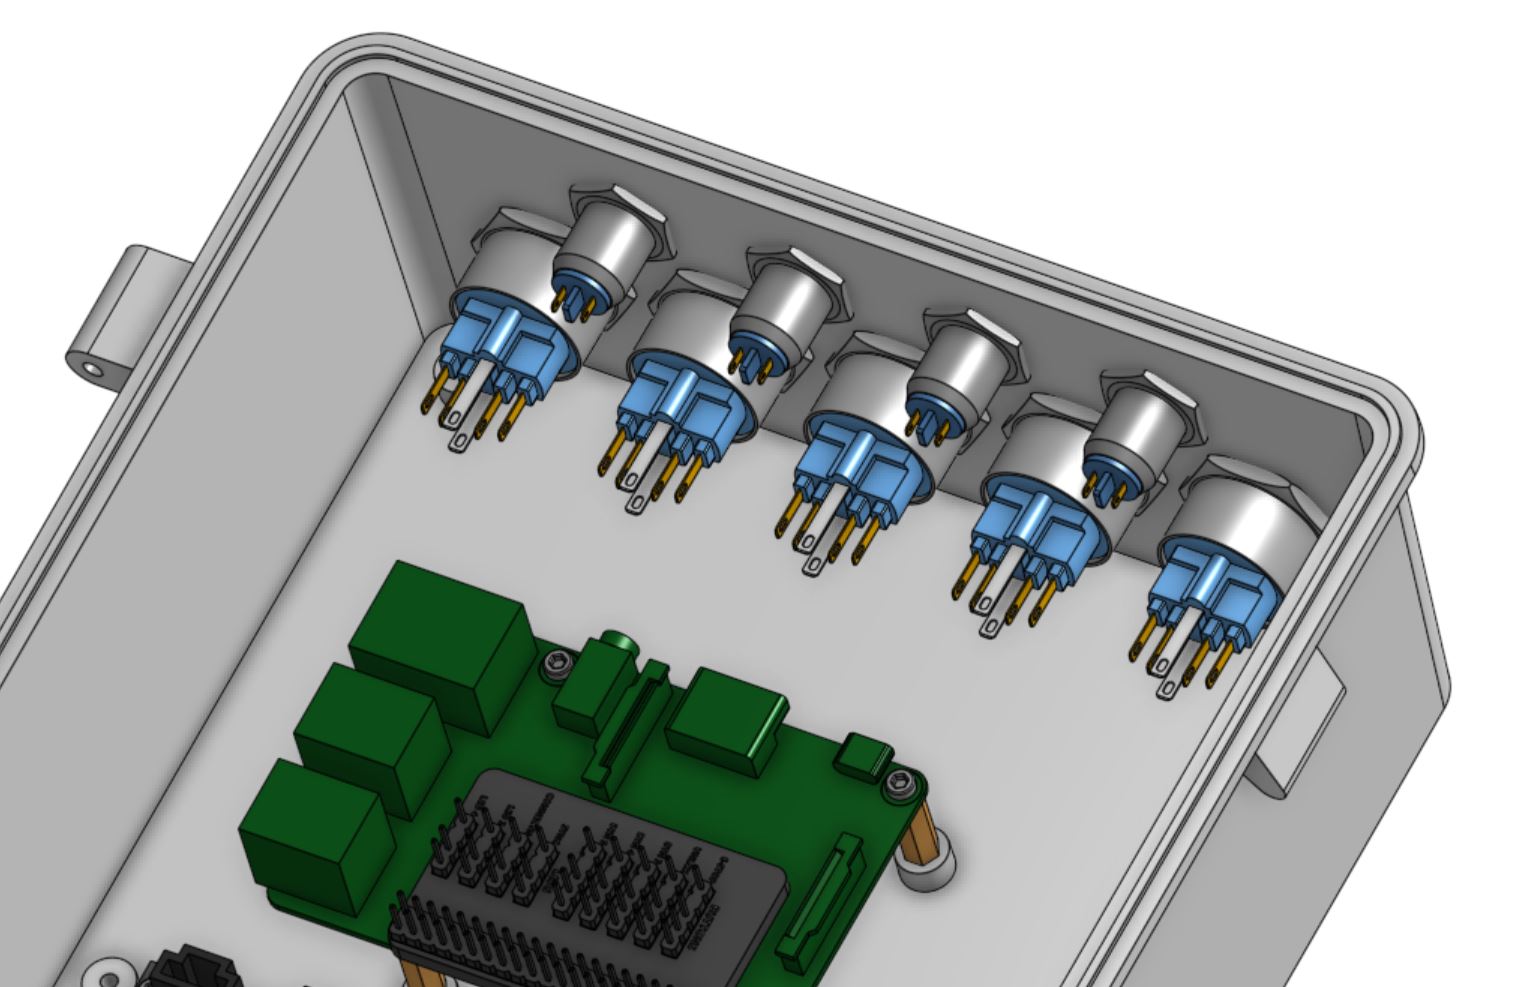
Mount the five push buttons and four LED indicator lights into the top holes in the electronics box. Ensure the colors correspond as shown in the following image.

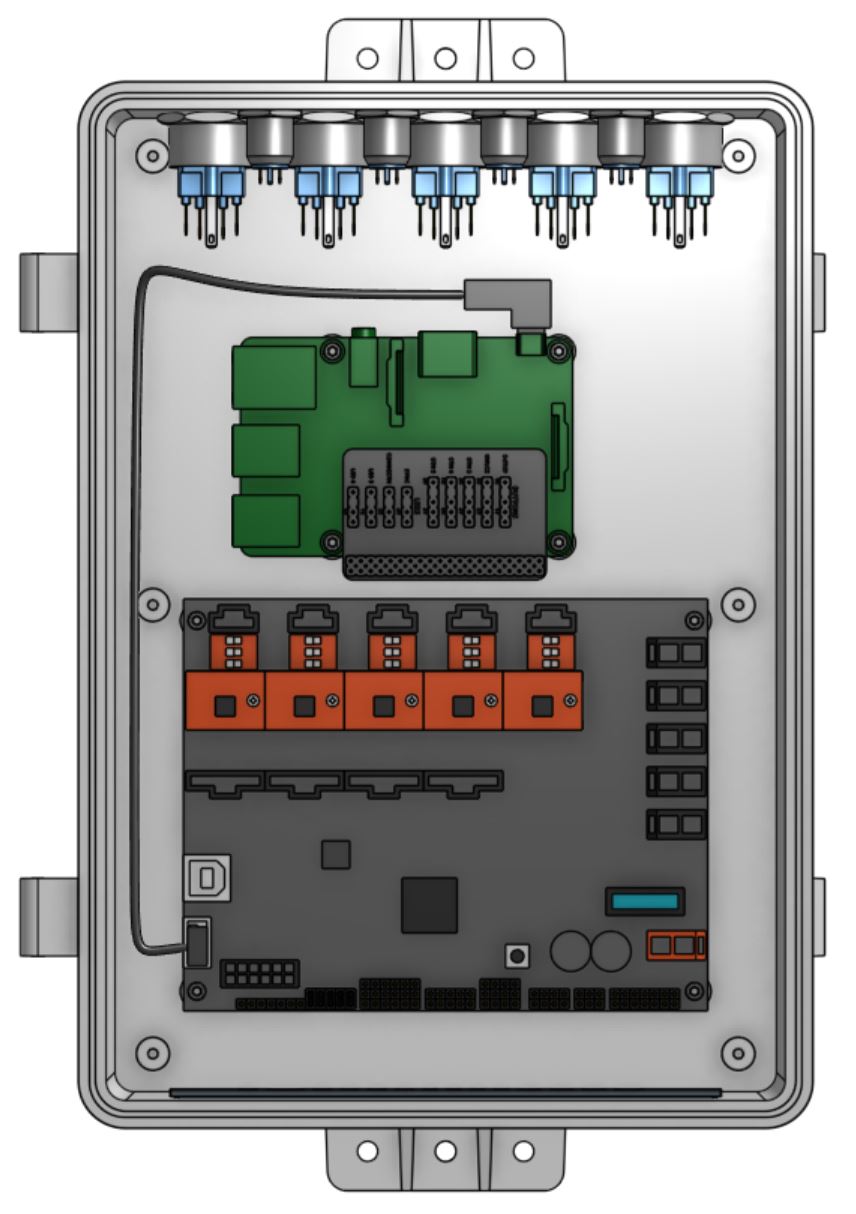
Step 6: Connect the Pi Power Cable
Connect the Raspberry Pi power cable to the Farmduino’s Power Out USB connector and the Raspberry Pi’s Power In microUSB connector.
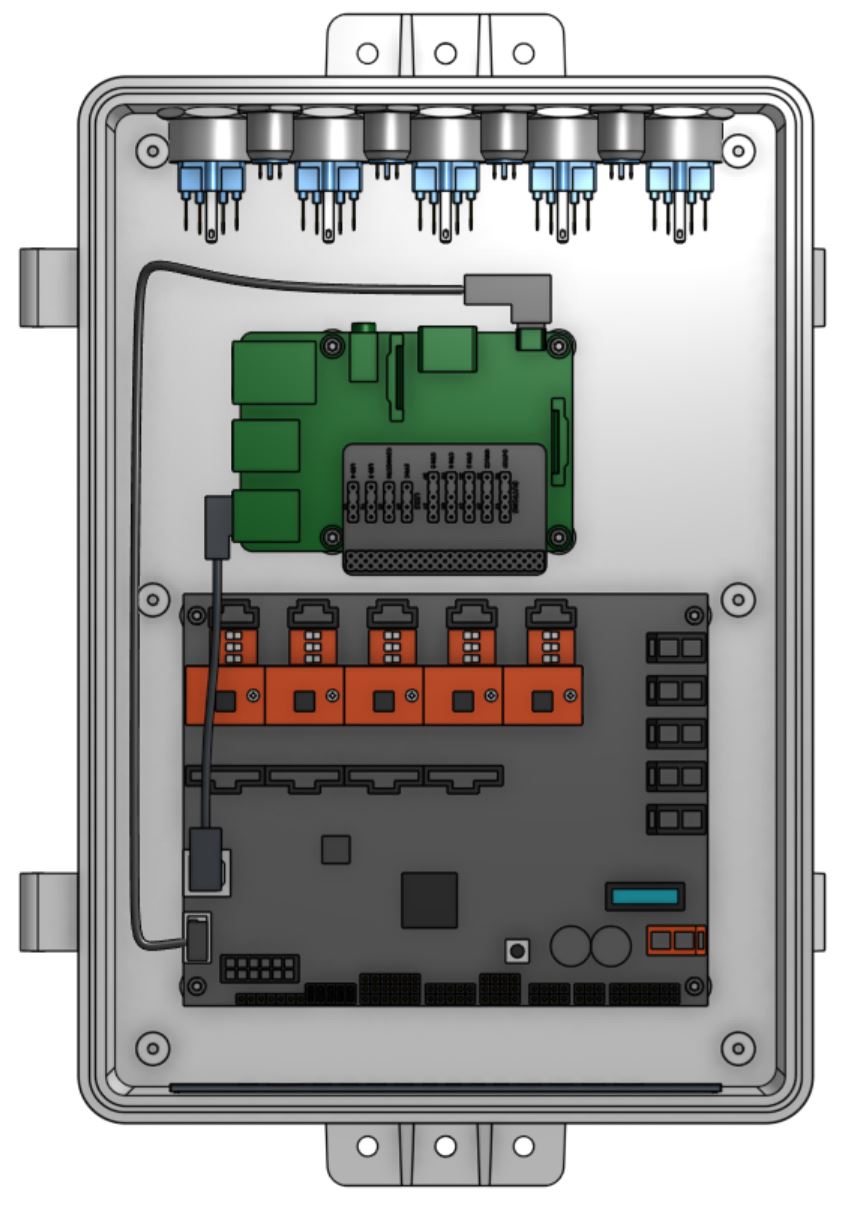
Step 7: Connect the Farmduino data cable
Connect the Farmduino data cable between one of the Raspberry Pi’s USB ports and the Farmduino’s Data In USB port.
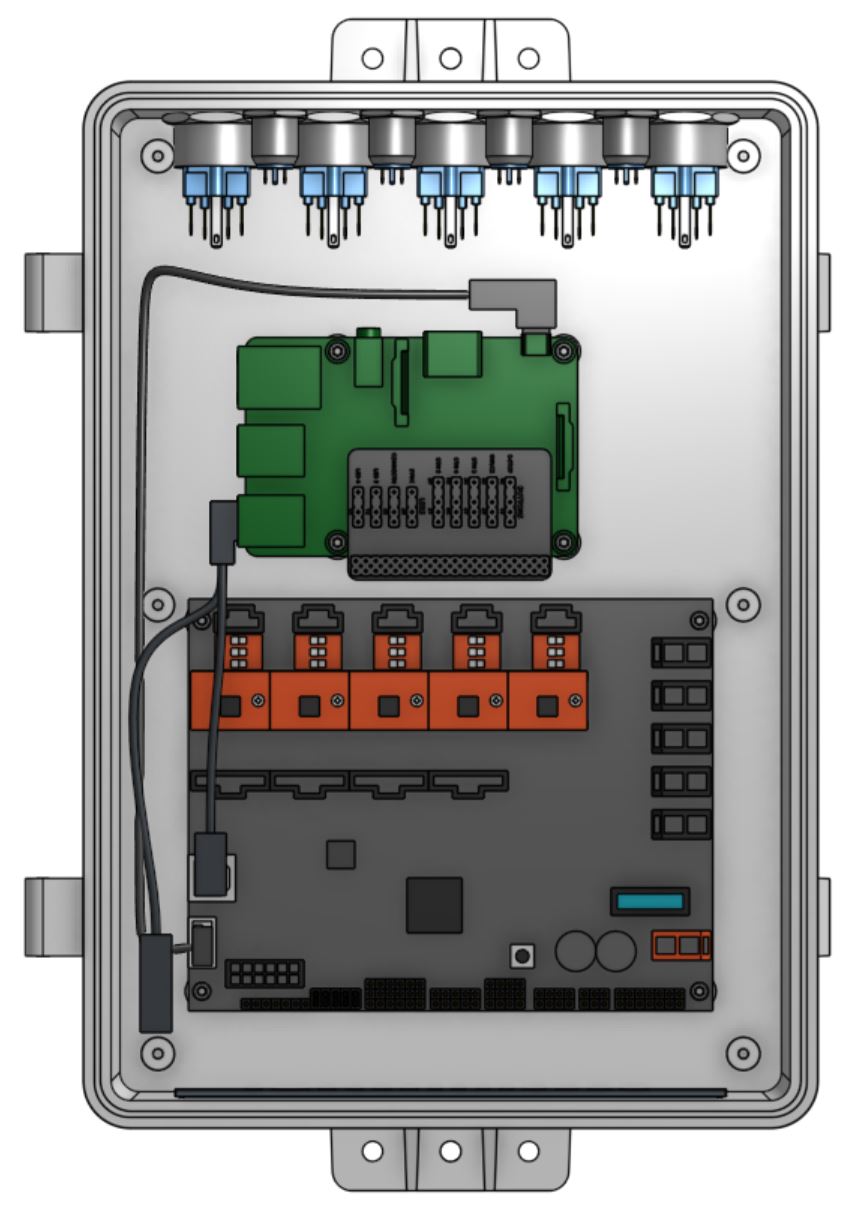
Step 8: Connect the USB Adapter Cable
Connect the USB adapter cable to one of the Raspberry Pi’s USB ports. The free end should be placed in the lower left corner of the box.
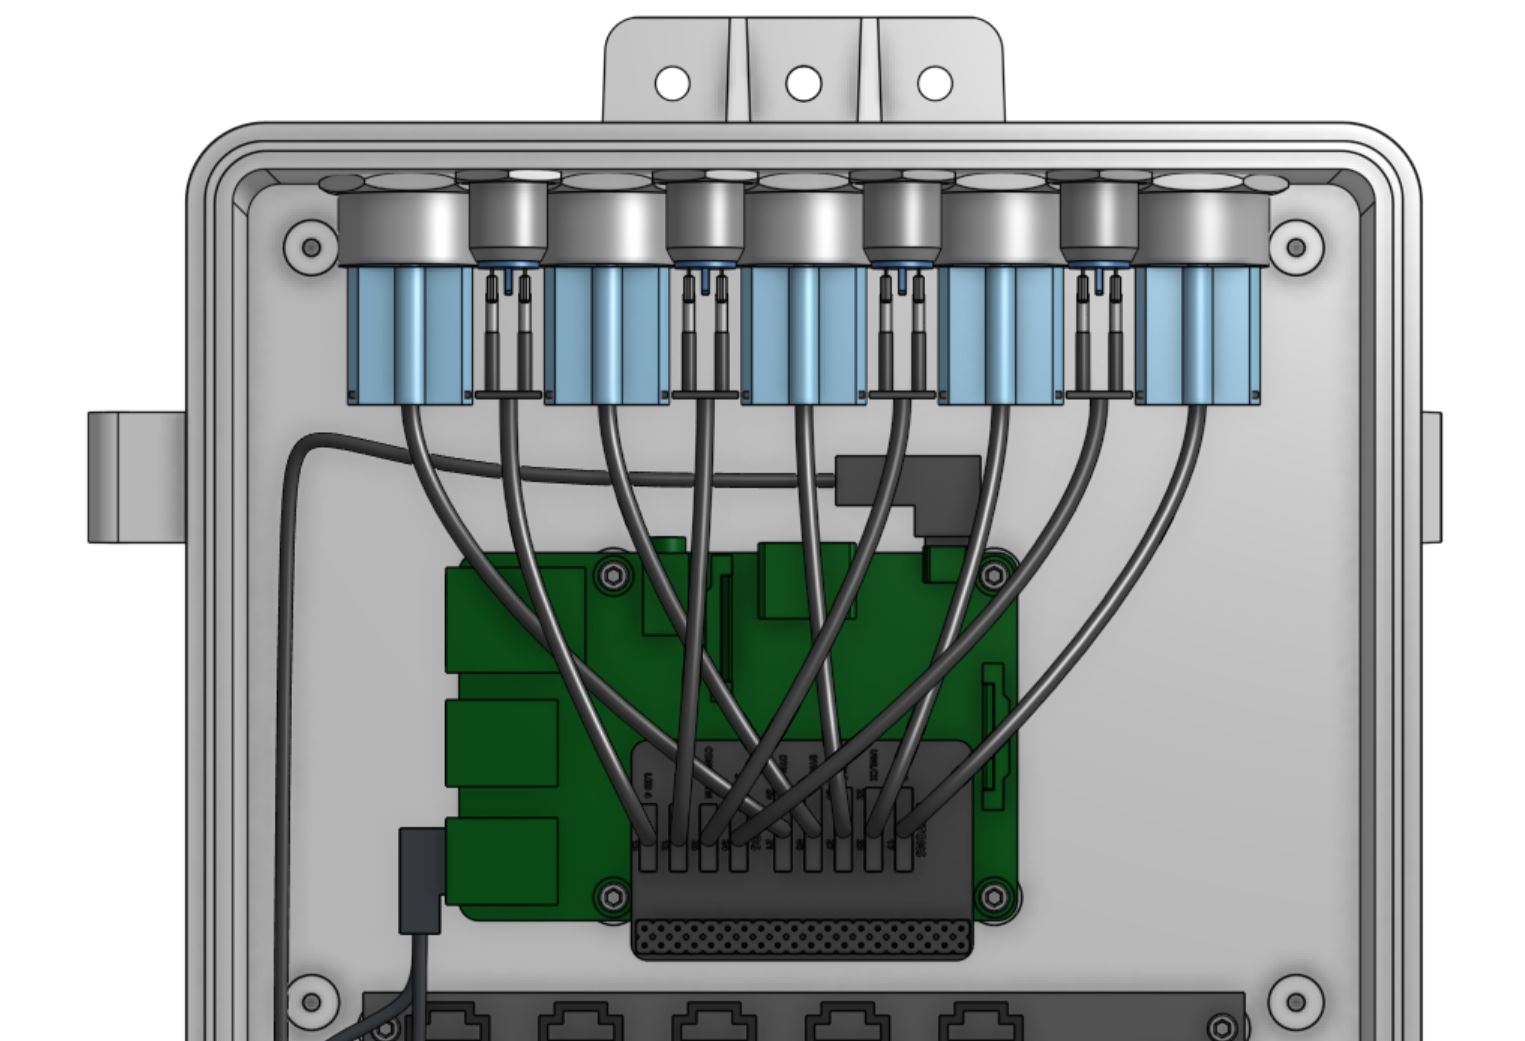
Step 9: Connect the Button and LED cables
Connect the button and LED wiring harnesses, ensuring each Button/LED is connected to the correct location on the Pi Adapter Board according to the following image.
Step 10: Insert the lid gasket
Insert the lid gasket into the lid, ensuring it is fully seated into the channel.
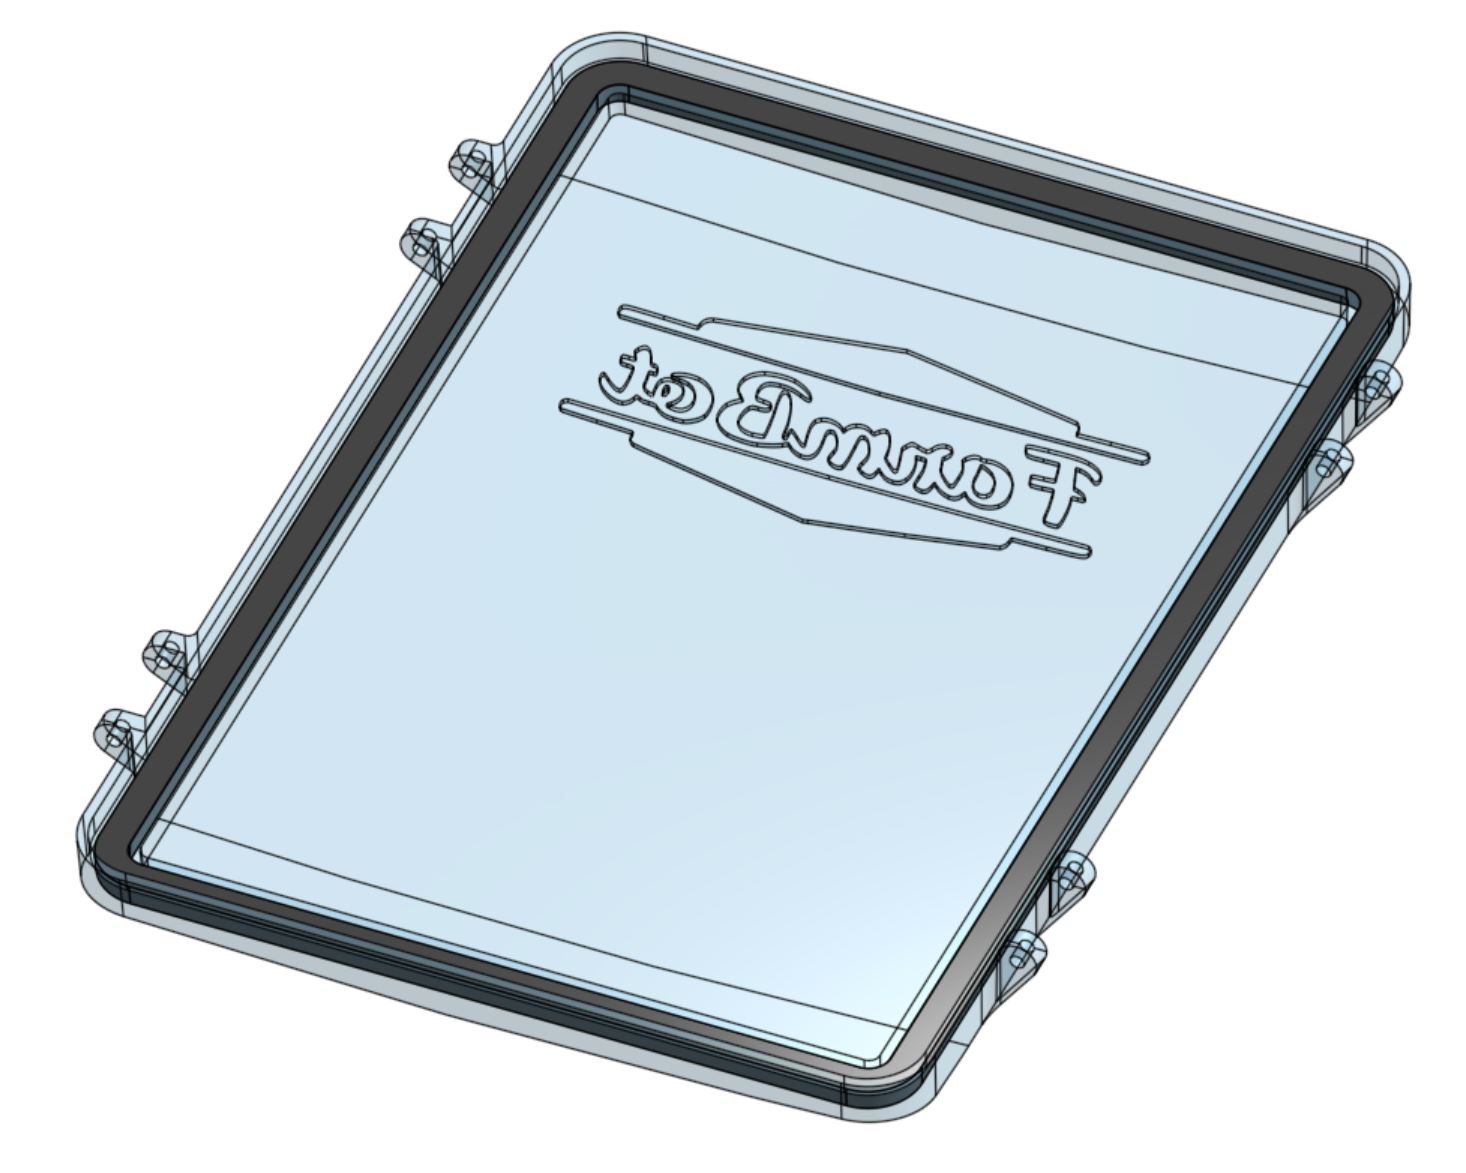
Step 11: Attach the lid
Attach the lid to the electronic box using two M3 x 35mm screws and M3 locknuts. The nuts should be tightened enough so that the screws do not rattle, but they should not be so tight that the lid’s tabs are compressing and rubbing against the electronics box. The lid should open and close freely with no resistance.
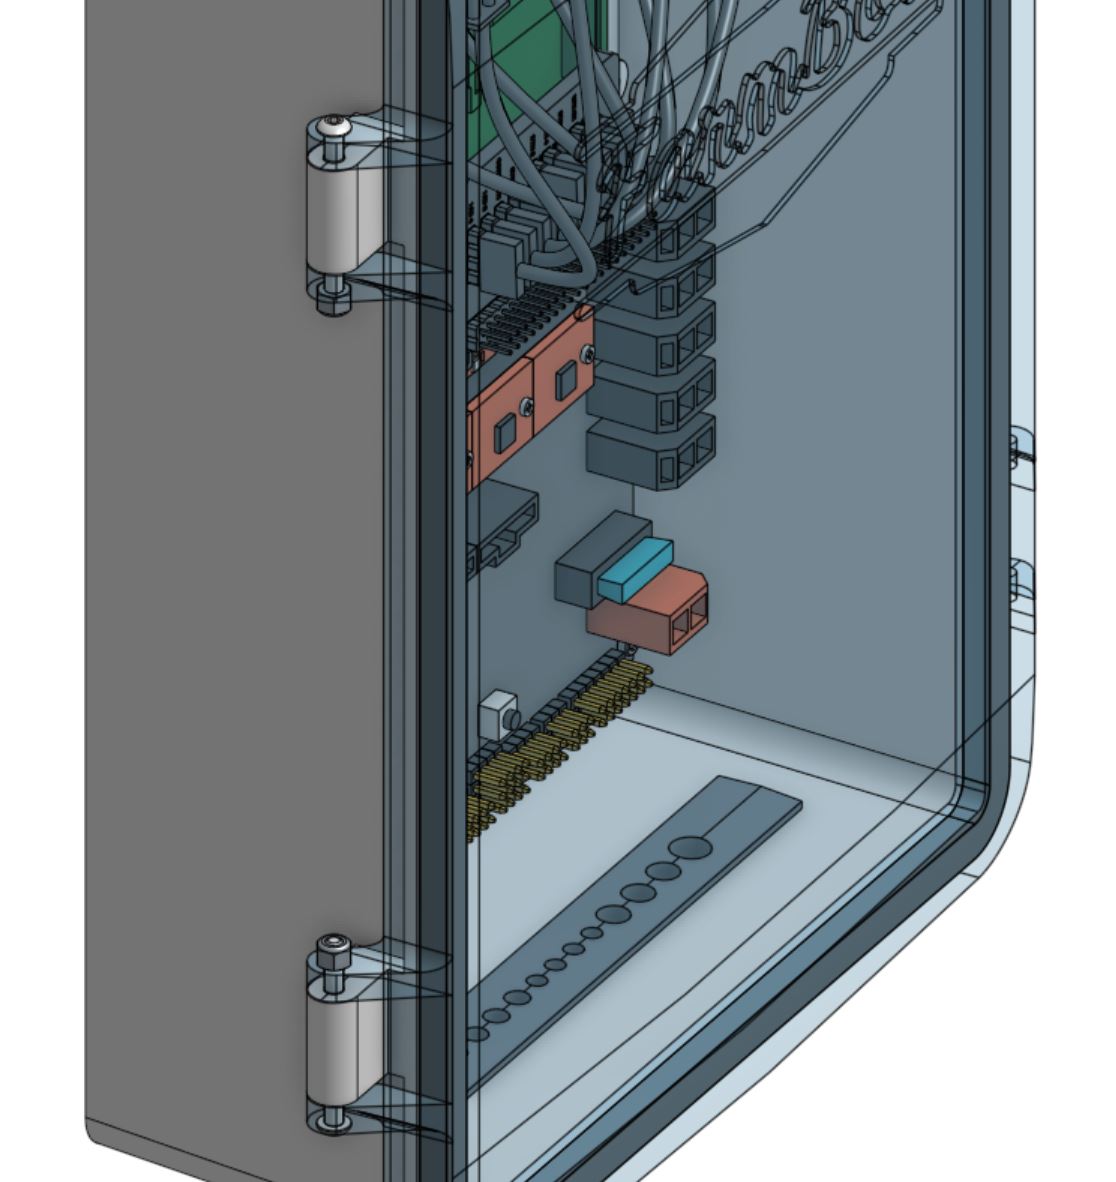
Step 12: Attach the latches
Attach the latches to the lid using two M3 x 35mm screws and M3 locknuts. The nuts should be tightened enough so that the screws do not rattle, but they should not be so tight that the lid’s tabs are compressing and rubbing against the latches. The latches should be able to rotate with no resistance.
