Capture and Use Rainwater
DIY instructions for installing and using a rain barrel in conjunction with FarmBot
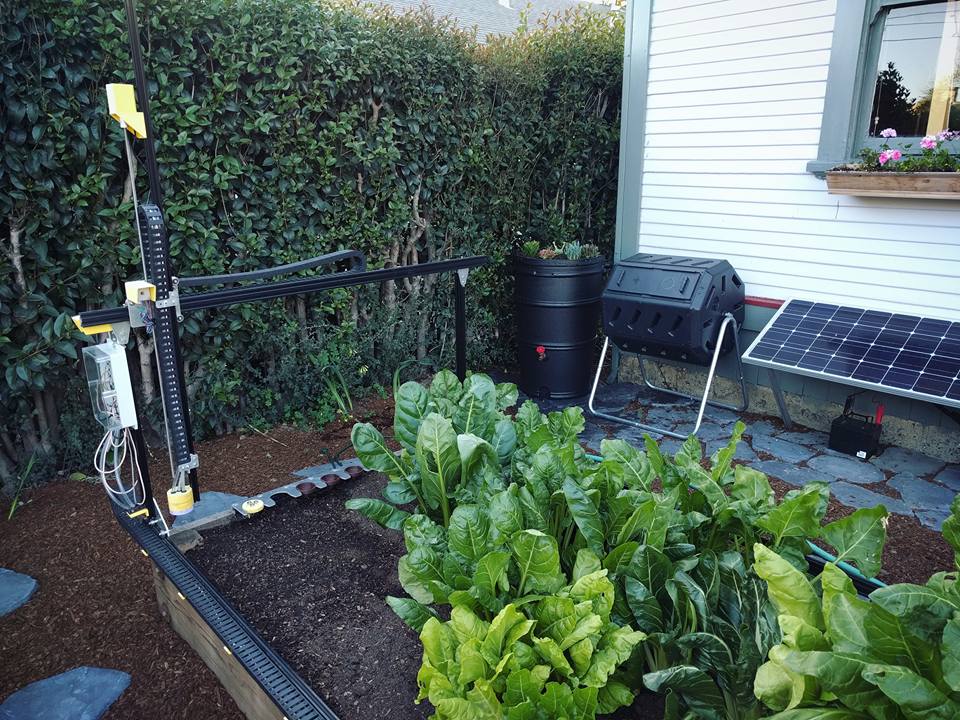
If you live off-grid or want to save on your water bill, consider installing a rain barrel to store collected rain from your roof or other collection surface, and then using this source of water with your FarmBot.
Inspiration only
Please use the following information for inspiration only. The instructions are not necessarily complete or guaranteed to work, and may not satisfy your needs. If you would like help in modifying/adding-on to your FarmBot, consider posting in the community forum.
Captured rainwater is not safe for drinking
In general, captured rainwater is not clean nor suitable for direct consumption. Your collection surfaces and piping (rooftops, tarps, gutters, etc) will introduce contamination such as tar or other roofing materials, paint chips, bird poop, leaves, dust and dirt, and other unwanted substances to the water supply. Rainwater can also collect pollution from the air on its way down. Additionally, because rainwater is not treated with chlorine like municipal water, storing it can introduce algae growth, mosquito larva, and other biological pests to the water.
If you decide to install a rain collection system to be used in conjunction with your FarmBot, DO NOT consume the collected water directly. Furthermore, WASH ALL PRODUCE that has been watered with rainwater. Additionally, follow all manufacturer’s precautions listed in your rain barrel’s instruction manual. The manual for the rain barrel you see in these photos listed warnings for the following hazards: drowning, electrocution, tipping, installation, contamination, and infestation. Take your rain barrel installation and usage seriously.
Step 1: Purchase components
| Component | Recommended Supplier | Cost |
|---|---|---|
| 200 Liter/50 Gallon Rain Barrel | Home Depot | $100 |
| Water Pump | SparkFun | $14.95 |
| Float | Amazon | $8.37 |
| 1/2” female NPT to female Garden Hose Adapter | McMaster | $5.38 |
| PTFE tape for pipe threads | Home Depot | $3.00 |
| Garden Hose of appropriate length | Home Depot | $15.00 |
| TOTAL | $146.70 |
Step 2: Find a location
Your rain barrel should be within a few feet from a gutter downspout so that water can flow through the diverter tube into the barrel. If you can’t place your barrel close, it will need to be sufficiently downhill from the downspout so that the diverter tube works.
The area should also be flat, and have sufficient working room around it so that you can easily access the barrel’s tap. Some people raise their barrel off the ground with cinder blocks, wood, or bricks so that the lower tap can be used with a hose bib.
Step 3: Install the barrel
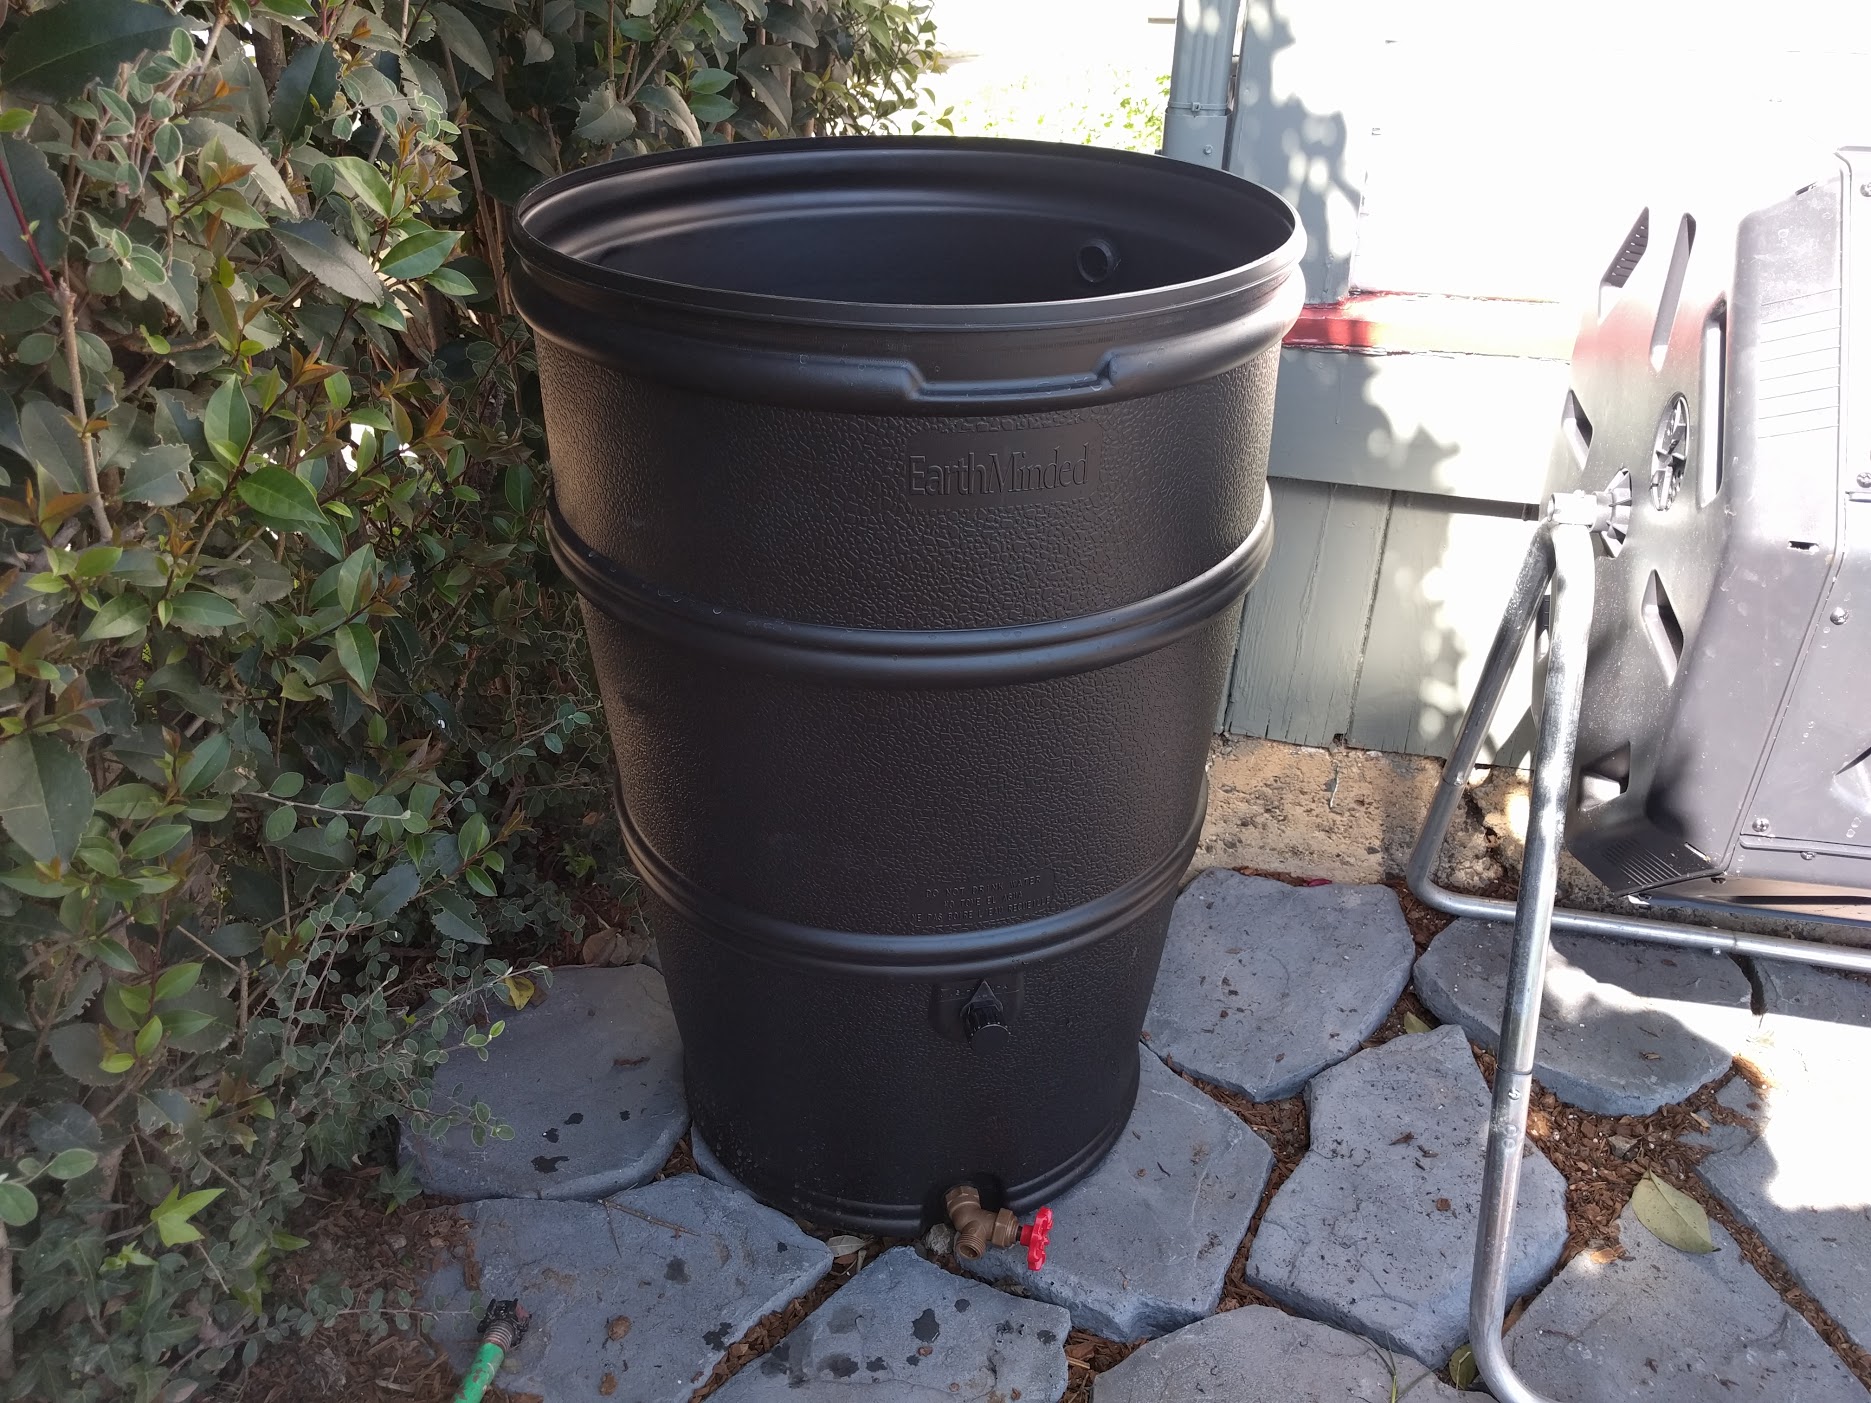
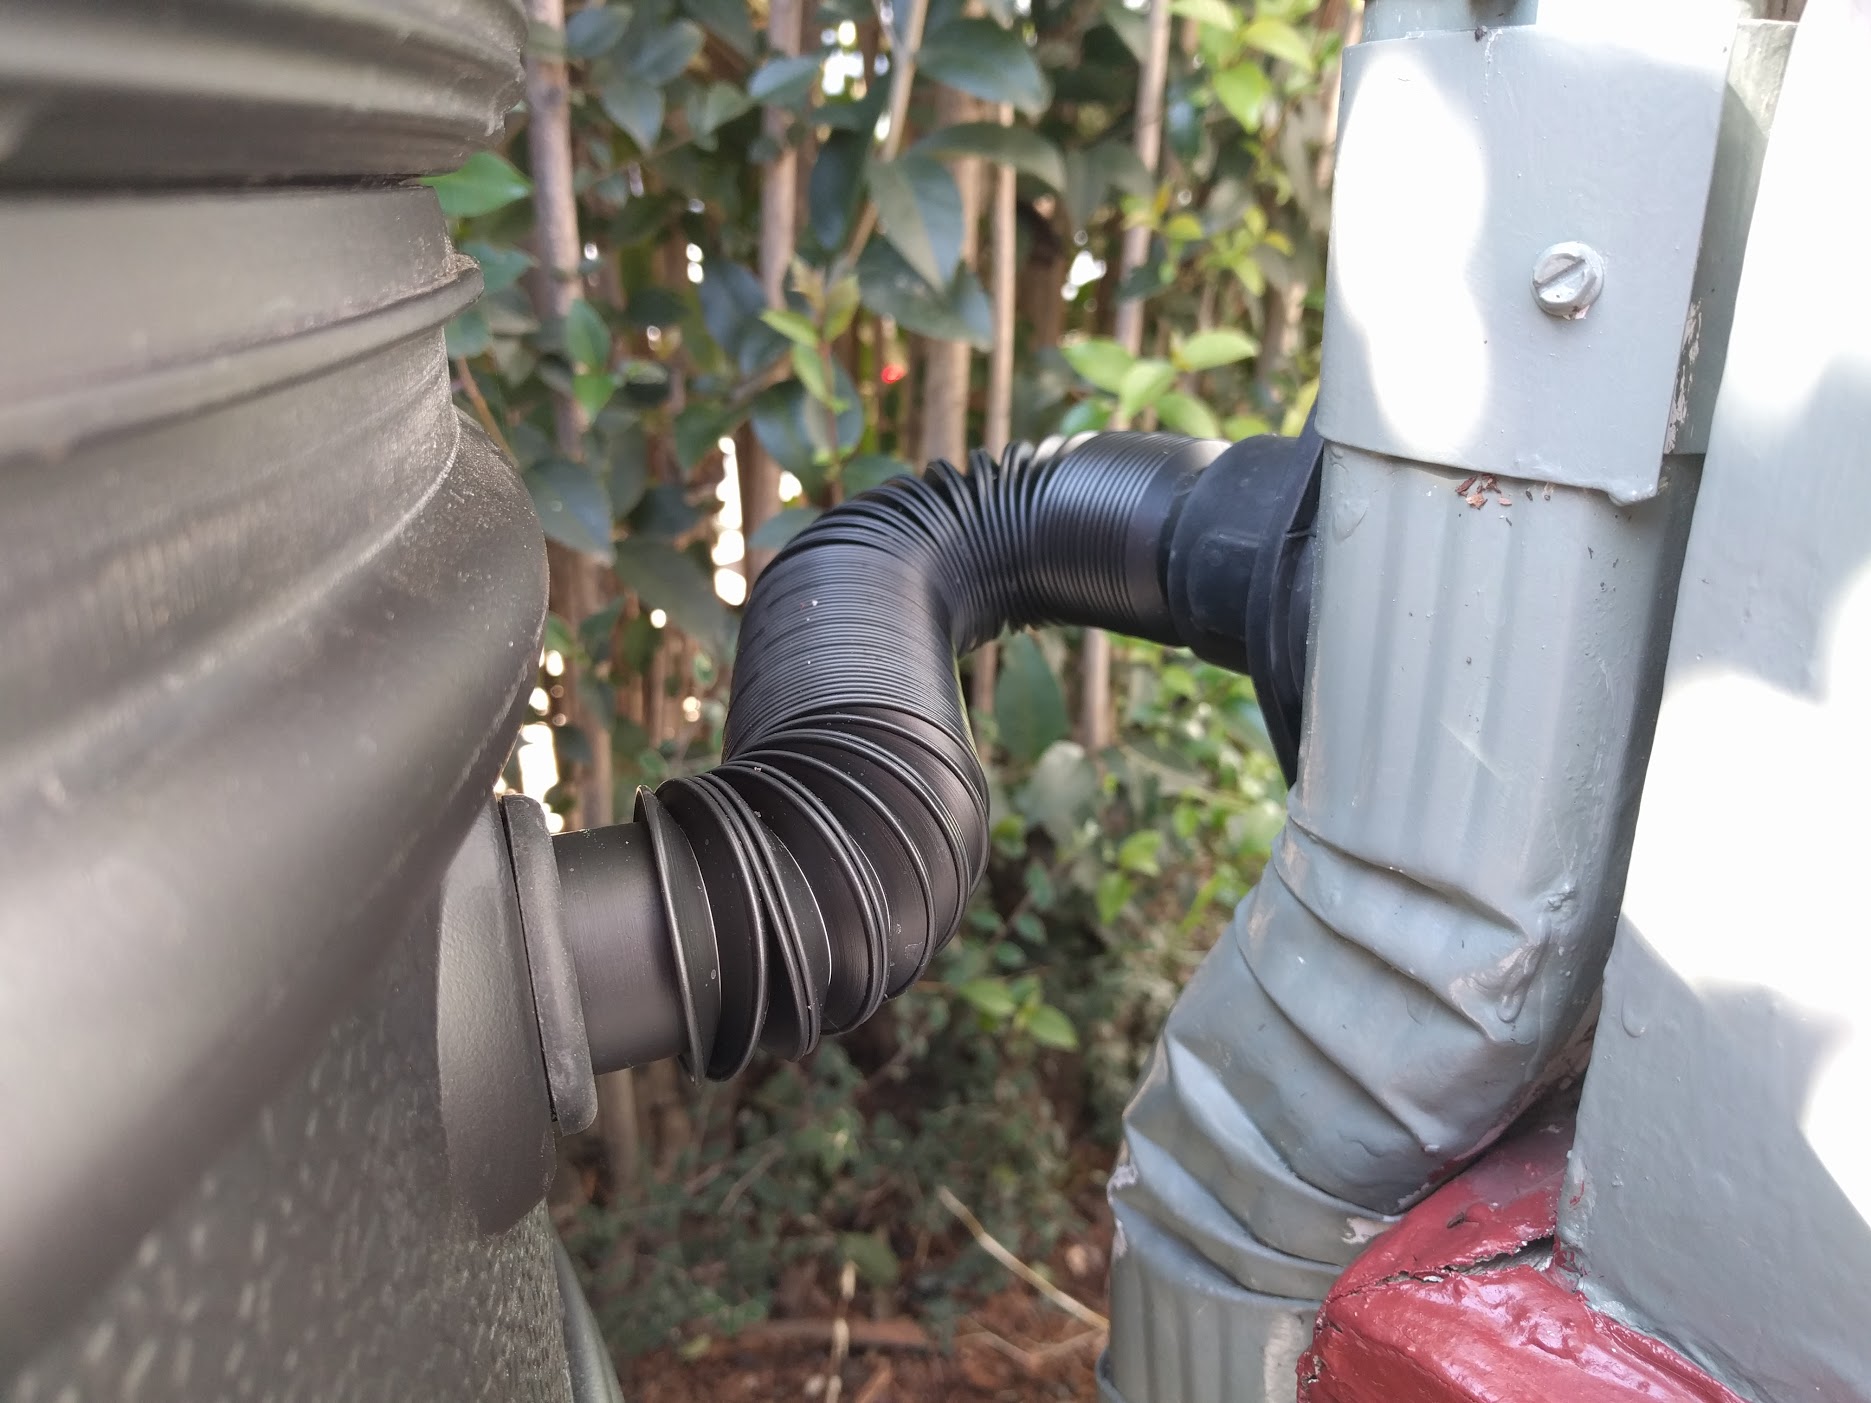
Follow the instructions provided with your rain barrel to complete the installation. This will often include drilling a few holes, installing the water diverter in your gutter downspout, and installing a hose bib in the barrel. Our barrel features a plant-able area in the top lid that we filled with potting soil and a variety of succulents.
Step 4: Replace the solenoid valve with the pump
FarmBot’s stock water control mechanism is a solenoid valve that allows pressurized municipal water to flow through FarmBot’s water tube, UTM, watering tool, and ultimately to the plants. Unless your rain barrel is significantly higher in elevation than your FarmBot, you will need to replace the solenoid valve with a pump in order to have enough pressure for the water to reach your plants.
At this time we don’t have detailed instructions for how to do this, though a low-cost 12V pond pump should do the trick. In general you will need to:
- Remove the inline solenoid valve from your system
- Connect the pump to the RAMPS shield with the wires once leading to the solenoid valve
- Connect the pump’s output to the barrel output
- Secure the pump in the bottom of the barrel

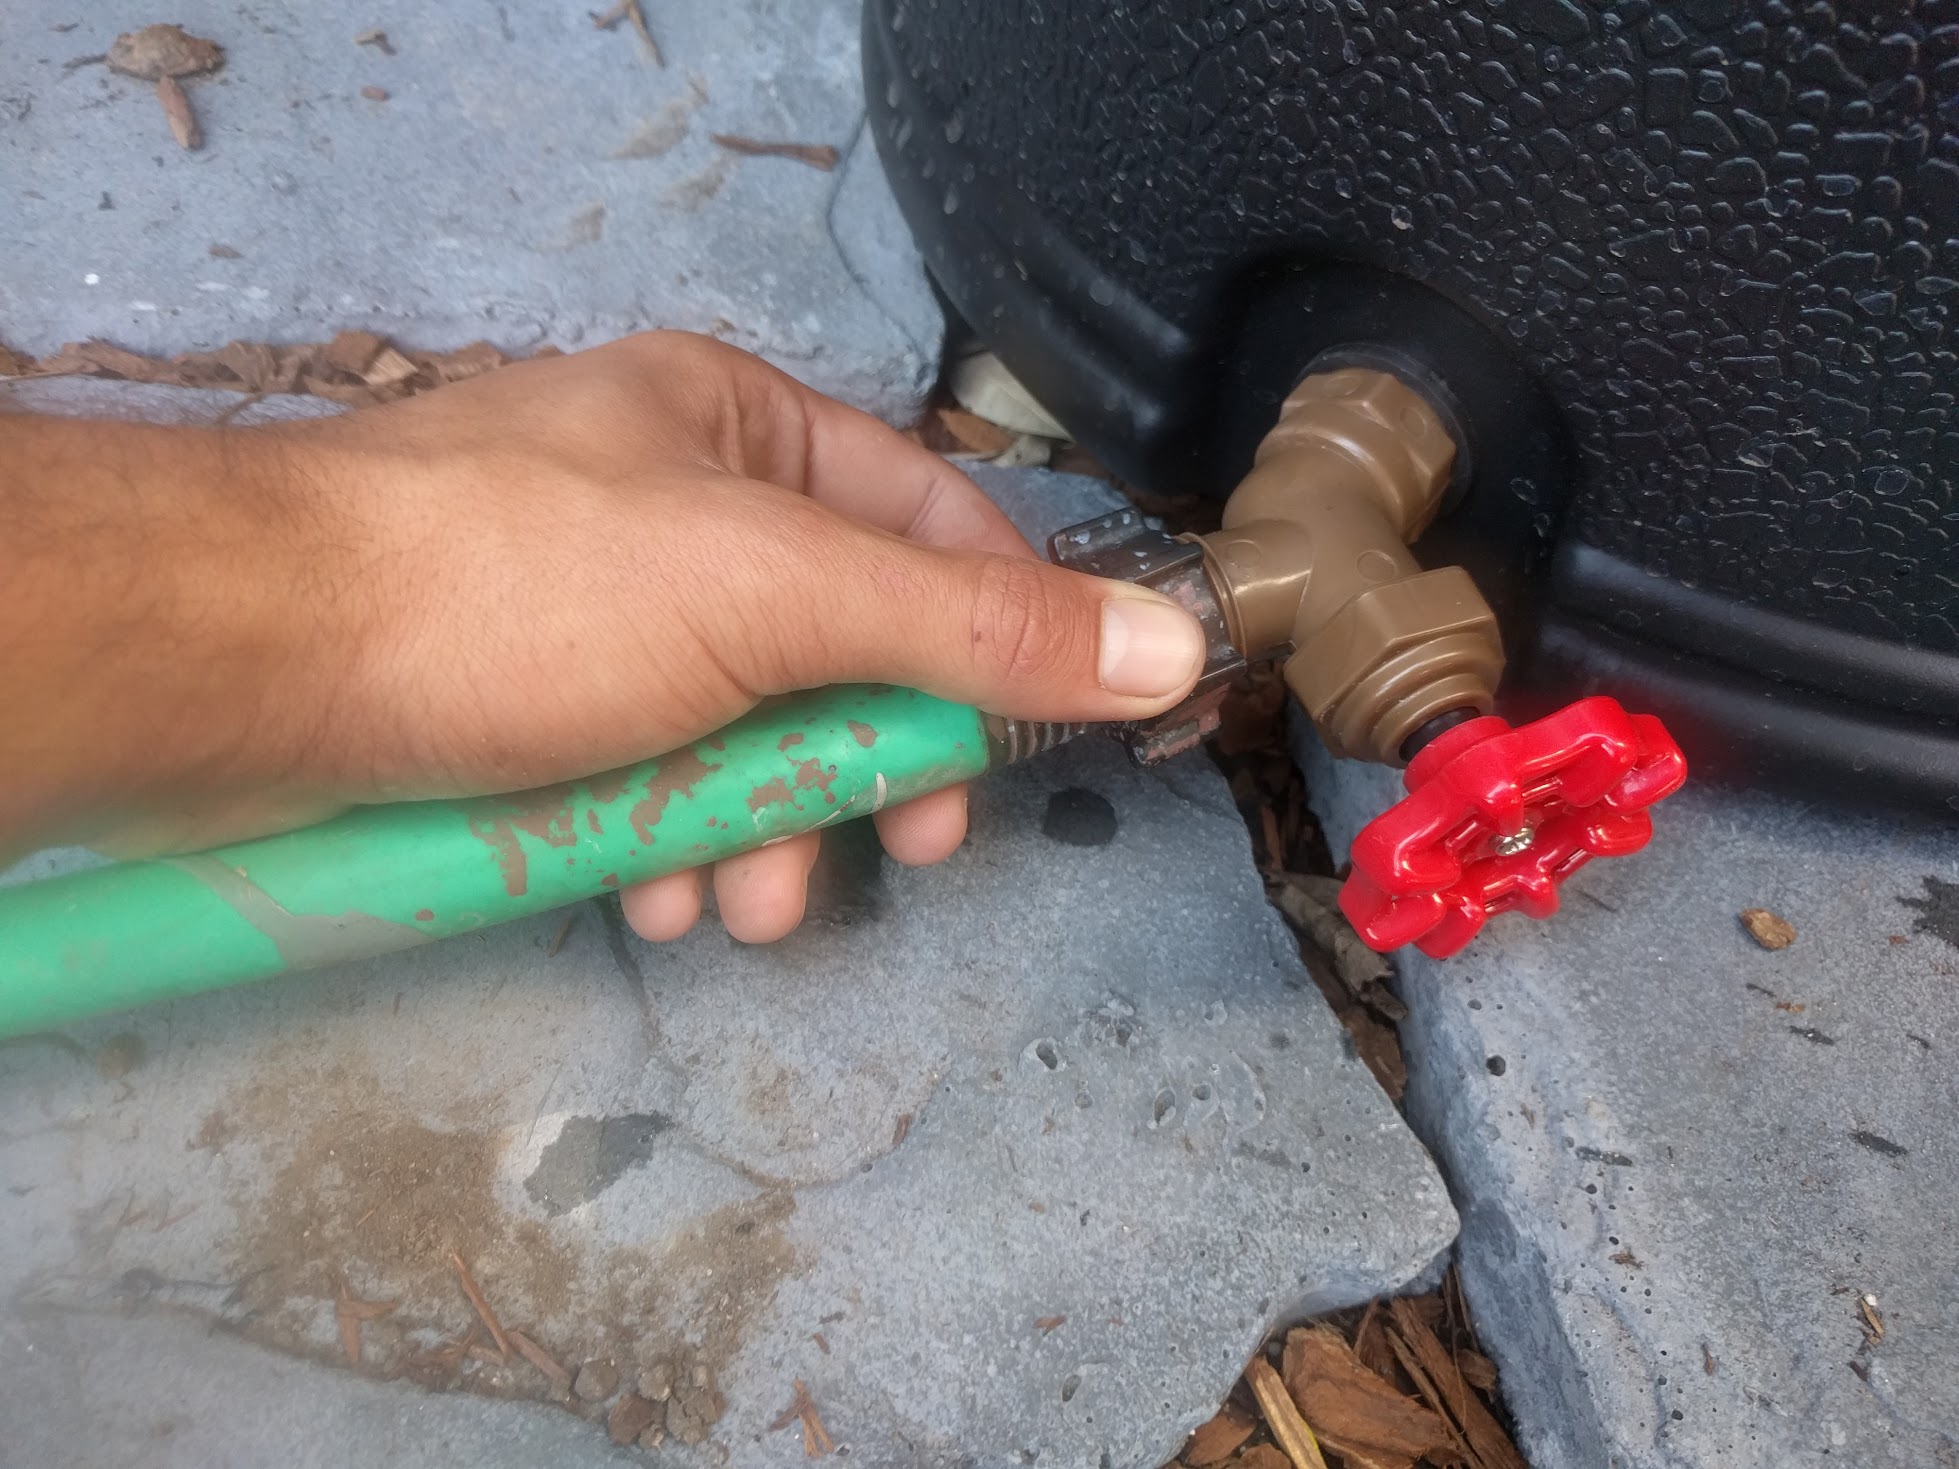
Then hook up FarmBot’s hose to the hose bib on the rain barrel.
Step 5: Install a float valve for municipal water backup
In the event that you run out of stored rainwater in your rain barrel, you don’t want your plants to go thirsty. Instead, you want FarmBot to fall back onto using municipal water from your hose. To accomplish this without using any extra electronics for sensing rain barrel levels and switching from one water supply to the other, we’ll use an inexpensive float valve.
The float valve will be inserted into the rain barrel and allow municipal water to keep the tank filled to a minimum level automatically. This will operate just like how your toilet’s tank refills after a flush. However, instead of filling the rain barrel up to 100%, we’ll install the float valve to maintain a minimal water level of about 5%. This will ensure that FarmBot can always pump water from the barrel while at the same time we wait for rain to fill the tank back up to 100%.
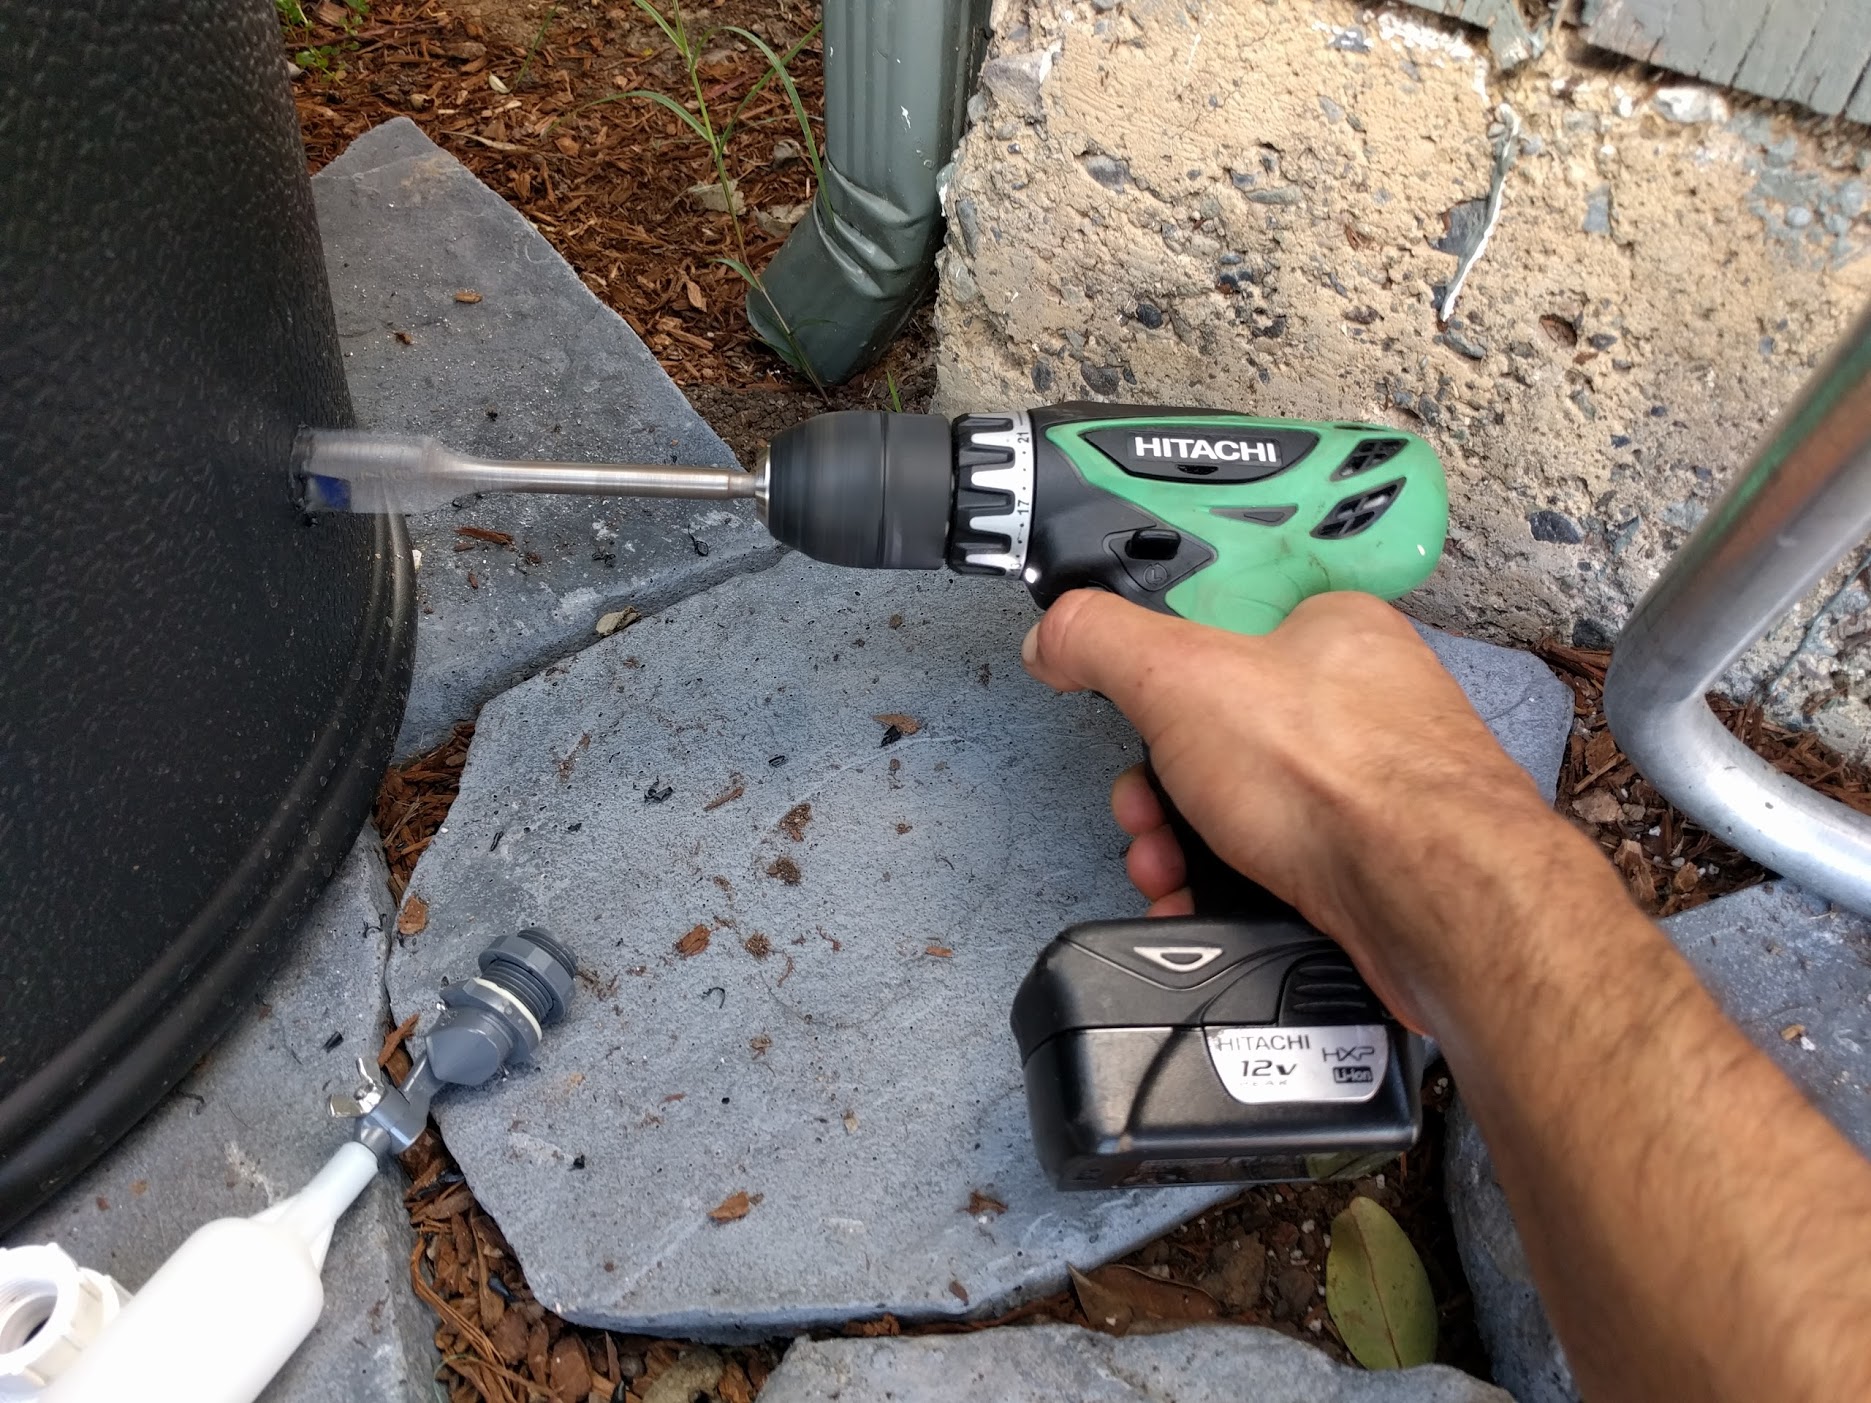
To install the float valve, drill a 7/8” diameter hole in the rain barrel about 5cm above the hose bib that FarmBot is connected to.
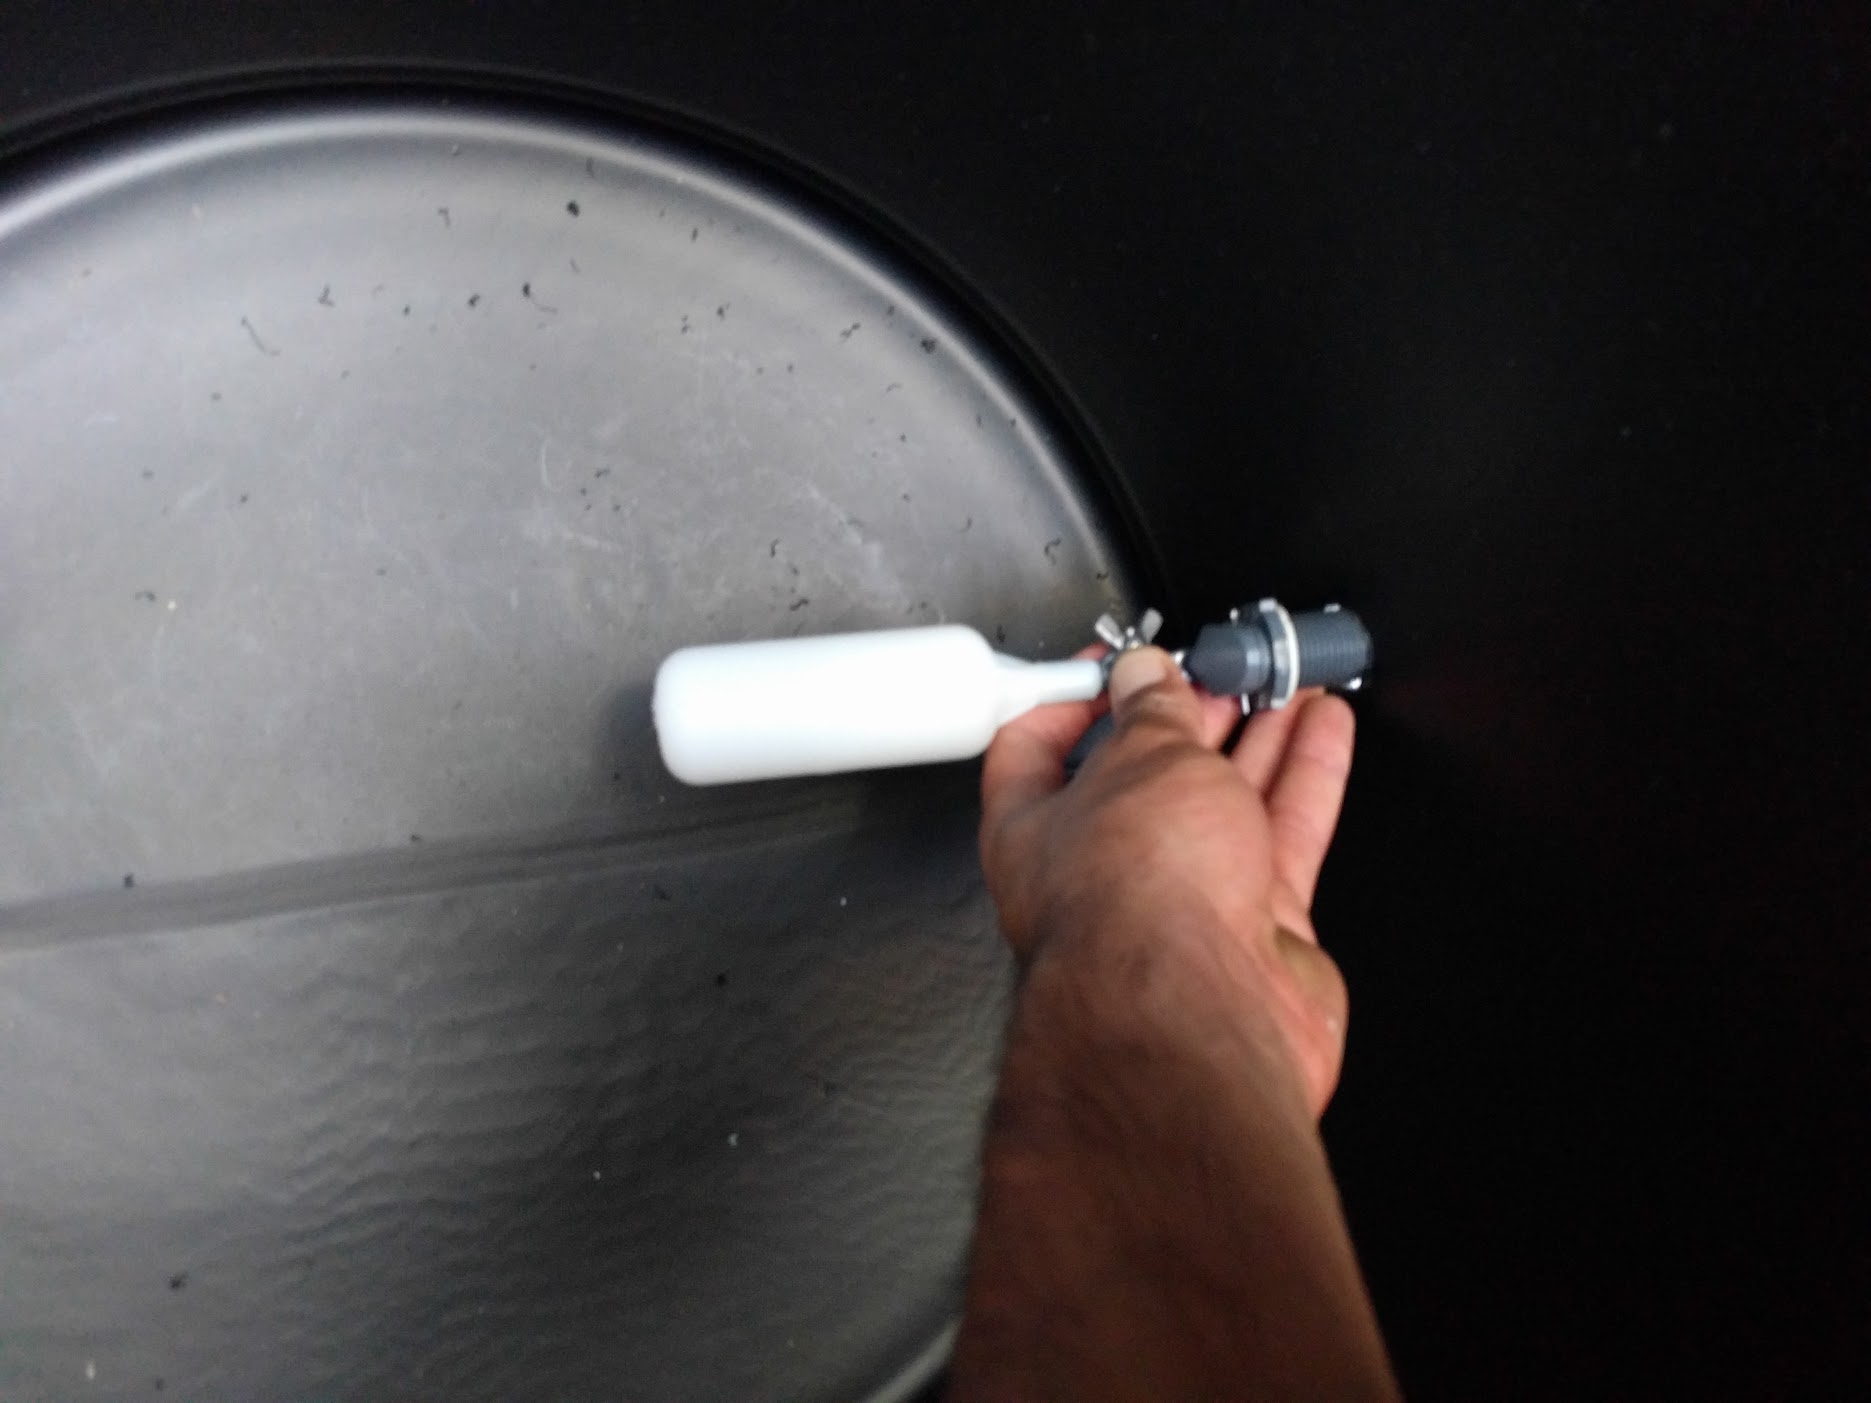
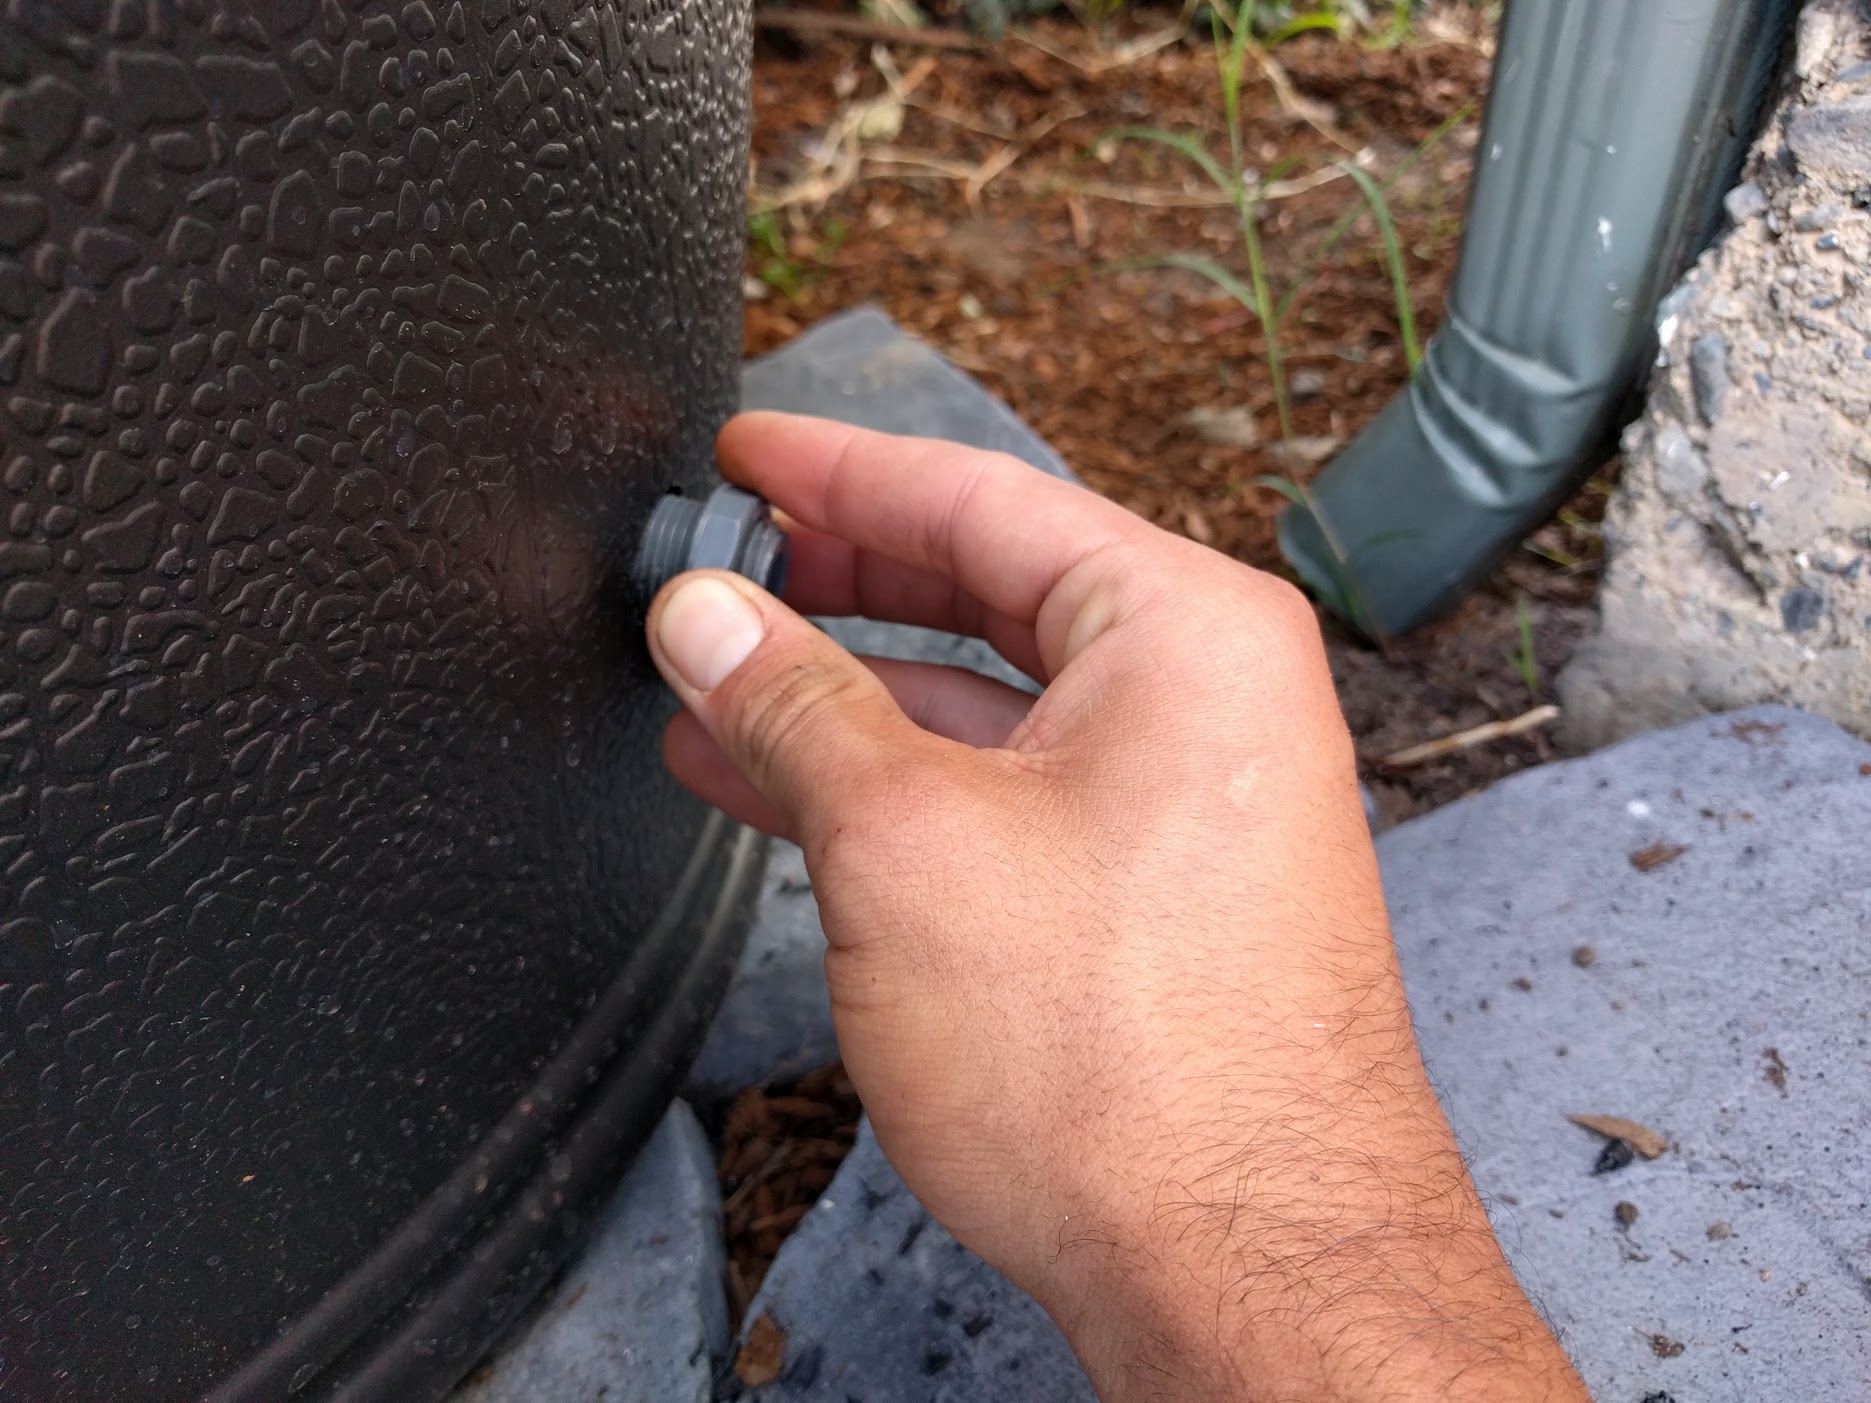
Insert the float valve’s threaded end out from the inside of the rain barrel and tighten on the plastic retaining ring.

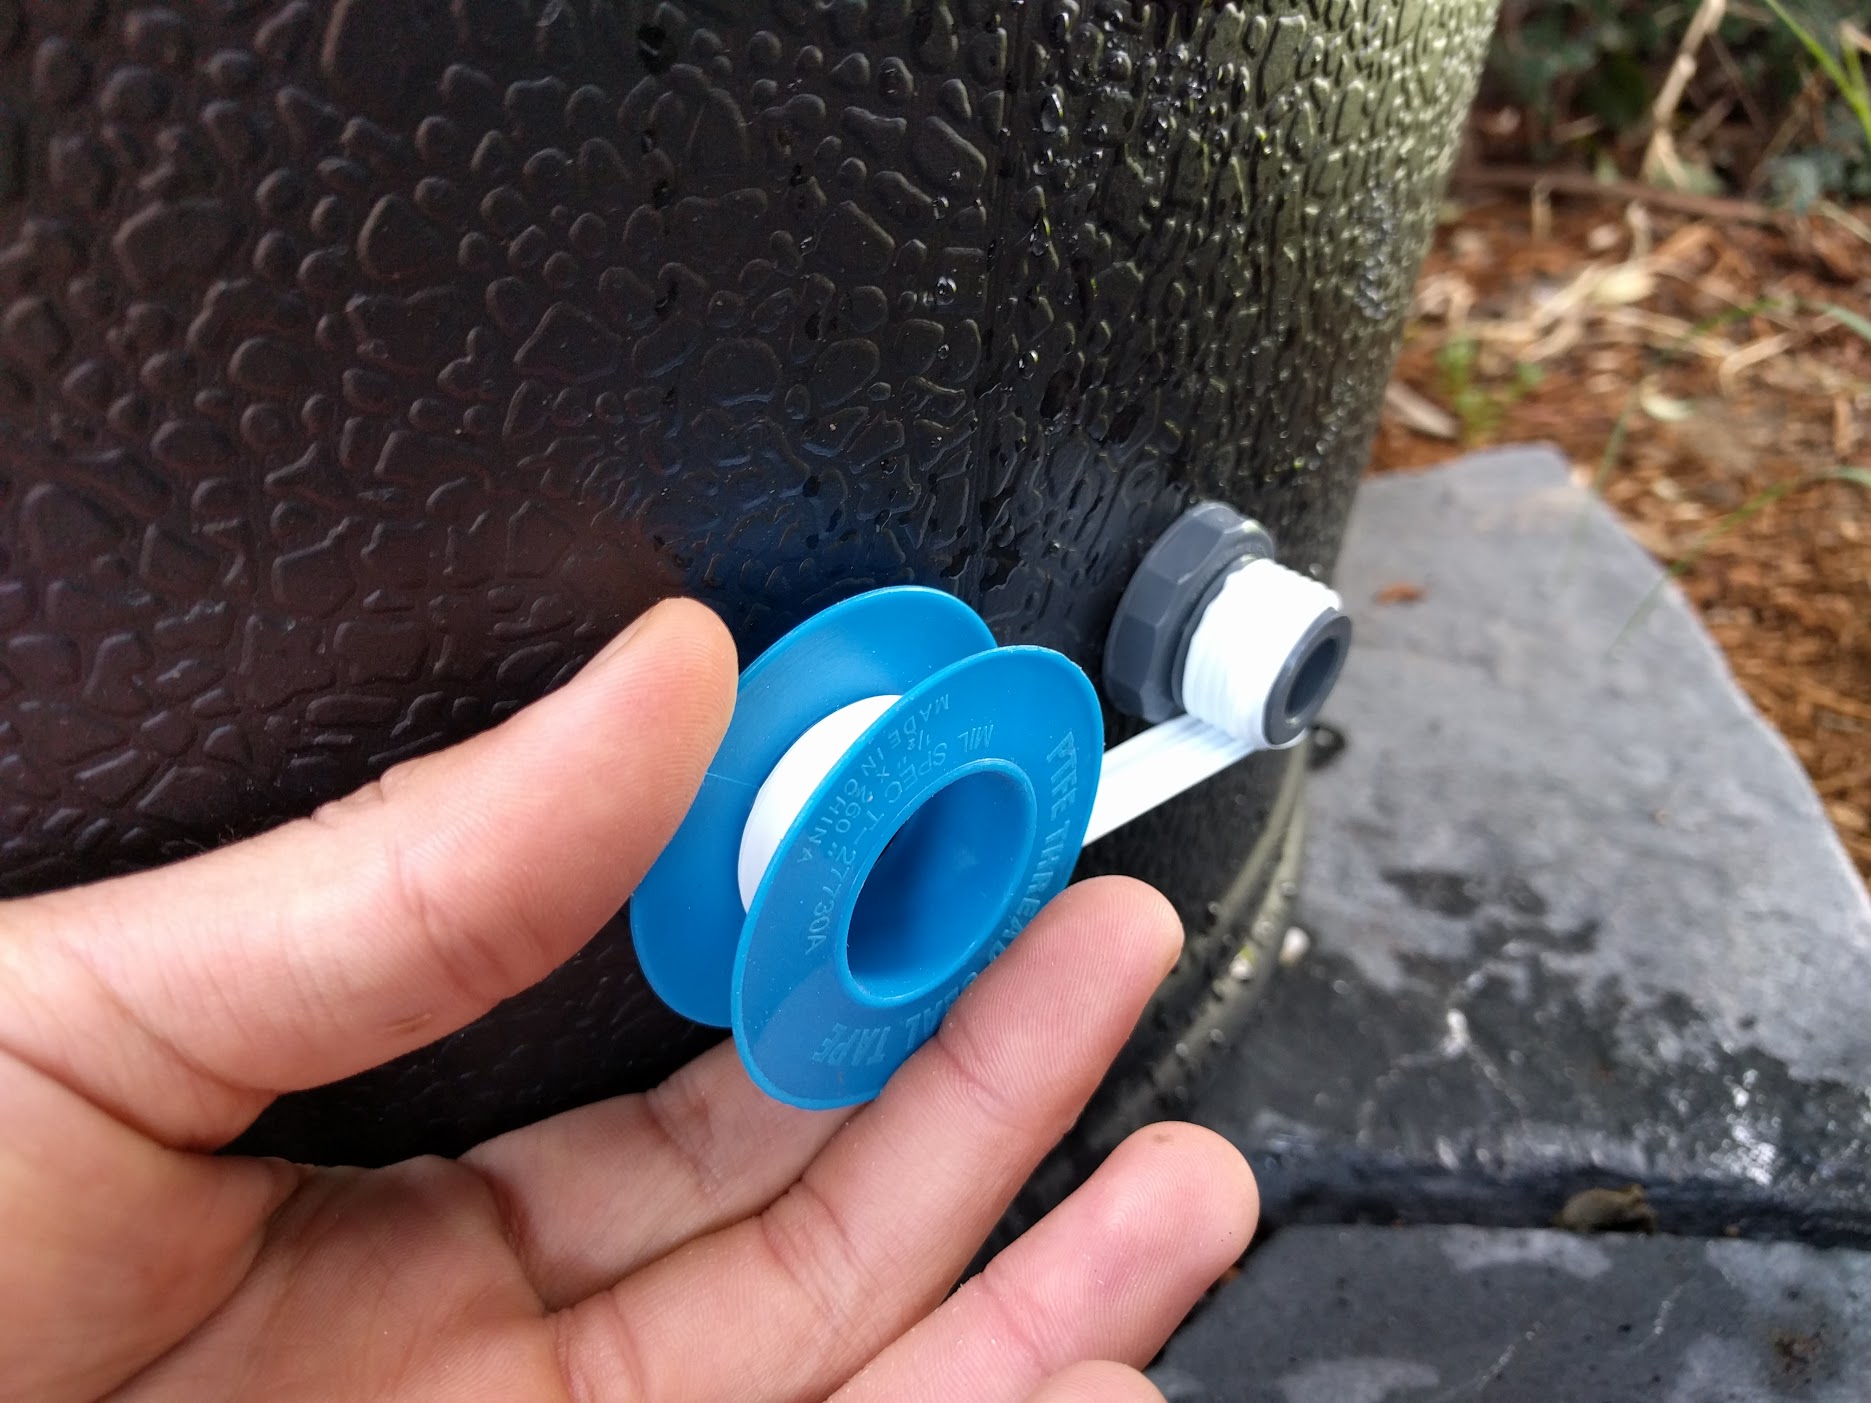
Wrap 5-7 layers of PTFE tape to the float valve threads. Wrap in a clockwise direction so that when you screw on the garden hose adapter, the clockwise rotation does not unravel the tape.
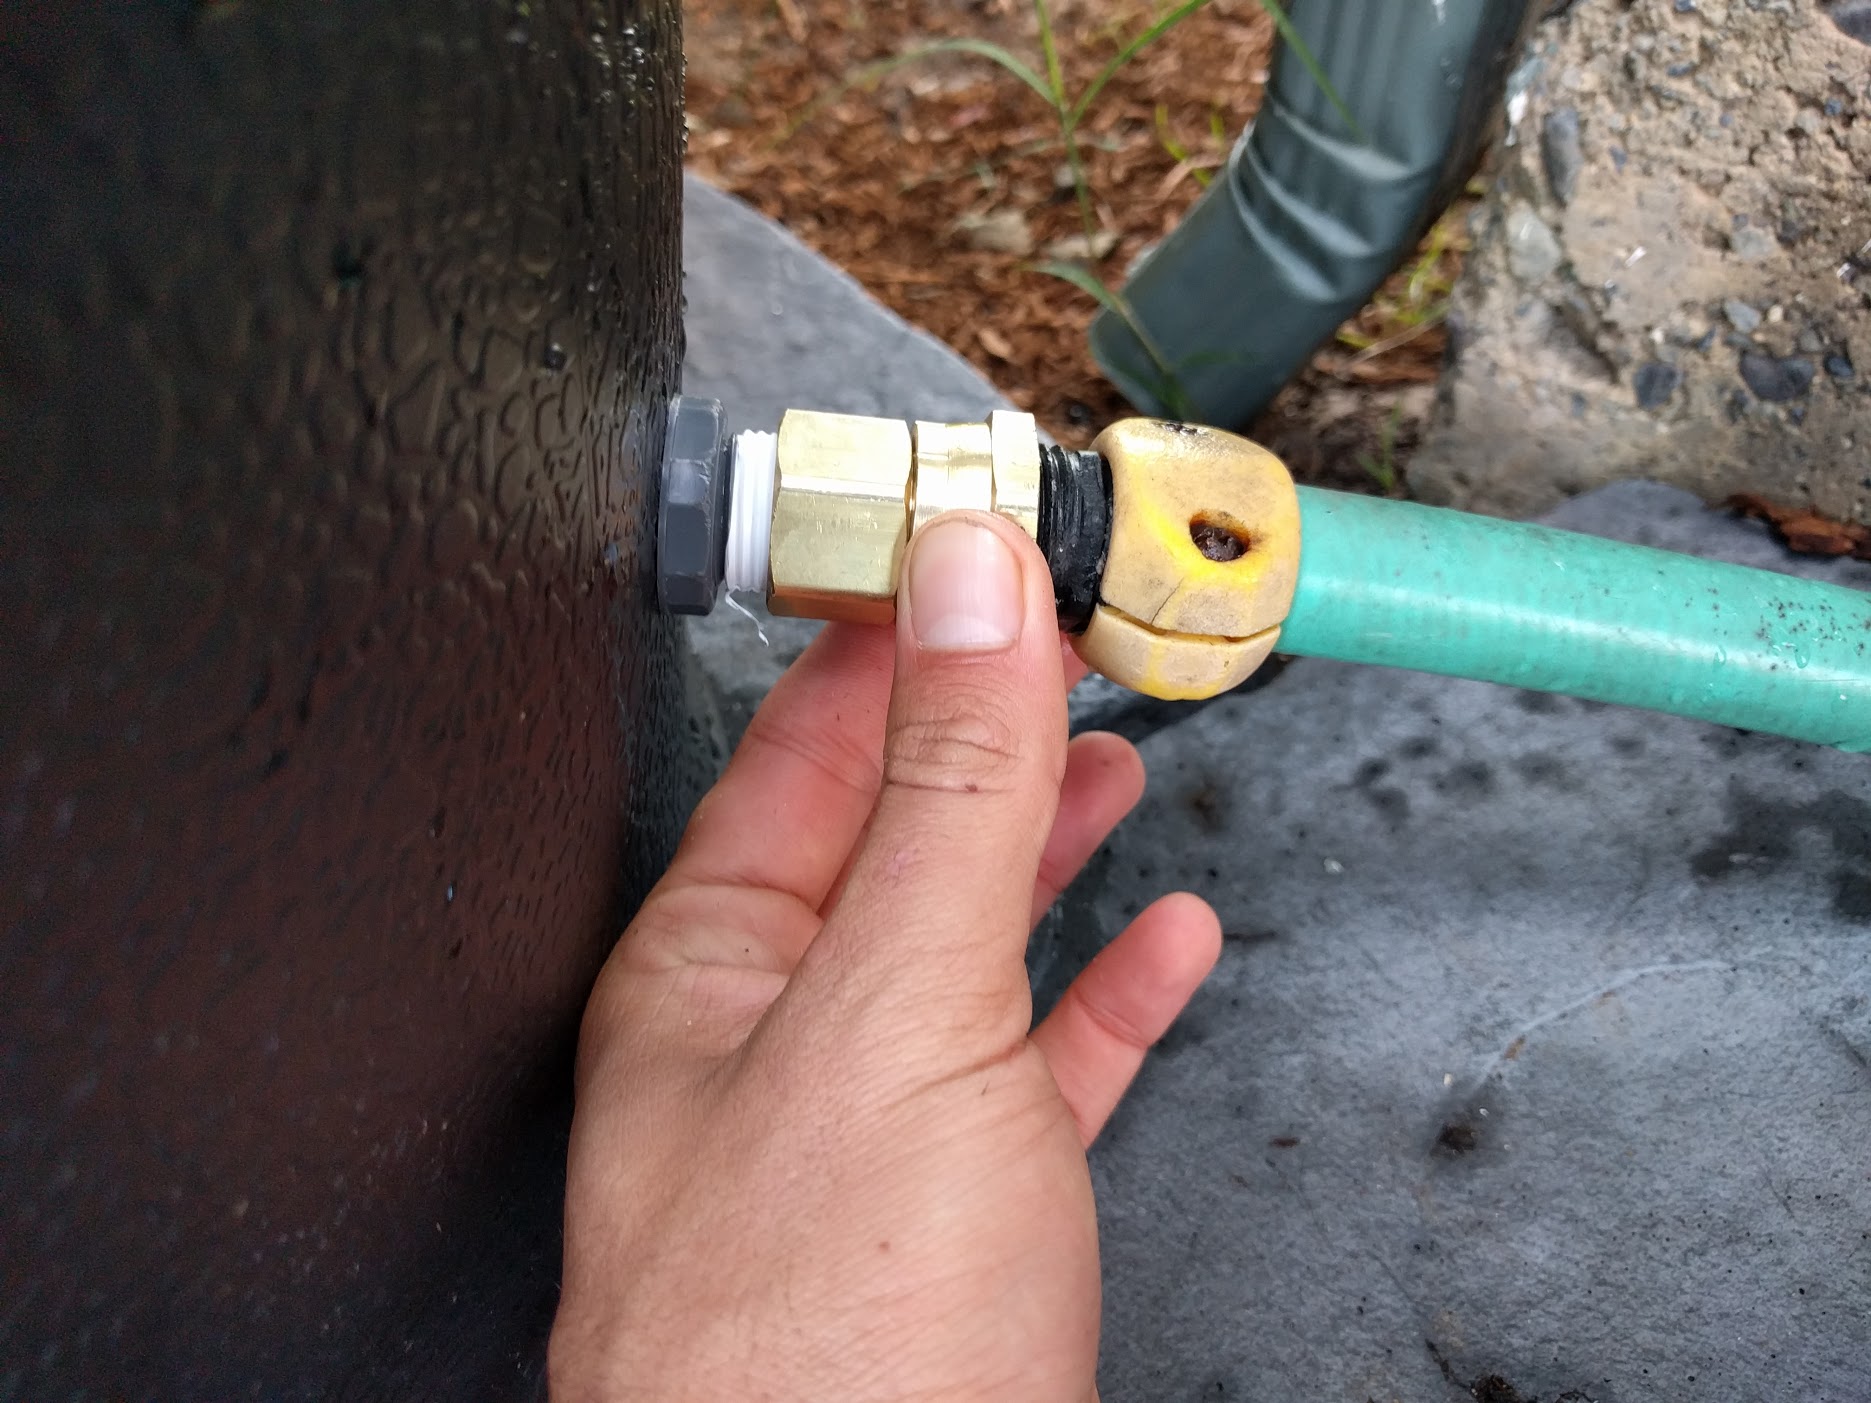
Screw the 1/2” female NPT to female Garden Hose Adapter onto the float valve.
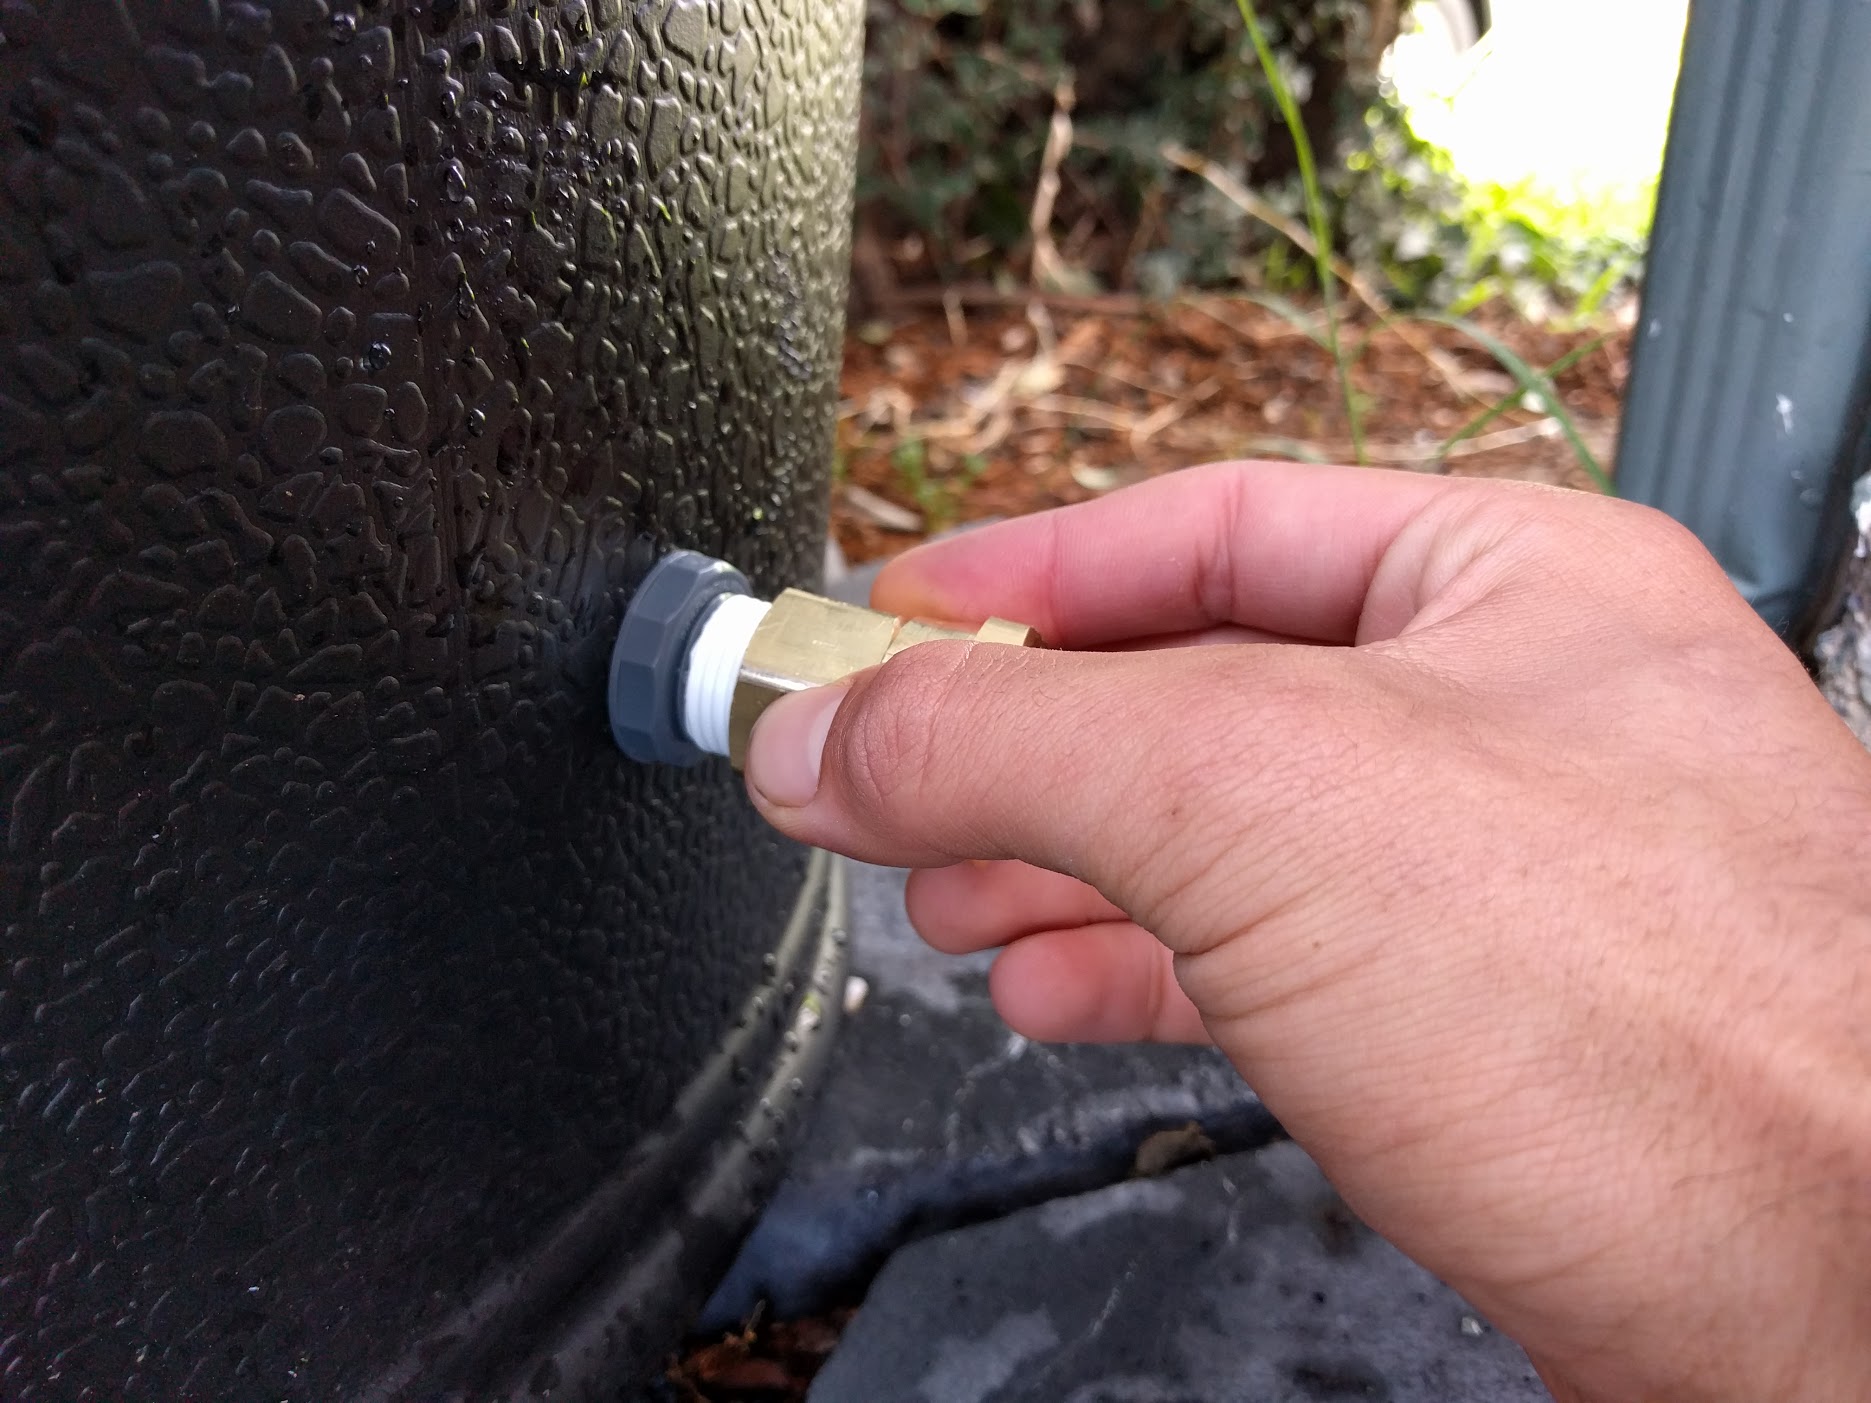
Connect the garden hose to the adapter, and then connect the other end of this hose to your municipal water supply.
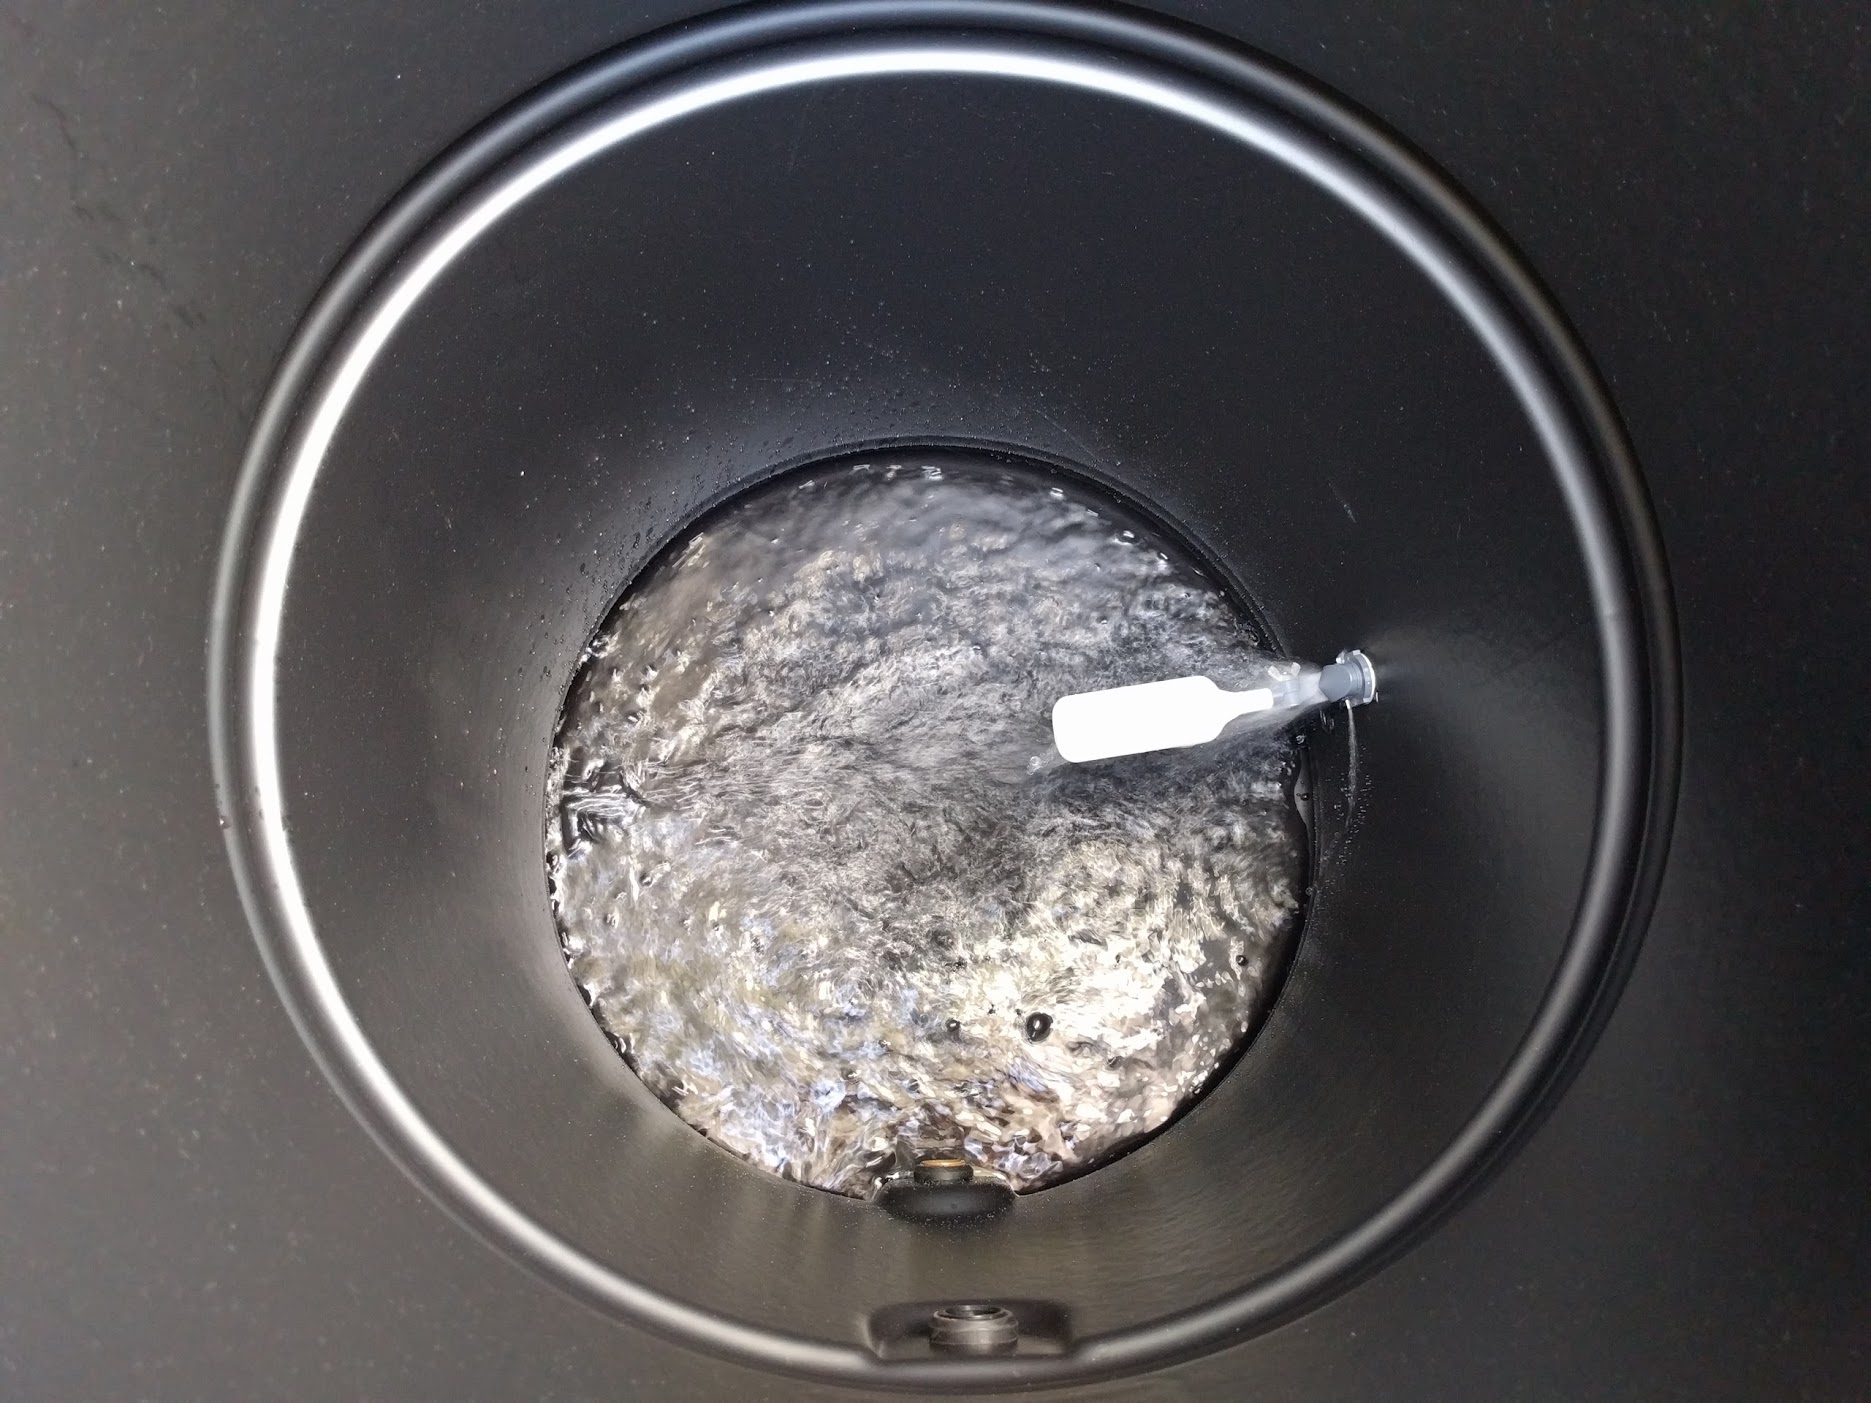
Open your home’s municipal water valve so that the rain barrel starts filling with water. If all has gone well, the barrel should fill up until the float valve shuts off the water automatically.
The water level should be slightly higher than the point where FarmBot is connected such that water is always available for FarmBot to use. As soon as FarmBot pumps out some water, the float valve will open and allow municipal water to refill the barrel automatically. Test this by manually controlling FarmBot with the web app and having it water a few plants.
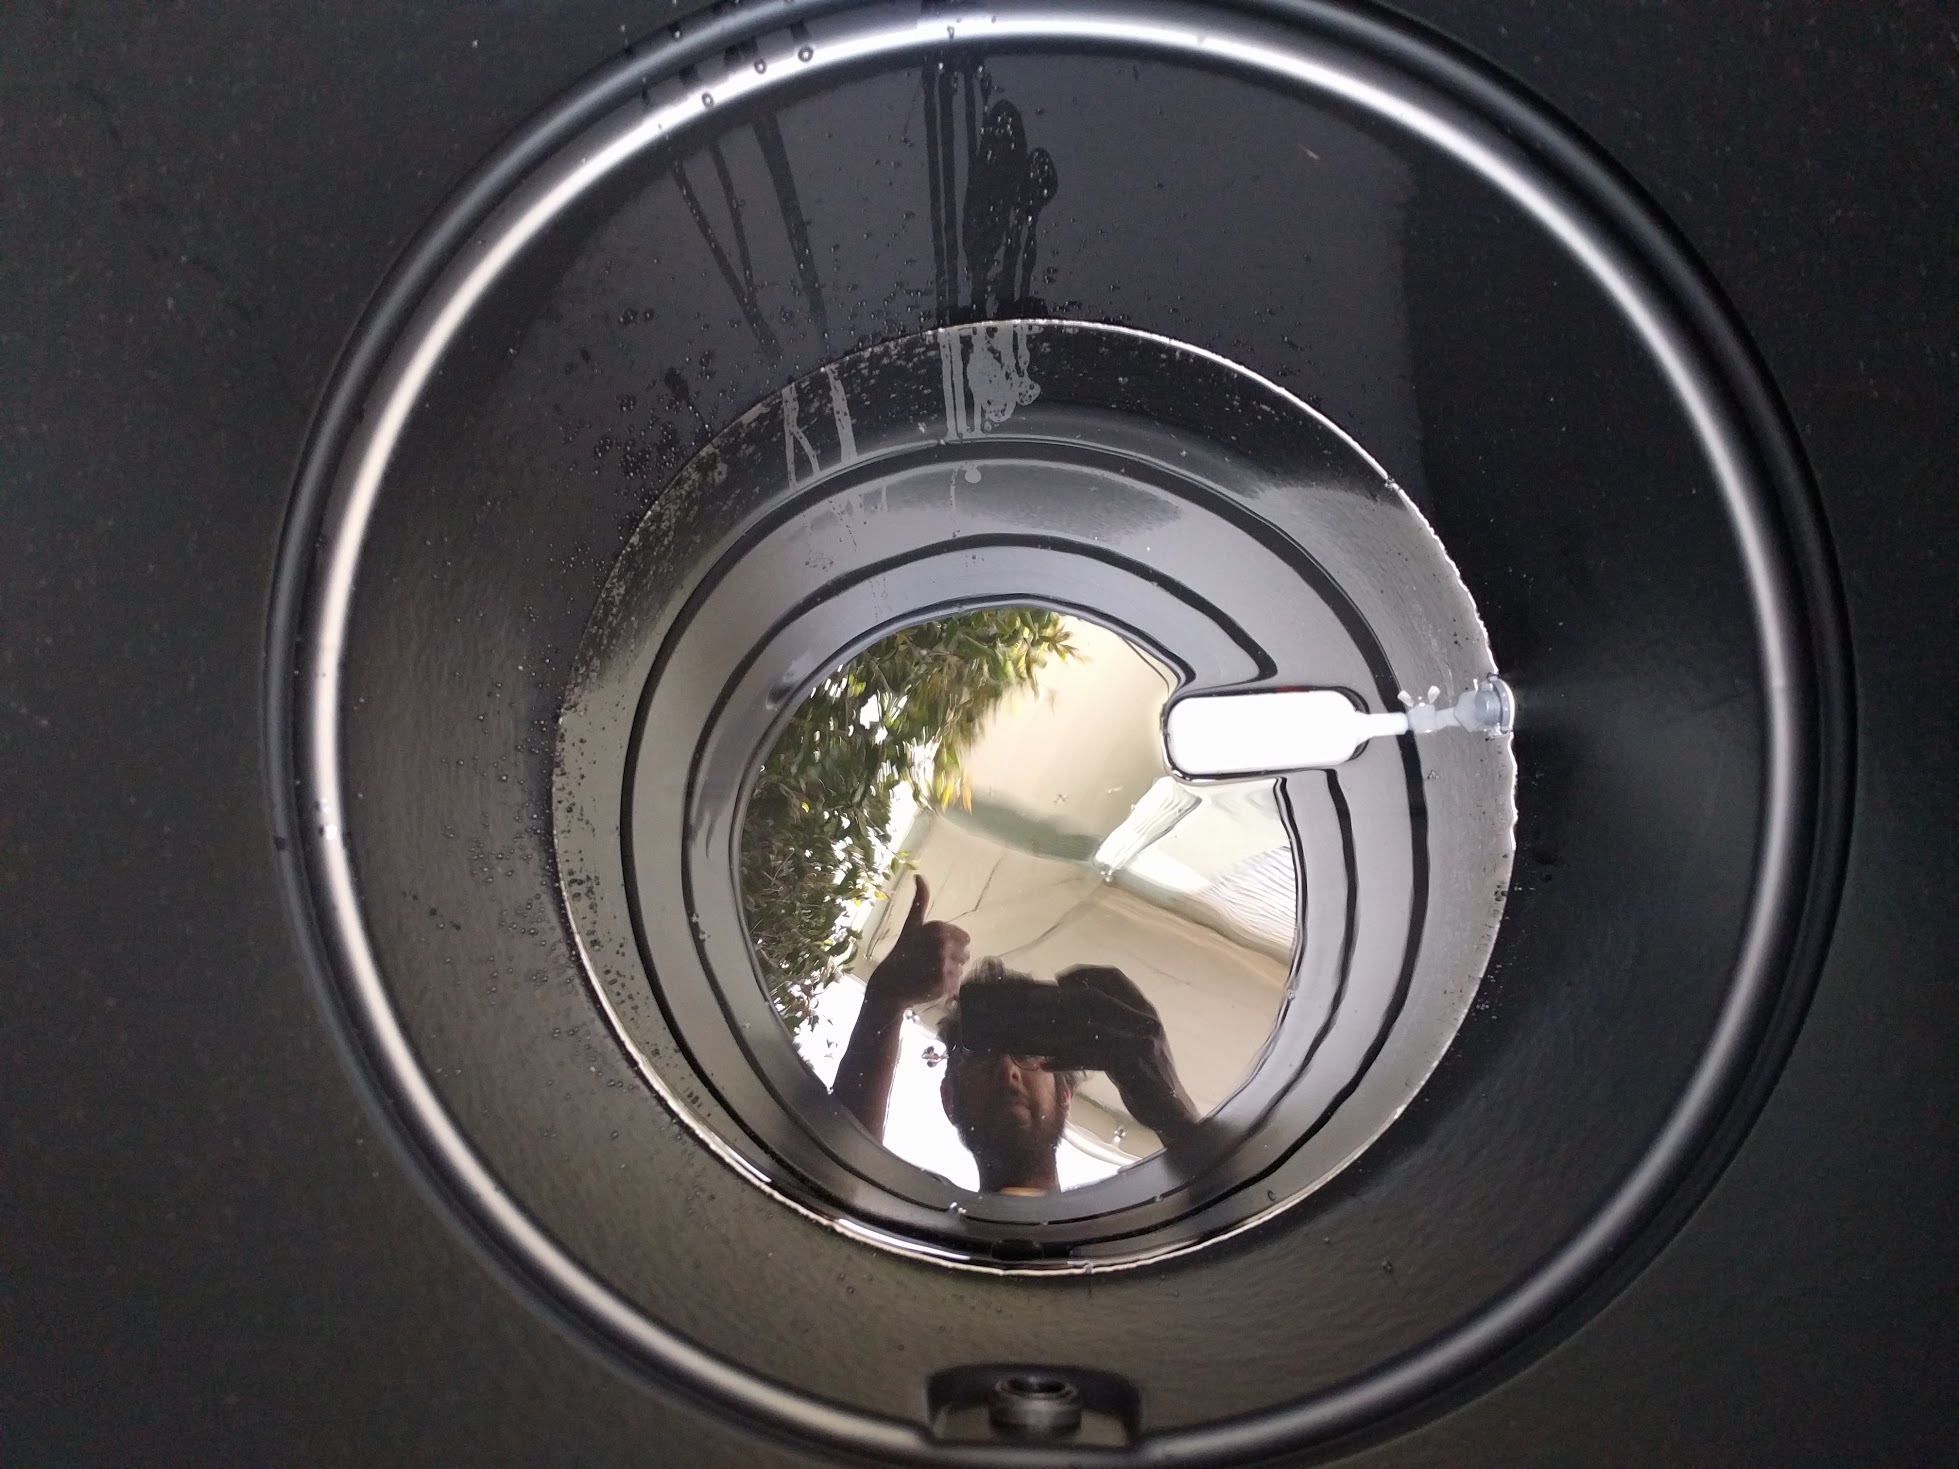
Awesome work!
Your FarmBot will now use stored rainwater when it it is available, and municipal water during drier times. On the subject, why don’t you go treat yourself to an ice cold glass of water after all that effort!
Optional: Daisy chain rain barrels
You may find that you want to increase your capacity for storing rainwater. While a 200 liter/50 gallon rain barrel may sound like a lot, that amount of water can be used up quickly depending on how you configure your FarmBot.
Most rain barrels can be easily “daisy chained” together to effectively create one larger barrel. You can do this by connecting hoses between barrels.
Daisy chain at the bottom
Connect barrels with hoses as close to the bottom of the barrels as possible. This will ensure that FarmBot can access the majority of the water from all of the barrels.
If you connect the barrels with a hose up near the top, then water will become trapped inside the additional barrels and not be available to FarmBot.