Watering Nozzle
Documentation for the FarmBot Genesis watering nozzle
The watering nozzle accepts a concentrated stream of water coming from the UTM and turns it into a gentle shower for your plants.
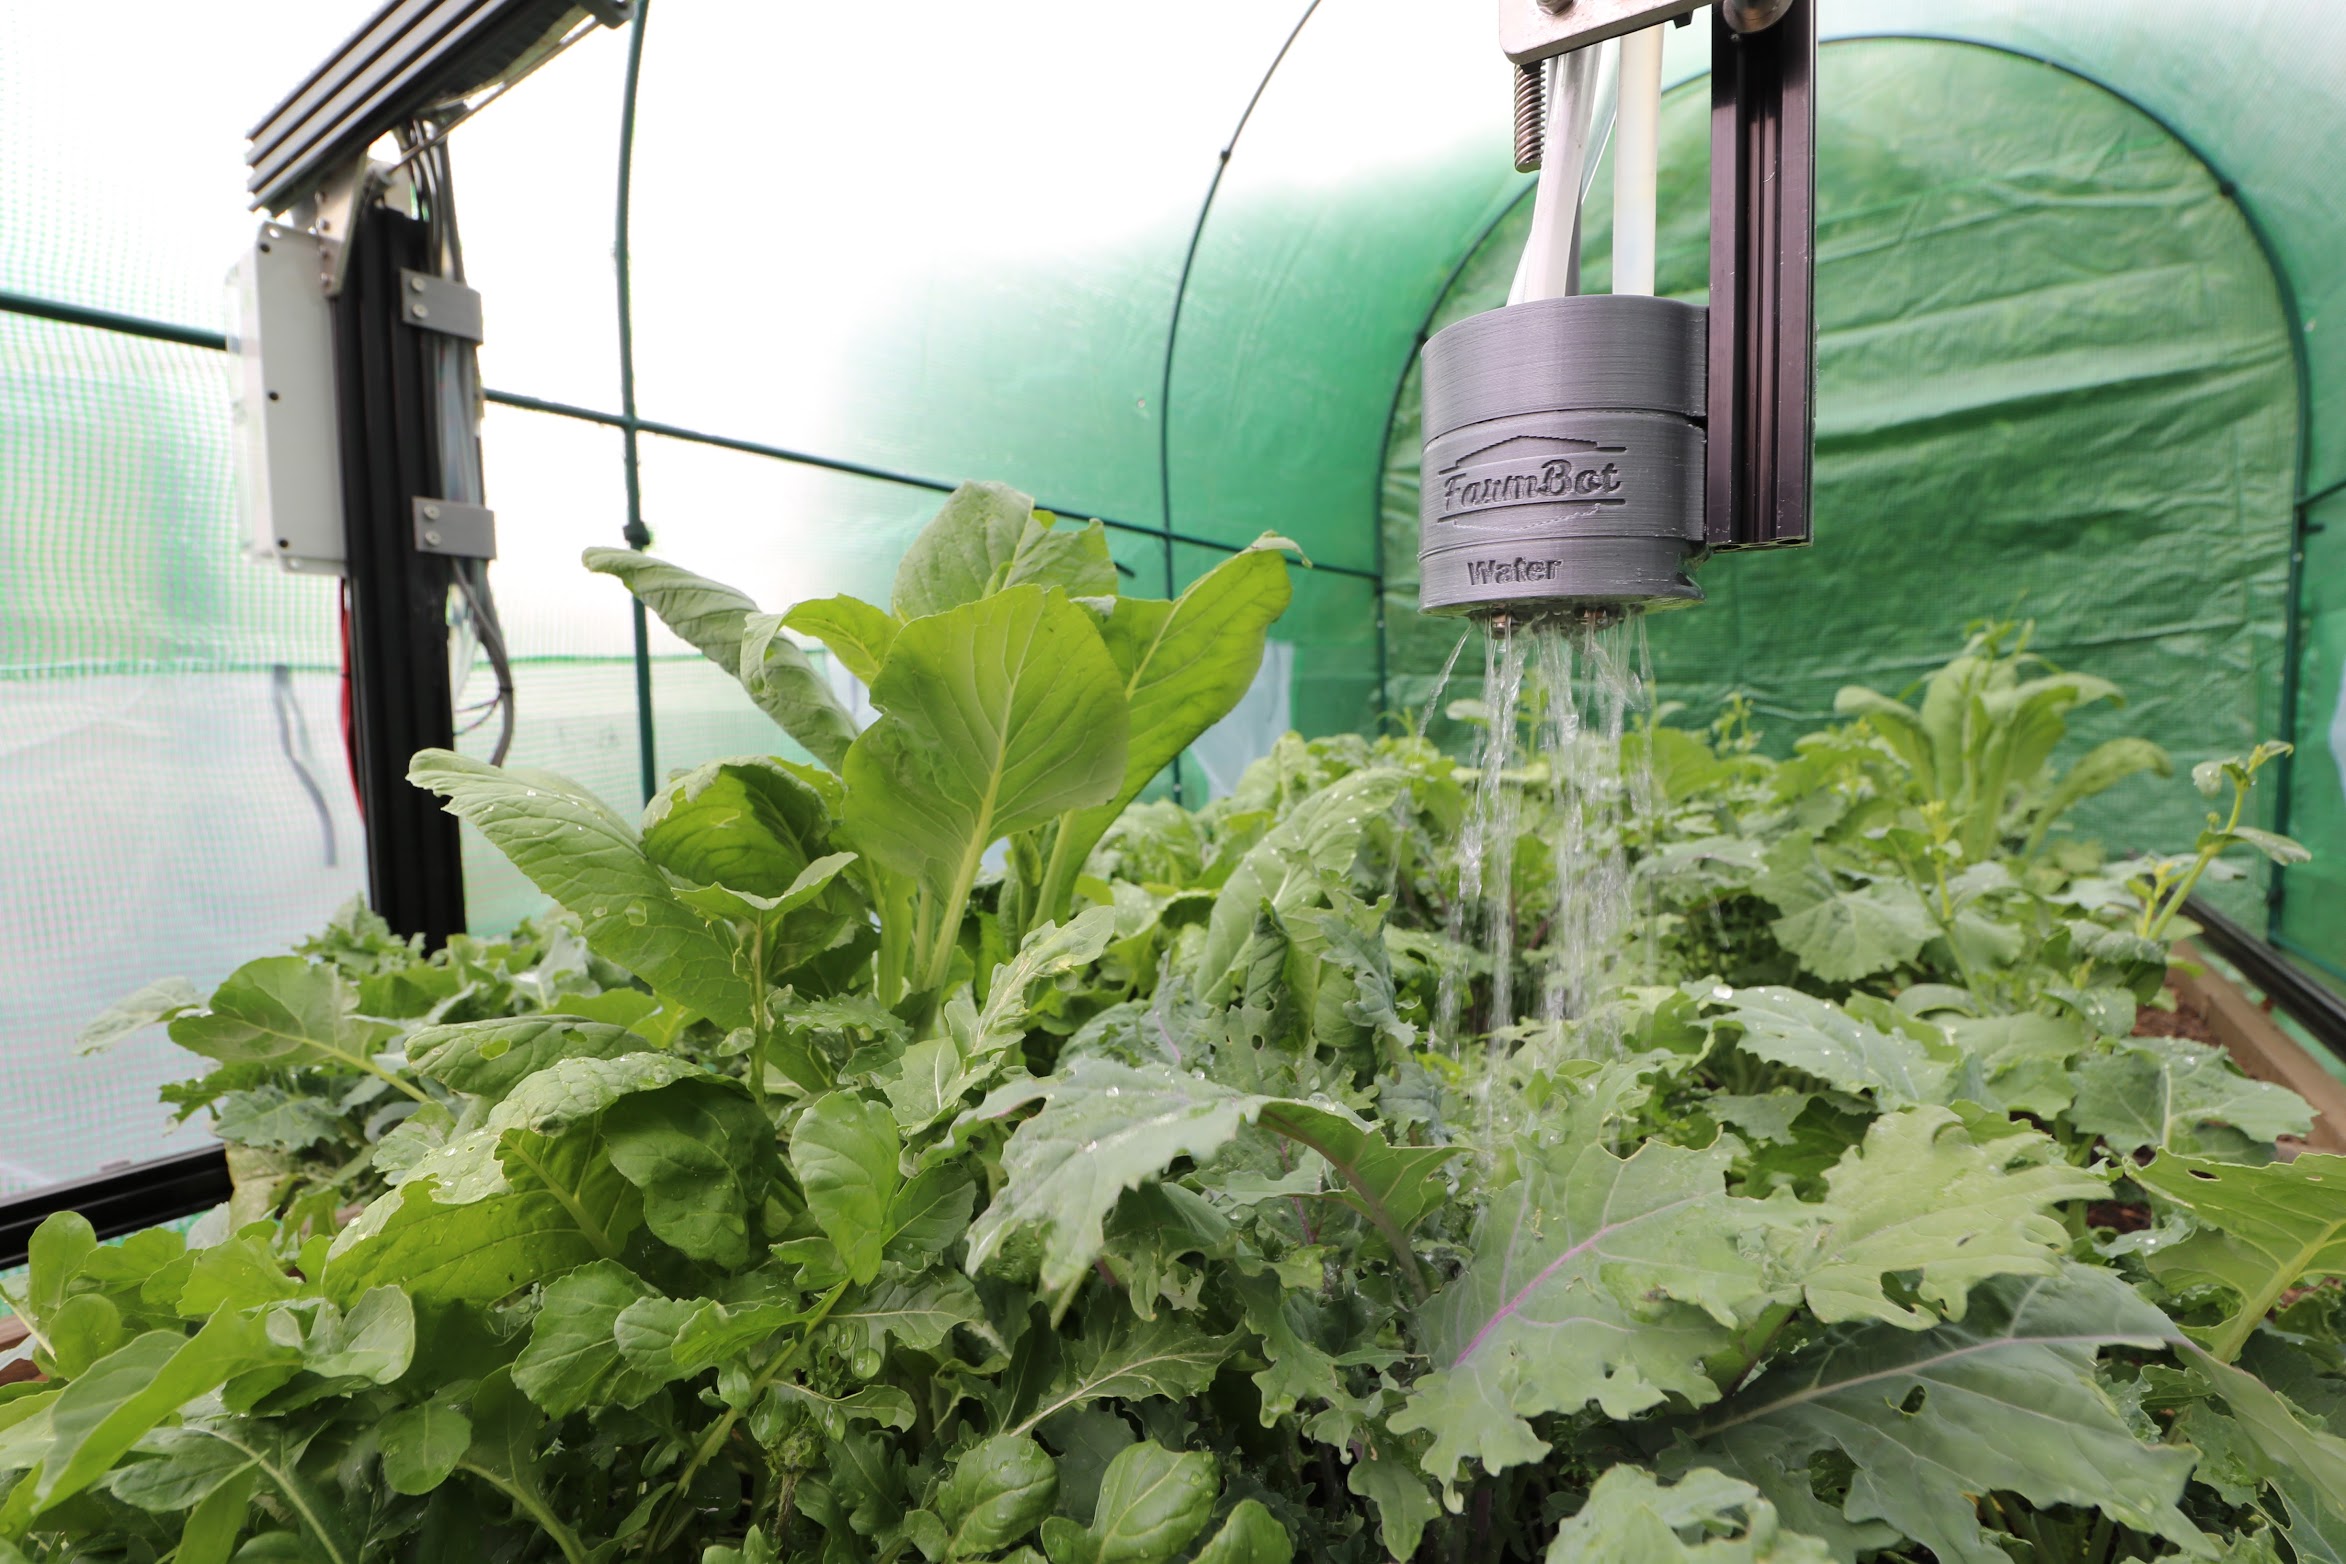
Pre-assembled for your convenience
As of the v1.6 hardware release, the watering nozzle tool comes pre-assembled. In the next steps we’ll hook up the rest of FarmBot’s watering system.
Step 1: Assemble the solenoid valve and pressure regulator
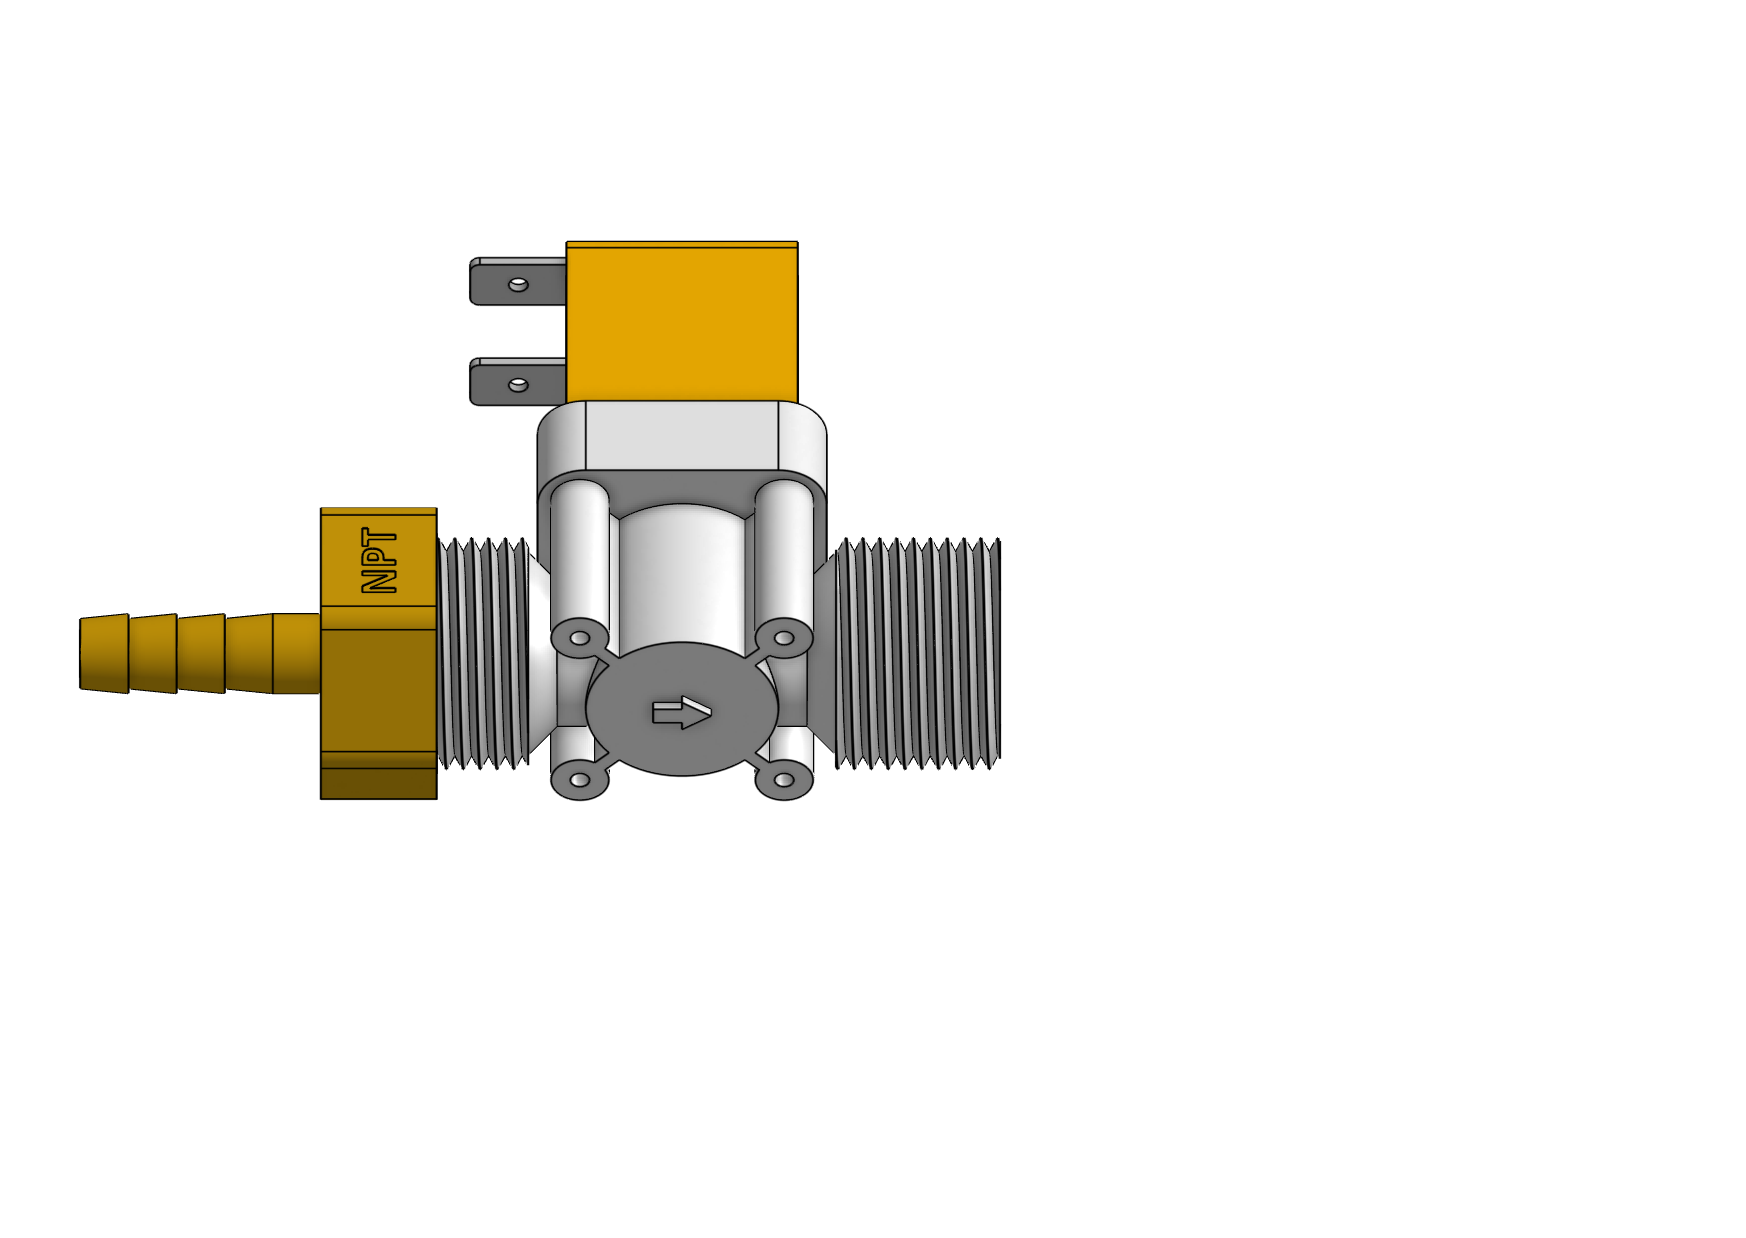
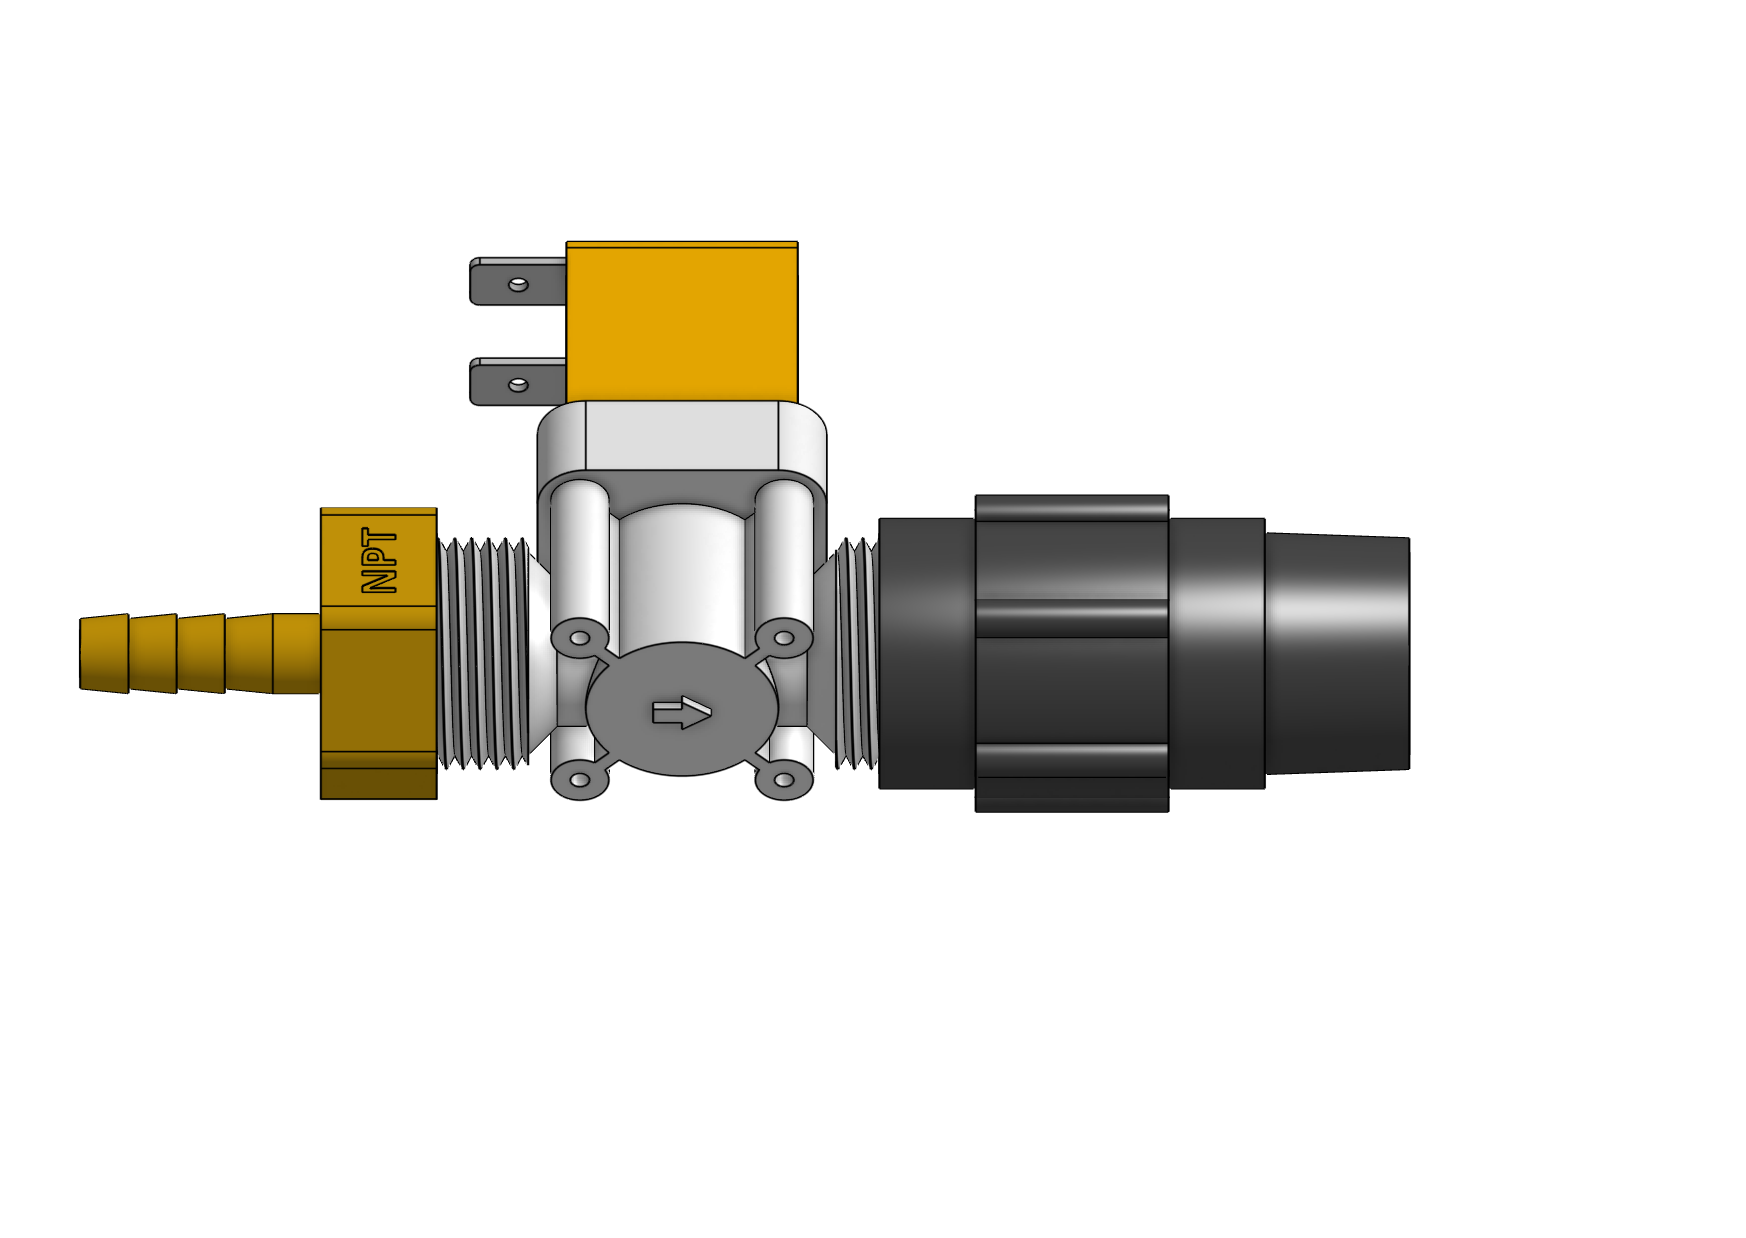
Insert rubber gaskets into the female ends of the pressure regulator, the garden hose to barb adapter, and both NPT to barb adapters. Then screw one of the NPT to barb adapters onto the solenoid valve inlet, the pressure regulator onto the solenoid valve outlet, and the second NPT to barb adapter onto the pressure regulator. The inlet and outlet are denoted by the arrow on the solenoid valve.
Note that the garden hose to barb adapter and NPT to barb adapters look very similar. If the threads don’t engage correctly, you may have grabbed the wrong adapter.
Solenoid valve electrical terminals may vary
Depending on the prodution run of your FarmBot kit, your solenoid valve’s electrical terminals may be pointed in the same direction or the opposite direction as the arrow indicating the direction of water flow. When performing the following assembly steps, the water flow arrow should point towards the pressure regulator, and then up towards the sky once mounted on the gantry column. The direction of the electrical terminals does not matter and will vary from kit to kit.

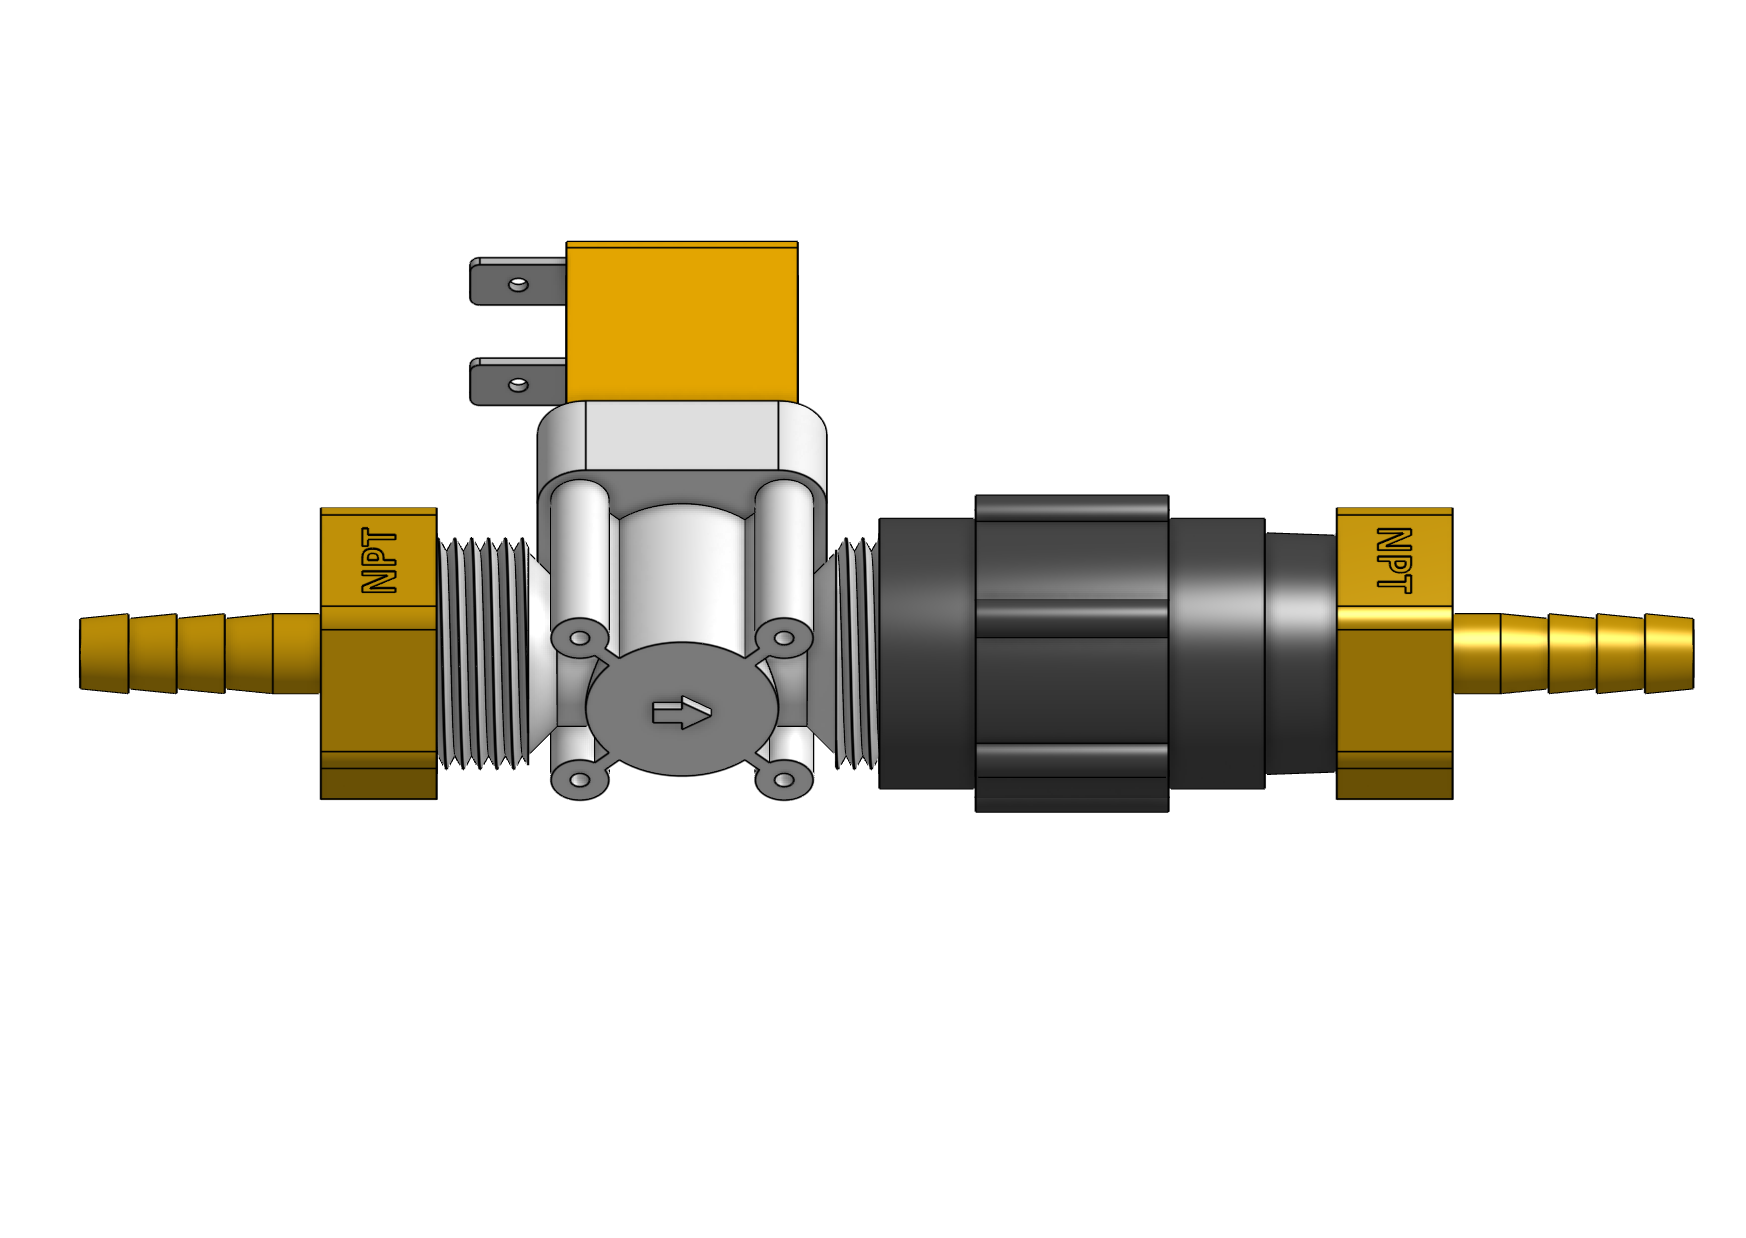
Step 2: Attach the solenoid valve
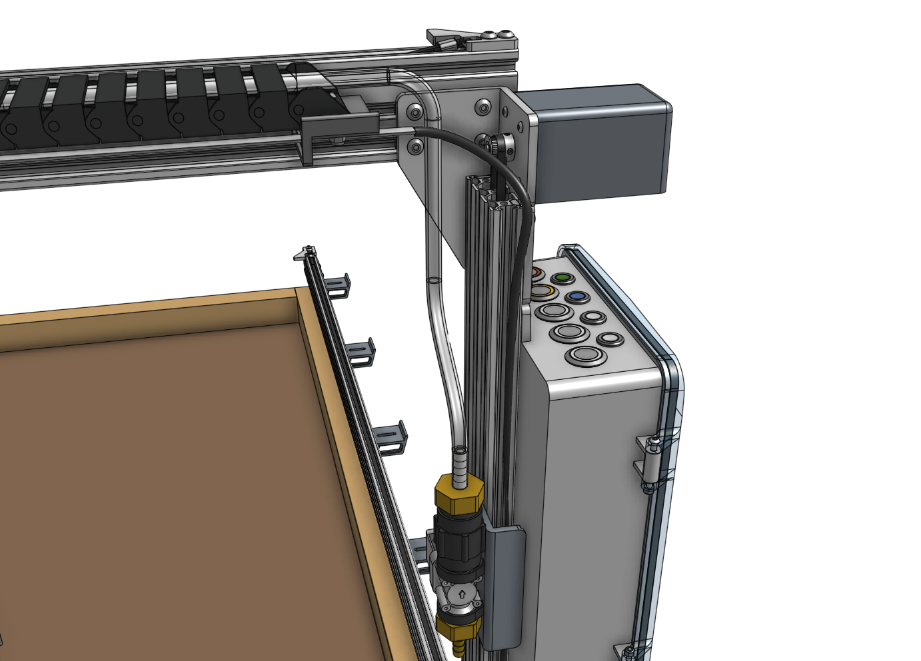
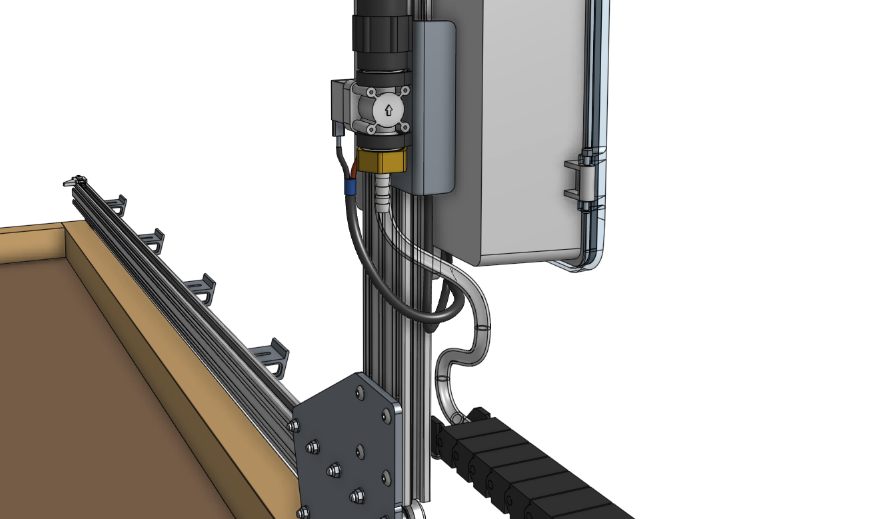
Attach the solenoid valve to the solenoid valve mount using two 200mm zip ties. Then attach the solenoid valve mount to the left gantry column using two M5 x 10mm screws and tee nuts. Cables should be routed between the mount and the box.
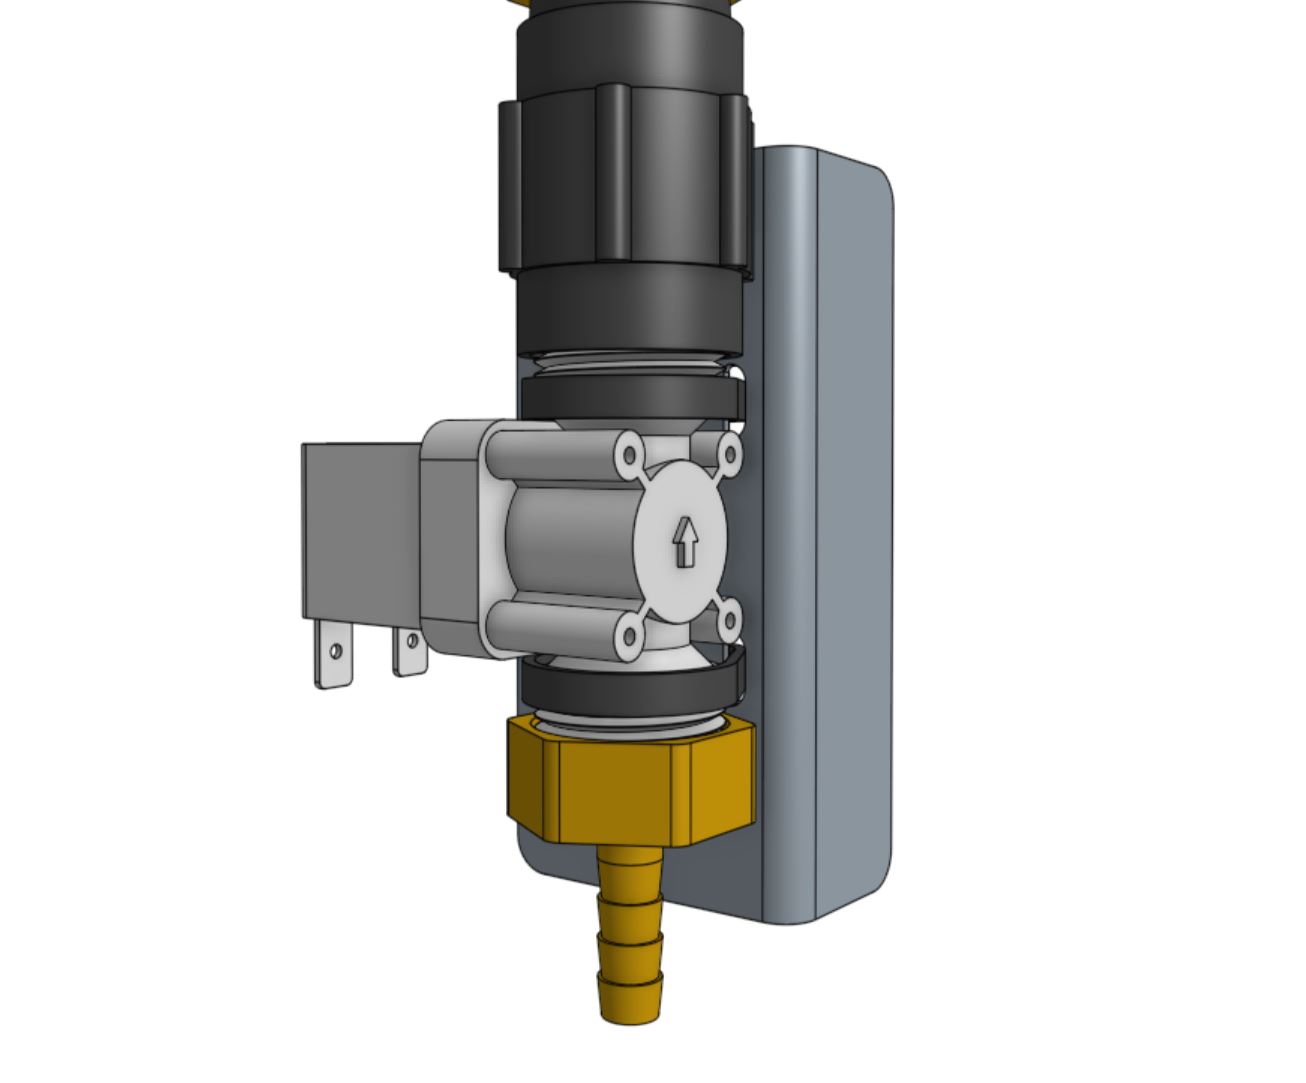

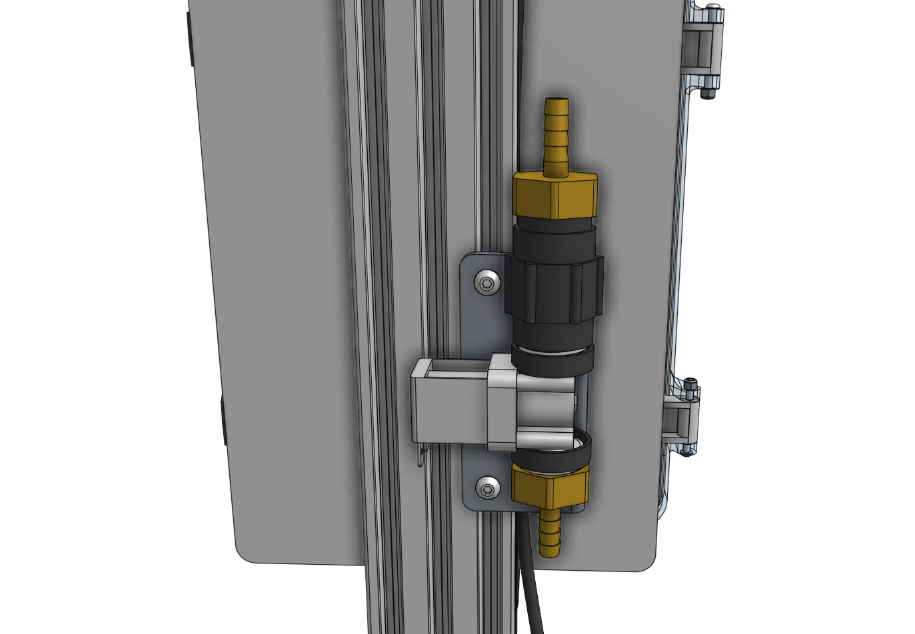
Step 3: Wire up the solenoid valve
Connect the solenoid valve cable to the solenoid valve terminals. Note: in a few steps from now, you will connect the other end of the cable to the Farmduino.
Do the quick-connect terminals not fit?
Regretfully, some kits that shipped in August of 2022 included a solenoid valve cable with quick-connect terminals that are too small to fit onto the electrical tabs of the solenoid valve. If your cable does not fit, there should be two quick connect terminals of the correct size in a small plastic bag (shown below) that you can easily attach onto the cable with just a pair of scissors and needle nose pliers. Please refer to this troubleshooting document for how to fix the solenoid valve cable in about 5 minutes.
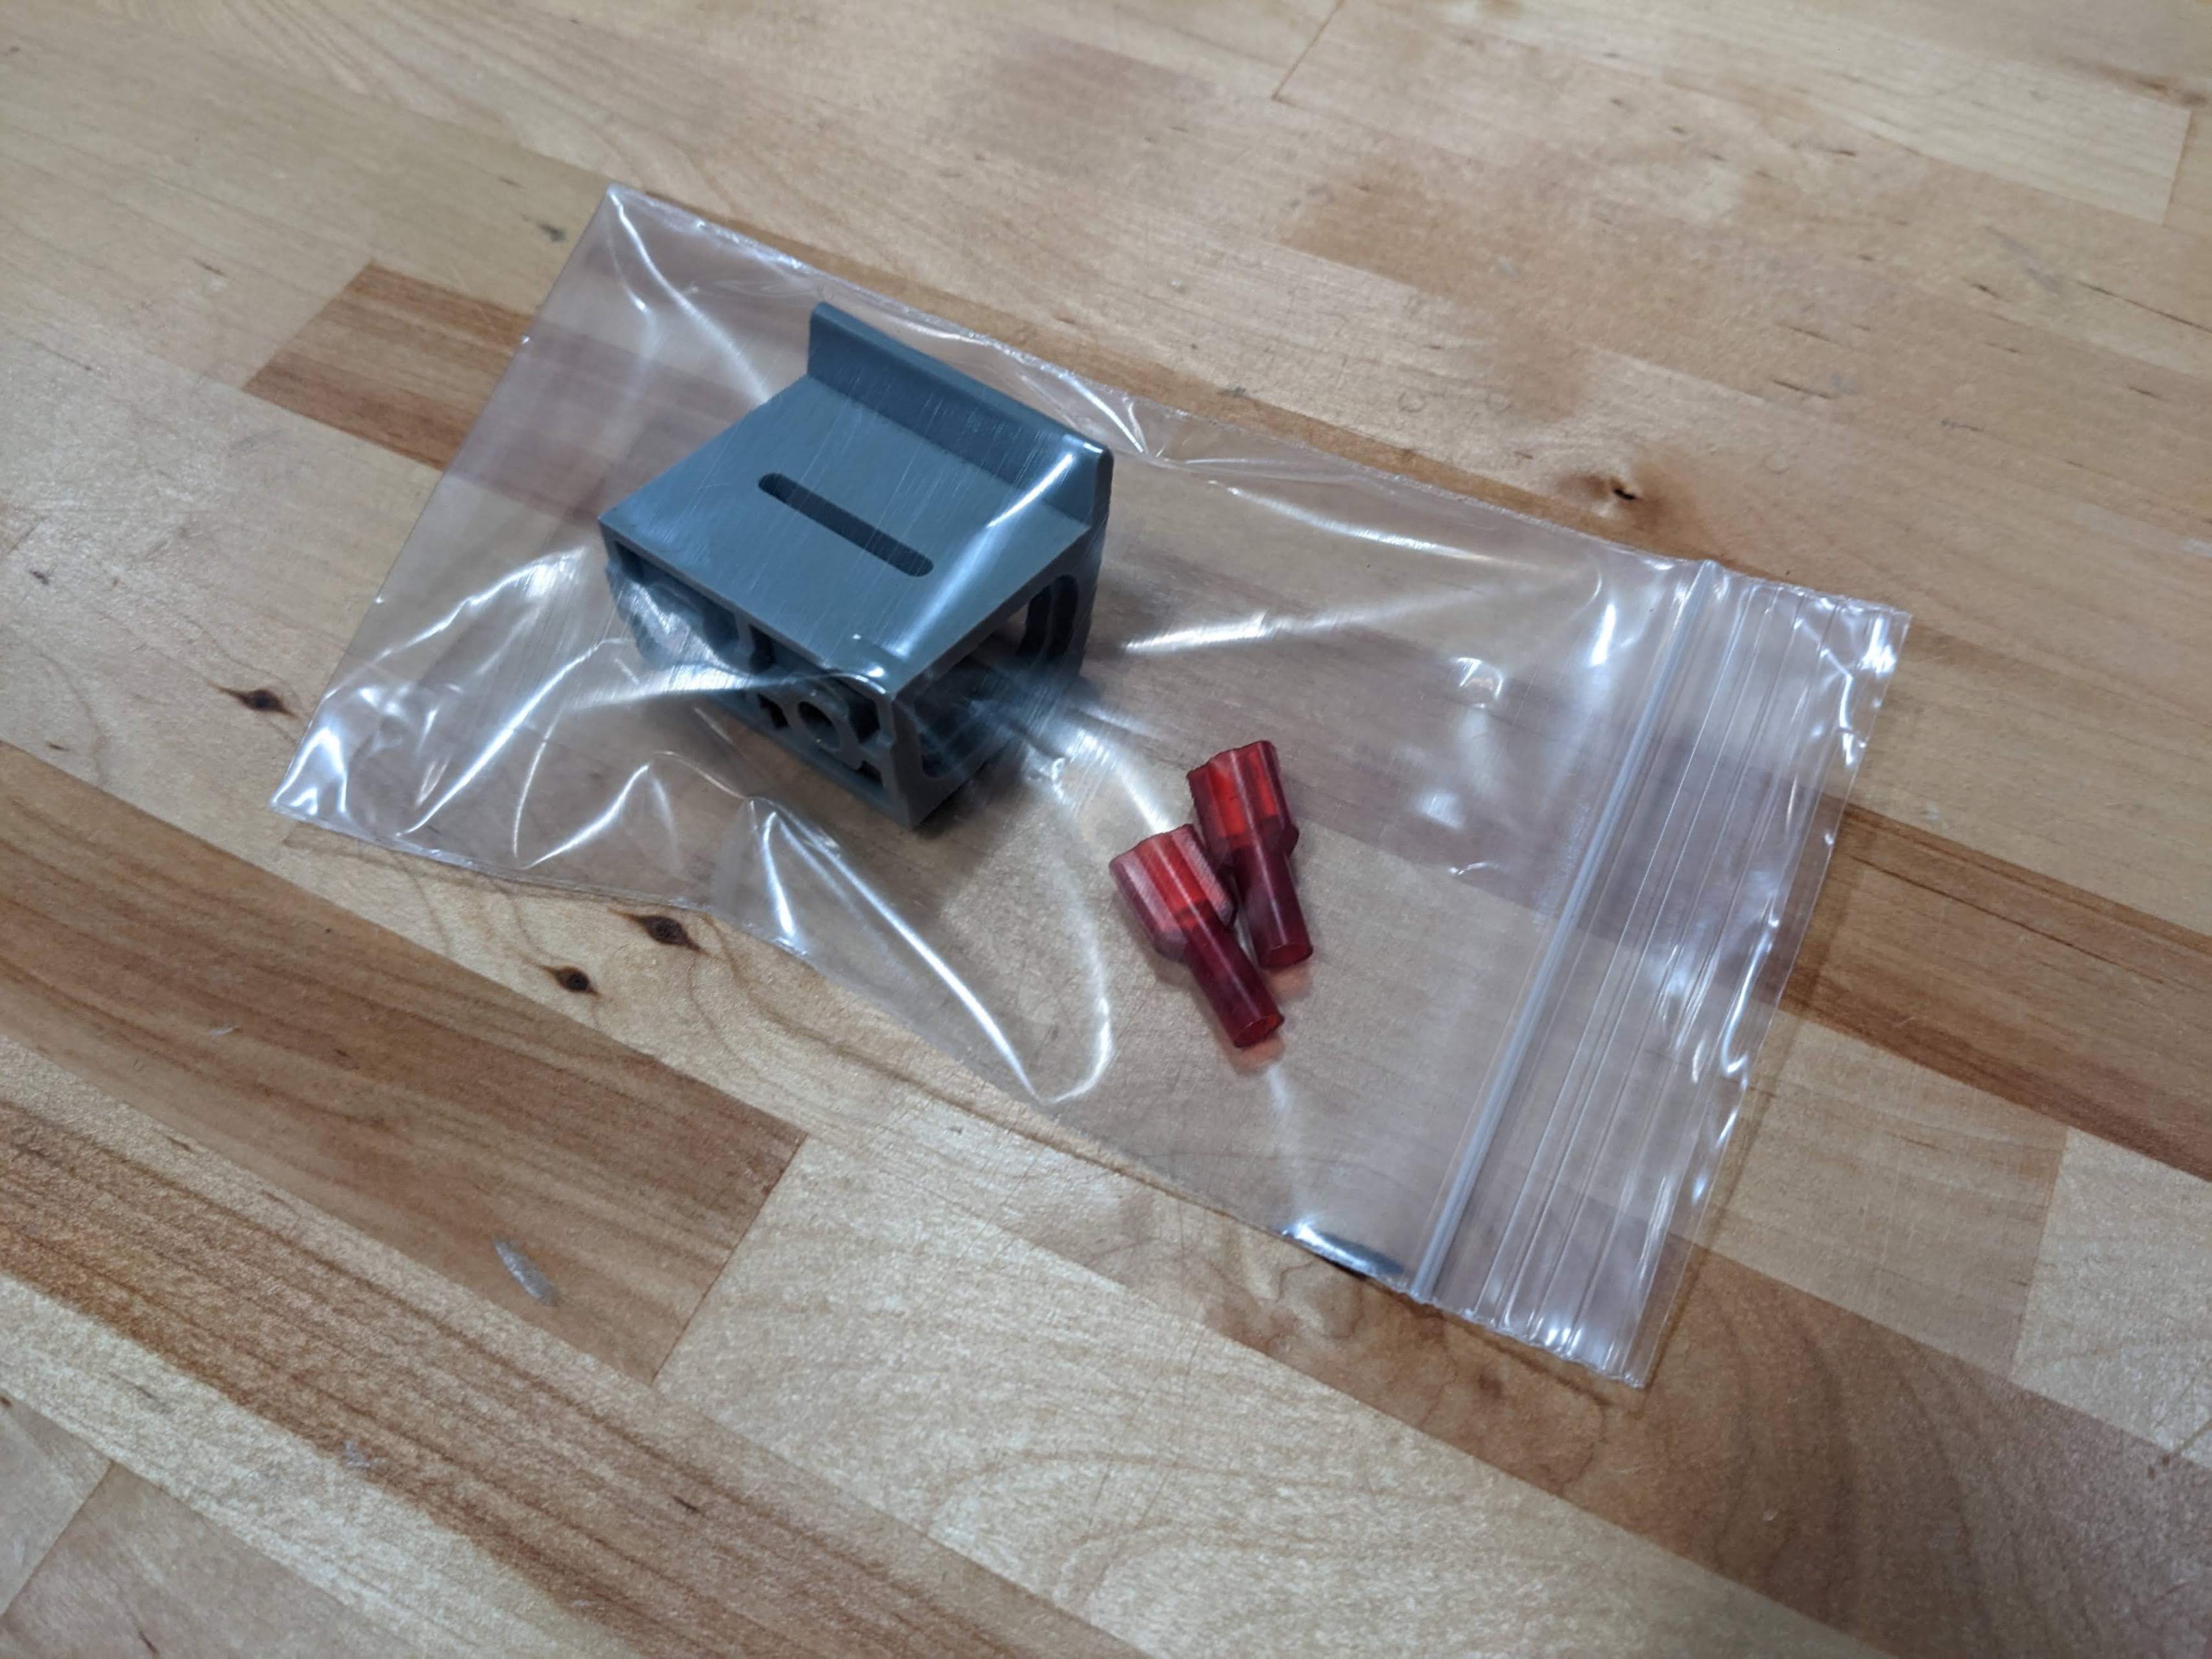
If you are not comfortable modifying the cable yourself or do not have correct tools to do so, please email us at contact@farm.bot with your original order number to request a free replacement. We apologize for this inconvenience.
Step 4: Connect the tubing
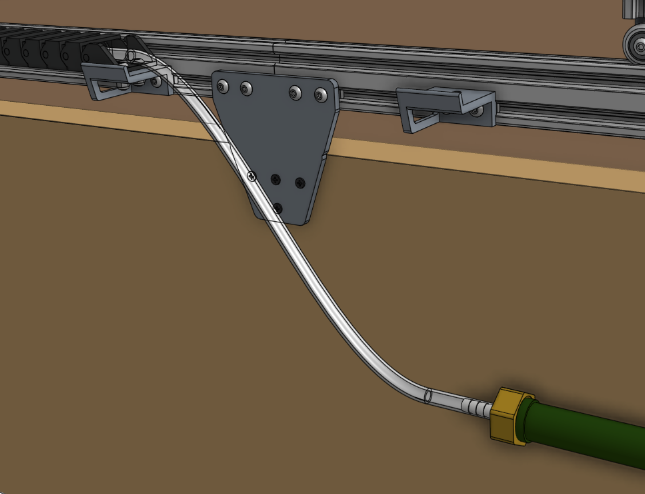
Push the water tube coming from the y-axis cable carrier onto the upper NPT to barb adapter. Then push the water tube coming from the x-axis cable carrier (where it is mounted to the gantry) onto the lower NPT to barb adapter.

Step 5: Connect FarmBot to the water source
Screw the garden hose to barb adapter onto the garden hose. Note that you will need to provide a garden hose of the appropriate length to connect FarmBot to your municipal water source - one is not provided with the FarmBot kits. Then push the water tube coming from the bottom of the x-axis cable carrier onto the barb.
