Solenoid Valve Cable Fix
Some kits that shipped in August of 2022 included a solenoid valve cable with quick-connect terminals that are too small to fit onto the electrical tabs of the solenoid valve. If you encounter this issue, please follow these instructions to attach the correct terminals to your cable.
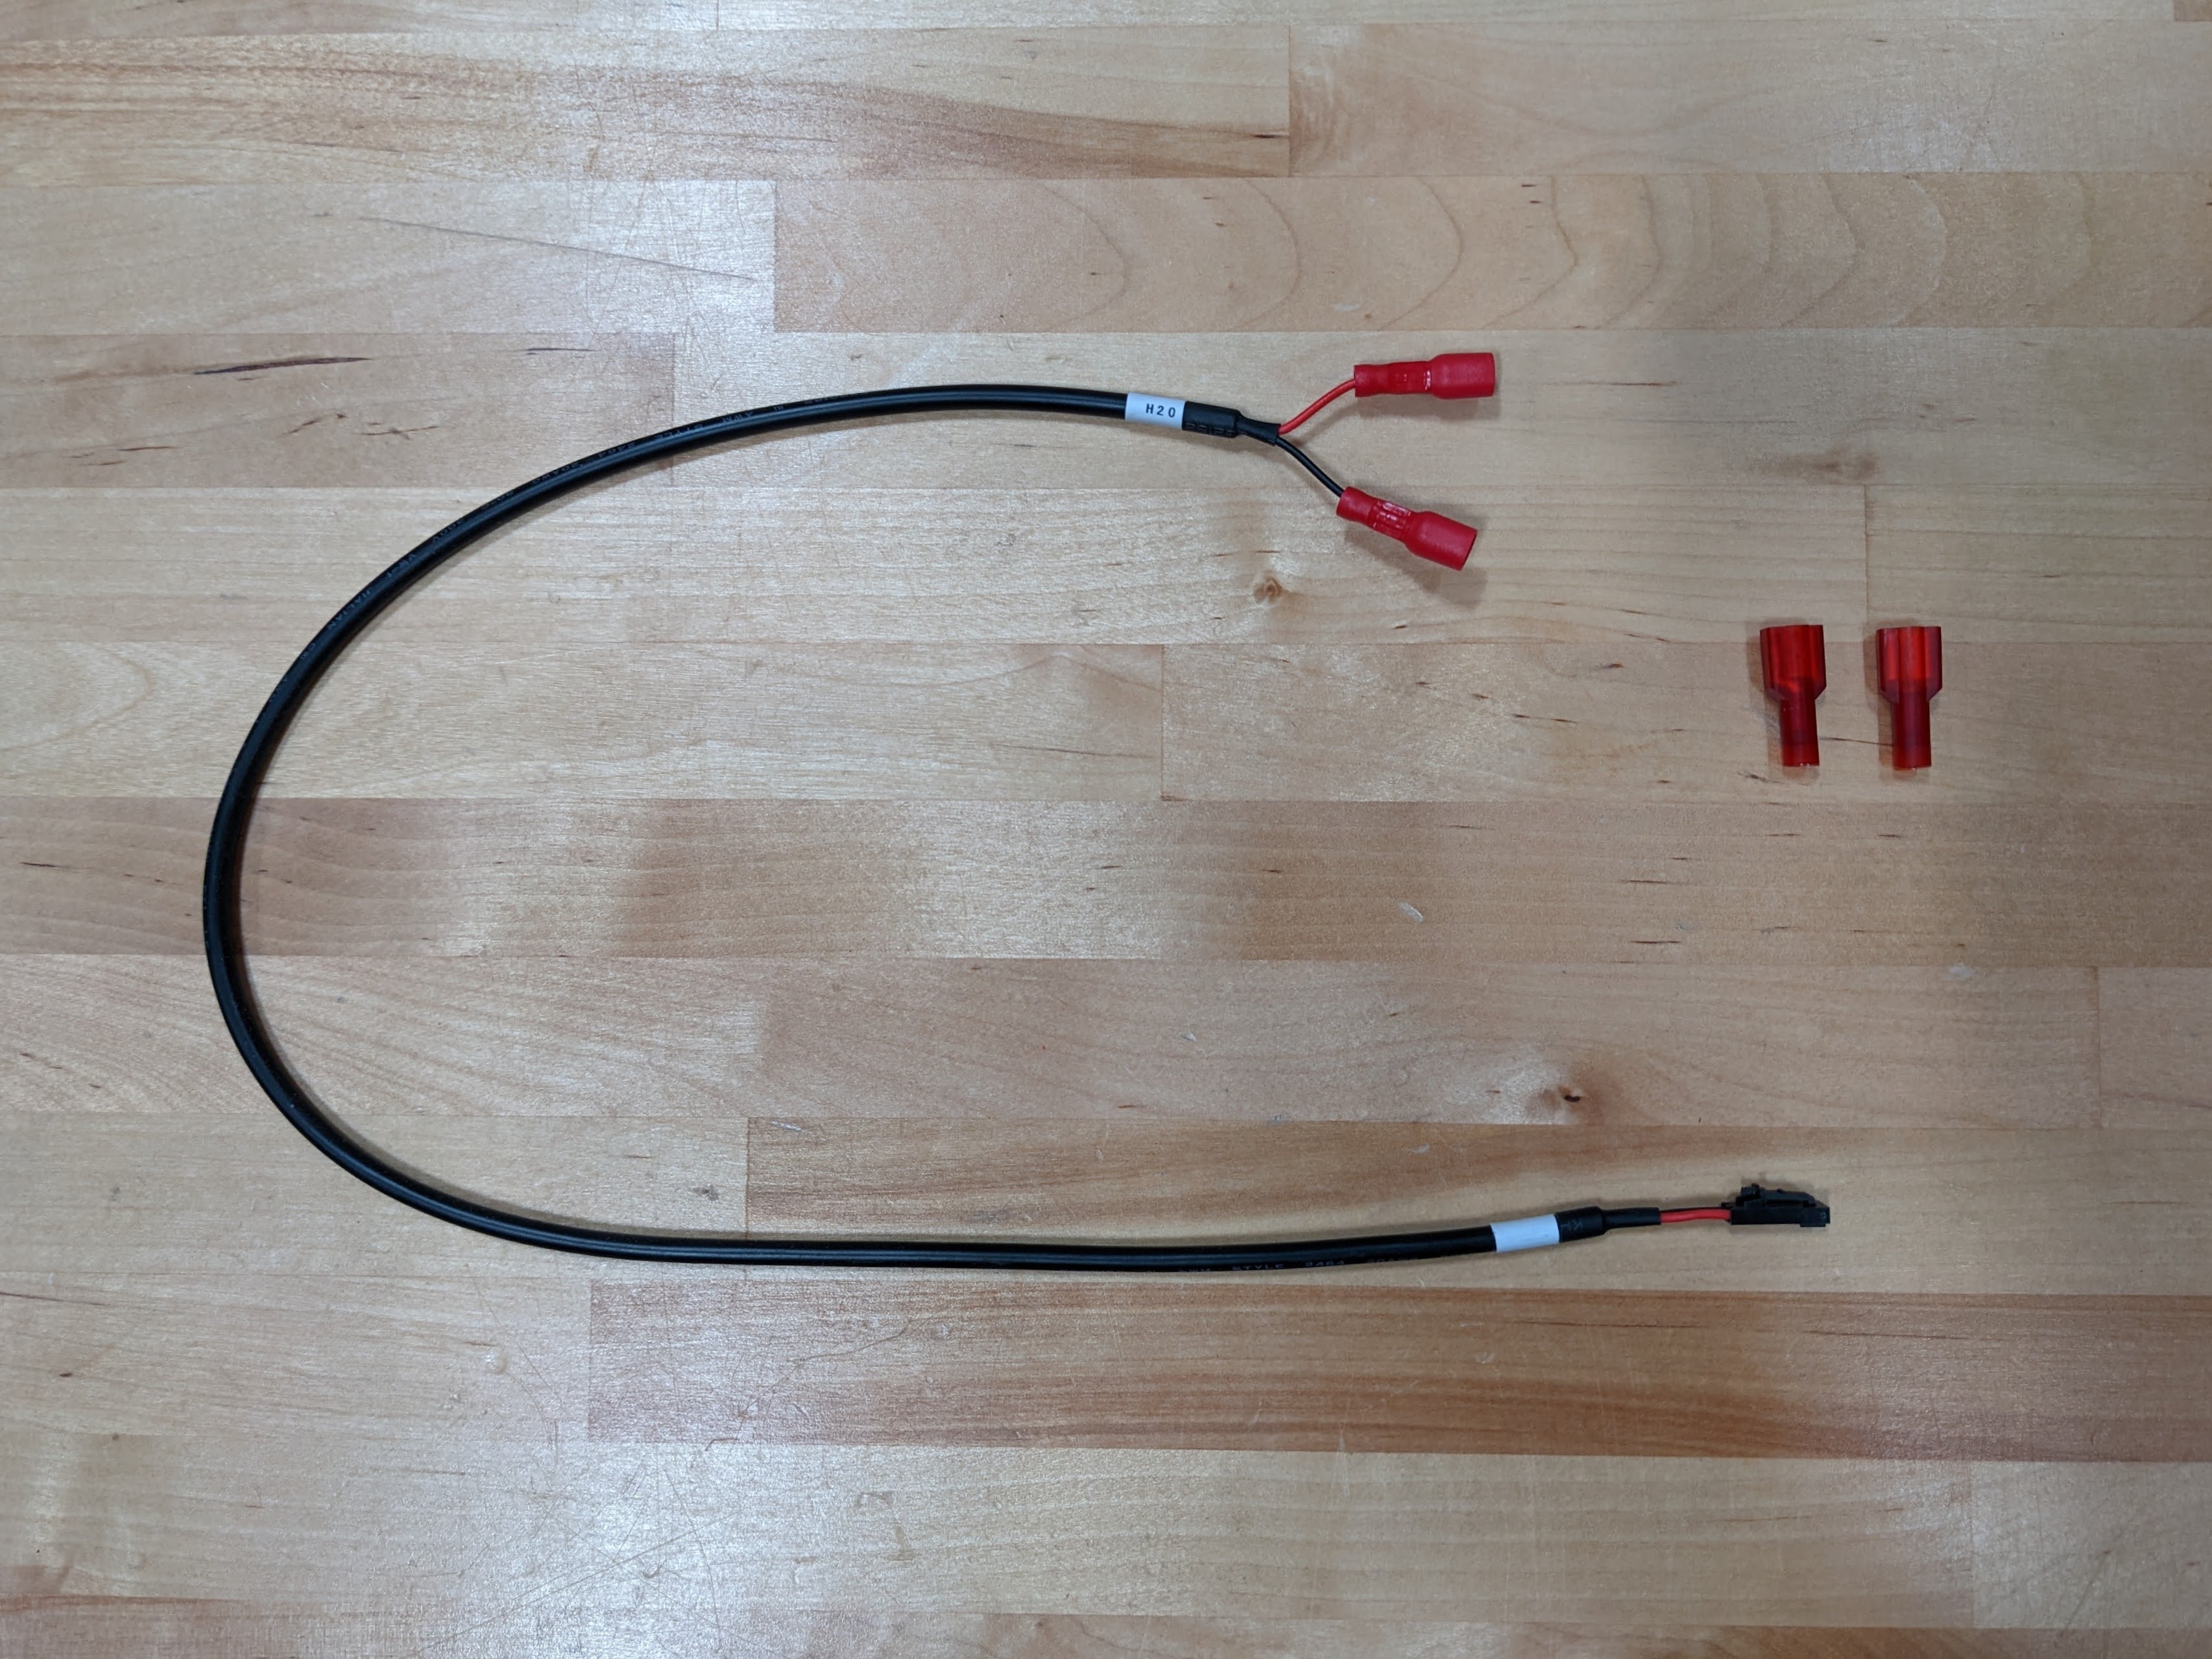
The replacement quick connect terminals are located in a small plastic bag.
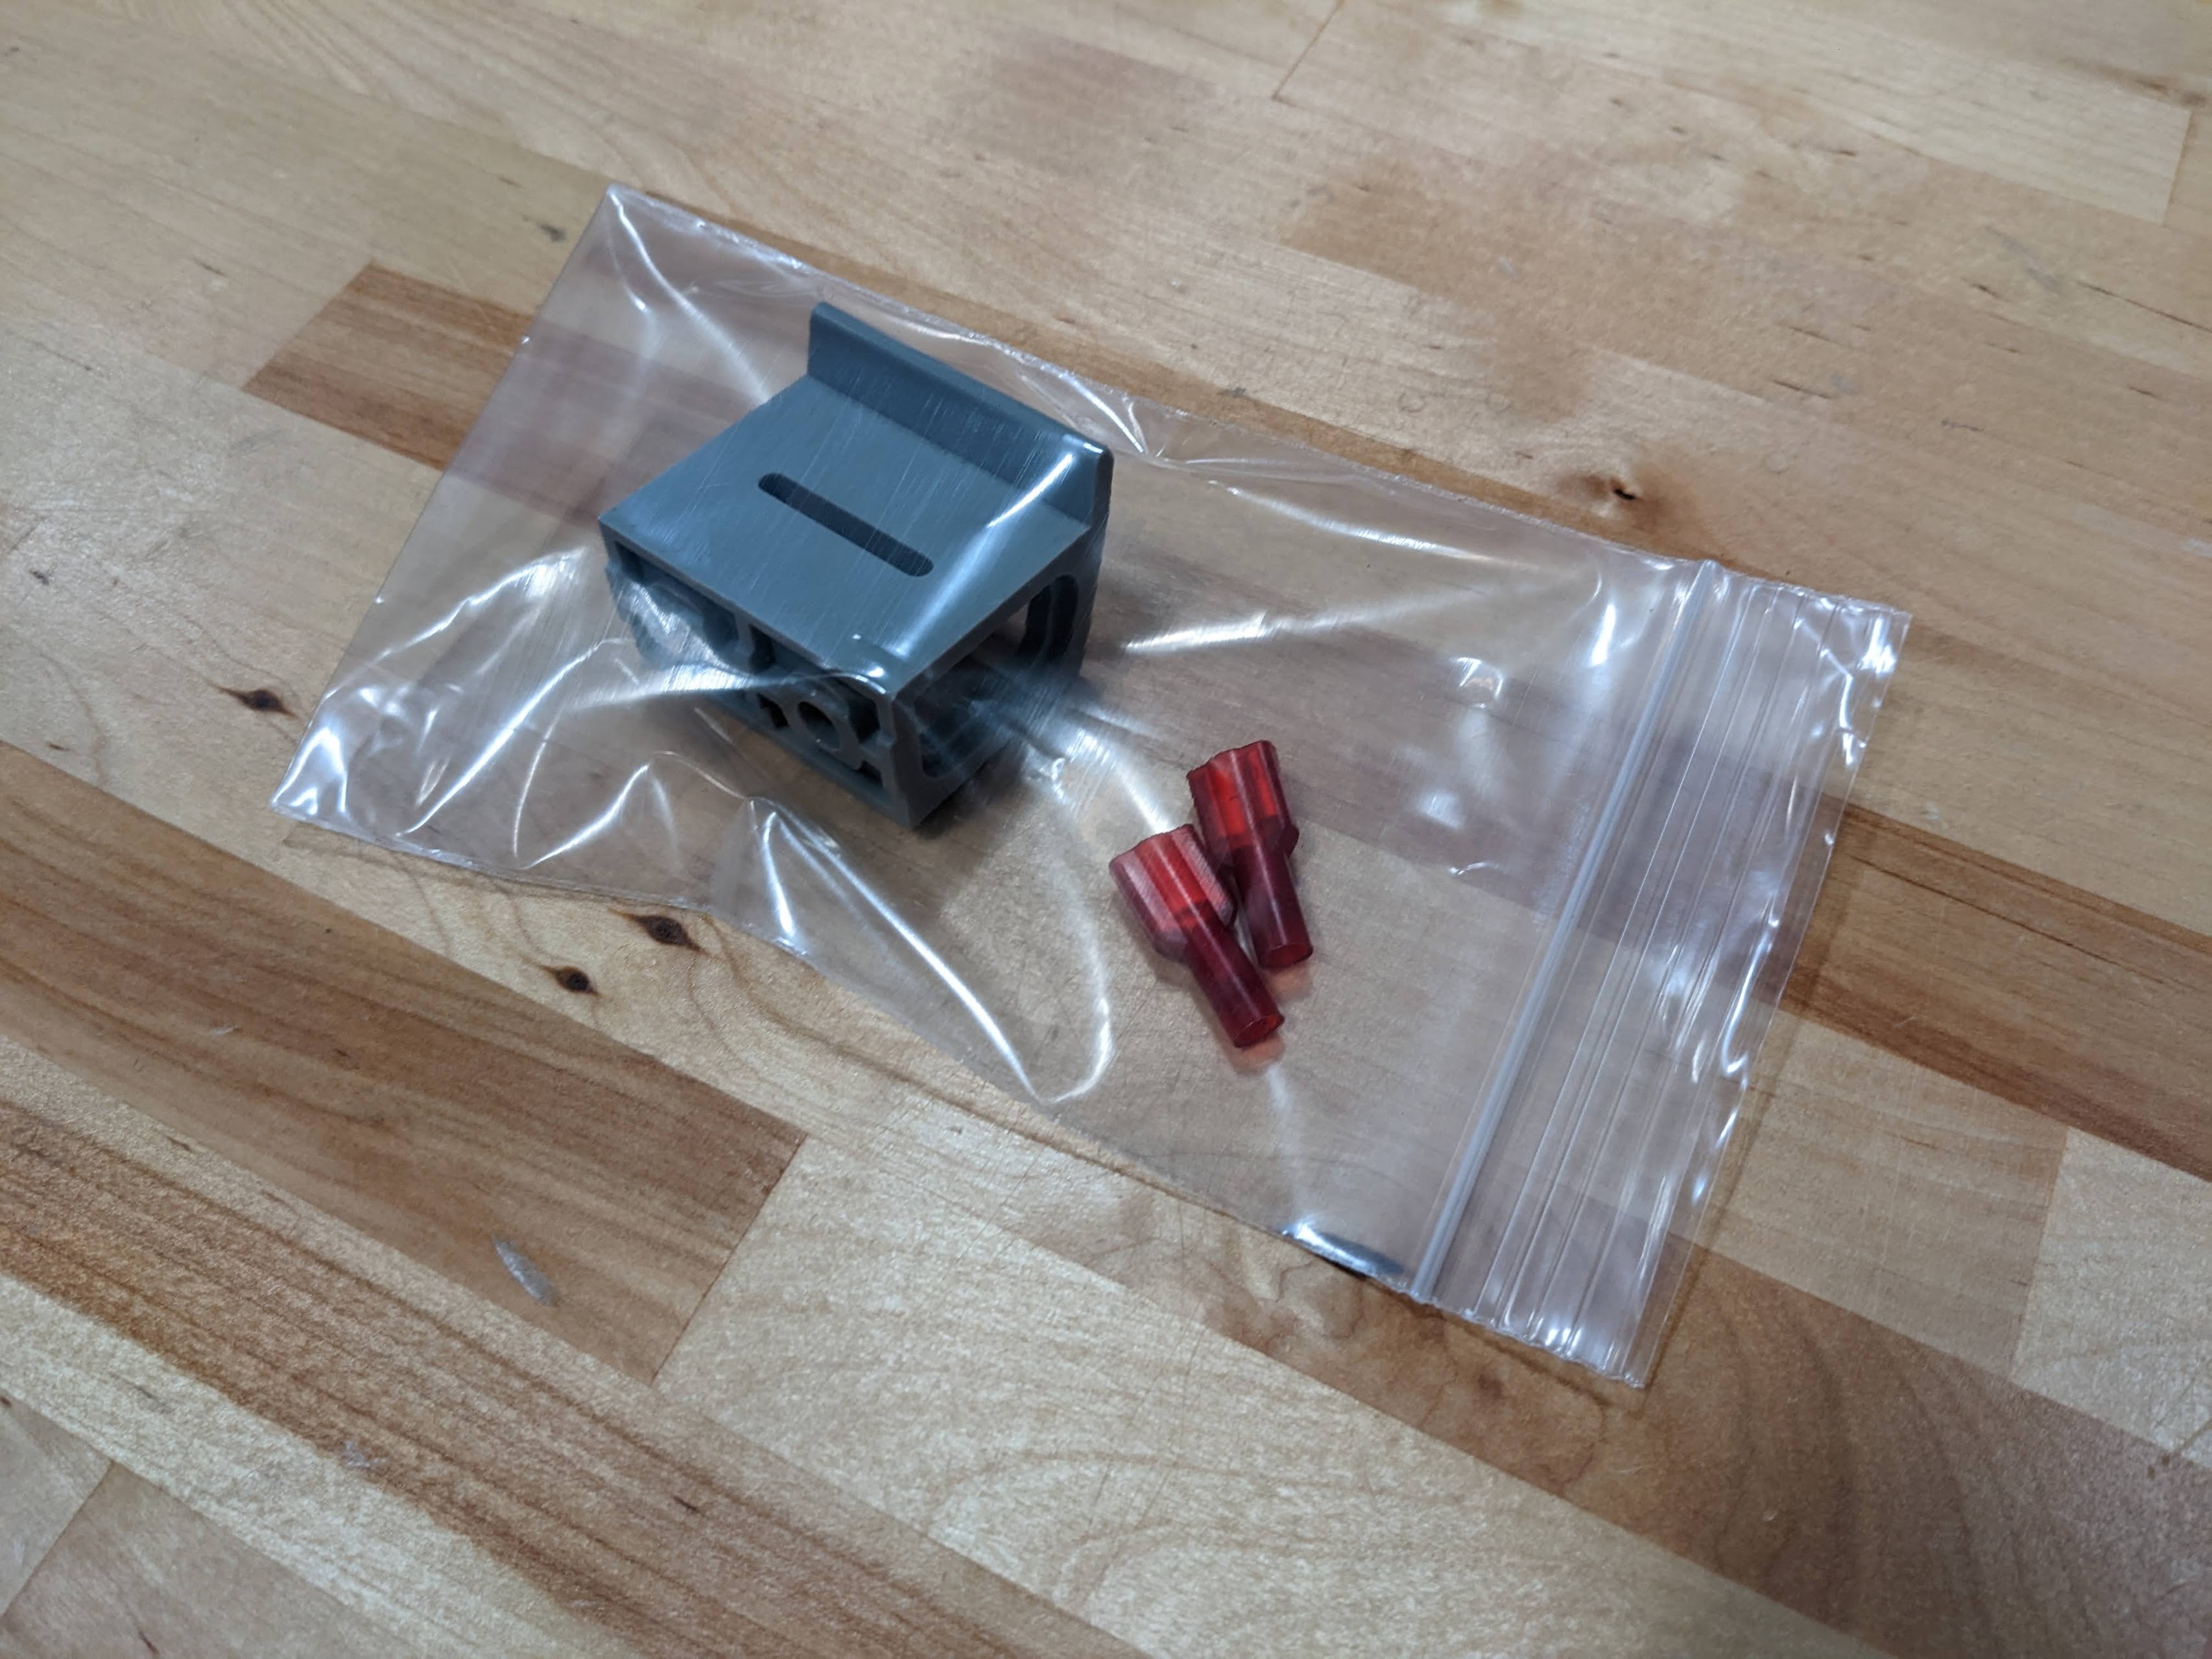
Step 1: Cut off the incorrect terminals
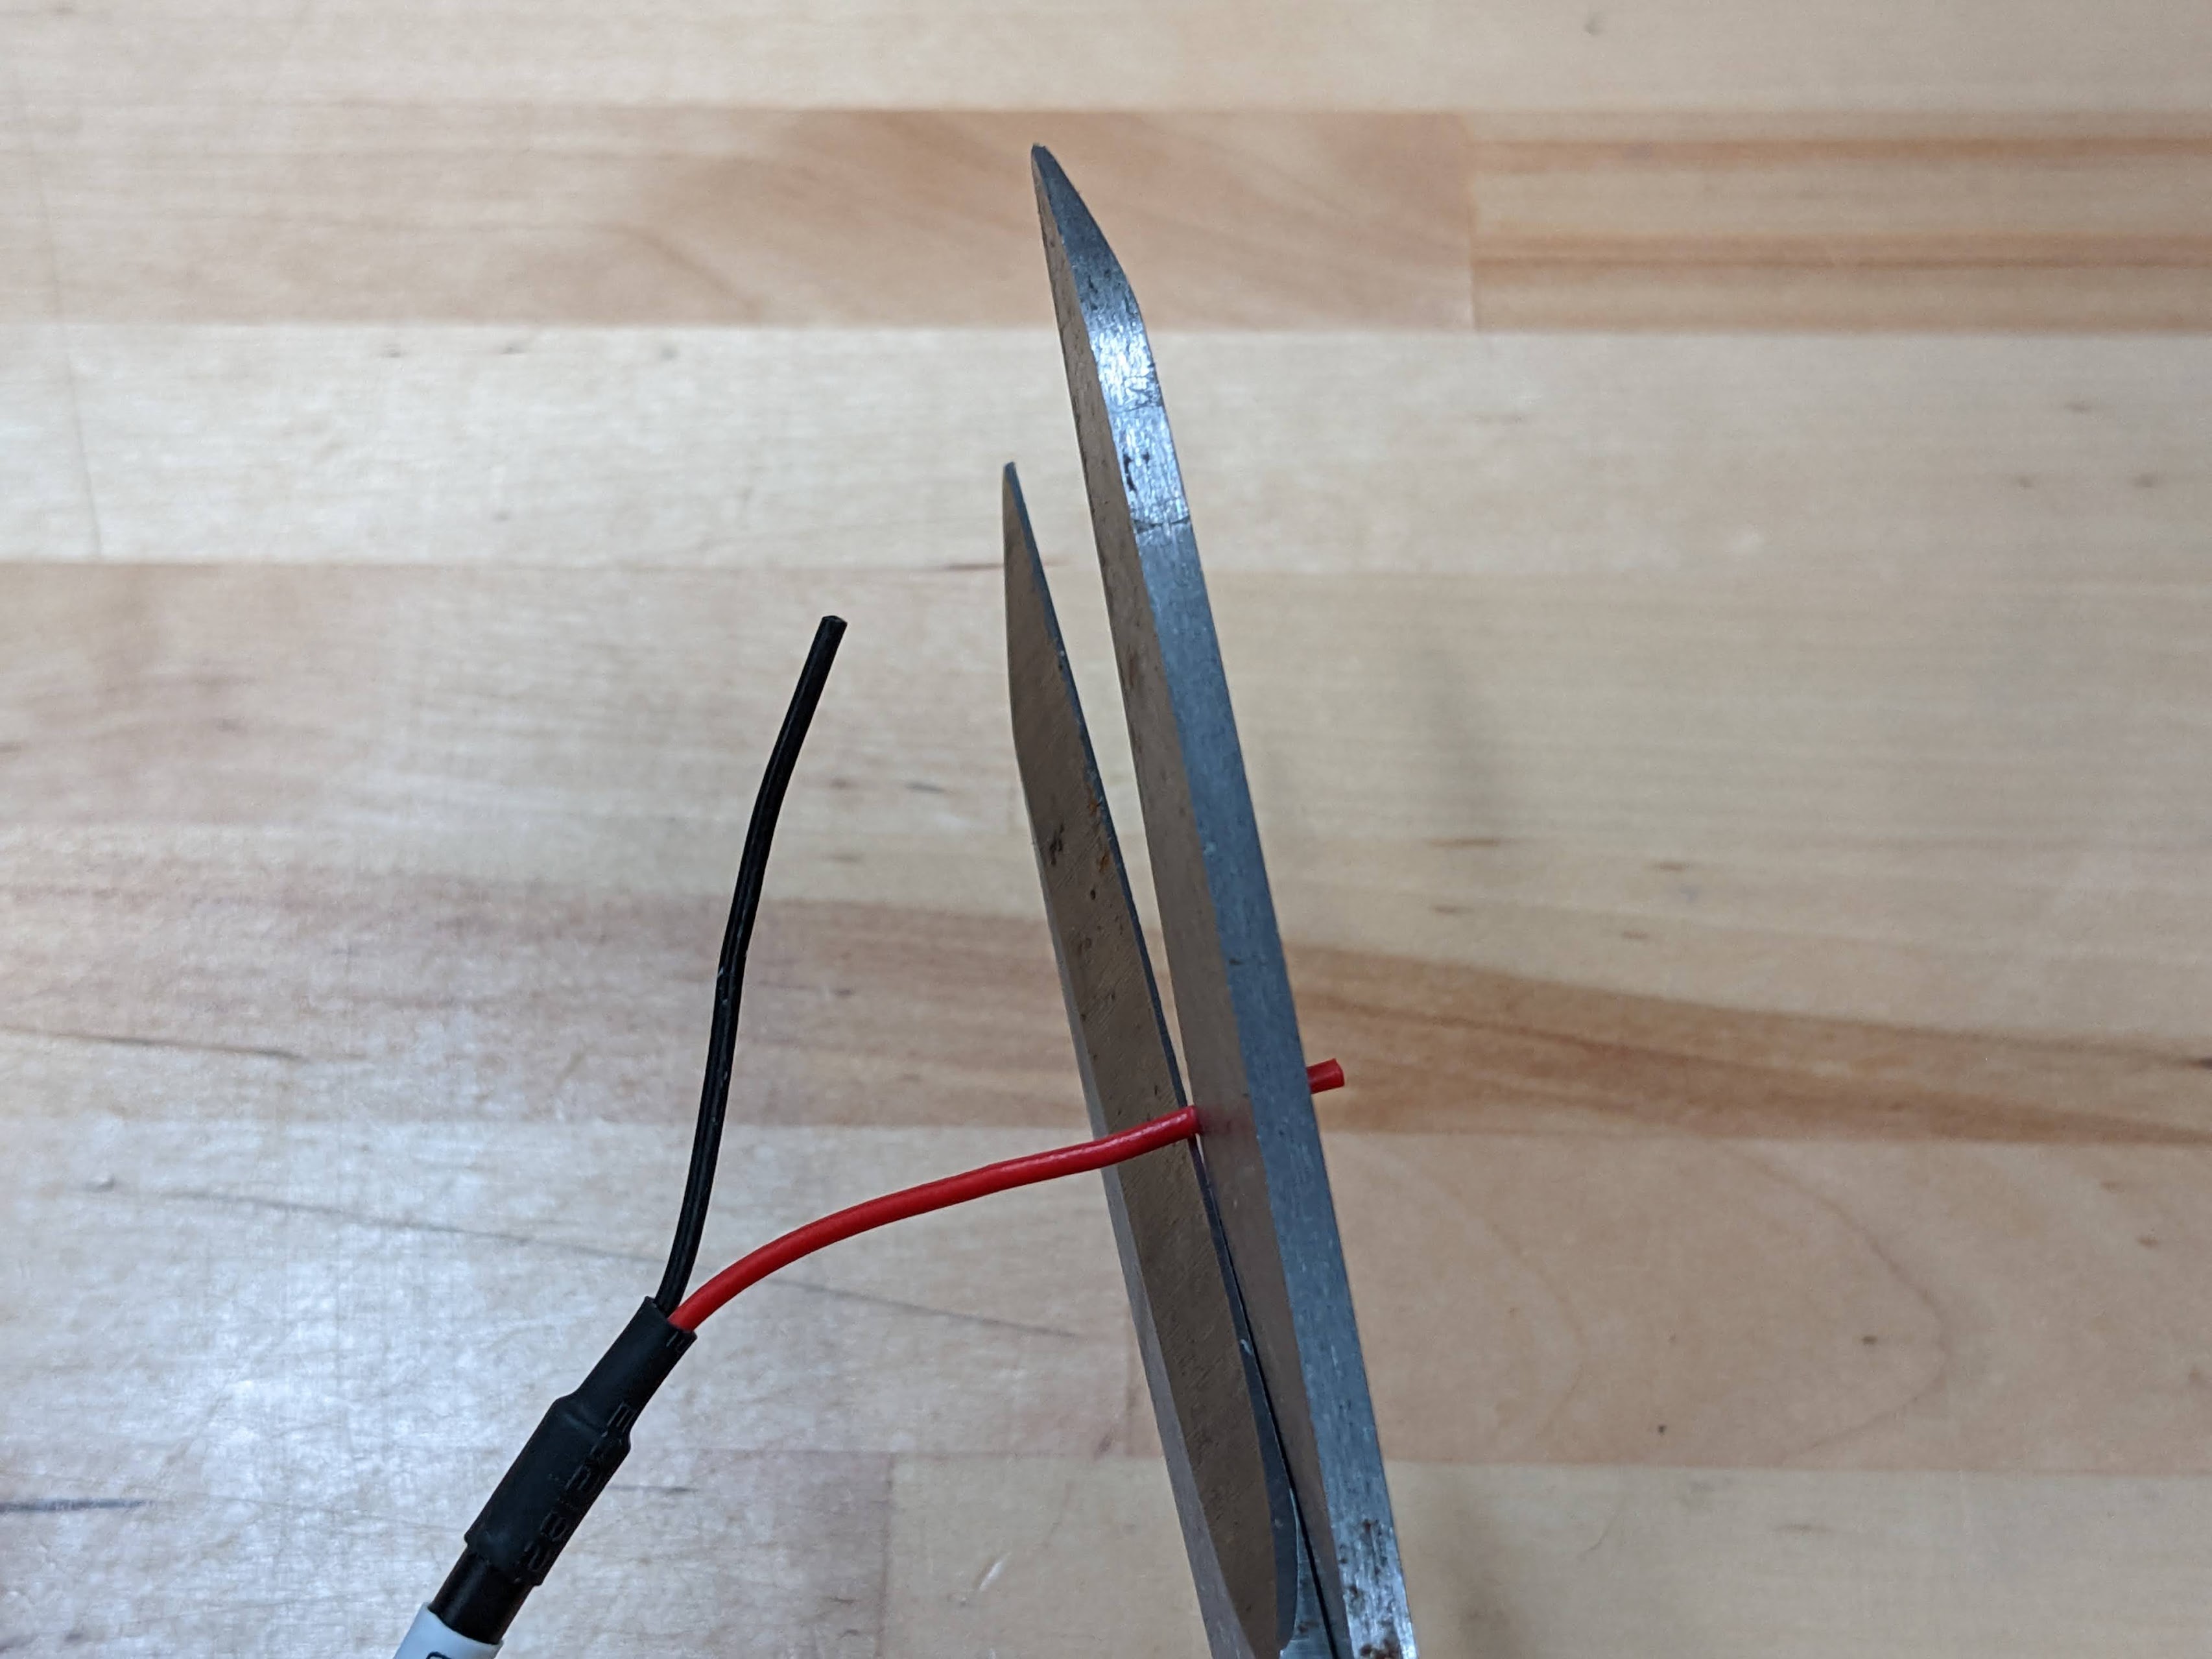
Use scissors to cut off the two incorrect terminals. Cut off as little wire as possible.
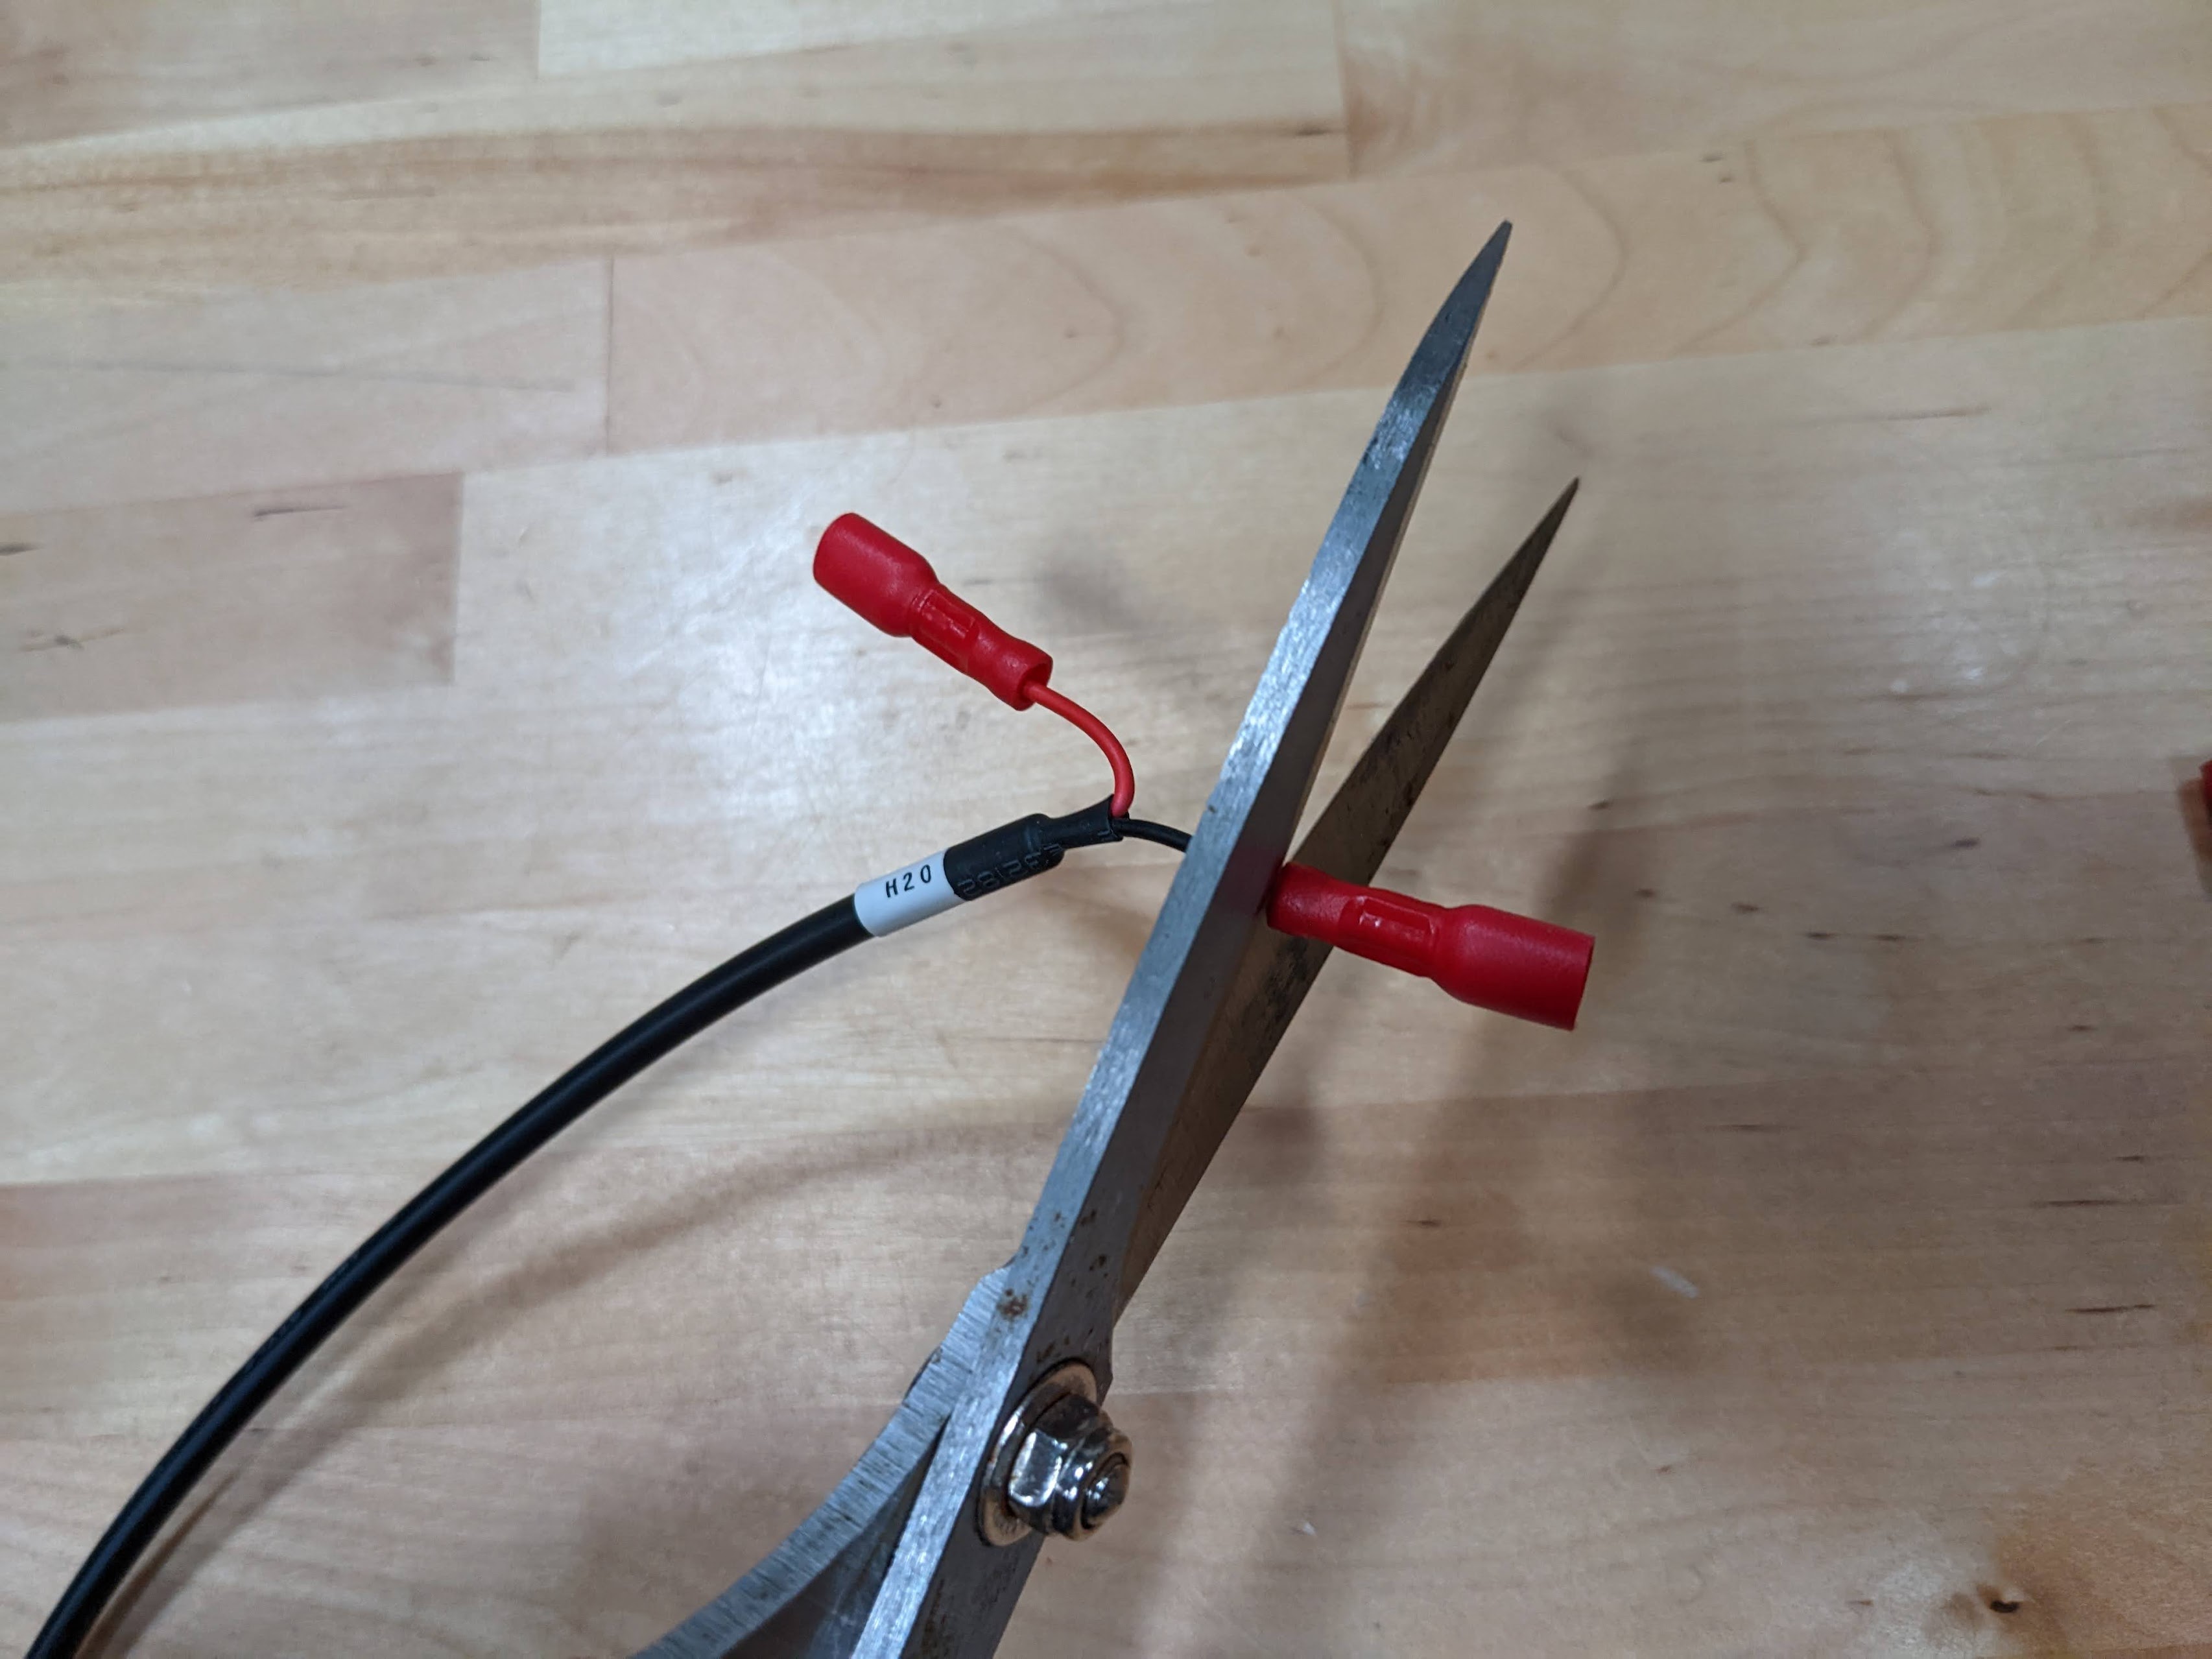
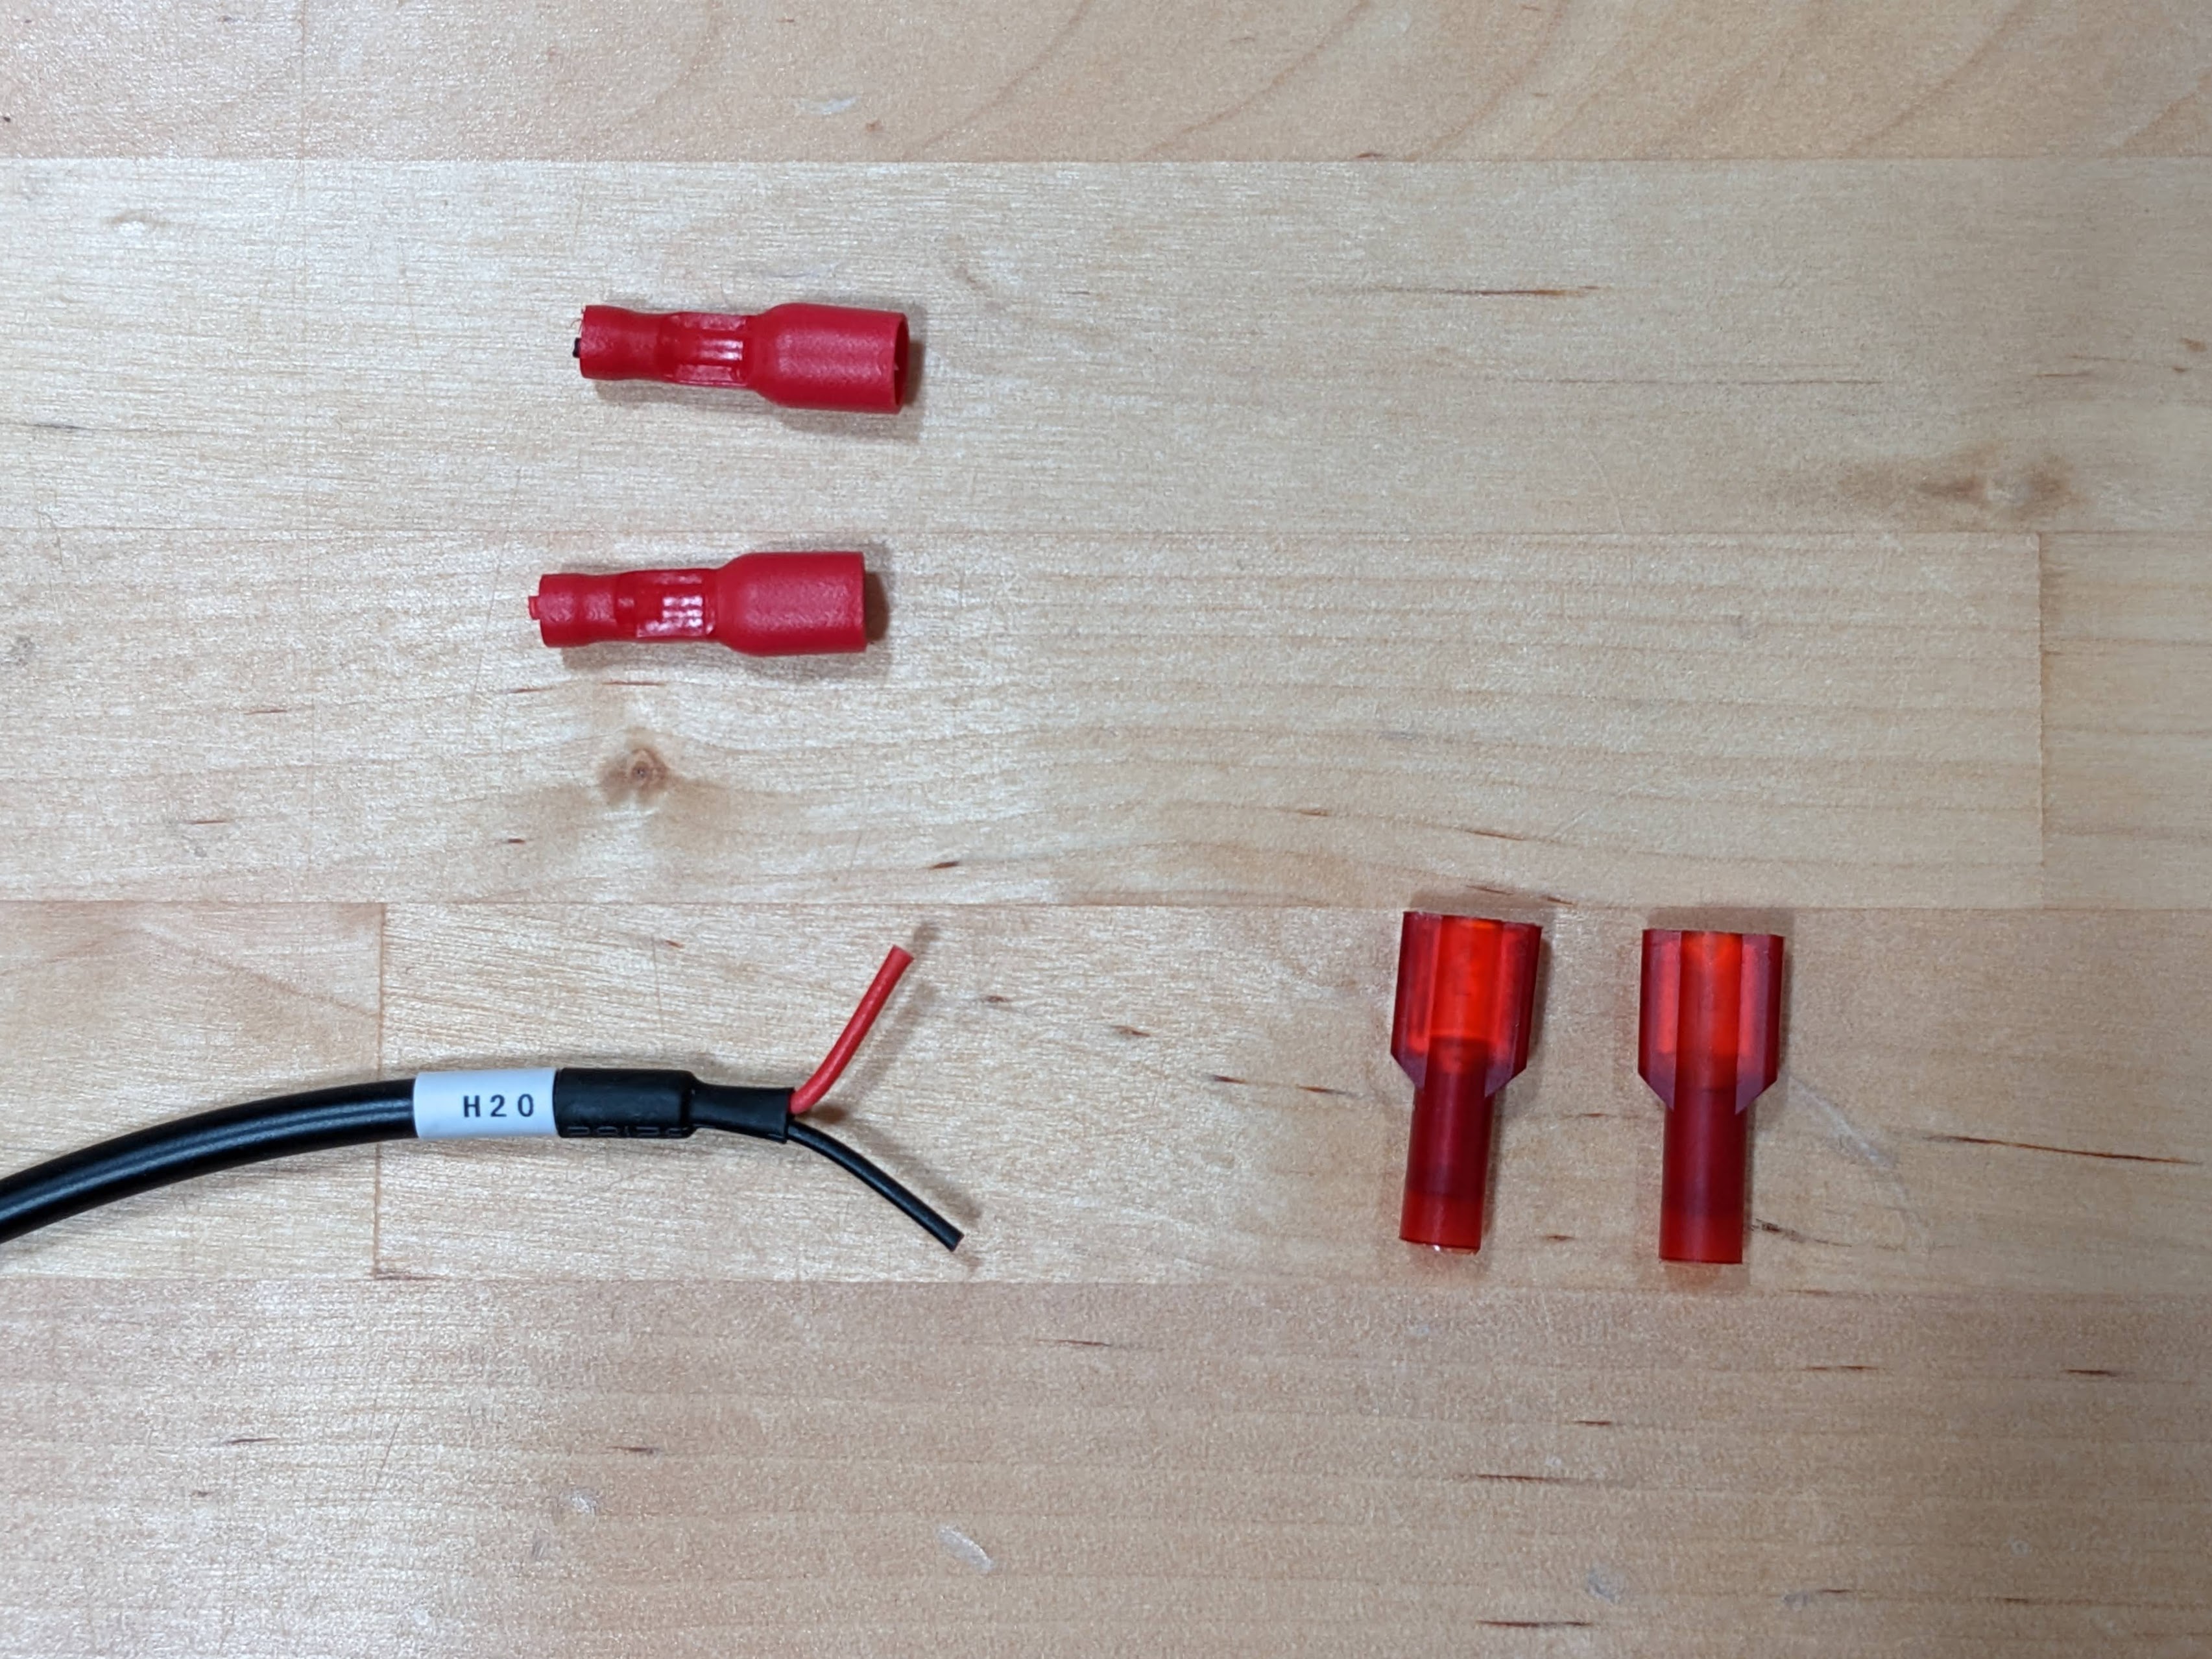
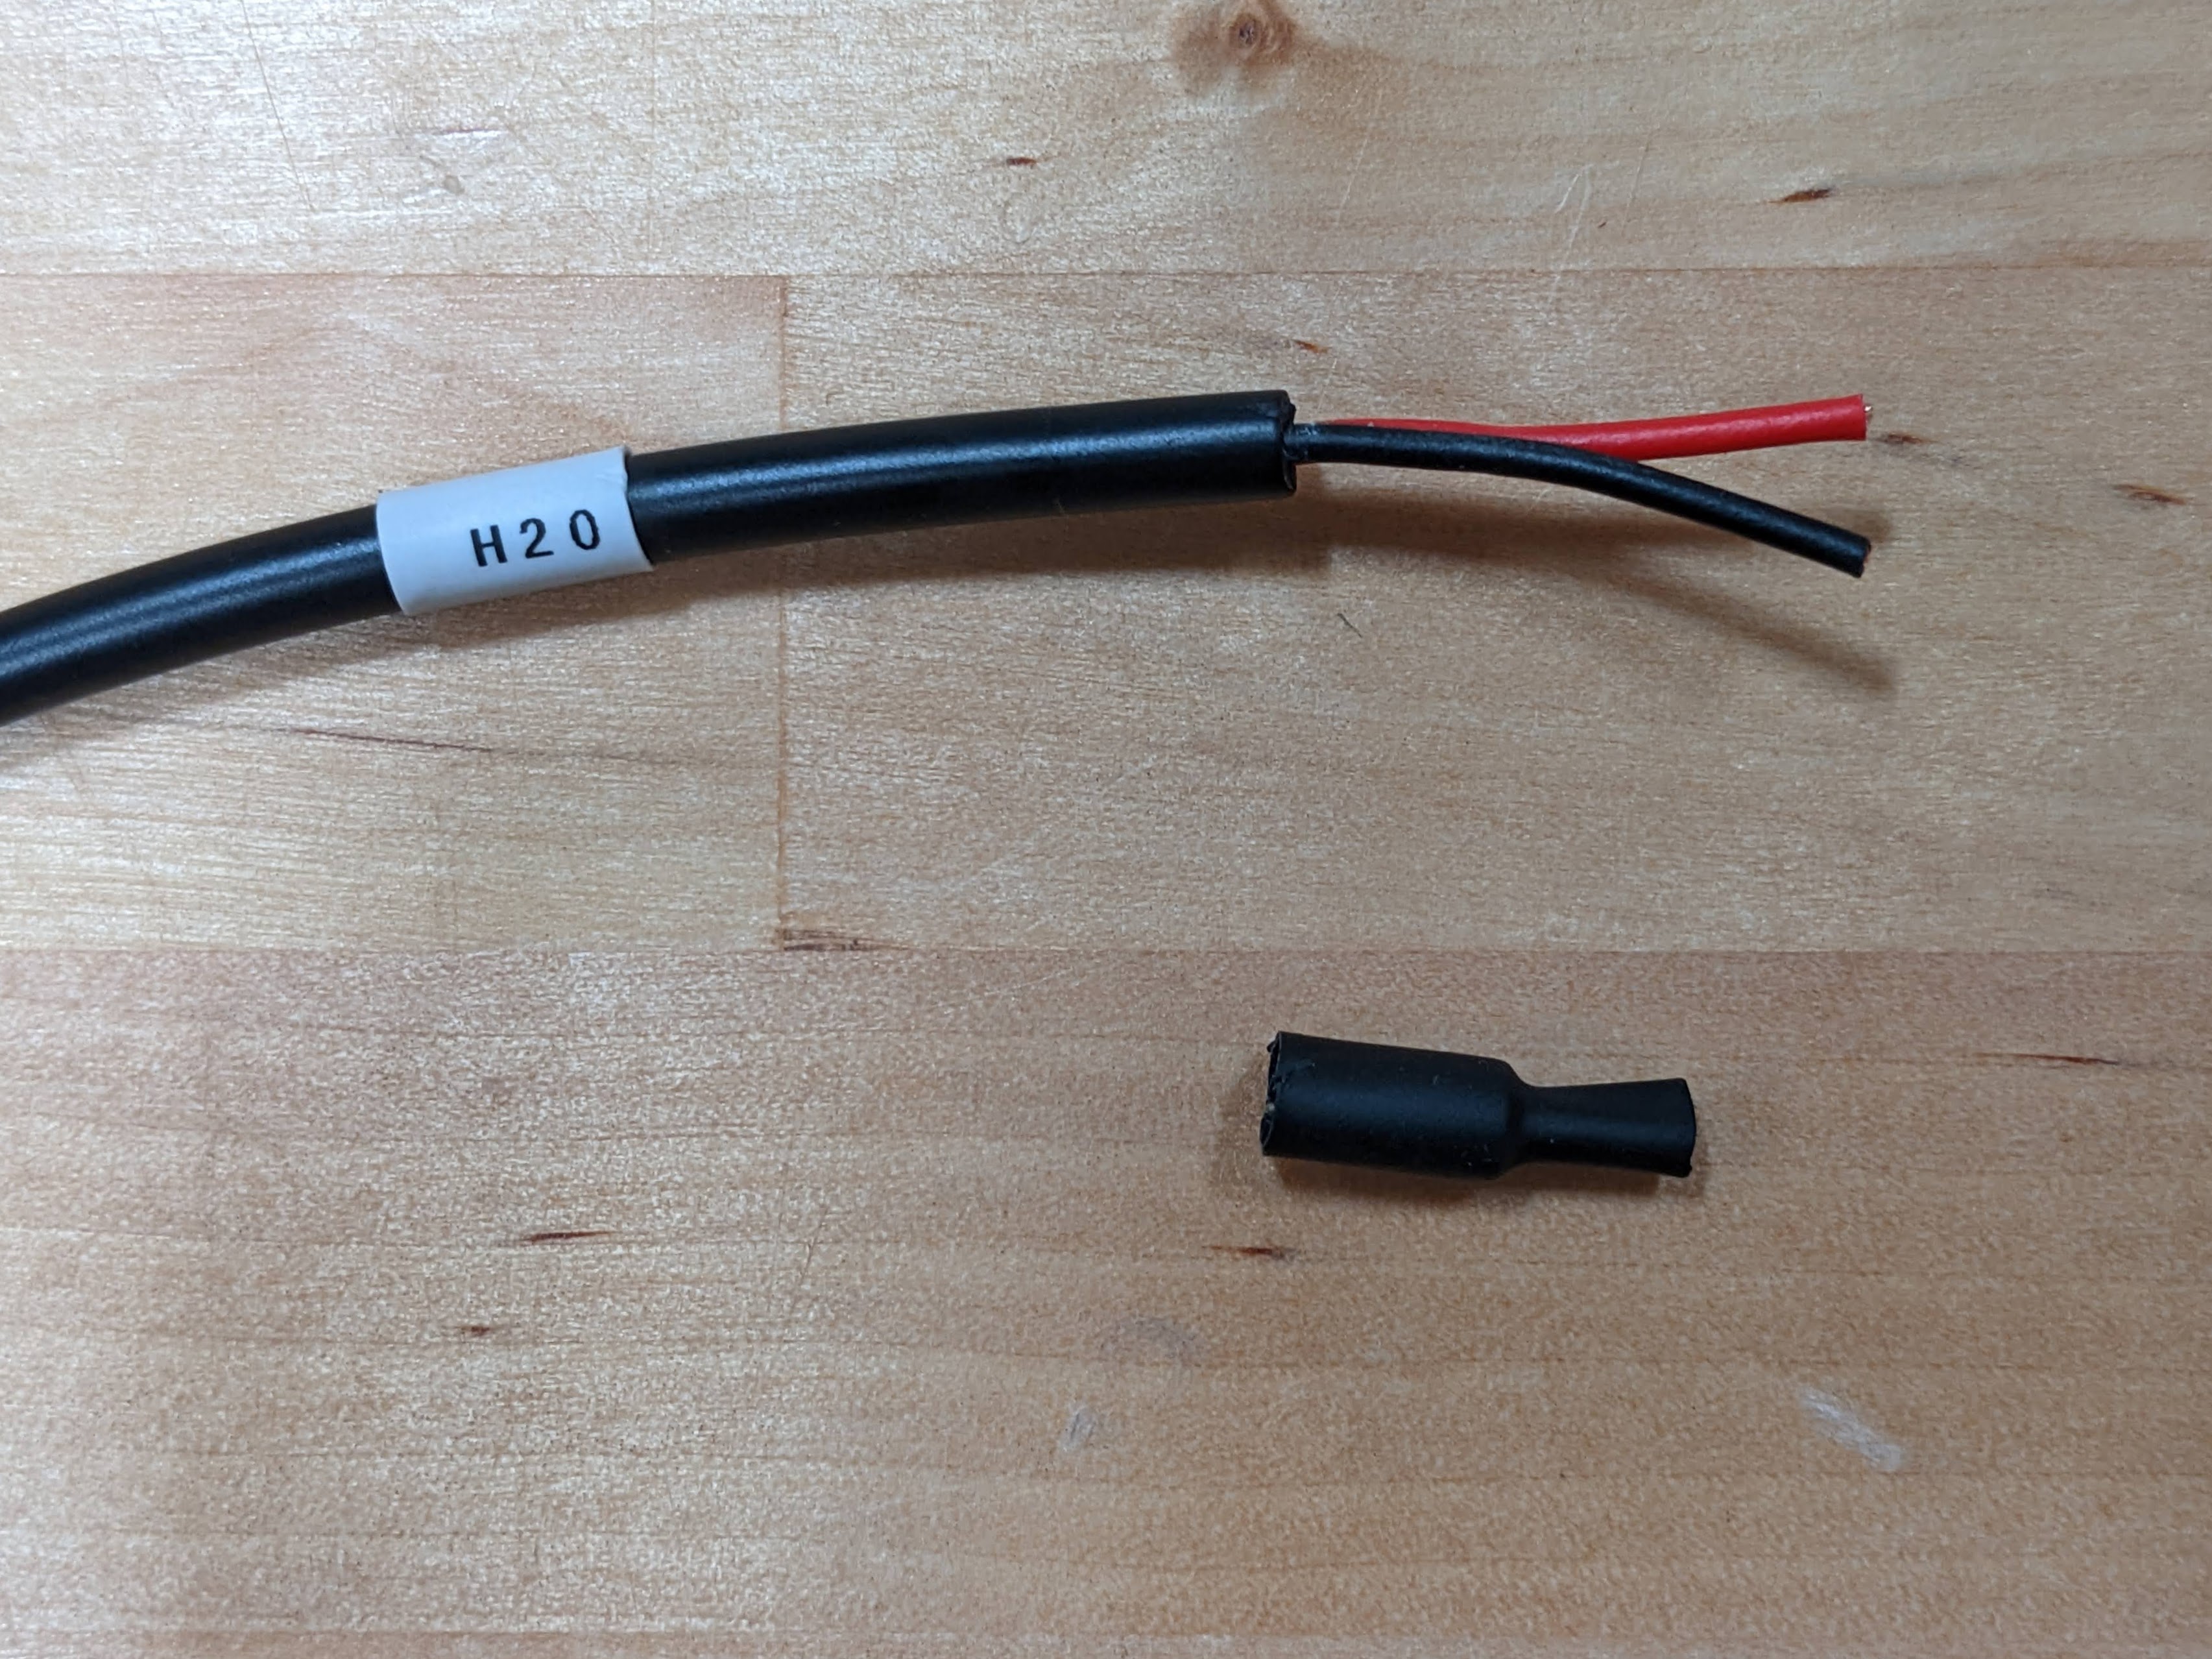
Step 2: Remove the heatshrink
Using your fingernails, carefully remove the black heatshrink from the cable. Also, slide the white heatshrink labelled H20 away from the end of the cable by about 50mm.
Step 3: Carefully cut off the outer cable insulation
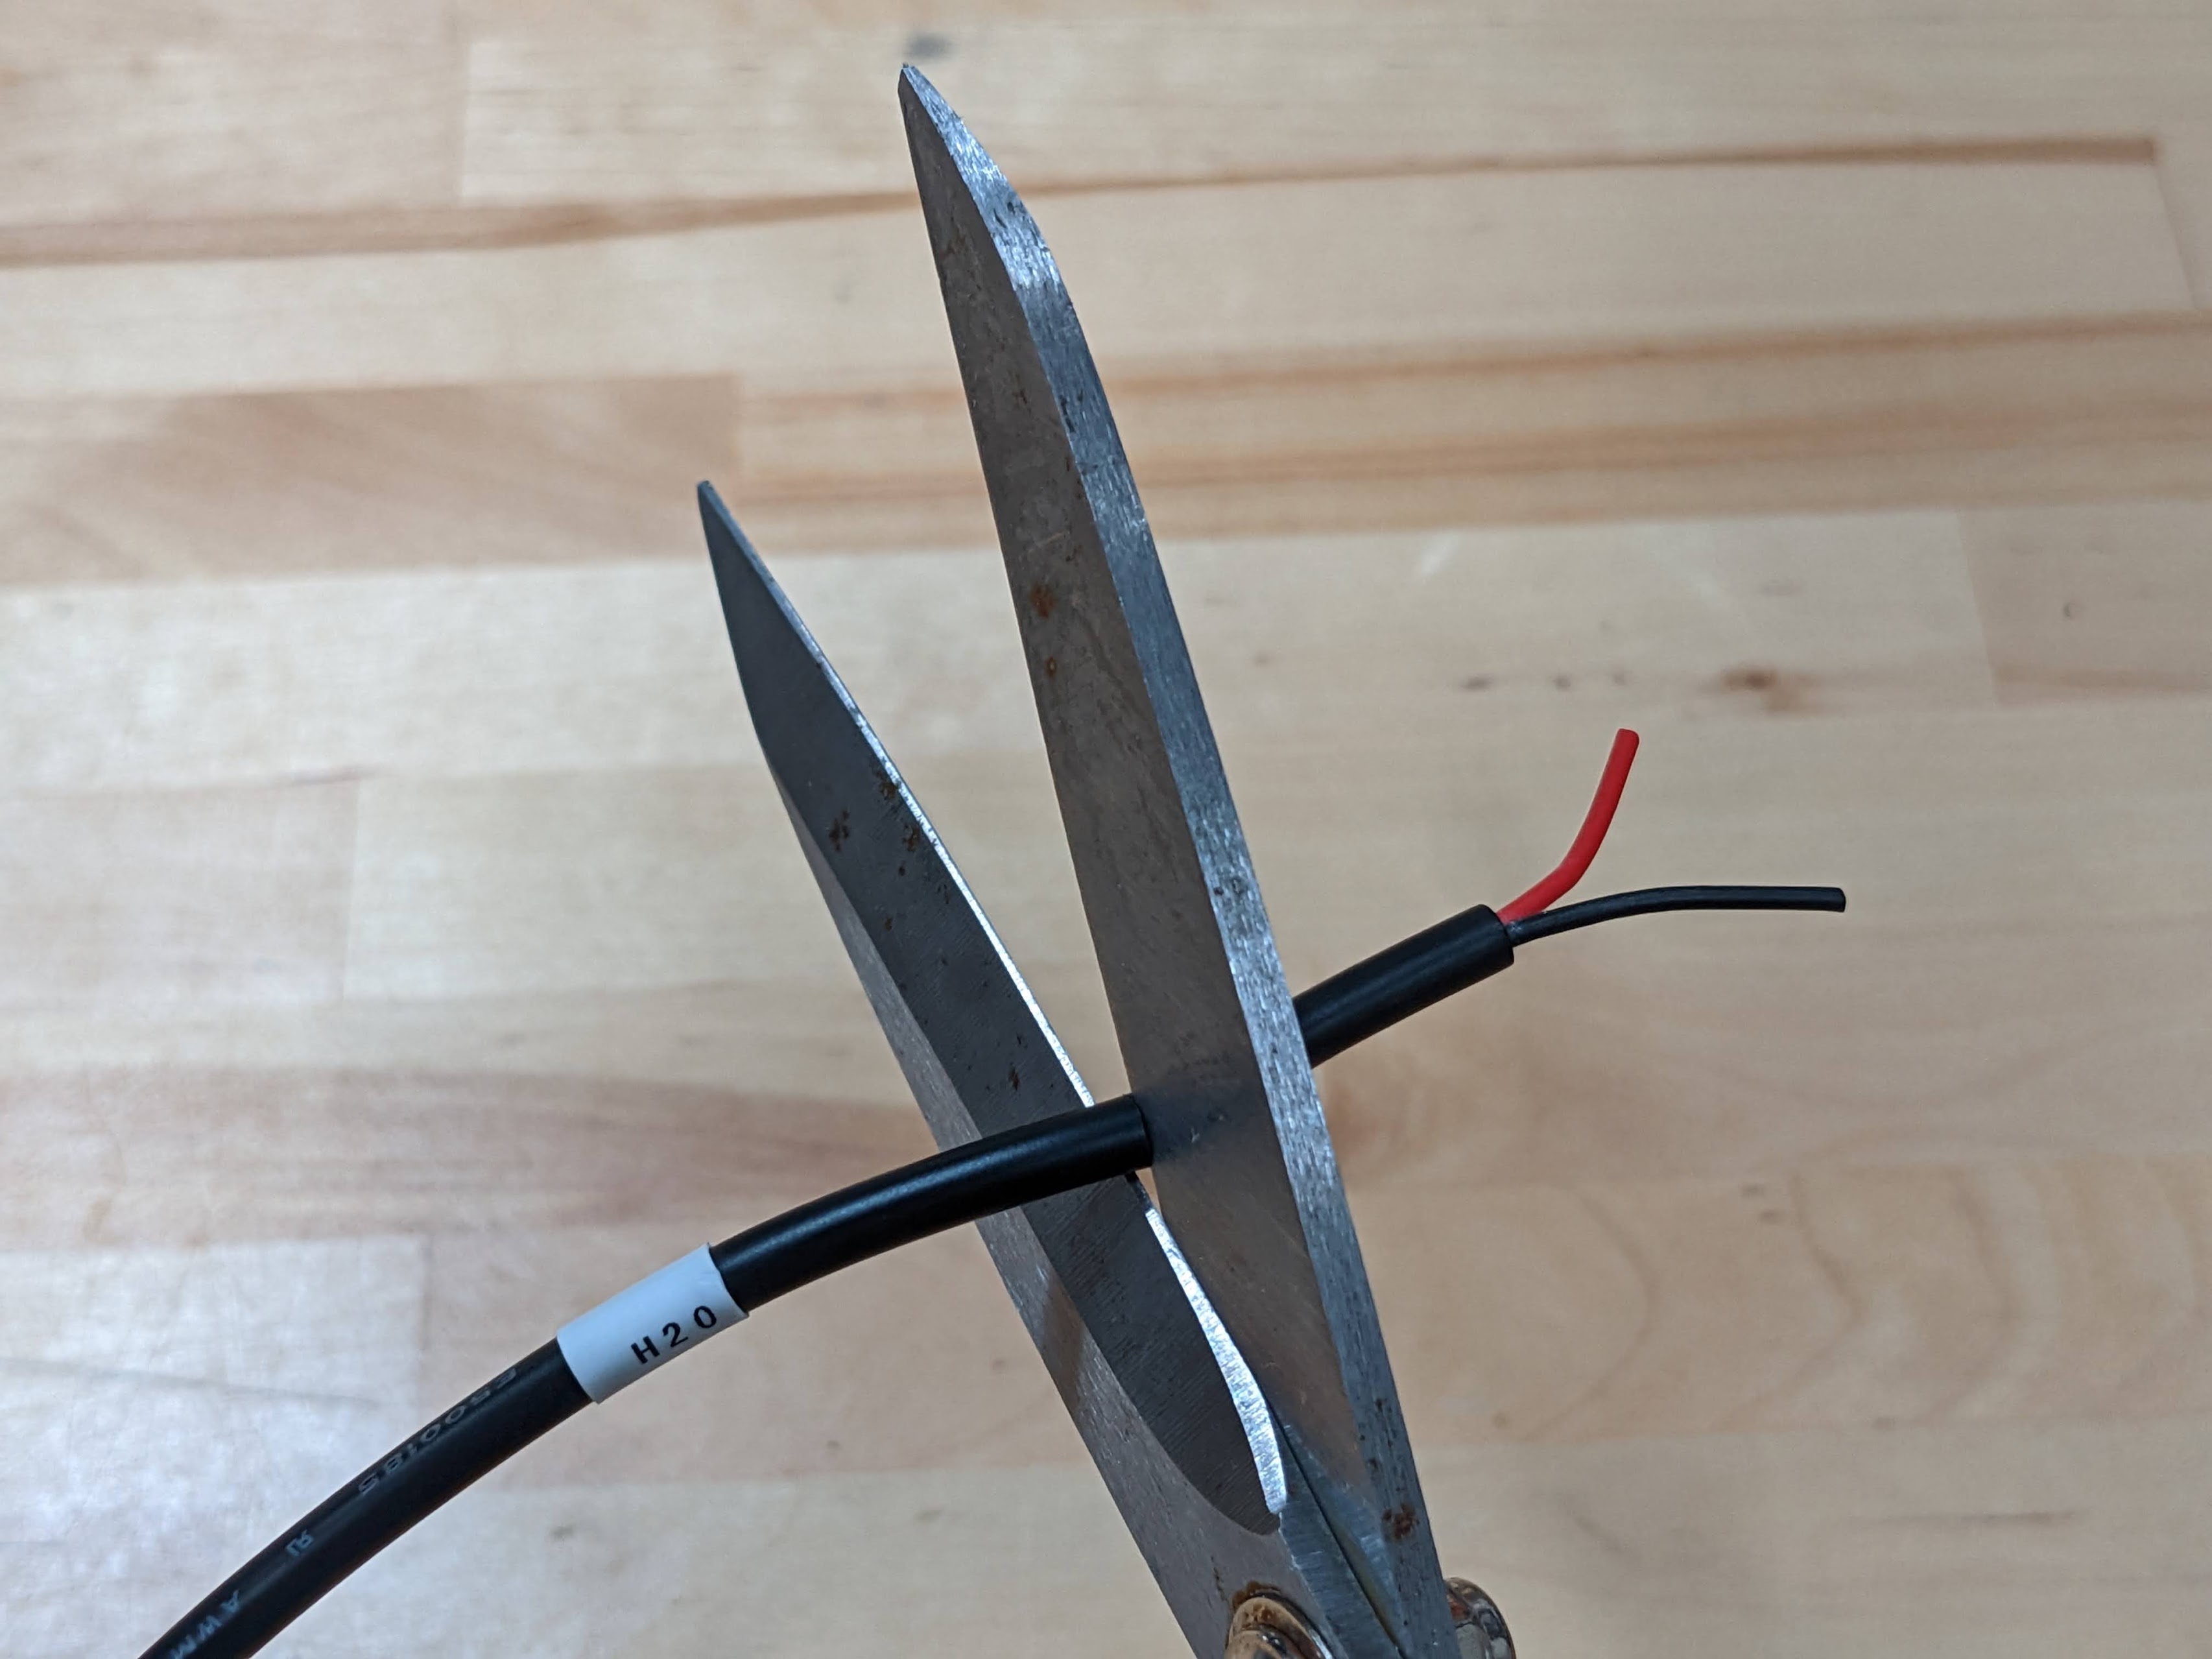
Using scissors or wire strippers, carefully remove 25mm (1 inch) of the black outer cable insulation from the cable without cutting through or damaging the red or black inner wire insulation.
Take your time!
If using scissors, a good technique is to lightly grip the cable with the scissors and then rotate the cable in the scissors to slowly slice through the insulation. Then put the scissors down and use your fingernails to rip through the rest of the insulation and remove it.
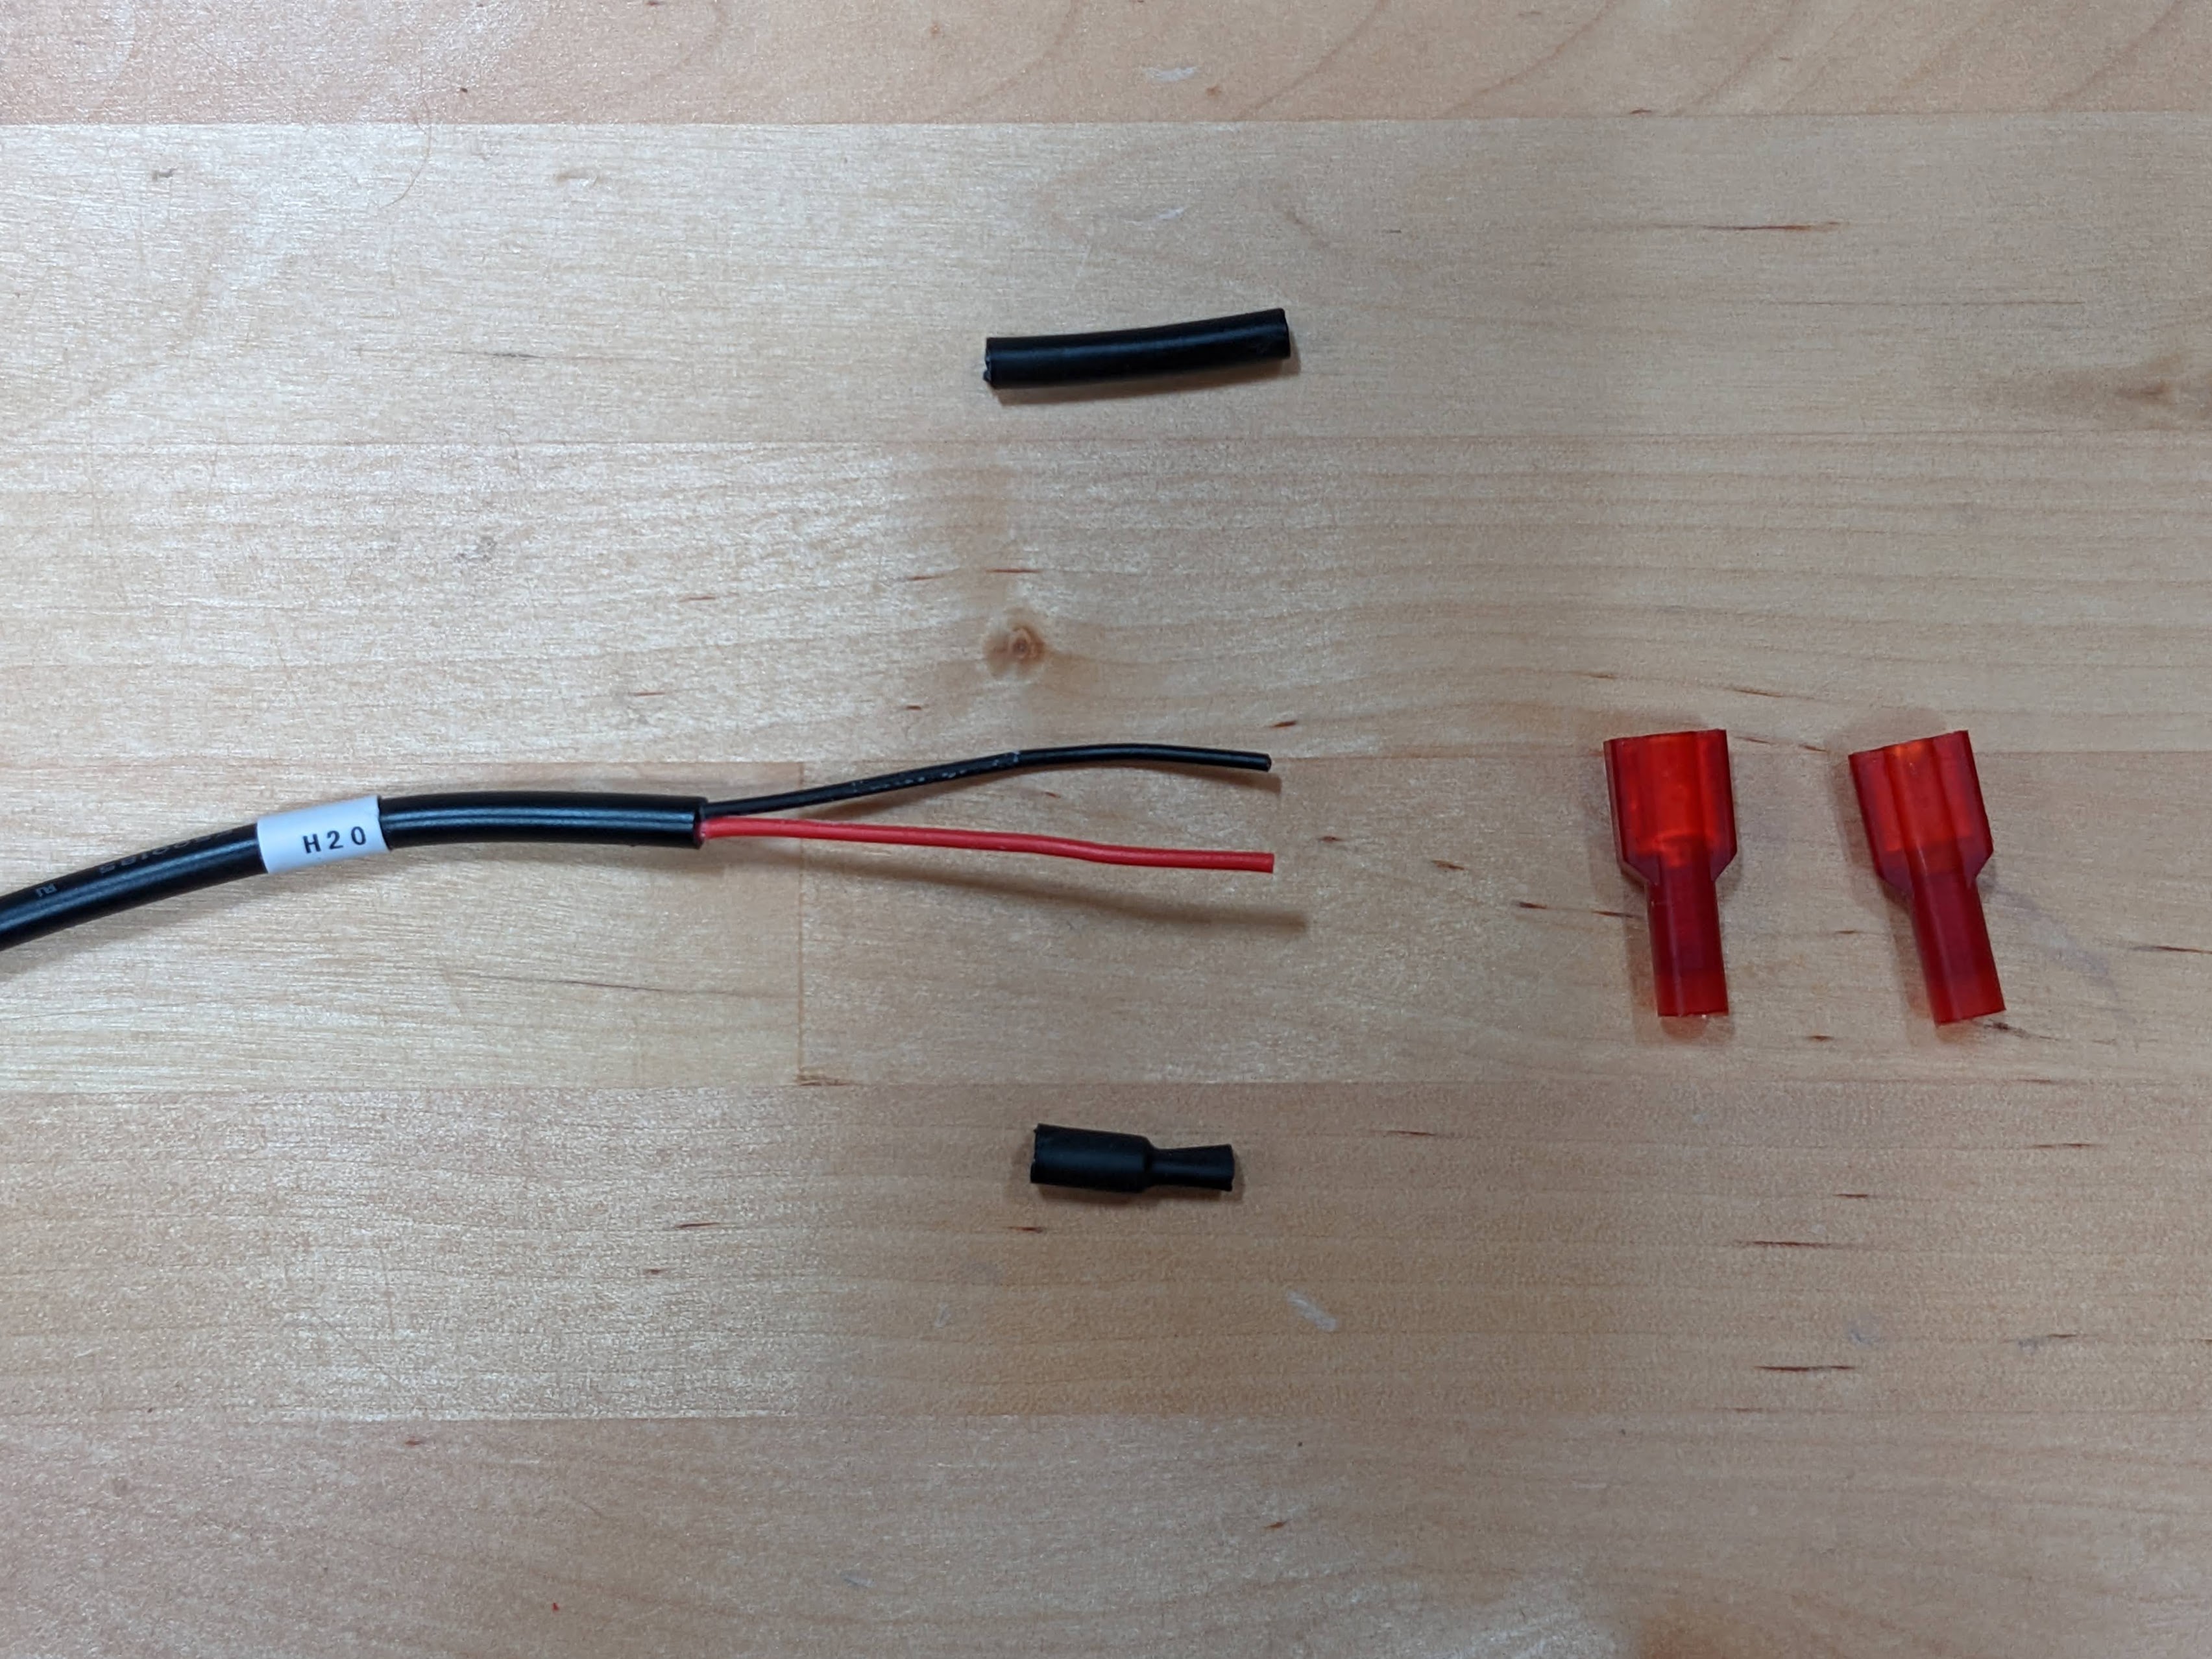
Step 4: Replace the heatshrink
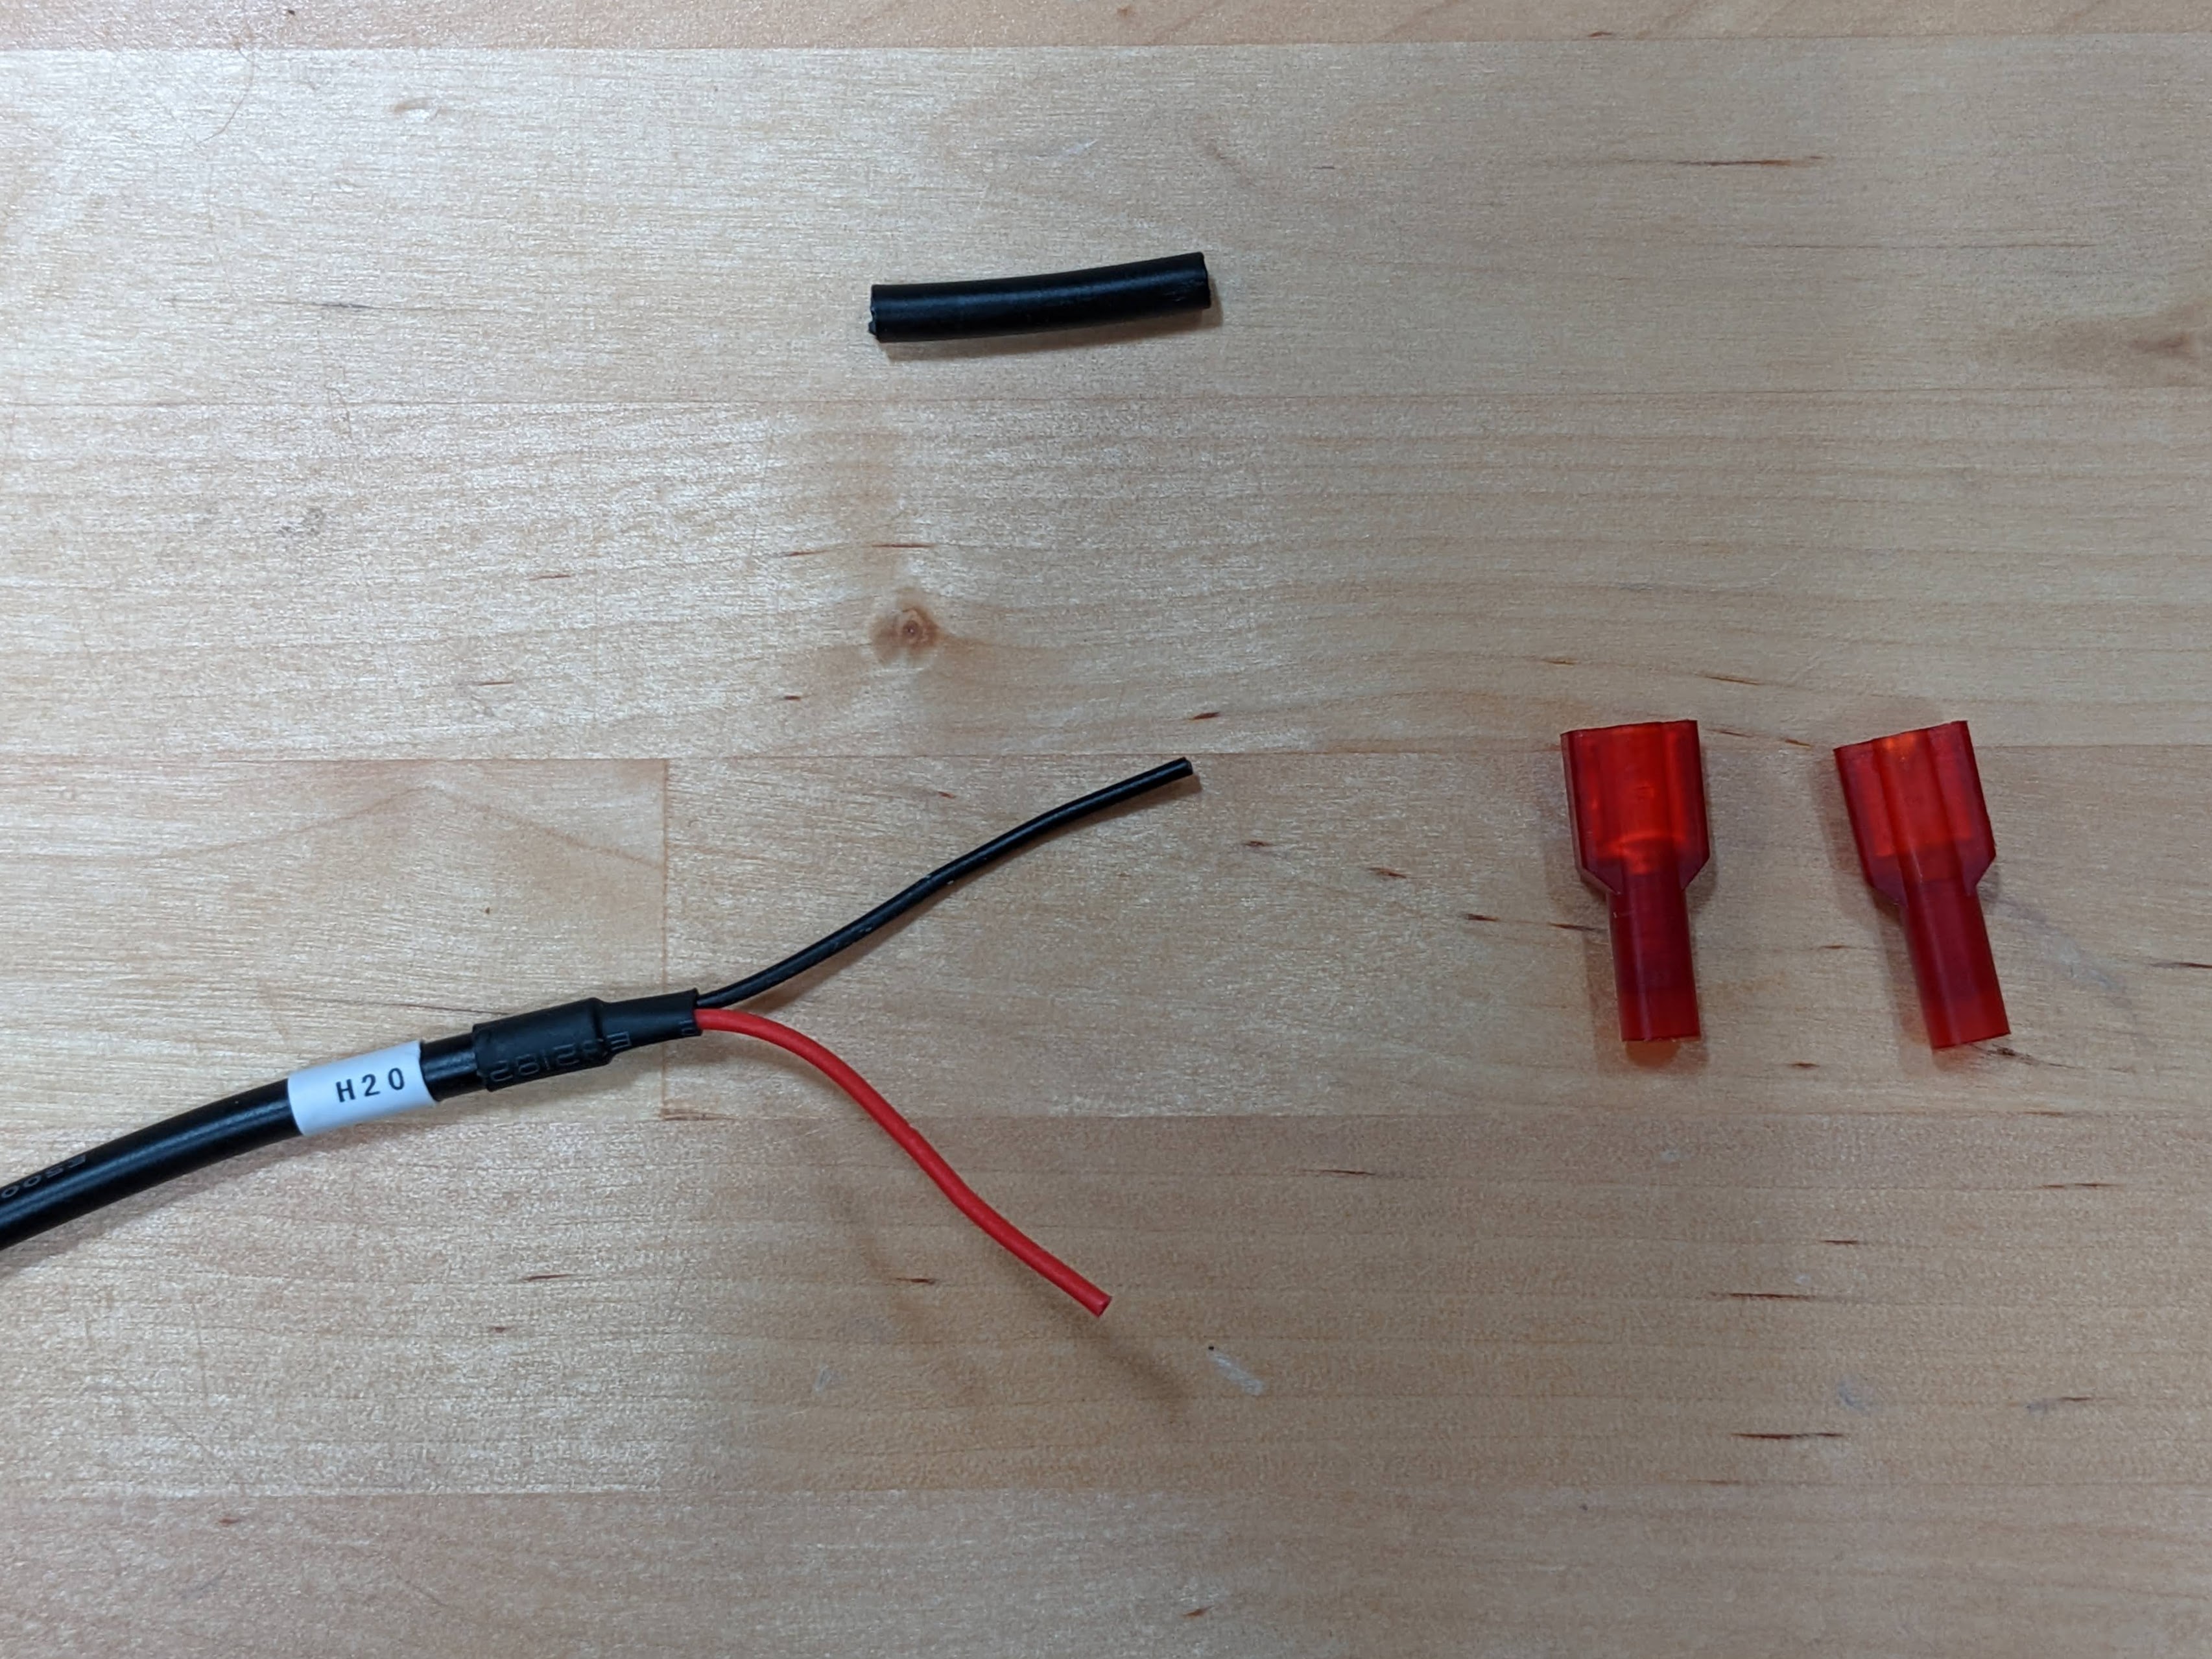
Slide the black heatshrink (removed in step 2) back onto the end of the cable. Also, slide the white heatshrink labelled H20 back towards the end.
Step 5: Carefully cut off the inner wire insulation
Using scissors or wire strippers, carefully remove about 5mm (1/4 inch) of the red and black inner wire insulation. Take your time!
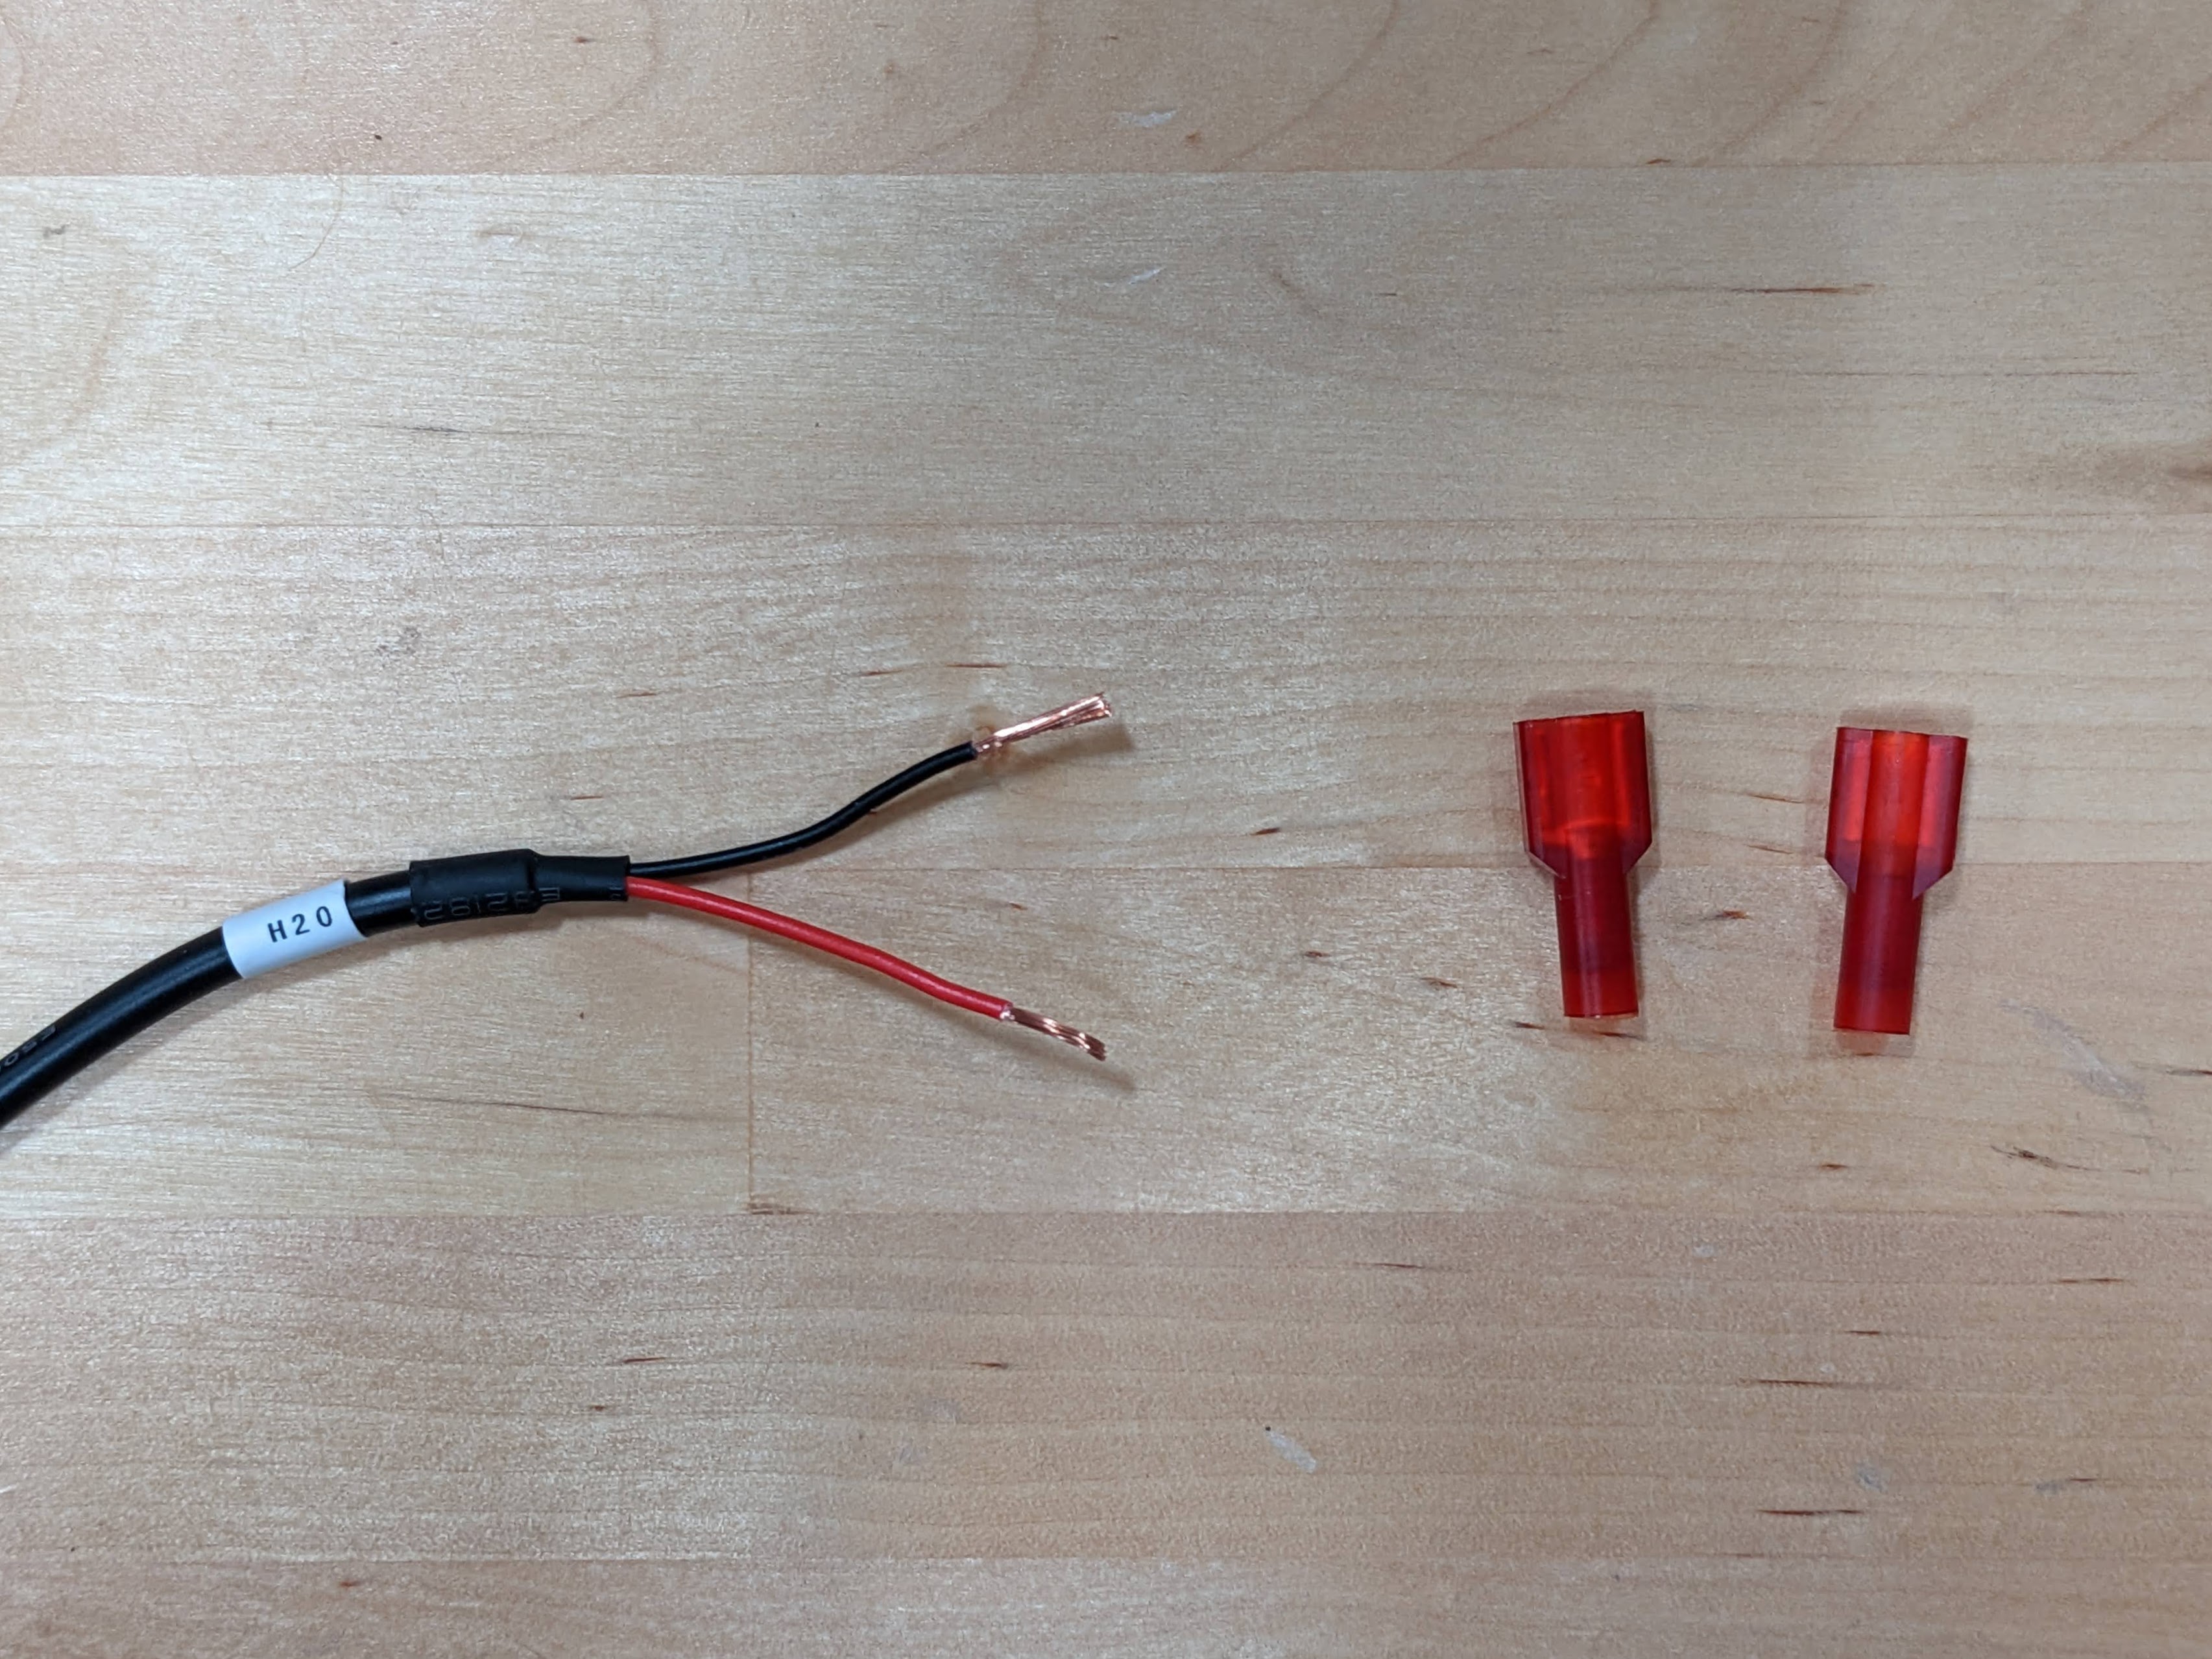
Step 6: Crimp on the new terminals
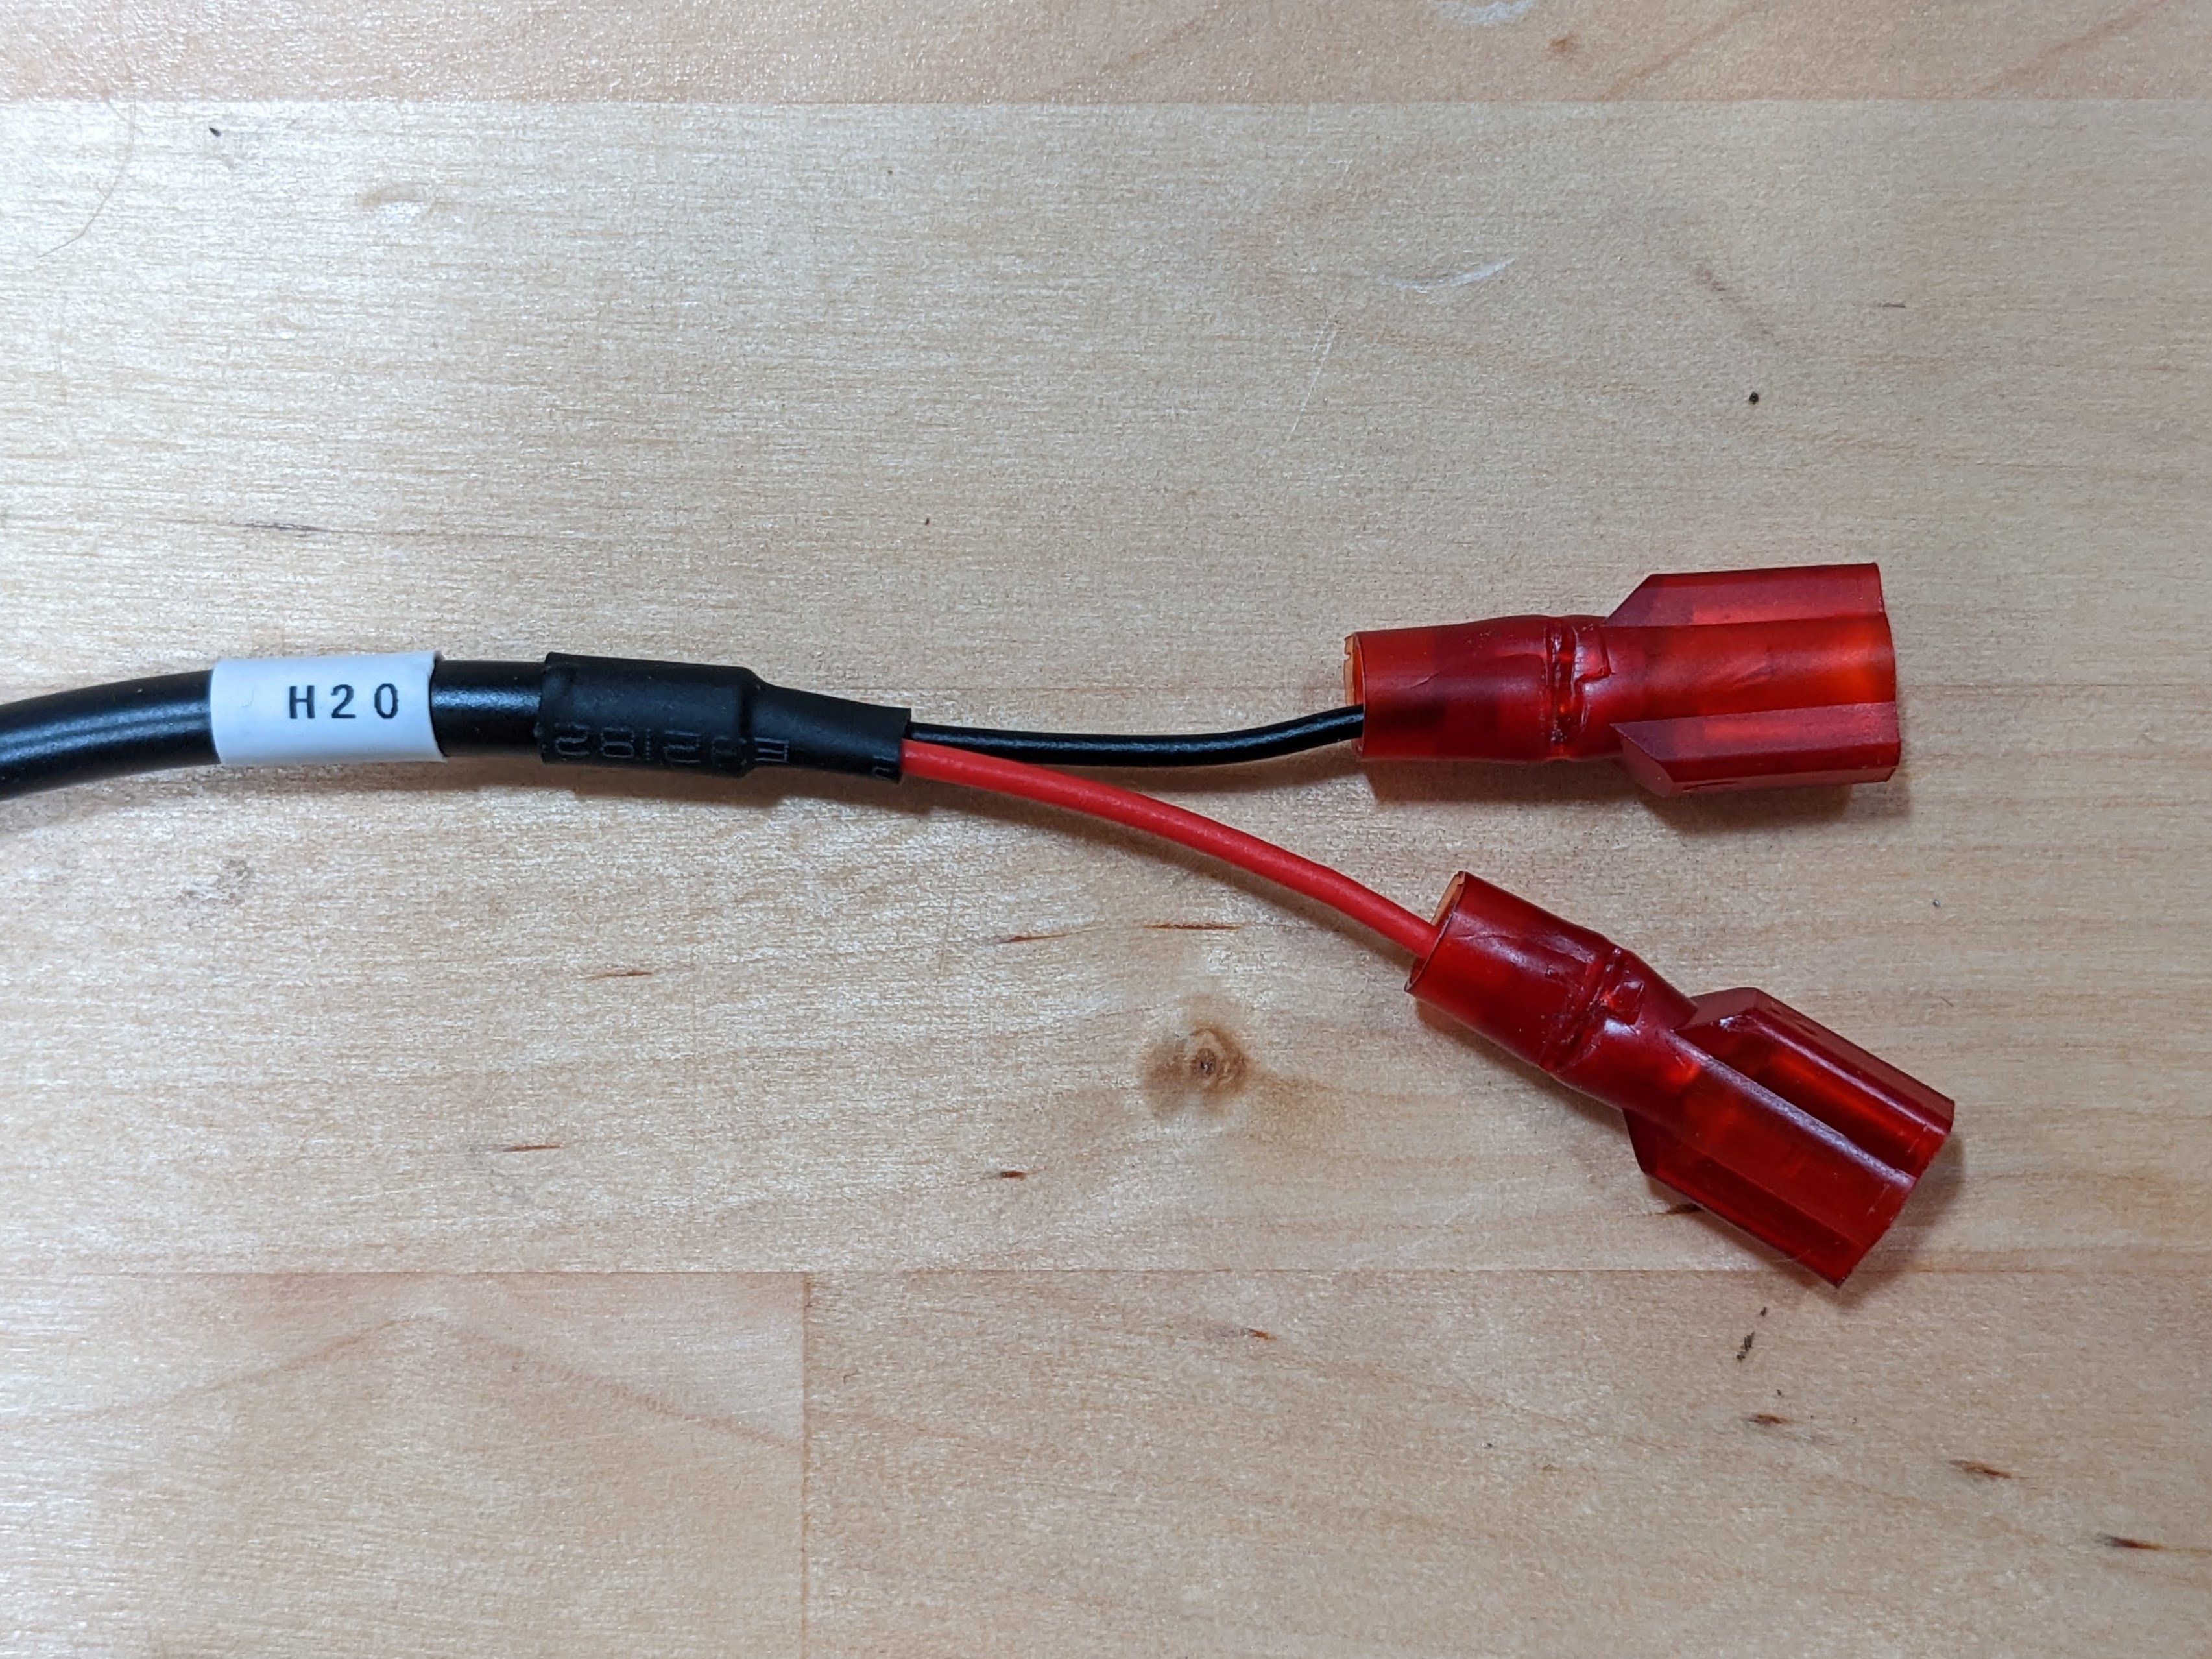
Insert one of the wires all the way into the round half of one of the new quick connect terminals. Then use needle nose pliers to crimp the round portion of the terminal. You will need to use significant force to perform the crimping action. Once crimped, the wire should be securely attached to the terminal.
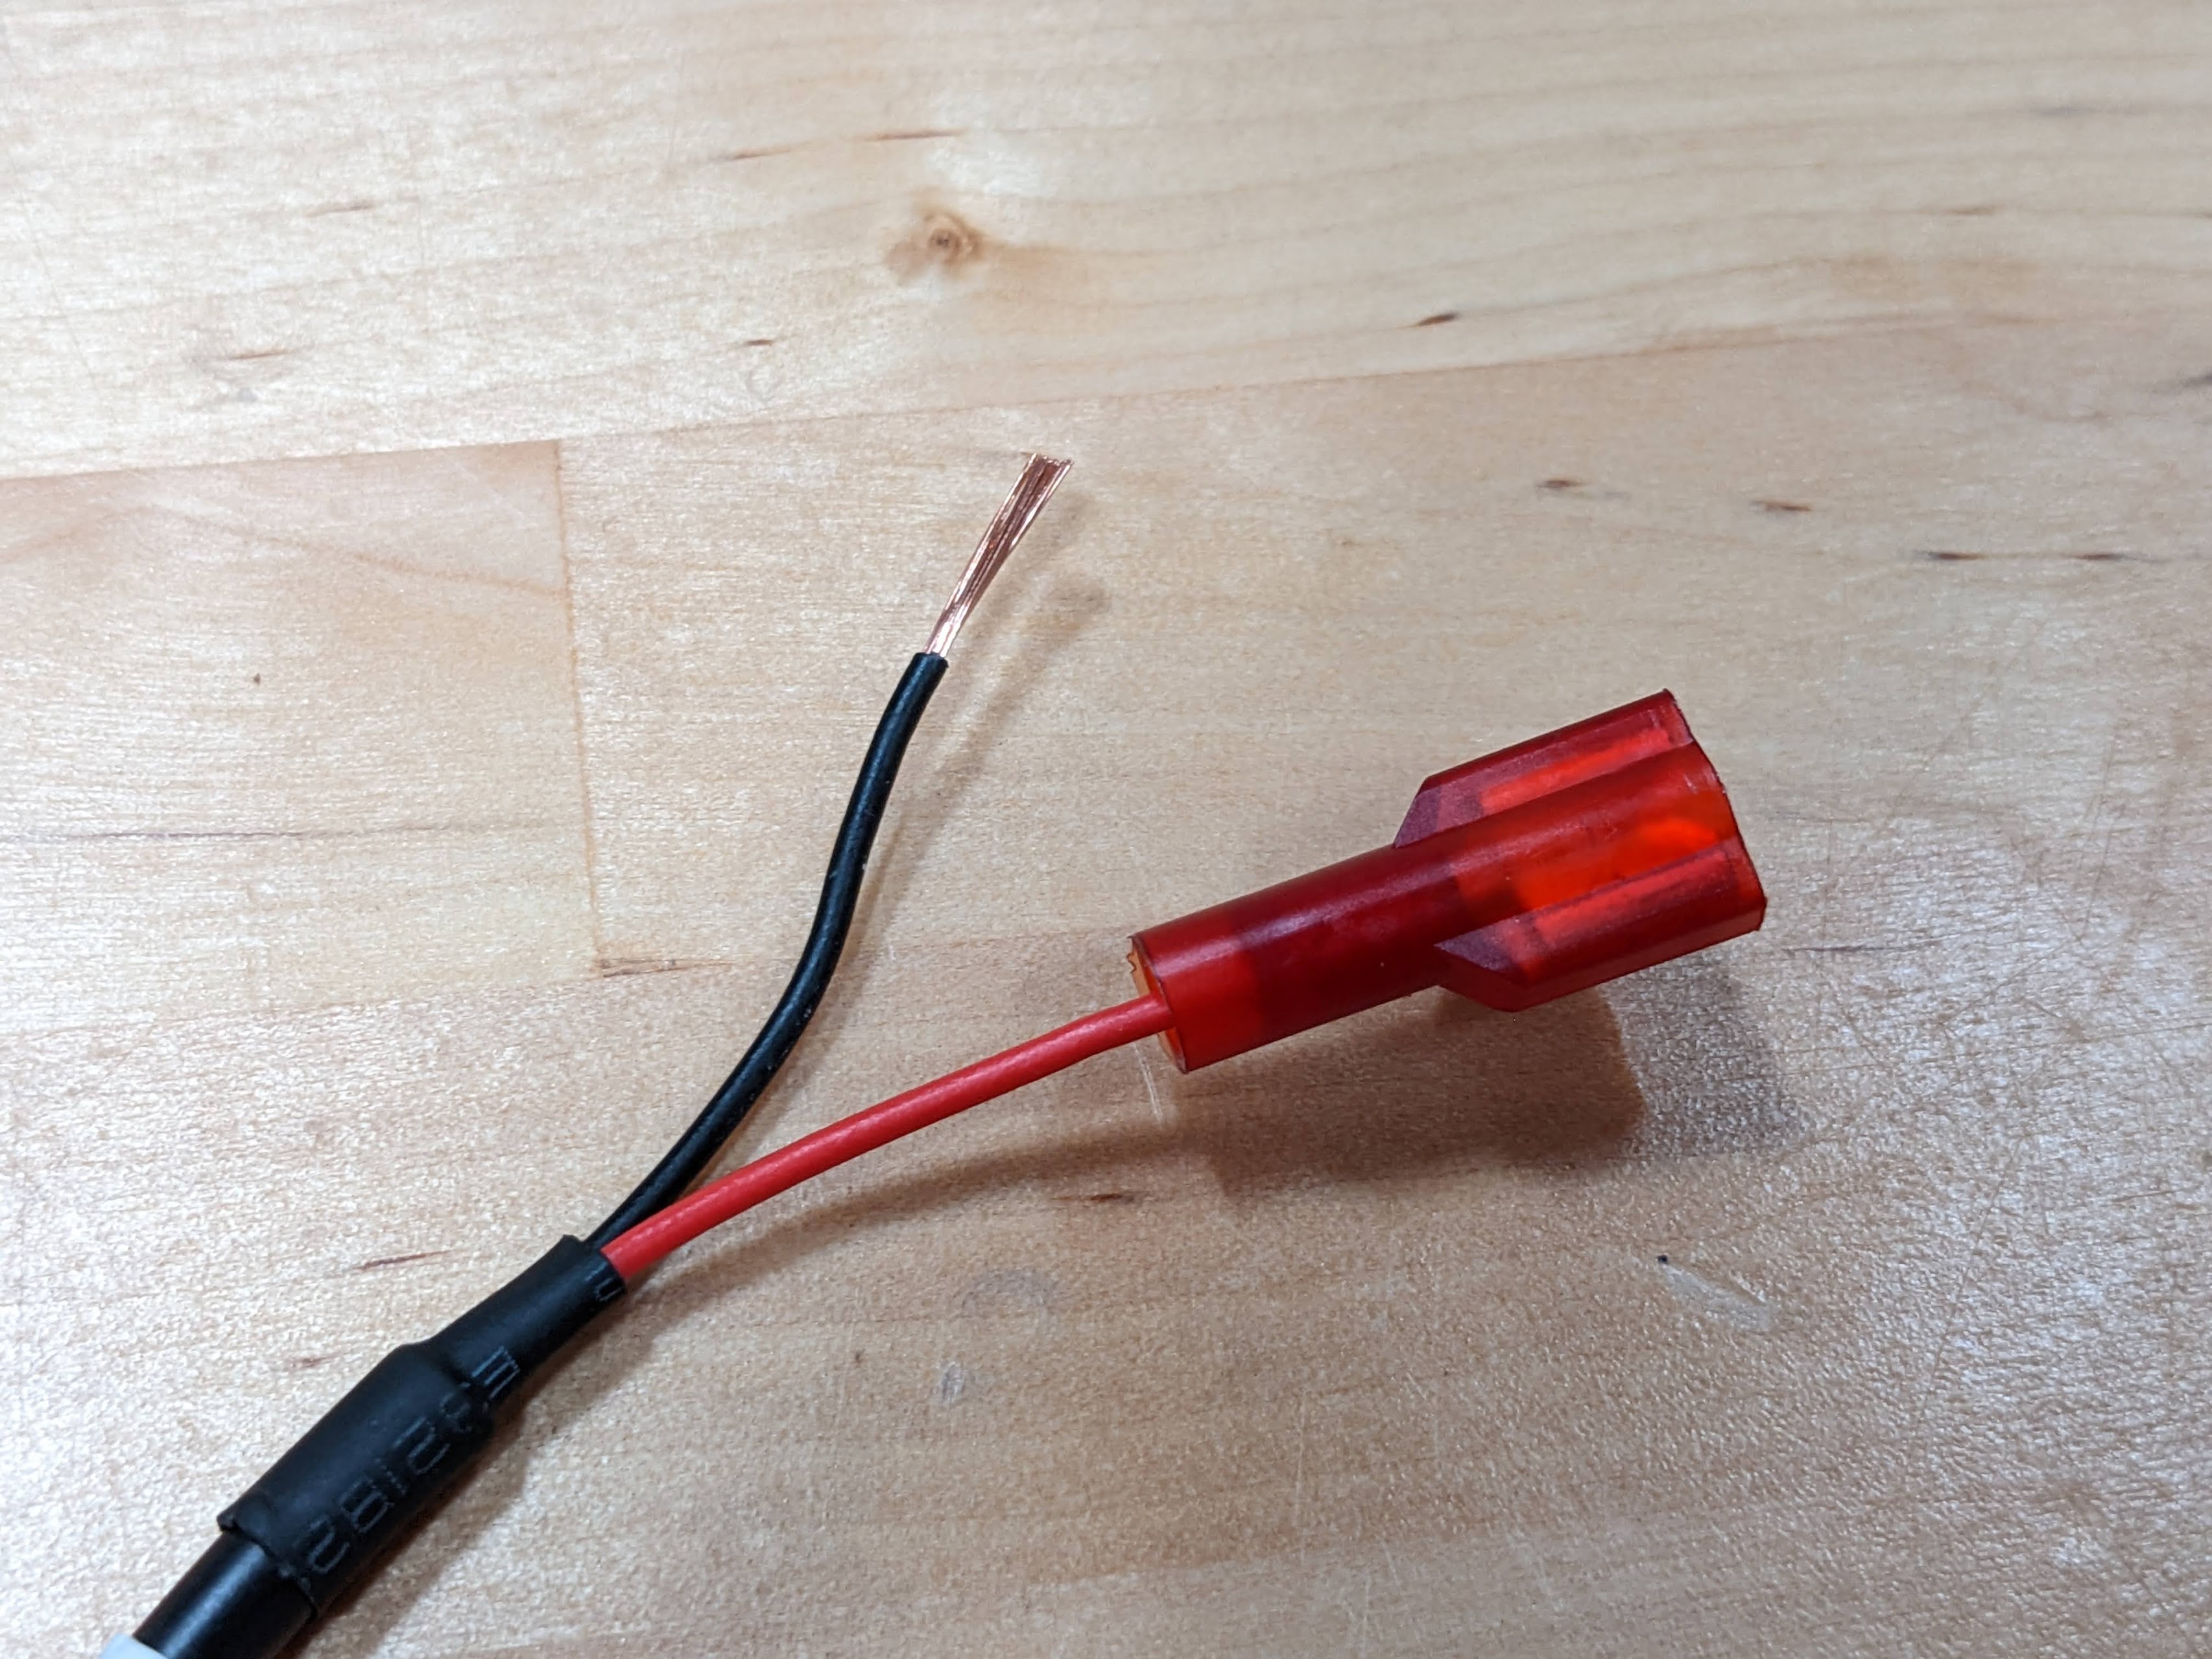
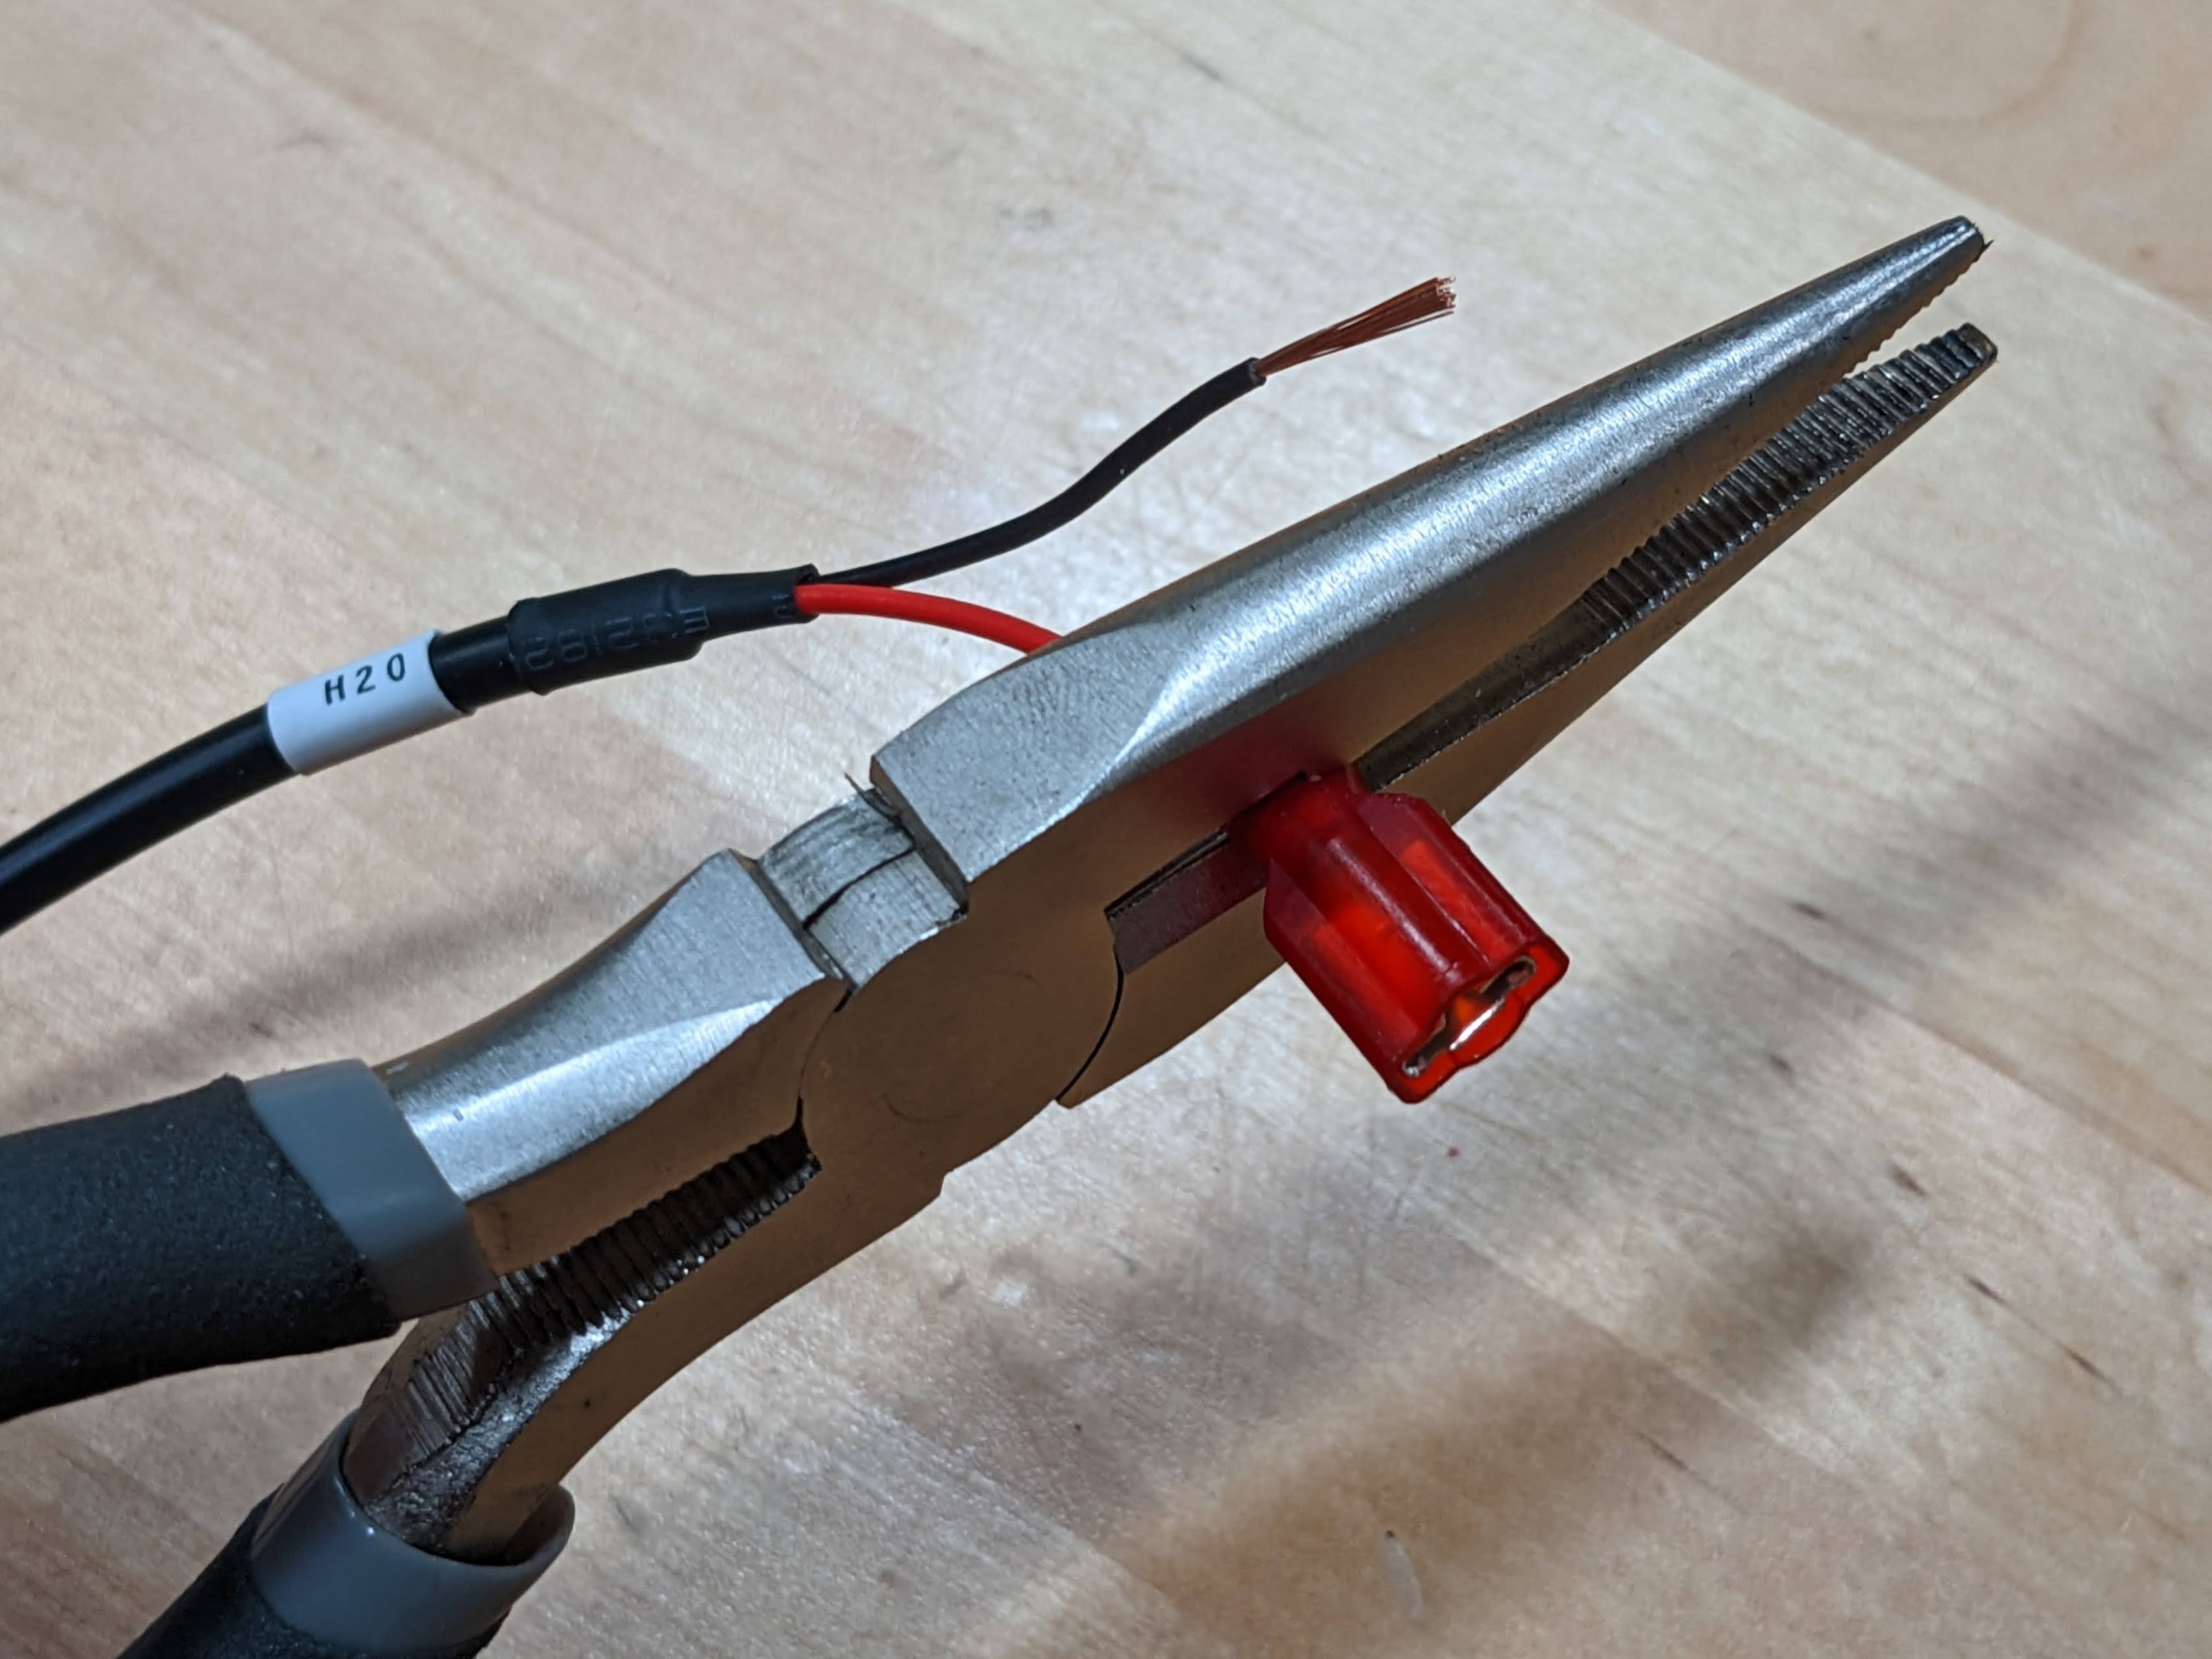
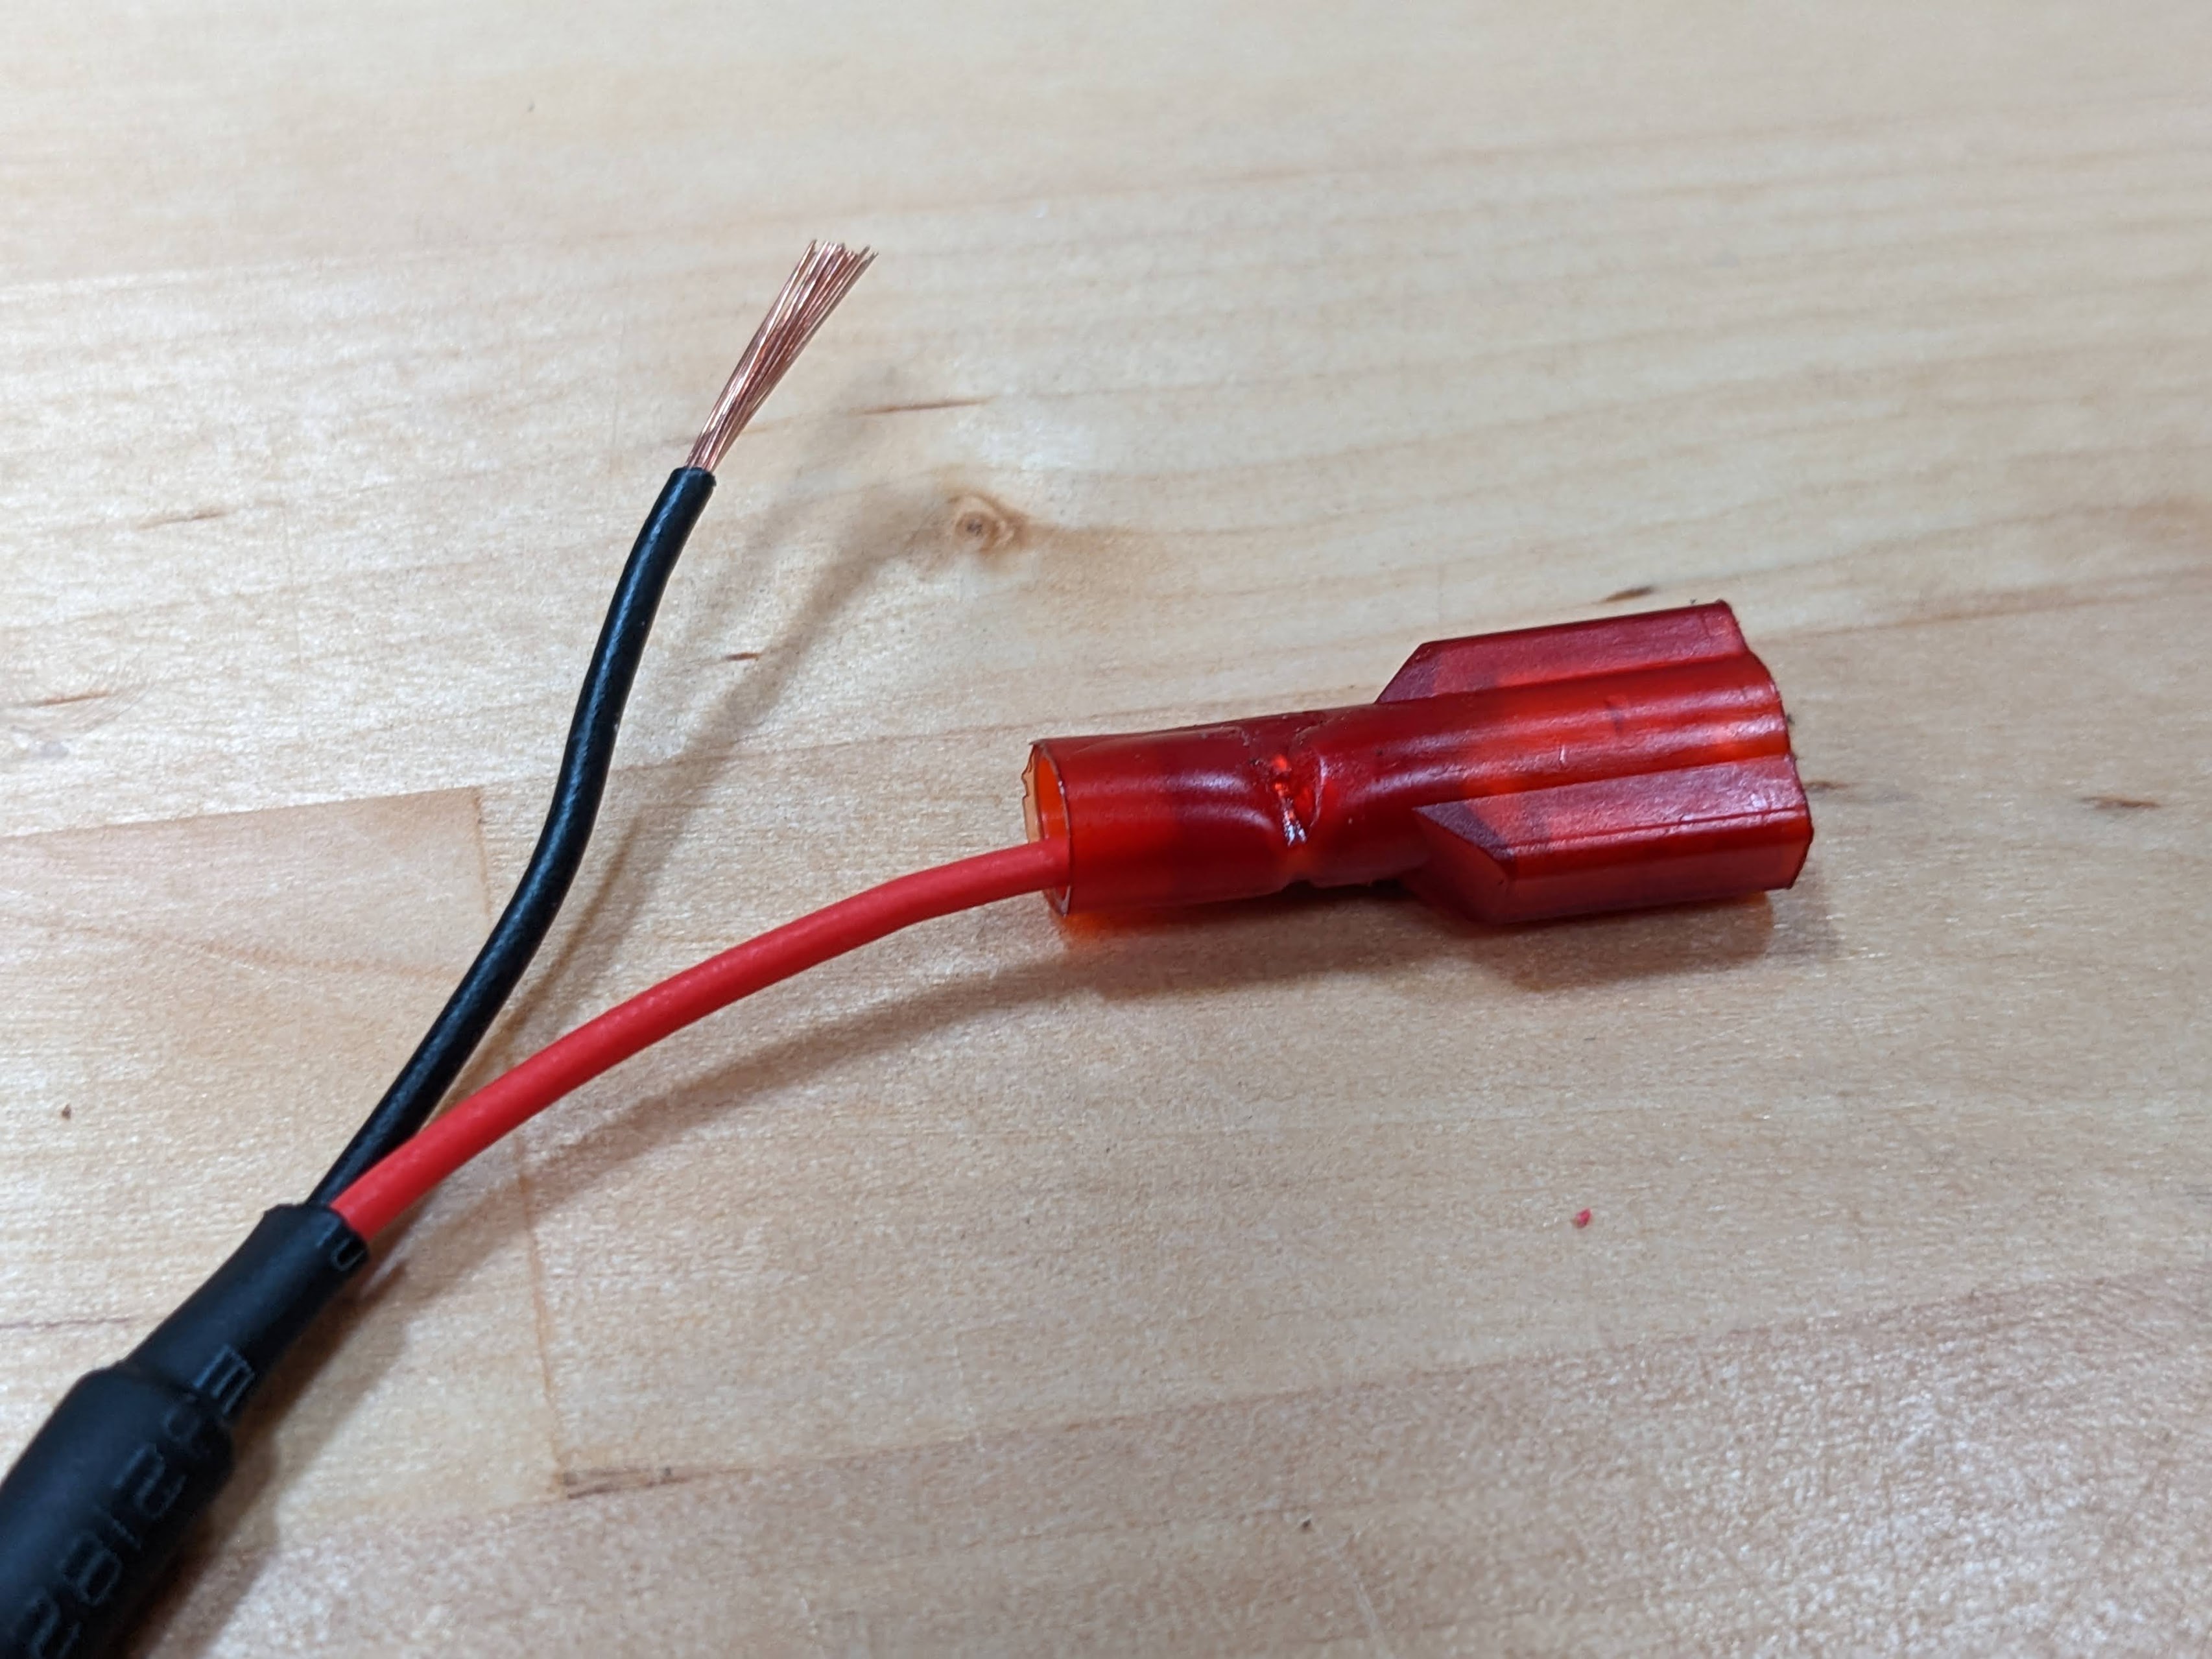
Repeat for the second wire and terminal. You’re now finished!
Messed up?
If you messed up any of this procedure, please get in touch with us at contact@farm.bot with your original order number and we will send you a free replacement cable.