Basic Tool Hardware
This reference guide applies to all of FarmBot’s tools
Step 1: Install the magnets
Handle magnets with care
In general, magnets are brittle and can be easily broken if dropped or if they attract to each other in an uncontrolled manner and collide. When handling the magnets, DO NOT separate them individually and place them on a table. It is too easy for two of them to attract to each other, collide, and break. Instead, keep them in a stack and pull them off individually as you mount them to the UTM and various tools.
Opposites attract
For tools to correctly mount to the UTM, all magnets on the tool must be attracted to the magnets in the UTM.
To find the correct orientation for a tool magnet, hold it near the mounting side of the UTM. Flip it around in your hand until you feel it attracting to the UTM’s magnets. This is the correct orientation for mounting to the top of a tool.
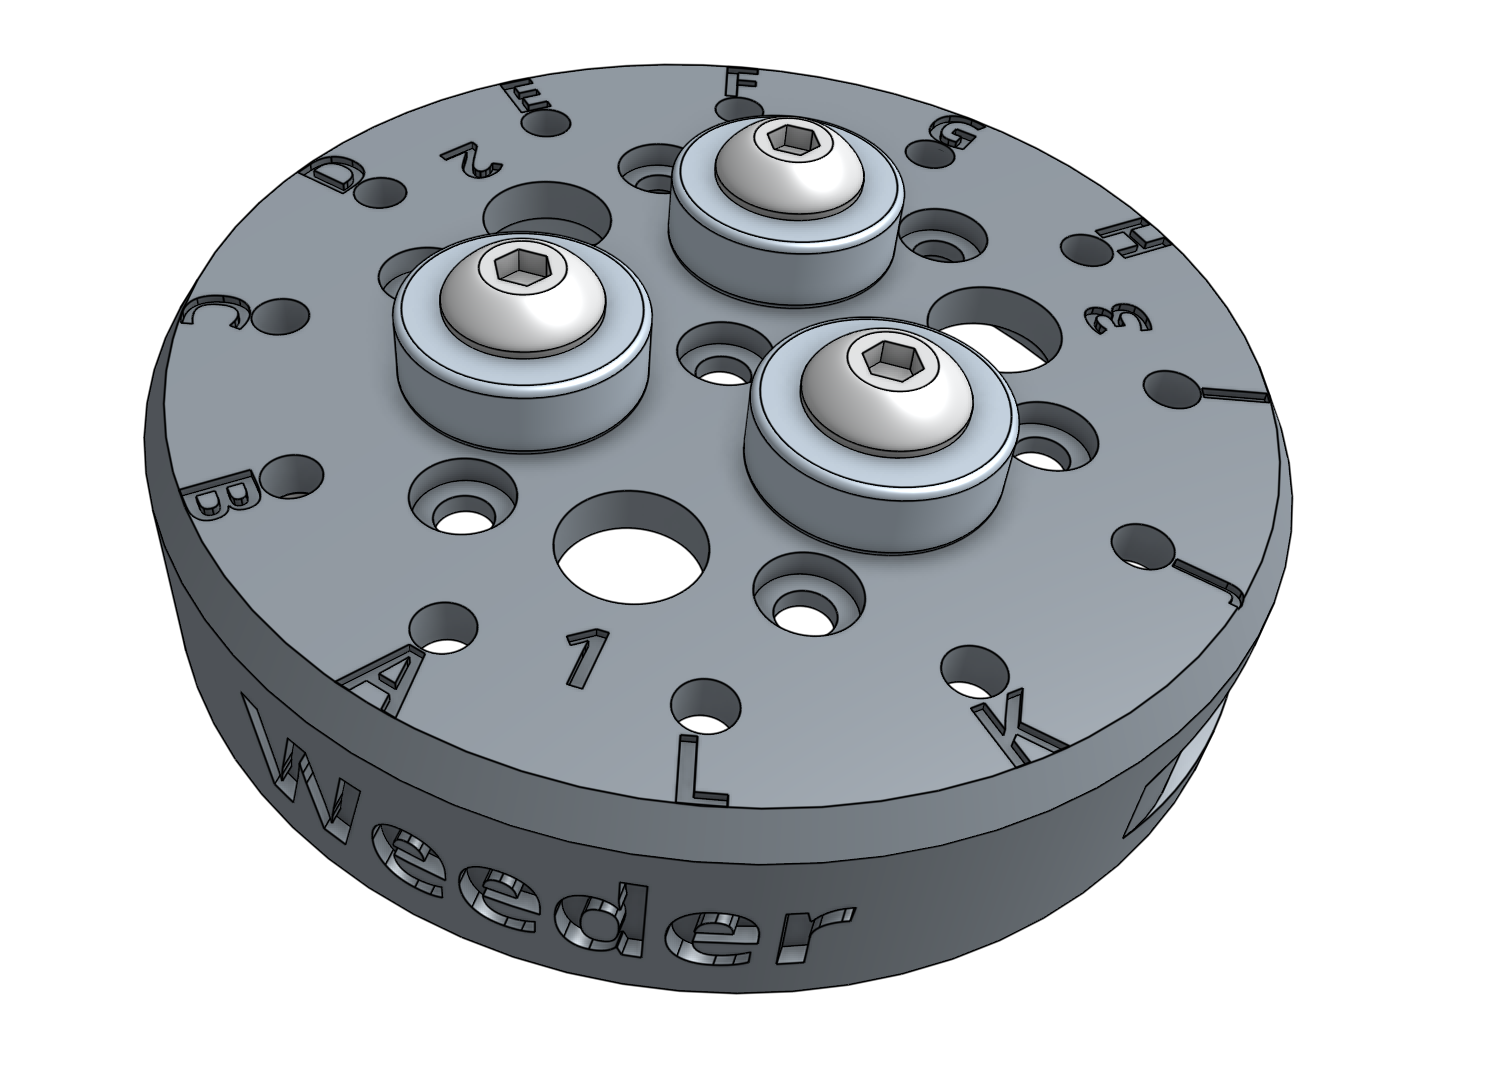
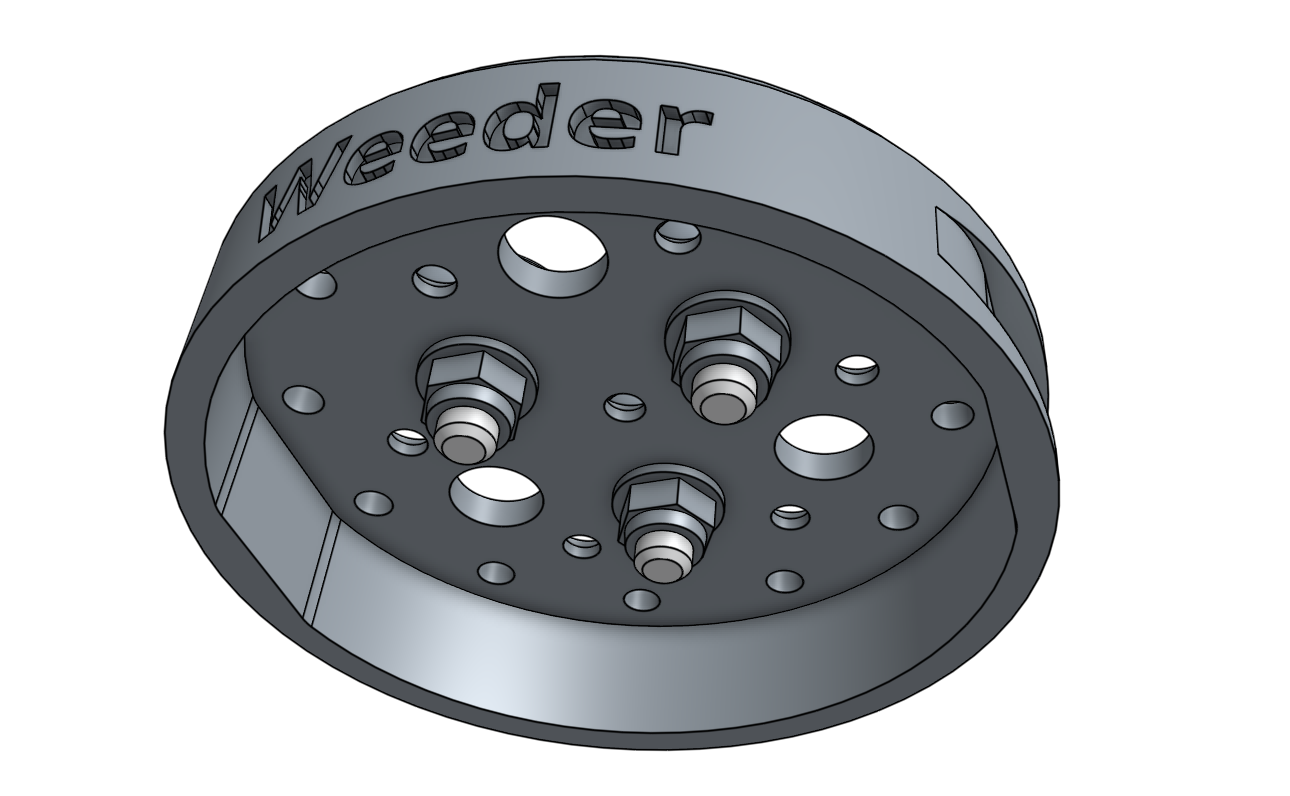
Secure the three ring magnets to the top of the tool using three M5 x 16mm screws and M5 flange locknuts. Use the 3mm hex driver and 8mm wrench to tighten the components. Note: the watering nozzle will require M5 x 30mm screws.
Make sure you do not accidentally mount the magnets using the liquid/gas port holes labelled 1, 2, and 3.


Step 2: Install the tool verification jumper link
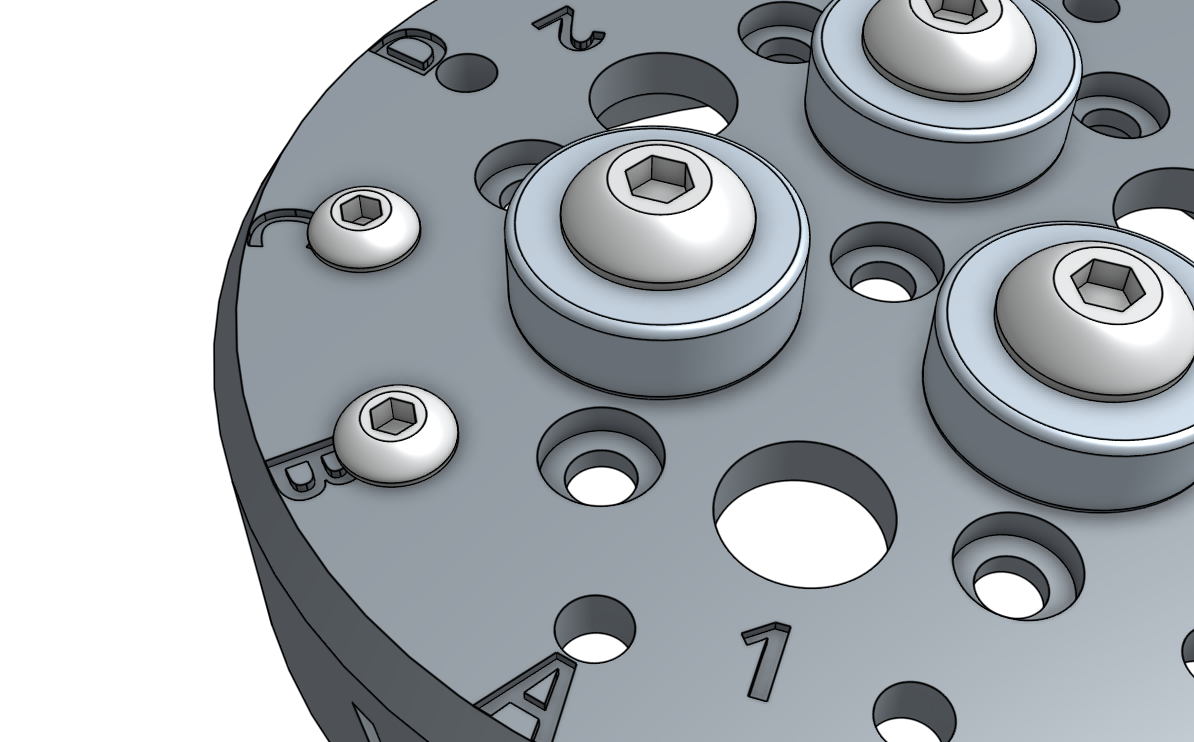
Insert two M3 x 12mm screws into the holes labelled B and C on the top of the tool.

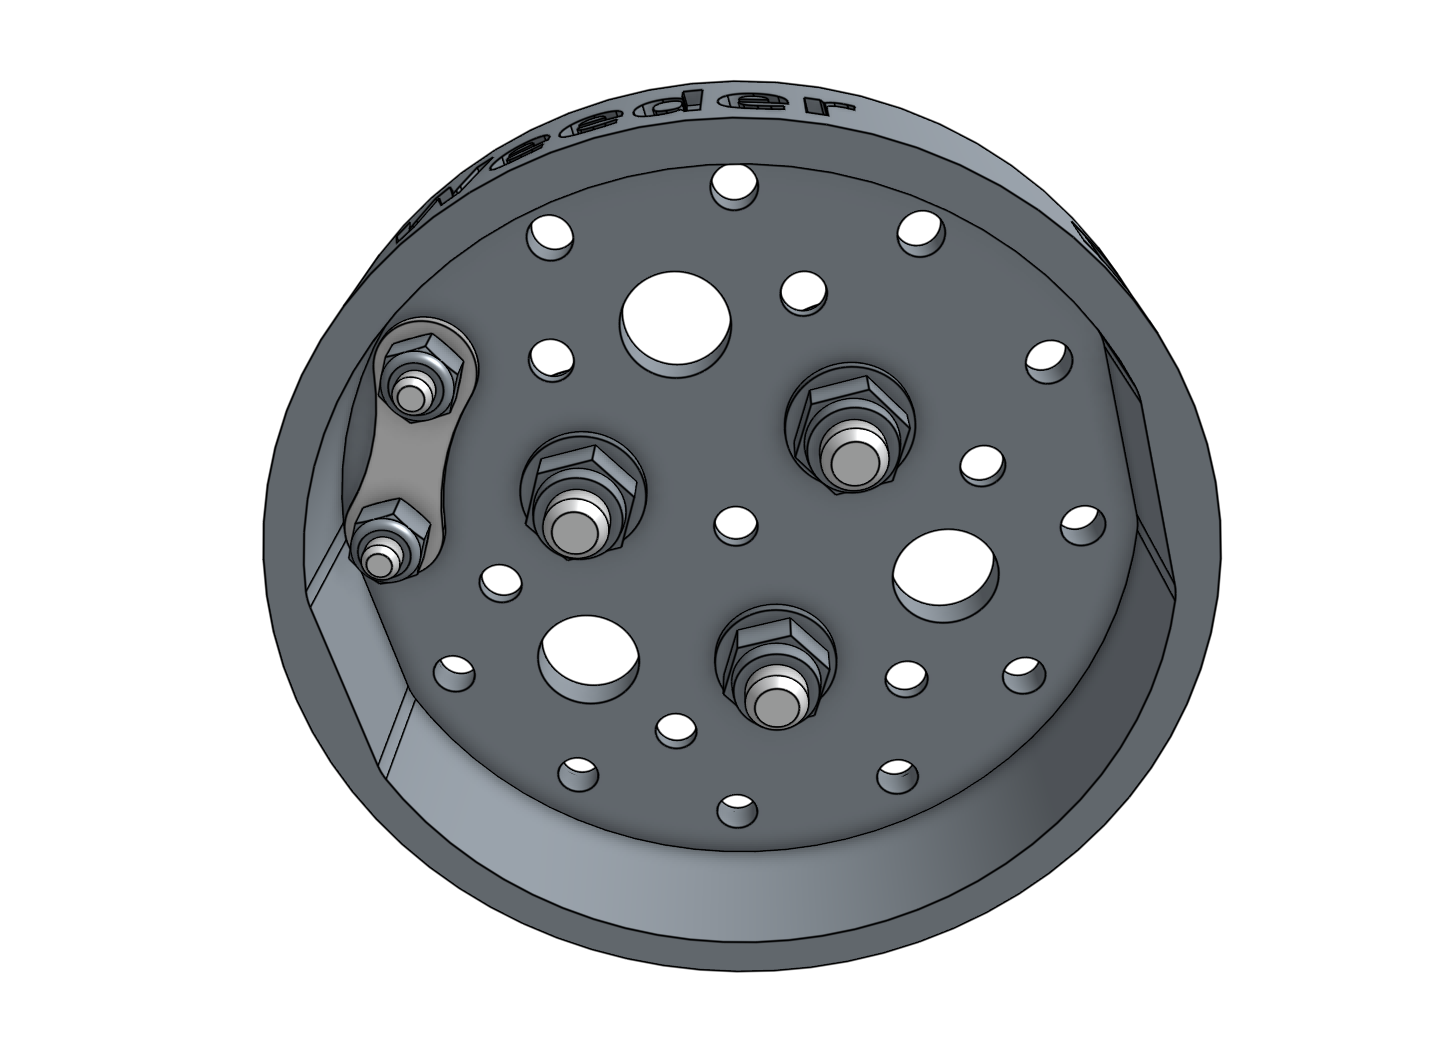
Secure the jumper link to the bottom of the screws with two M3 locknuts.
