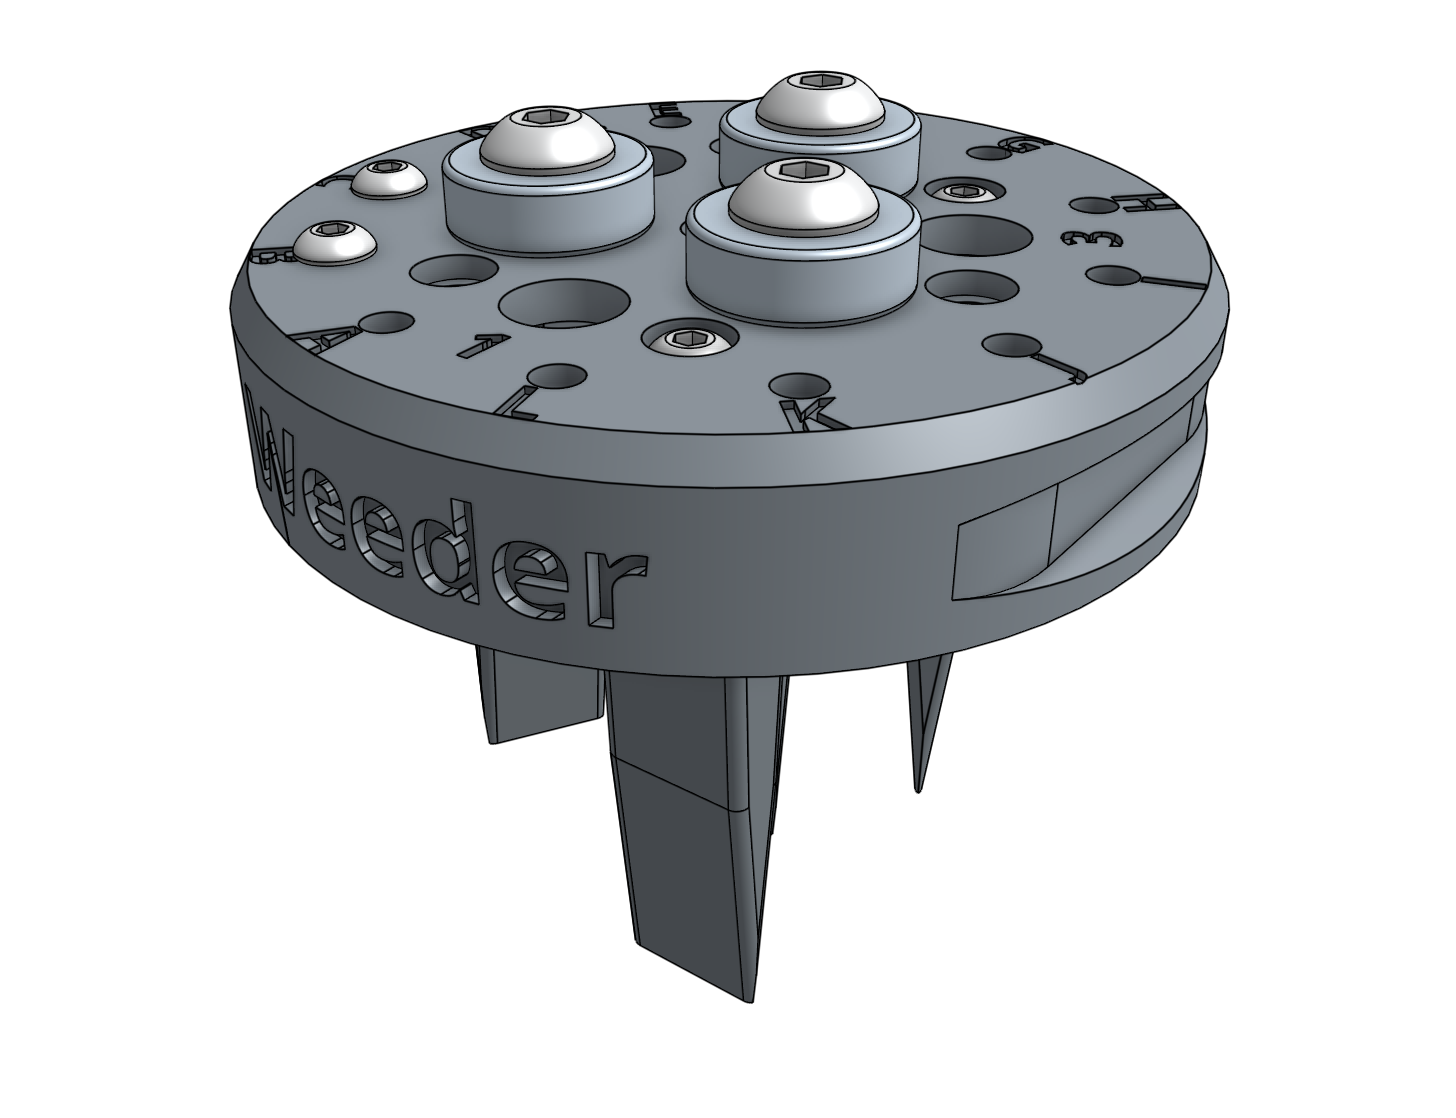
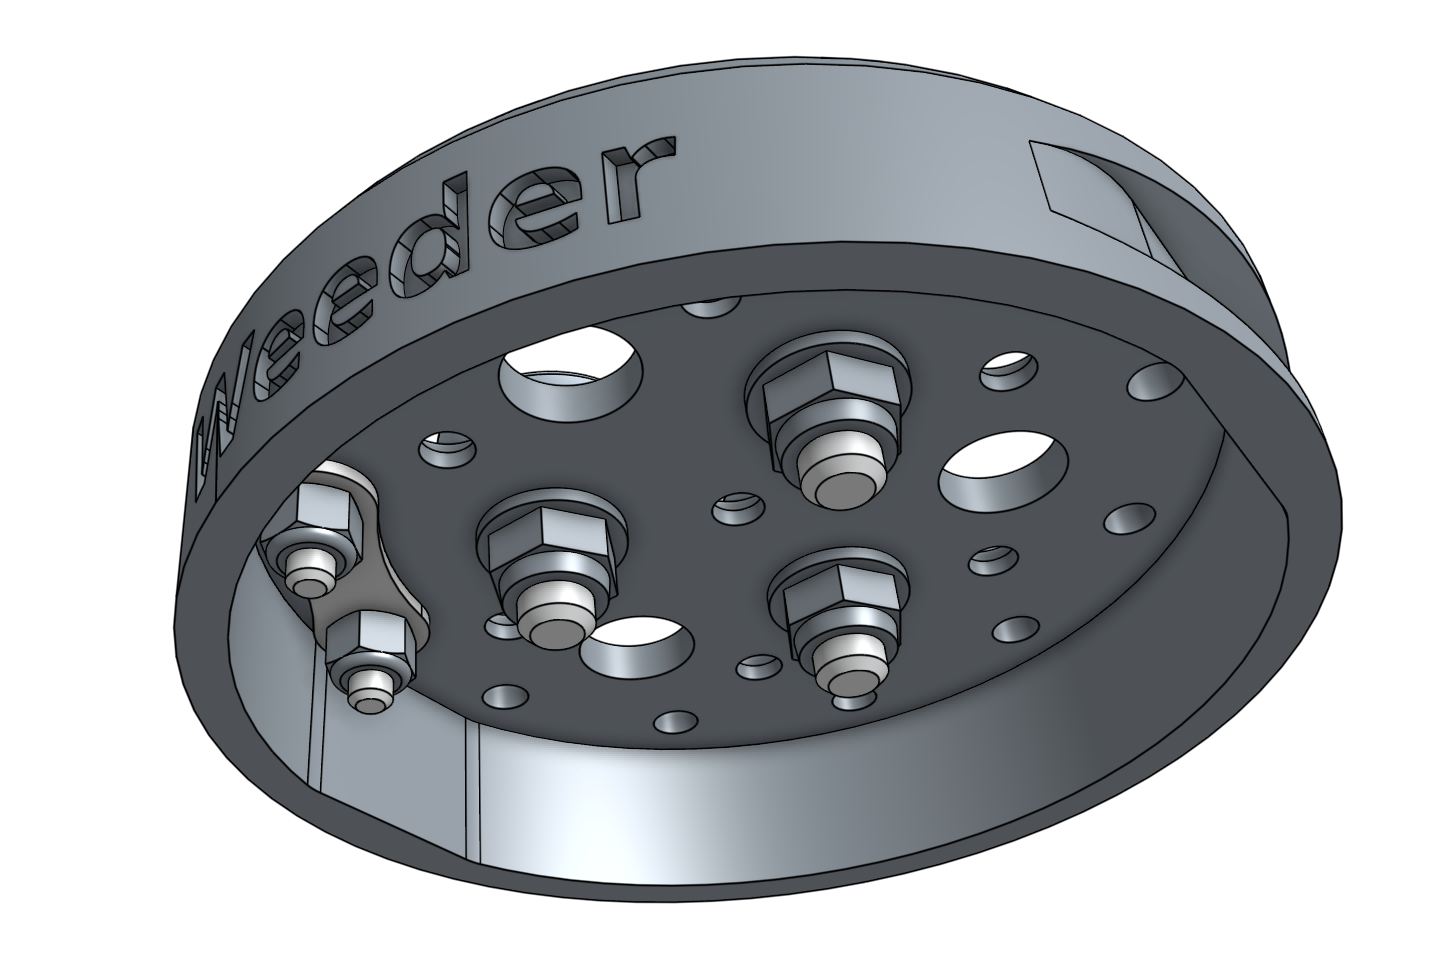
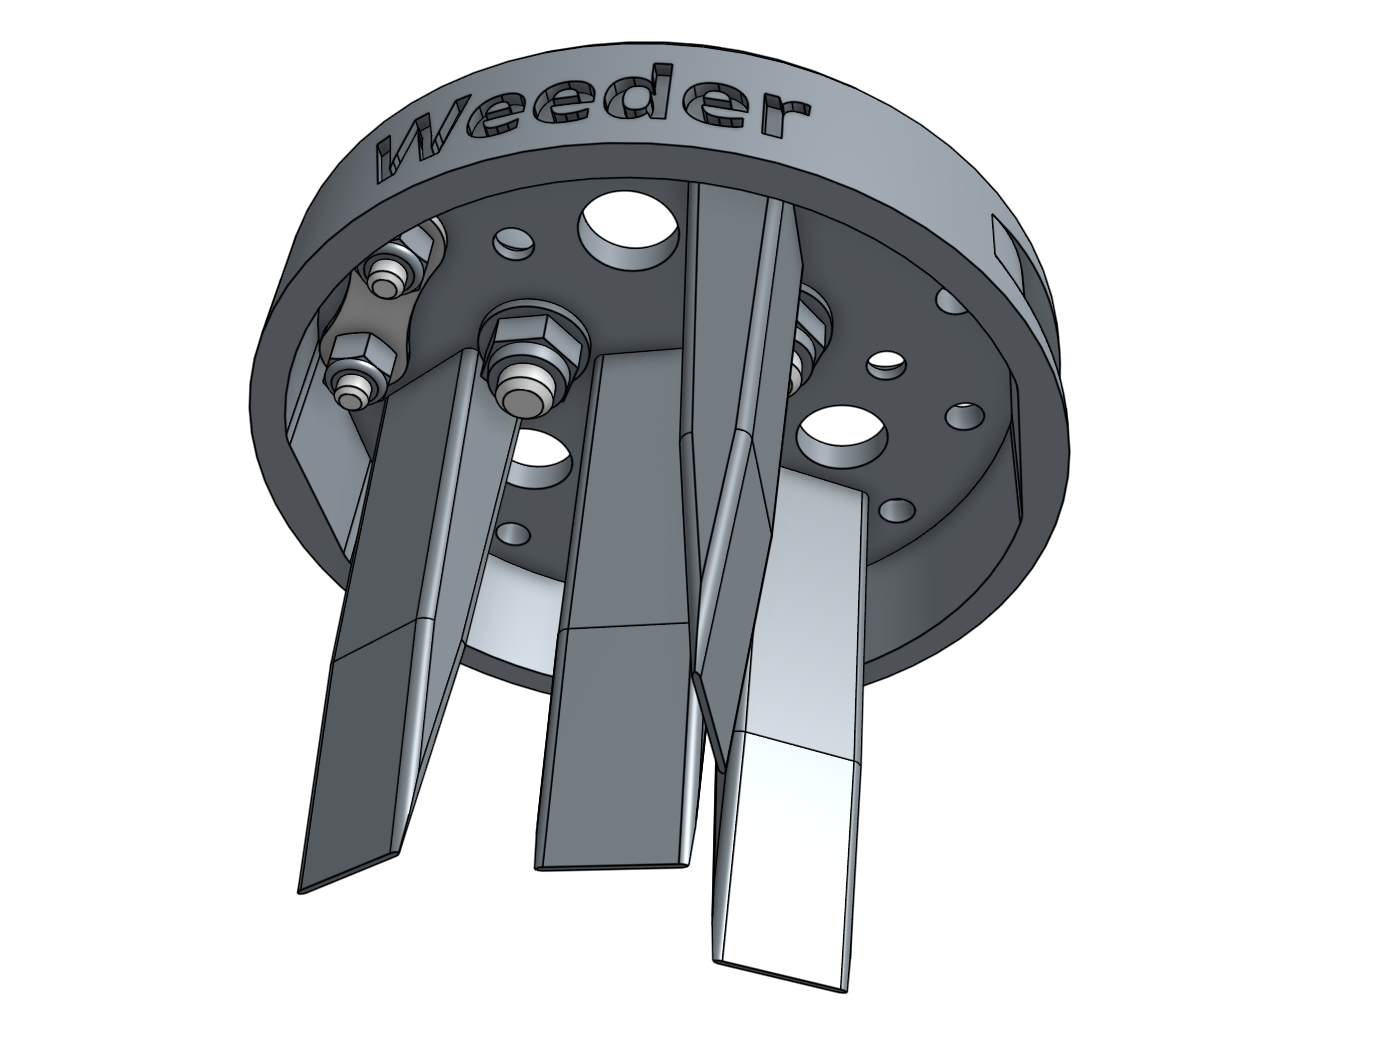
Weeder
Pre-assembly and packing instructions for the weeder

Component list
| Component | Qty |
|---|---|
| Weeder | 1 |
| Medium Weeder Blade | 4 |
| M3 x 6mm Screw | 4 |
| Magnets | 3 |
| M5 x 16mm Screws | 3 |
| M5 Flange Locknuts | 3 |
| M3 x 12mm Screws | 2 |
| M3 Locknuts | 2 |
| Jumper Link | 1 |
| Weeder accessory bag: - 3x M3 x 6mm Screws - 4x Weeder Blades (Wide) - 4x Weeder Blades (Narrow) |
1 |
| Weeder Box | 1 |
| Weeder Box Insert | 1 |
Step 1: Install the basic tool hardware
Install the magnets and tool verification jumper link using the instructions in the basic tool hardware reference guide.

Step 2: Install the implements
Attach the four medium weeder blades to the weeder using M3 x 6mm screws.

Step 3: Pack
Place the weeder box insert into the weeder box. Then insert the weeder accessory bag followed by the pre-assembled weeder. Close the lid.
Box specifications
| Box style | Top flap (standard FarmBot box design) |
| Inner dimensions (L x W x H) | 75mm x 75mm x 55mm |
| Outer dimensions (L x W x H) | 80mm x 80mm x 60mm |
| Material | Cardboard |
| Color | Brown |
| Printing | WEEDER.pdf |
| Fill | Cardboard insert |